Trimming the Town Shaker Card

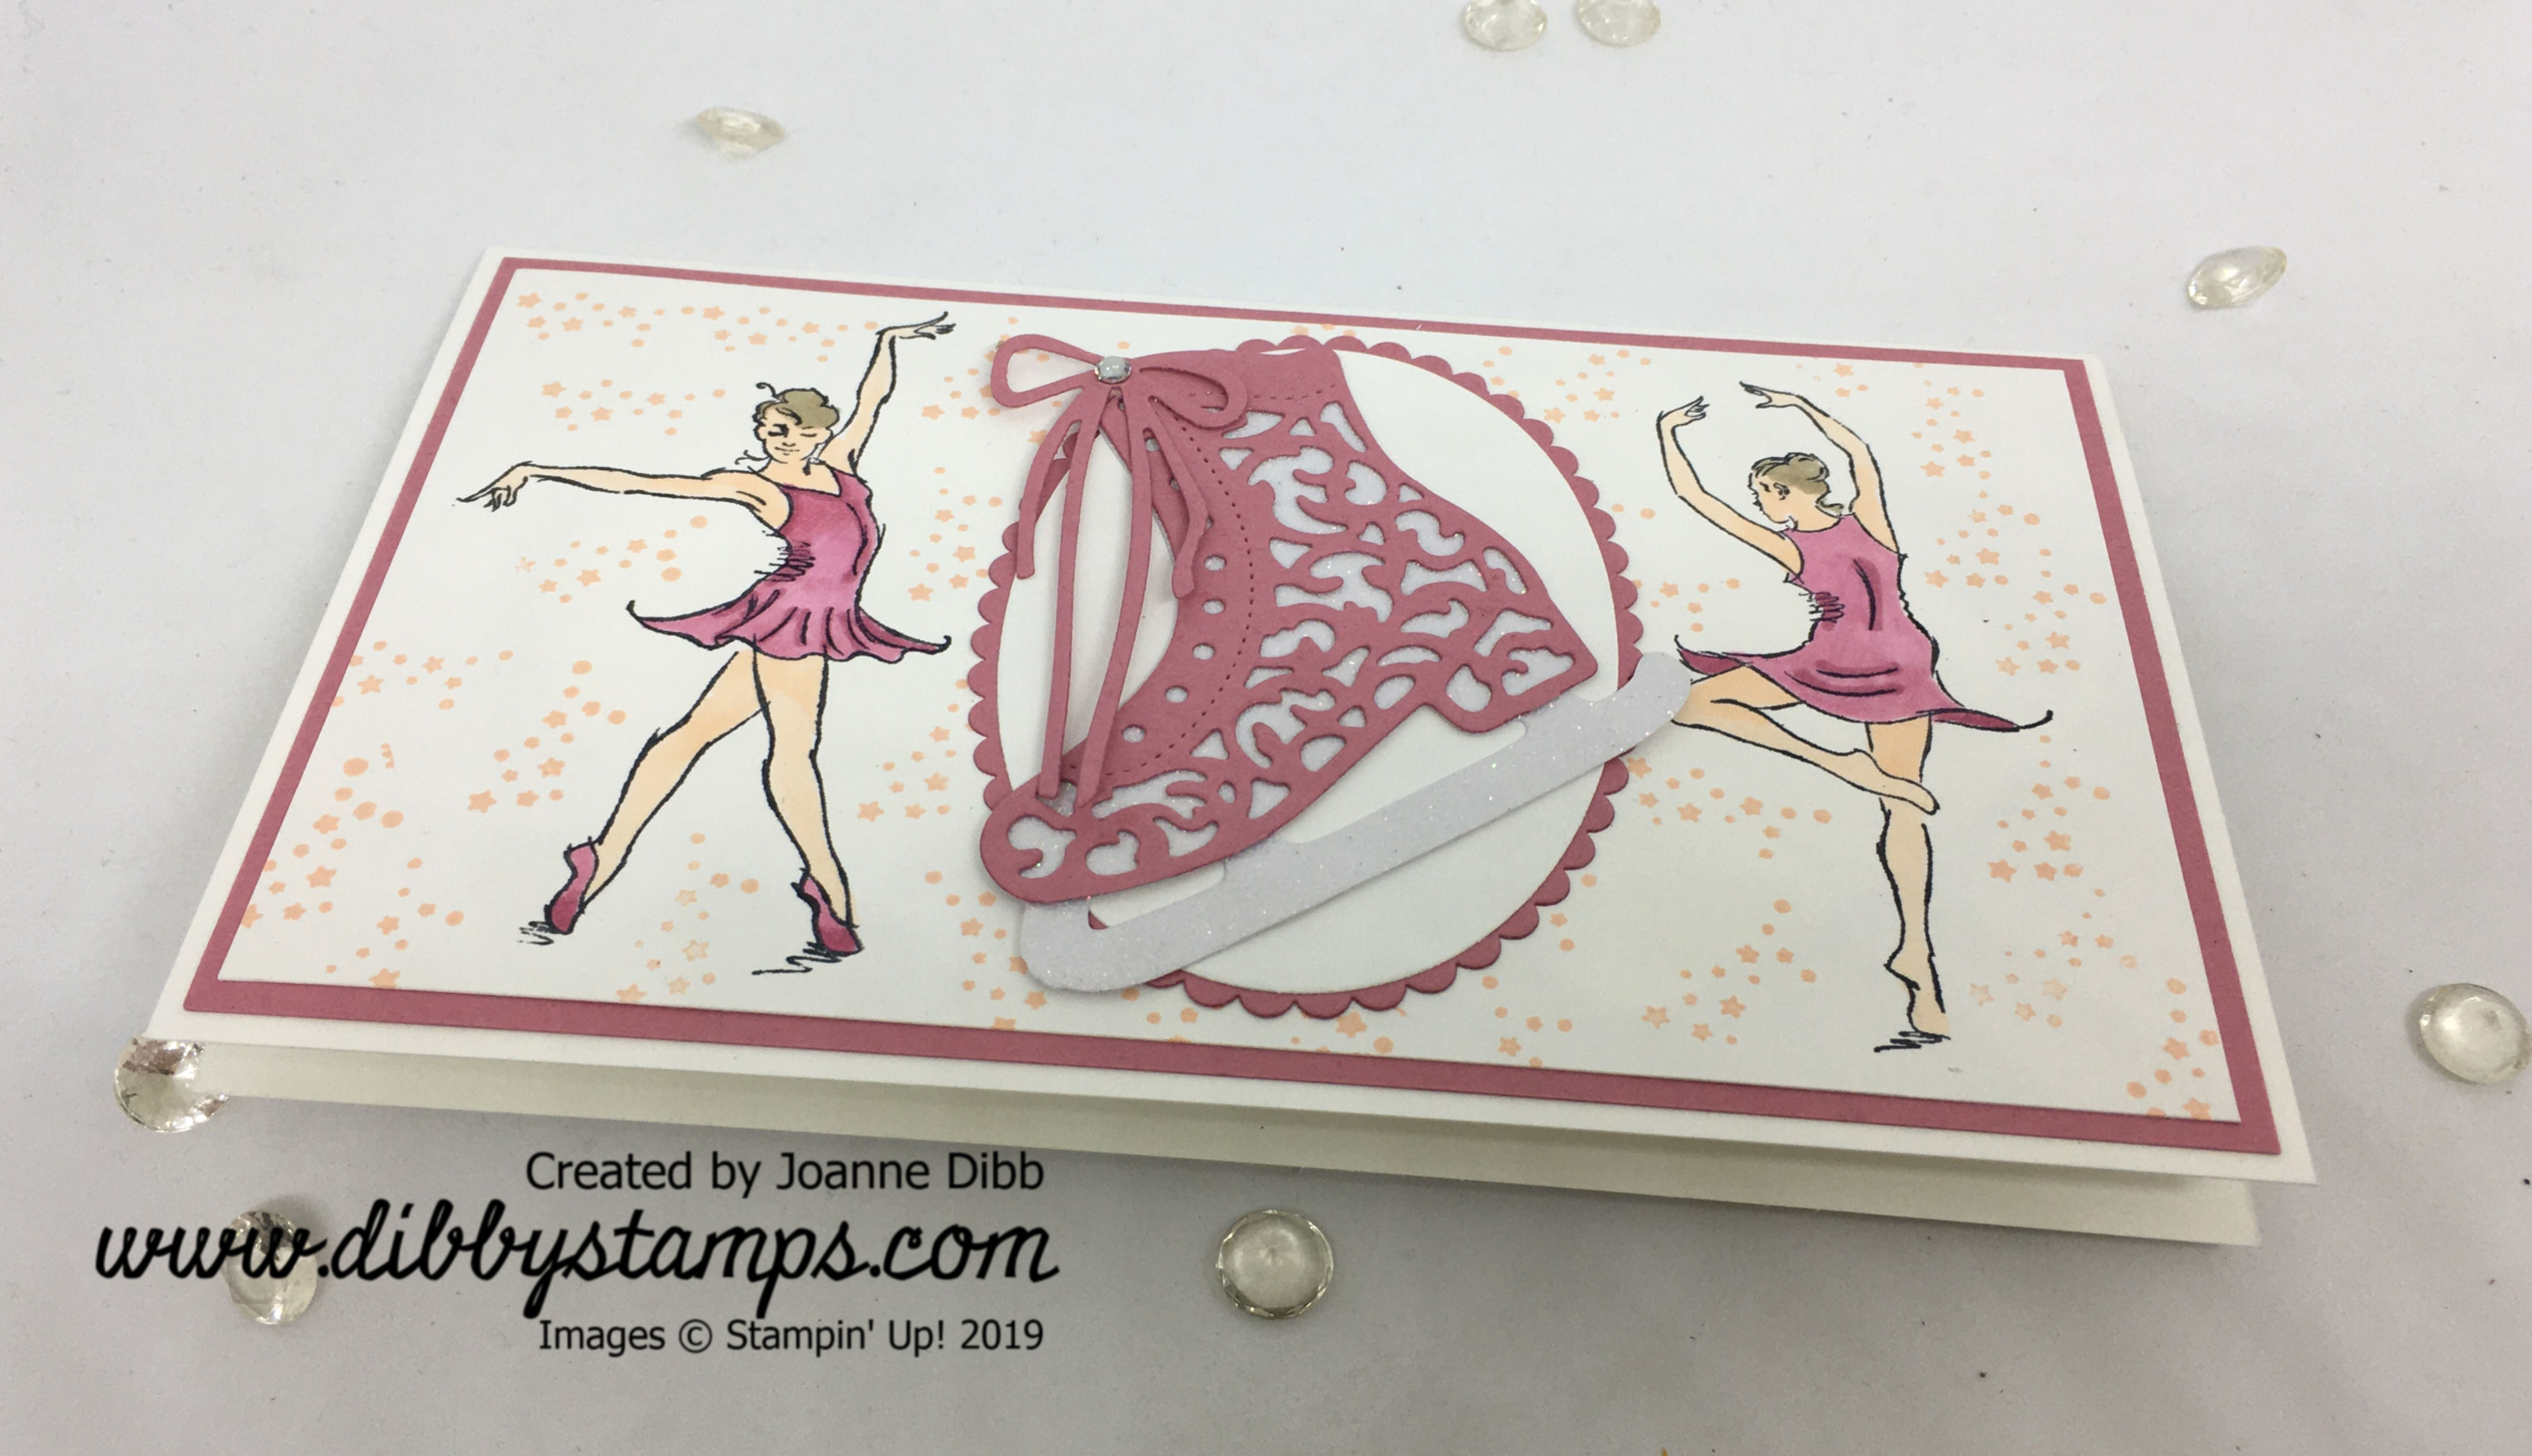
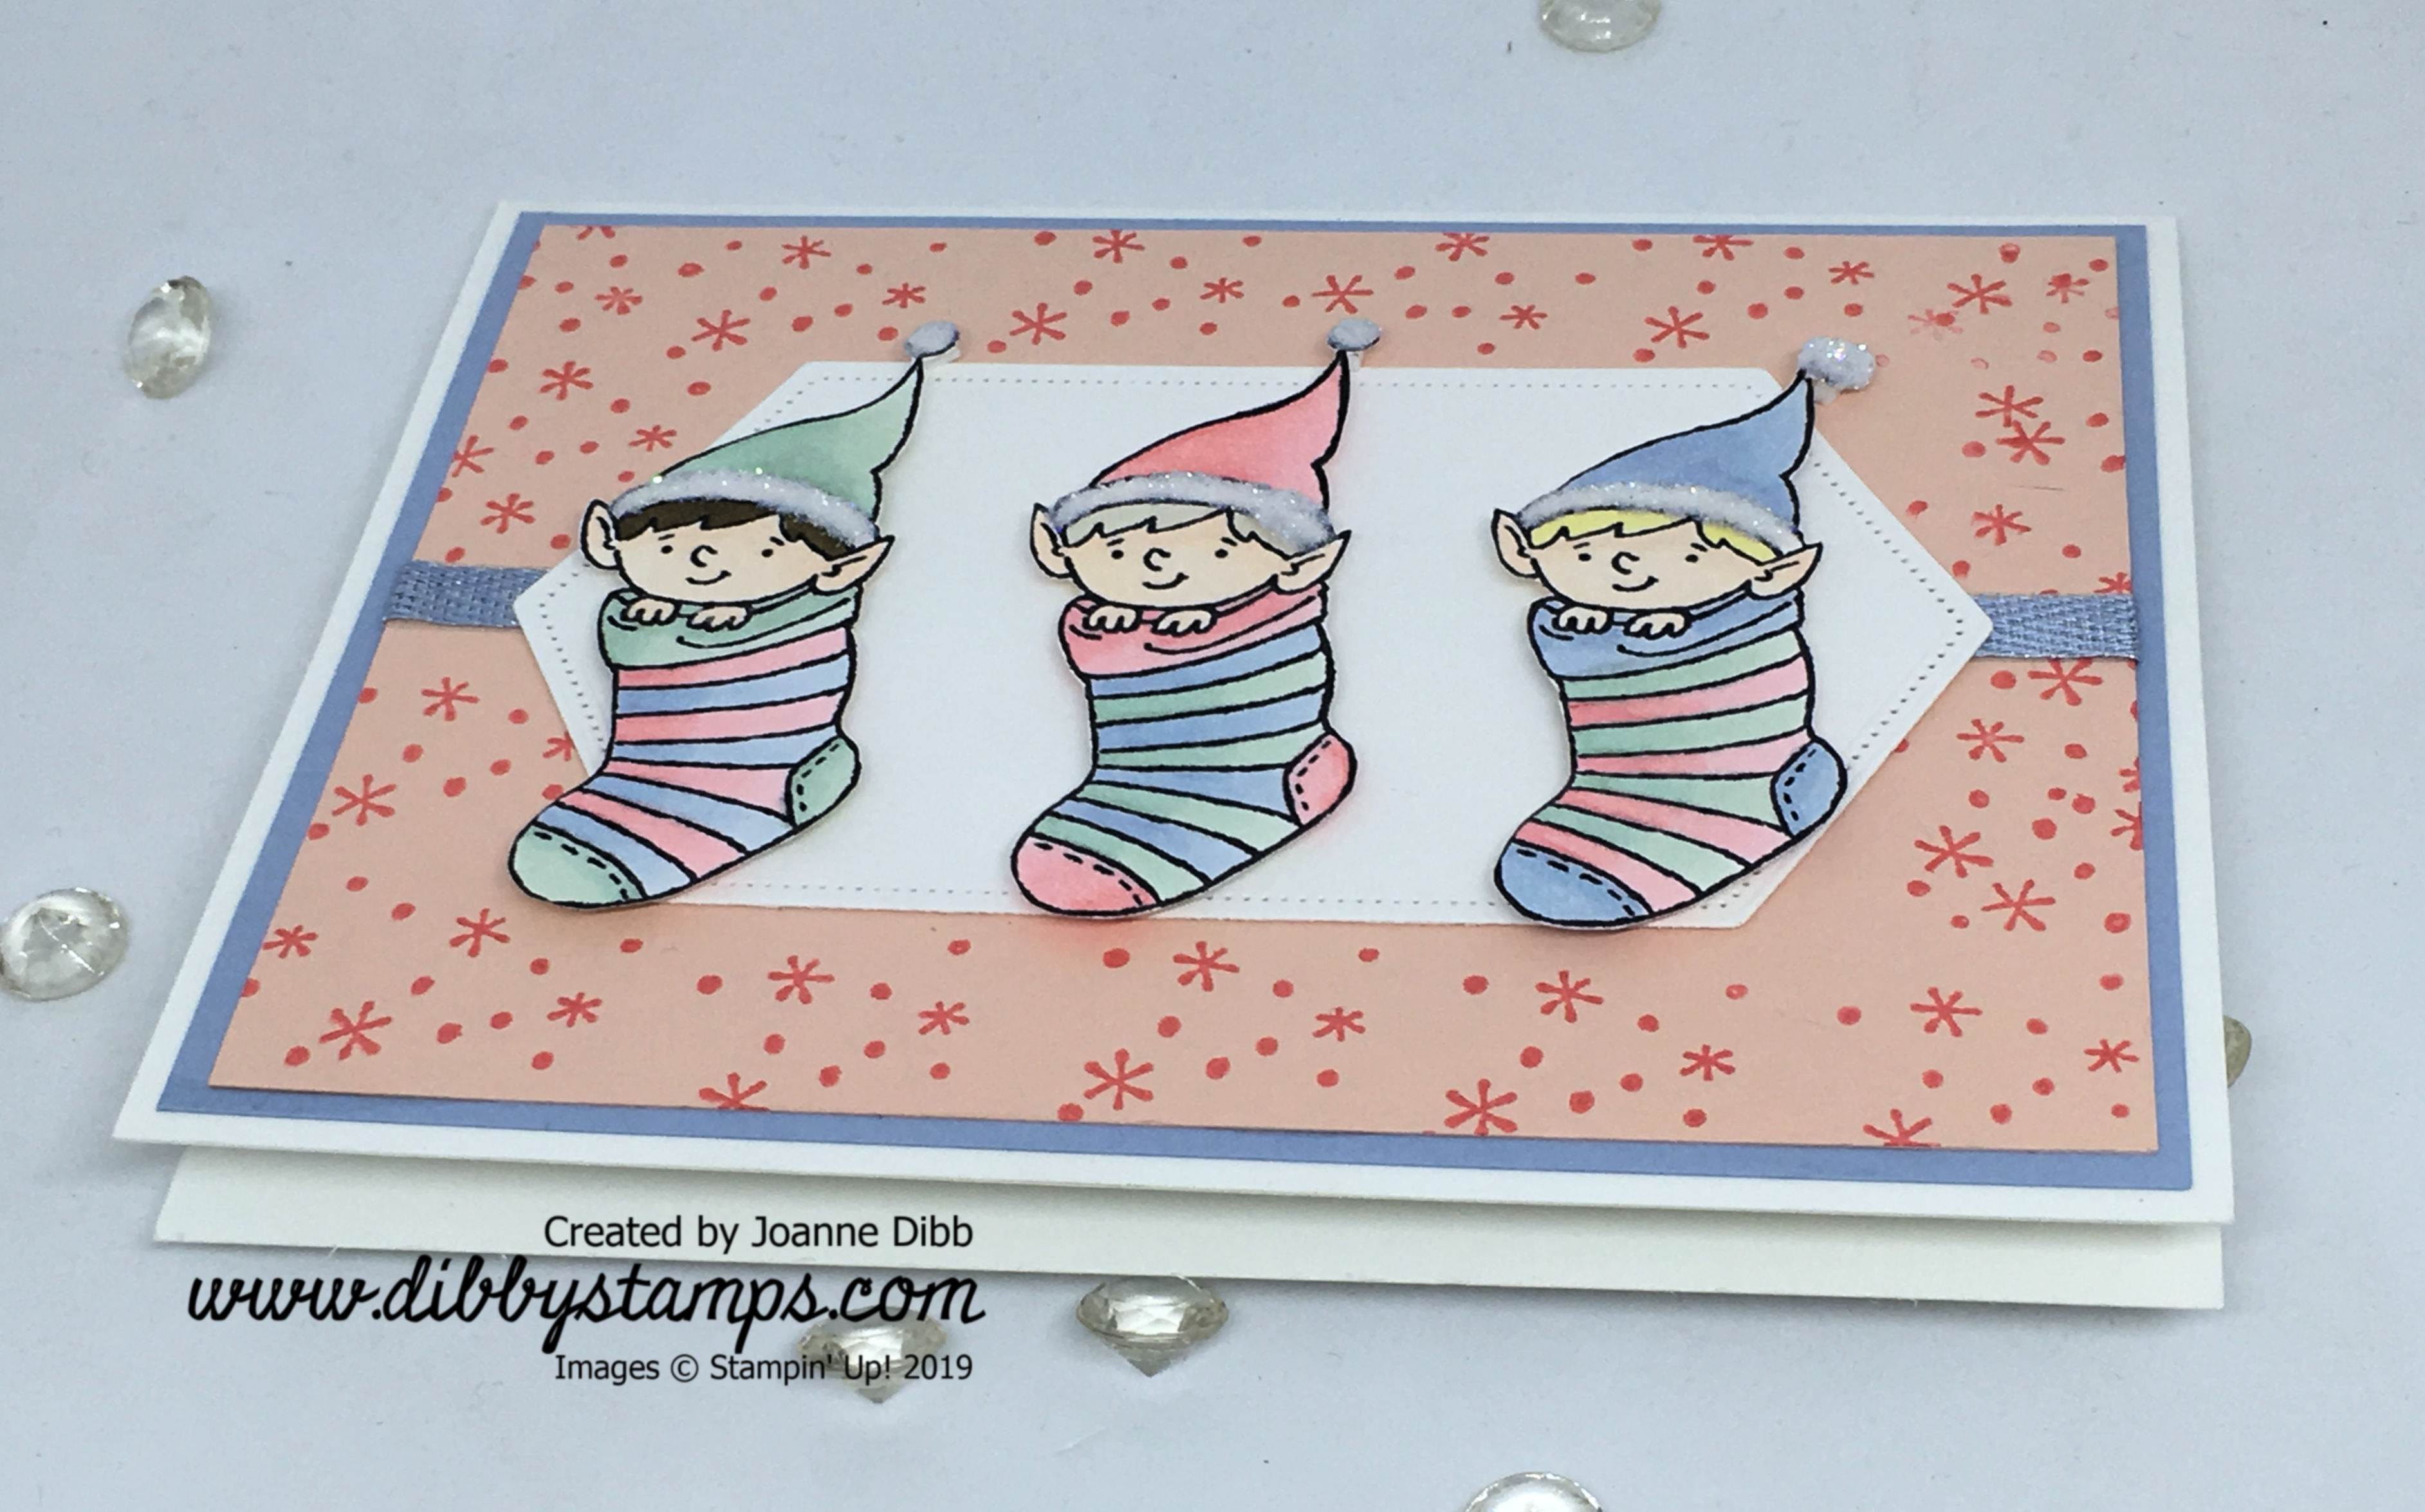
Today I’m sharing with you a Shaker card made from the Trimming the Town Suite. This wasn’t a suite I was initally drawn to but after seeing what other demonstrators and crafters have made I knew I had to have a play.

I’m really pleased with how this shaker turned out as its so long since I made one and as there’s no stamping involved it didn’t take long to put together.

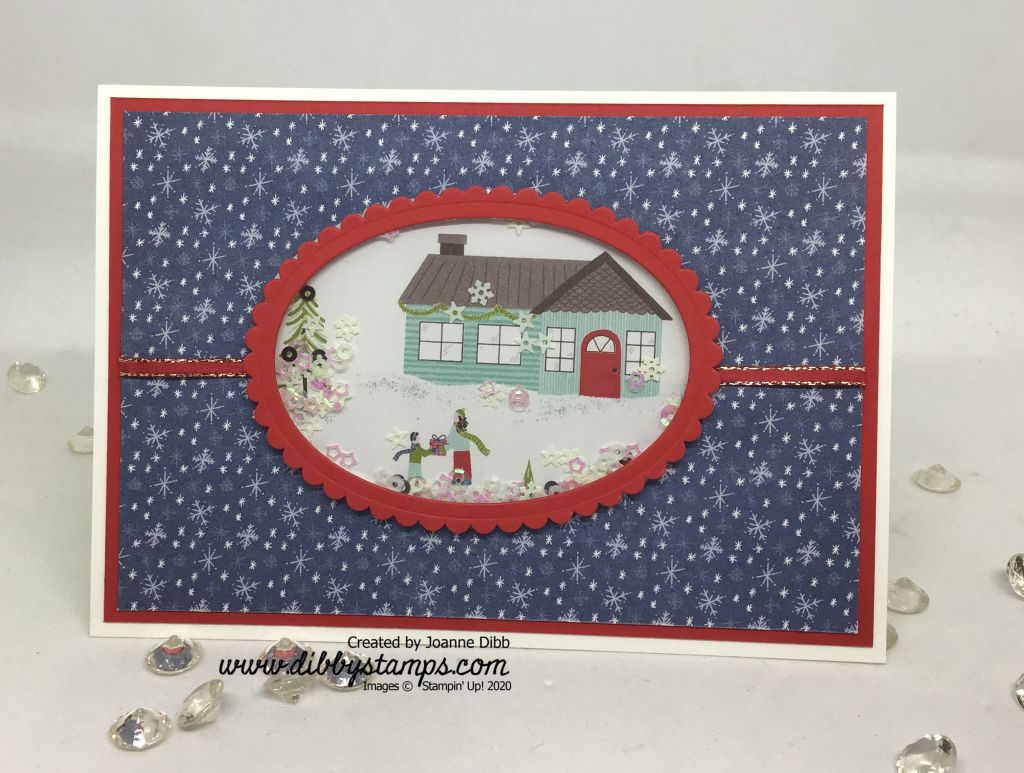
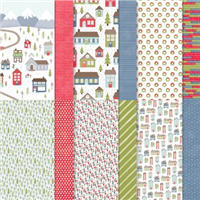
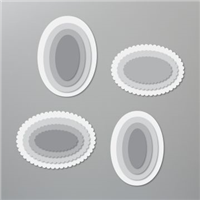
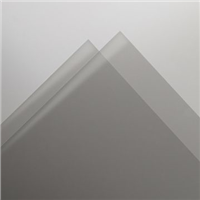
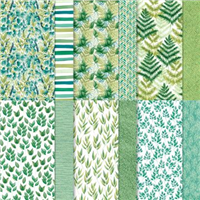
To make the shaker part of the card you will need to cut two ovals (or circle if you prefer) which are the same size. For one, the background I cut my image from the one of the scene sheets in the Trimming the Town DSP, the other oval was cut from window sheet.

To make the red frame I took the matching scalloped oval die and also an oval which was a size small than the first and ran them through the Cut and Emboss machine together so I was left with a thin frame. I adhered the window sheet to the back of my fram using the Fine-Tip Glue Pen.

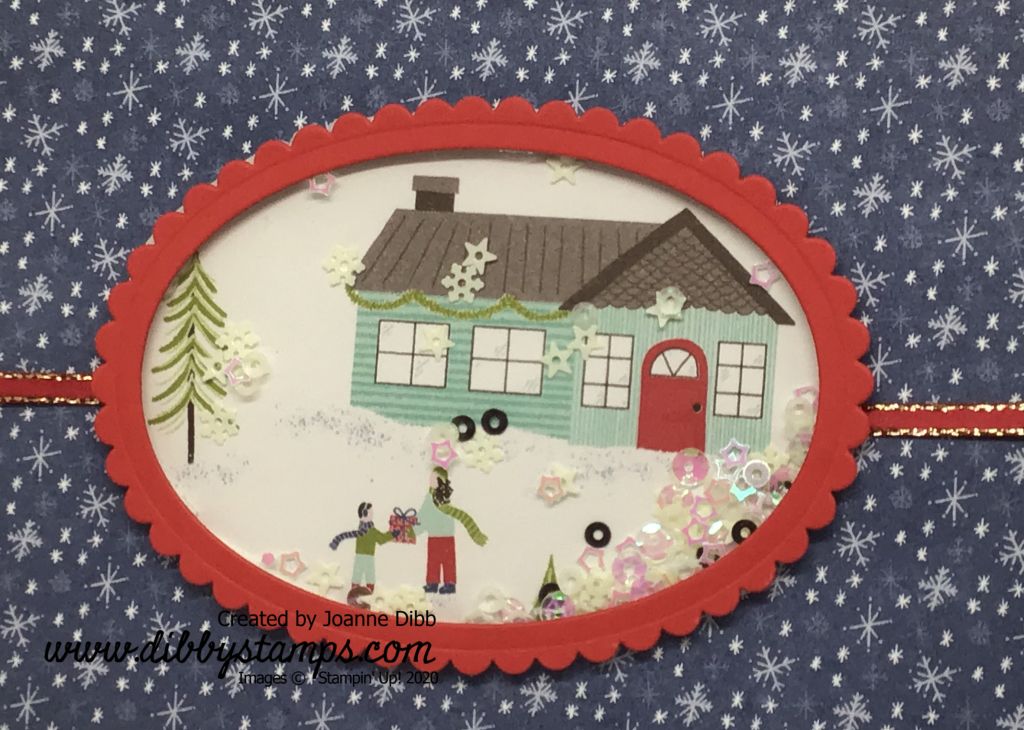
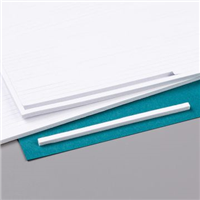
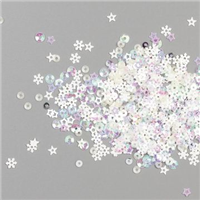
Next take the foam adhesive strips and run one right around the edge of the background oval. Next the oval fill with the Snowflake Sequins and stick the framed oval on top, now you have your shaker.

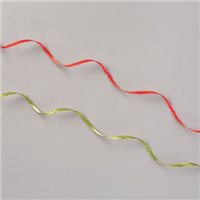
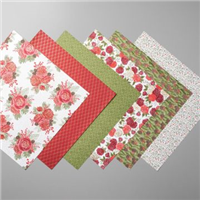
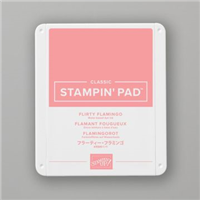
For the card background cut layer of the snowflakde dsp to 9.5cm x 13.9cm . Wrap a length of the Poppy Parade Ribbon from the All The Trimmings pack around the centre of the paper and adhere on the back with Tear & Tape. Adhere to a Poppy Parade layer measuring 10cm x 14.4cm before adhering to the card base.

I’ve left this card without a greeting but if you wanted to add on then the Trimming the Town DSP has a wonderful sheet full of greeting strips that you could cut up and use.

Happy Crafting

Joanne x

Supplies:

Floral Friday: Timeless Tulips Card Duo

For today’s Floral Friday post I’m highlighting the Timeless Tulips stamp set. Tulips are one of my favourite flowers but I actually don’t like red ones. So today’s cards are featuring red tulips in Poppy Parade.

I’ve paired my red tulips with the Stitched Nested Dies and the Forever Greenery Designer Paper.

Timeless Tulips 1

This first card is just simple stamping on the largest Stitched Nested Label with just the centre tulip popped up on some dimensionals. I’ve left sentimetns off this card so it can be used for any occassion.

Timeless Tulips 2

For the second card I added in the one of the new Greenery Mini Embossing Folders to add some texture to the background.

I like these cards but I’m still not a fan of red tulips.

Happy Crafting

Joanne x

Supplies:


Ice Skater Birthday Card

The Free Skate Bundel and stamp set may have sold out here in Europe but as the dies are still available (as I write this) I thought I’d share this birthday card I made using them and the Born to Shine stamp set which features ballerina images.

This card is larger than my usual card bases so I could fit the boots and the two ballerina images. I cut a sheet of A4 to 18cm x 21cm  scored in half at 10.5cm. The Rococo Rose layer is 17.5cm x 10cm and the Whisper White layer I stamped on measures 17cm x 9.5cm.

Ice Skater Birthday Card- close up

The two ballerina’s were stamped in Tuxedo Black Memento Ink and then colured with Rococo Rose and Petal Pink Stampin’ Blends. I then added the starry background in Petal Pink.

The skate was made from a Rococo Rose detailed outline and a Sparkle Glimmer paper solid layer which were glued together with Liquid Glue.

Ice Skater Birthday - flat

I adhered the Skate onto a background of Layered Ovals and then added some Rococo Rose laces and a Rhinestone to finish the card.

I’ve left a greeting off this card as I feel its finished as it is, plus there’s plenty of room inside to say exactly what you want.

Happy Crafting

Joanne x


Poinsettia Pillow Box

Today I’m sharing a simple idea to decorate our Kraft Pillow Boxes using a punch and some paper.

To make this Poinsettia flower simply punch six baubles from the larger punch from the Gleaming Ornaments Punch pack. I chose to use the Cherry Cobbler paper from the Christmastime Is Here Speciality DSP.  Scrunch each “petal” up to give that crinkly effect which Pionsettia’s have.

Poinsettia Pillow Box 1

Adhere all the red petals to a 1/2″ punched circle, overlapping each one a little. punch out another 1/2″ circle is Whisper white and adhere to the front of the flower. Cover this circle with the largest Gold Glitter Enamel Dots to create the centre of the flower.

Punch and scrunch three green petals and add them to the back of the flower to create leaves.

Poinsettia Pillow Box 2

I added a length of Gold Shimmer Ribbon around the kraft pillow box and then adhered the Poinsettia to the top.

This makes the perfect little box for those small Christmas gifts or gift cards. I also love that these little boxes are small enough to hide amoung your Christmas tree branches if you want to make a few.

Happy Crafting

Joanne x

Supplies:


Three Little Elves Card

How adorable are these cute little Elves, can you just imagine all the mischief they might get up to when we’re not watching. I wanted to go for a non traditional colour scheme so chose Seasside Spray, Mint Macaron and Flirty Flamingo to add to the cute factor.

Three Little Elves Card close up

Stampin’ Blends, Dazzling Diamonds Glitter and a little fussy cutting have really brought the little eleves to life.  I didn’t think the card needed much else so added a simple stamped snowflake background and a strip of the Seaside Spray Metallic Ribbon highlights the sparkle in the glitter.

Three Little Elves Card flat

I can’t wait to make more card with this gorgeous #Elfie stamp set in many more colur combinations, so keep an eye out for more Elfie cards coming soon.

Happy Crafting

Joanne x

Basic Measurements:

Card Base: Half A4 sheet cut to 14.9cm x 21cm, scored at 10.5cm

Seaside Spray Layer: 14.4cm x 10cm

Flirty Flamingo Layr: 13.9cm x 9.5cm

Supplies: