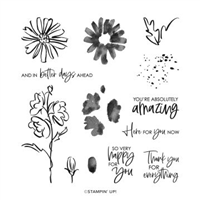
For today’s Floral Friday I’m sharing two very simple cards made with the Flowing Flowers stamp set, which has beautiful big flower images perfect for covering your whole card.
This first card uses Highland Heather and Soft Succulent inkpads to stamp the flowers with.
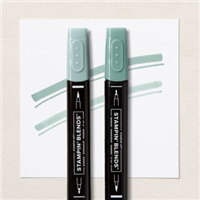
The second one was done with Stampin’ Markers brushed on the stamps and gives you a much bolder image. Which do you prefer?
The sentiments for both cards were stamped on diecuts from the Tasteful Labels Dies which have now unfortunately sold out. For an alternative you could use the labels in the Potted Succulents or Seasonal Labels Dies. In the new catalogue there is also a die set called All That which would also work.
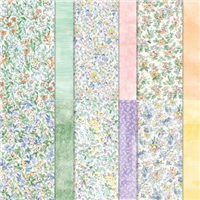
To make the base cut a piece of A4 cardstock to 28cm x 10.5cm. Score the long length at 7cm and 14cm and into the z-shape. I then covered the small front section with some of the Hand Penned Designer paper measuring 6.5cm x 10cm and covered the inside/back section with a piece measuring 13.5cm x 10cm.
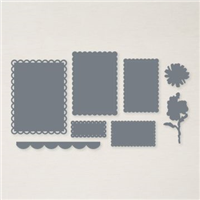
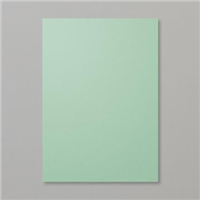
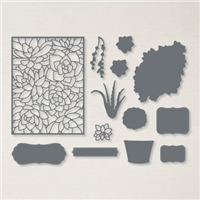
I then cut the second largest frame from the Scalloped Contours dies in Mint Macaron and two rectangles from the fourth largest Stitched Rectangle die (the one measuring 10.5cm x 7cm. The white rectangles fit perfectly inside the stitched dots on the Mint Macaron rectangle.
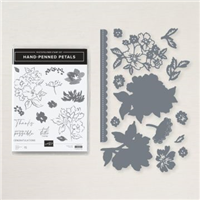
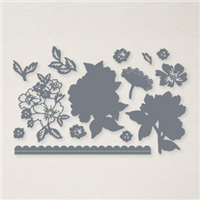
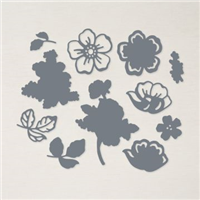
On seperate cardstock I stamped the largest flower outline from the Hand-Penned Petals stamp set and filled in with Mint Macaron leaves and Highland Heather flowers.
I stamped Thank You on one White rectangle before adhering to the Mint Macaron Scalloped rectangle, which I then adhered to the small front panel of the card, remember to only put adhesive on half of the rectangle otherwise it will stick to the back and not open. I then adhered the other white rectangle to the back of the card, lining it up behind the Mint Macaron rectangle.
I die cut my flowers and added them to the front of the card and then finished off with three Mint Macaron gems from the Genial Gems pack.
I love this bundle and hope it carries over into the 2022-2023 Annual Catalogue.
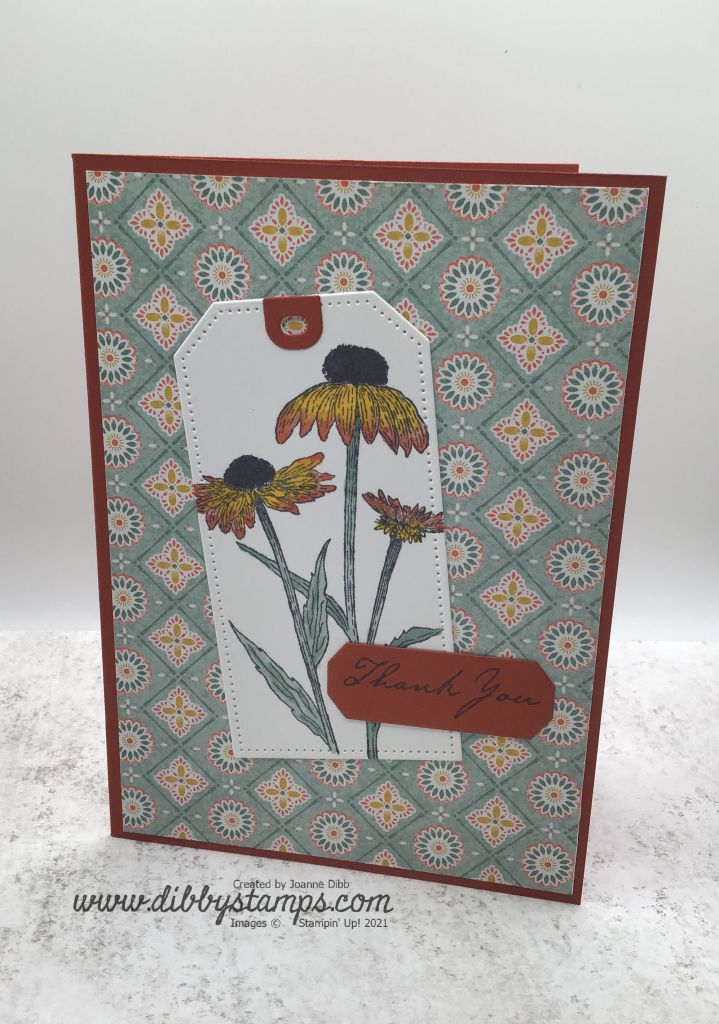
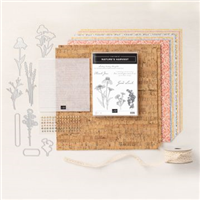
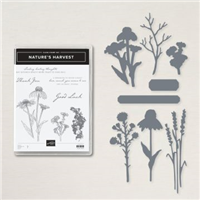
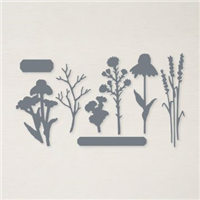
Today I’m sharing a three cards to show you how you can take a project from simple to stepped up, this week I’m using products from the Harvest Meadow suite.
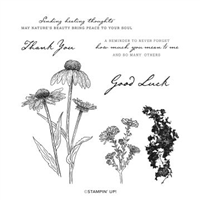
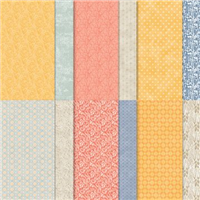
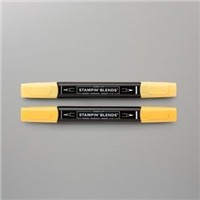
For the first card I simply stamped the Black Eyed Susan’s onto a white tag and then coloured with Stampin’ Blends. The background is a layer of designer paper from the Harvest Meadow Designer Paper. I then added a simple sentiment from the stamp set Nature’s Harvest and cut it with the Harvest Dies.
For the second card I stamped the flowers on seperate cardstock and then die cut them before adhering to the tag to add some height. I also added a Baker’s Twine bow in Crumb Cake.
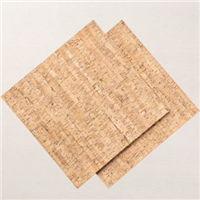
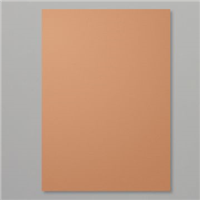
For the final card I added a layer of the new Cork Speciality Paper, I love this paper it feels cork but is so so thin so doesn’t add much bulk to your proect. I also added a diecut of wheat behind the tag. As a final touch I added some of the Brushed Metallic Gems in Copper.
Which step is your favourite? I love all three and can’t wait to pull this suite of products out again.
The Summer Shadows dies are one of our level 2 Sale-A-Bration rewards, availabel with an order over £90. I loved the look of them as I do all things floral but I did find them a struggle to work with.
Today I’m sharing a card a made using these dies and also the the very sparkly Be Dazzling 6×6 DSP. This simple card uses ones of my favourite techinques, the inlay techinque where you fill in a die cut outline with pieces from another colour.
I’m also going to give you a closer look at the samples in the Sale-A-Bration catalogue using these dies for a little more inspiration.
I love the colour combination of this last sample: Copper, Crumb Cake and Blushing Bride definitely one I need to try.
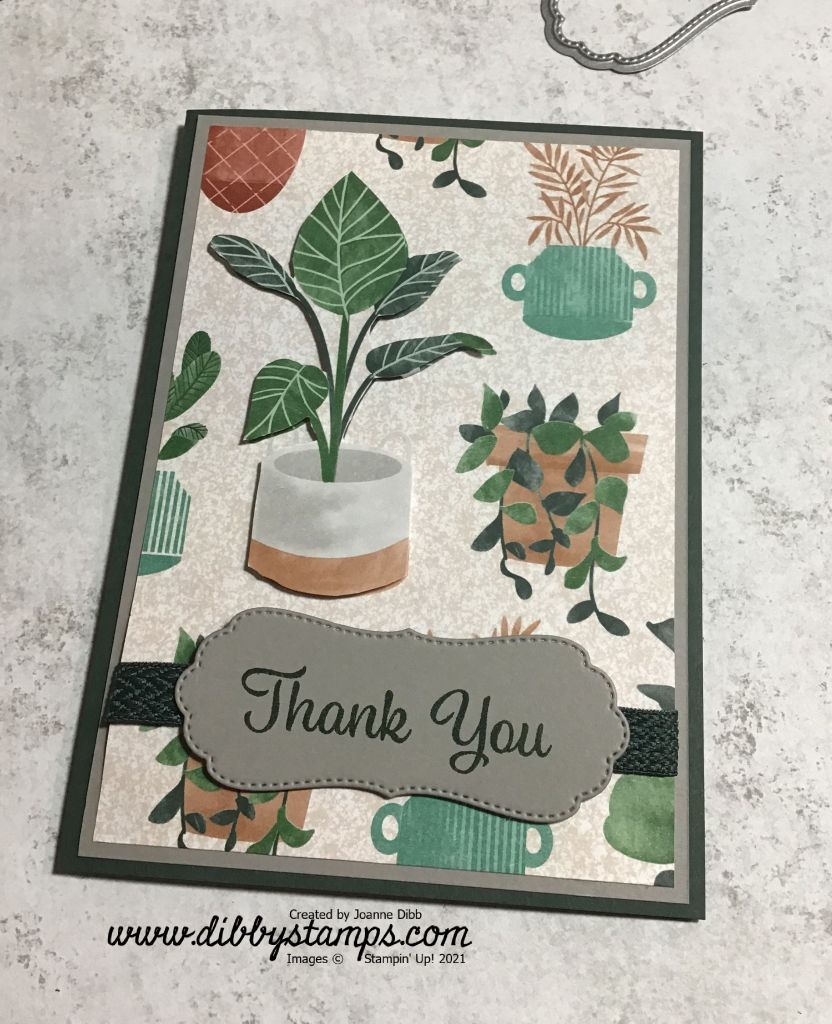
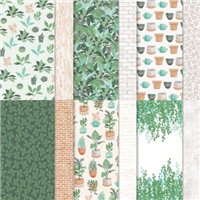
Today I’ve got a quick card made using the Bloom WhereYou’re Planted Designer Paper. This a great paper pack filled with images of house plants, pots and very versatile backgrounds. There is also a matching stamp and die bundle but today I’m just using the paper.
I’ve used the paper with all the potted plants on as my background, I’ve cut it so the large plant (sorry no idea of the name!) is central on the background. I then fussy cut out two extra plant from the paper.
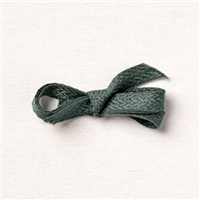
Both cards have Evening Evergreen as the card base. I’ve then done one card with a Gray Granite layer and one with a Cinnamon Cider layer. Before adhering the designer paper to the matt layer I’ve added a length of the Evening Evergreen Chervon Weave Ribbon where I will place my sentiment.
I’ve stamped my greeting in Evening Evergreen onto Gray Granite or Cinnamon Cider and then cut them out with the large label die from the Potted Succulents Dies.
To finish the card I’ve adhered both the extra plant and the labels to the cards with Stampin’ dimensionals. Remember the Bloom Where You’re Planted Designer Paper currently has 15% off the price so a perfect time to buy.