Fine Art Floral Gift Box & Card Duo

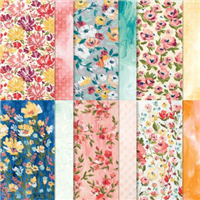
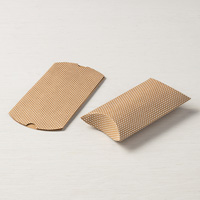
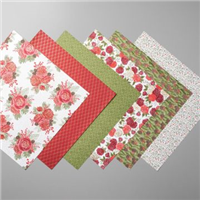
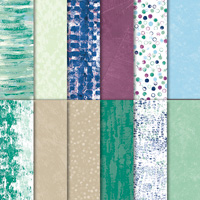
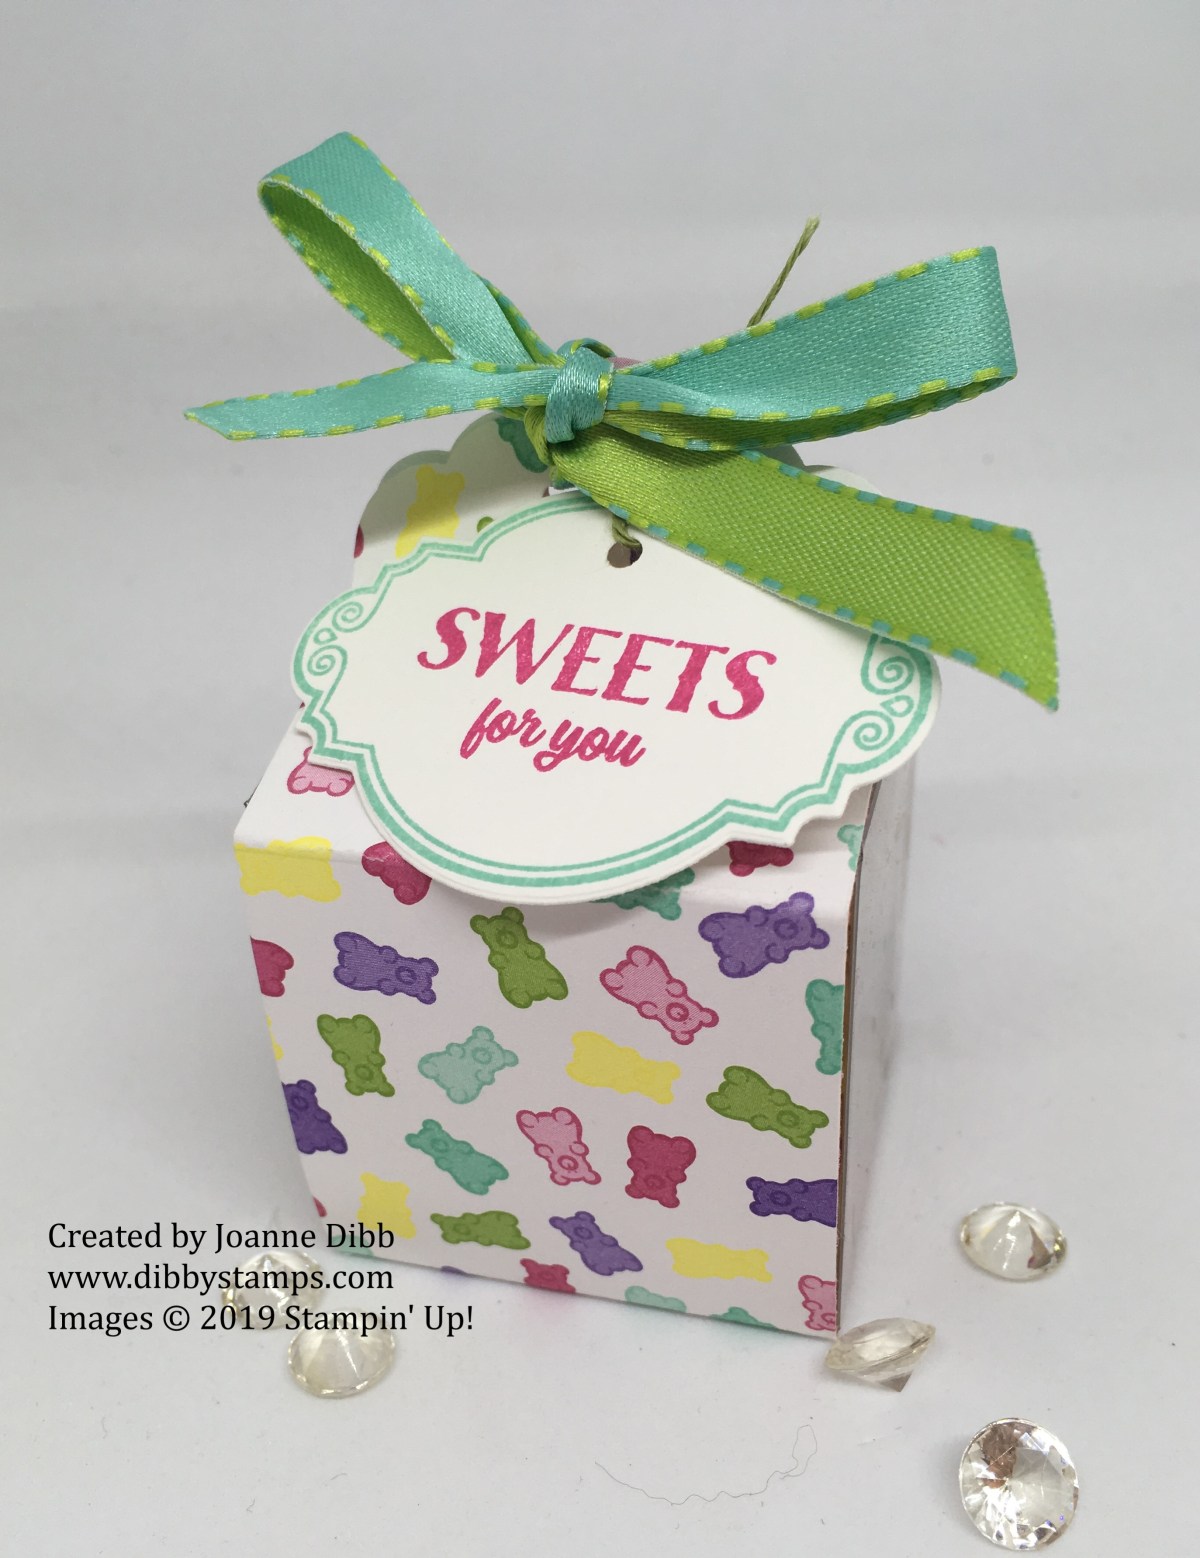
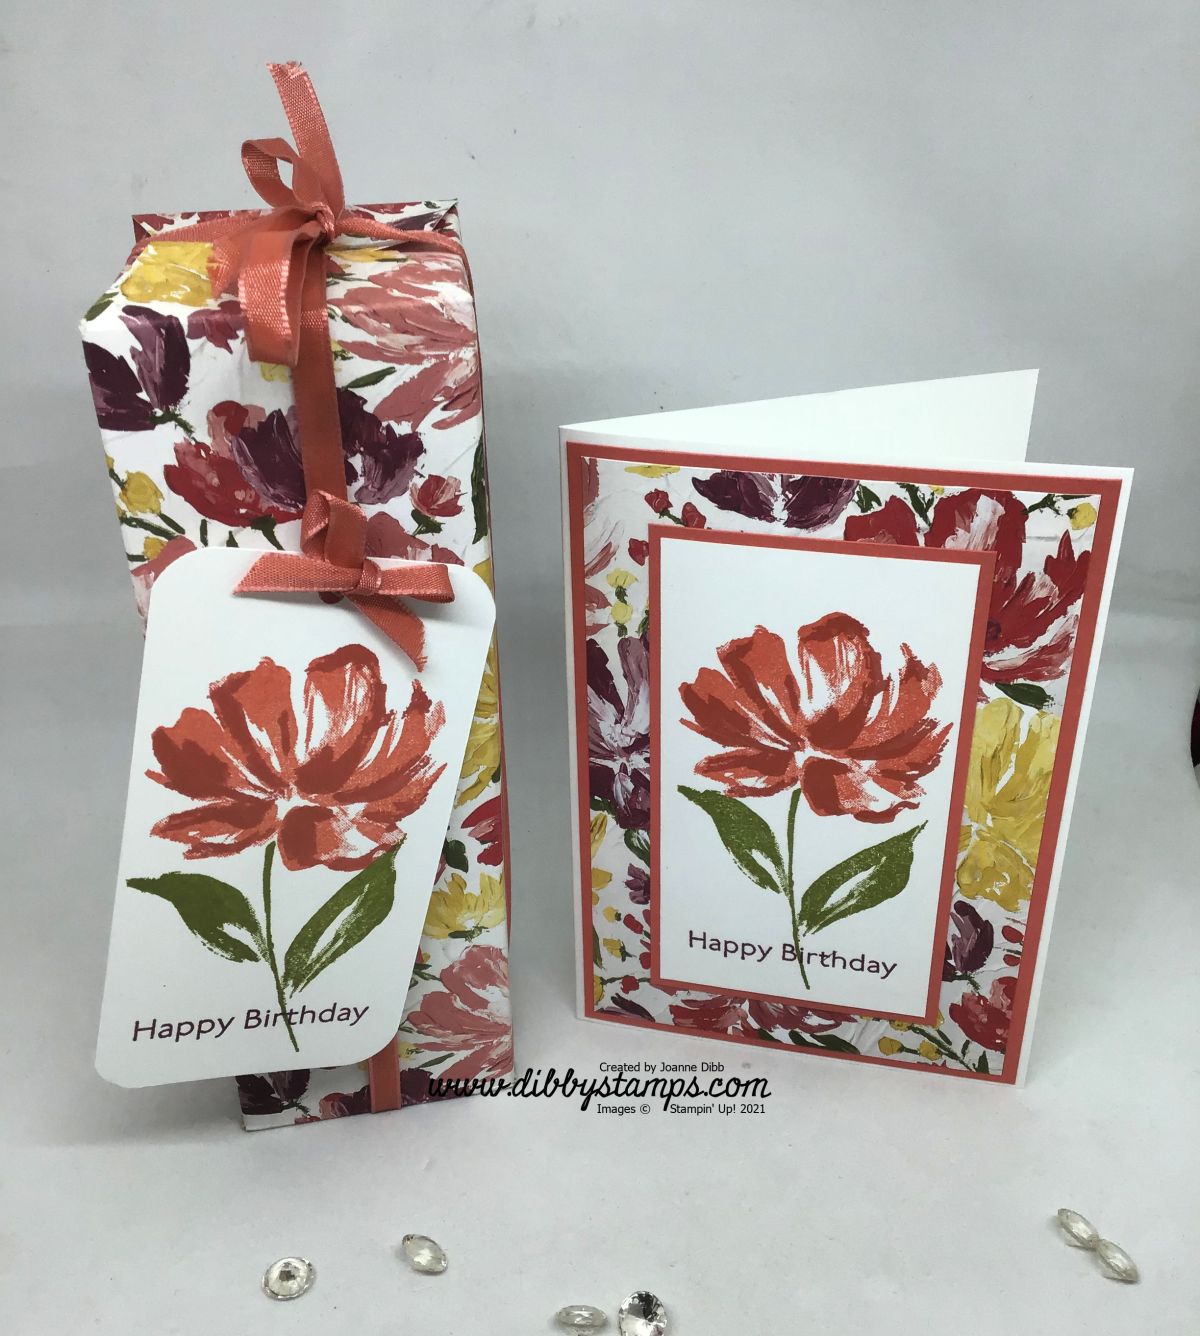
It’s not often I make 3D items but last week when it was my mum’s birthday I needed something to wrap her present in. Luckily for me it was a nice easy square so I could easily make a box. I choose this paper from the Fine Art Floral collection one because I knew my mum would love it as she like bright bold flowers and second its not a paper I’ve found easy to work into a card yet.

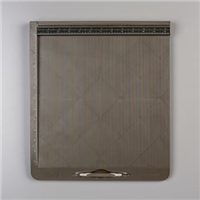
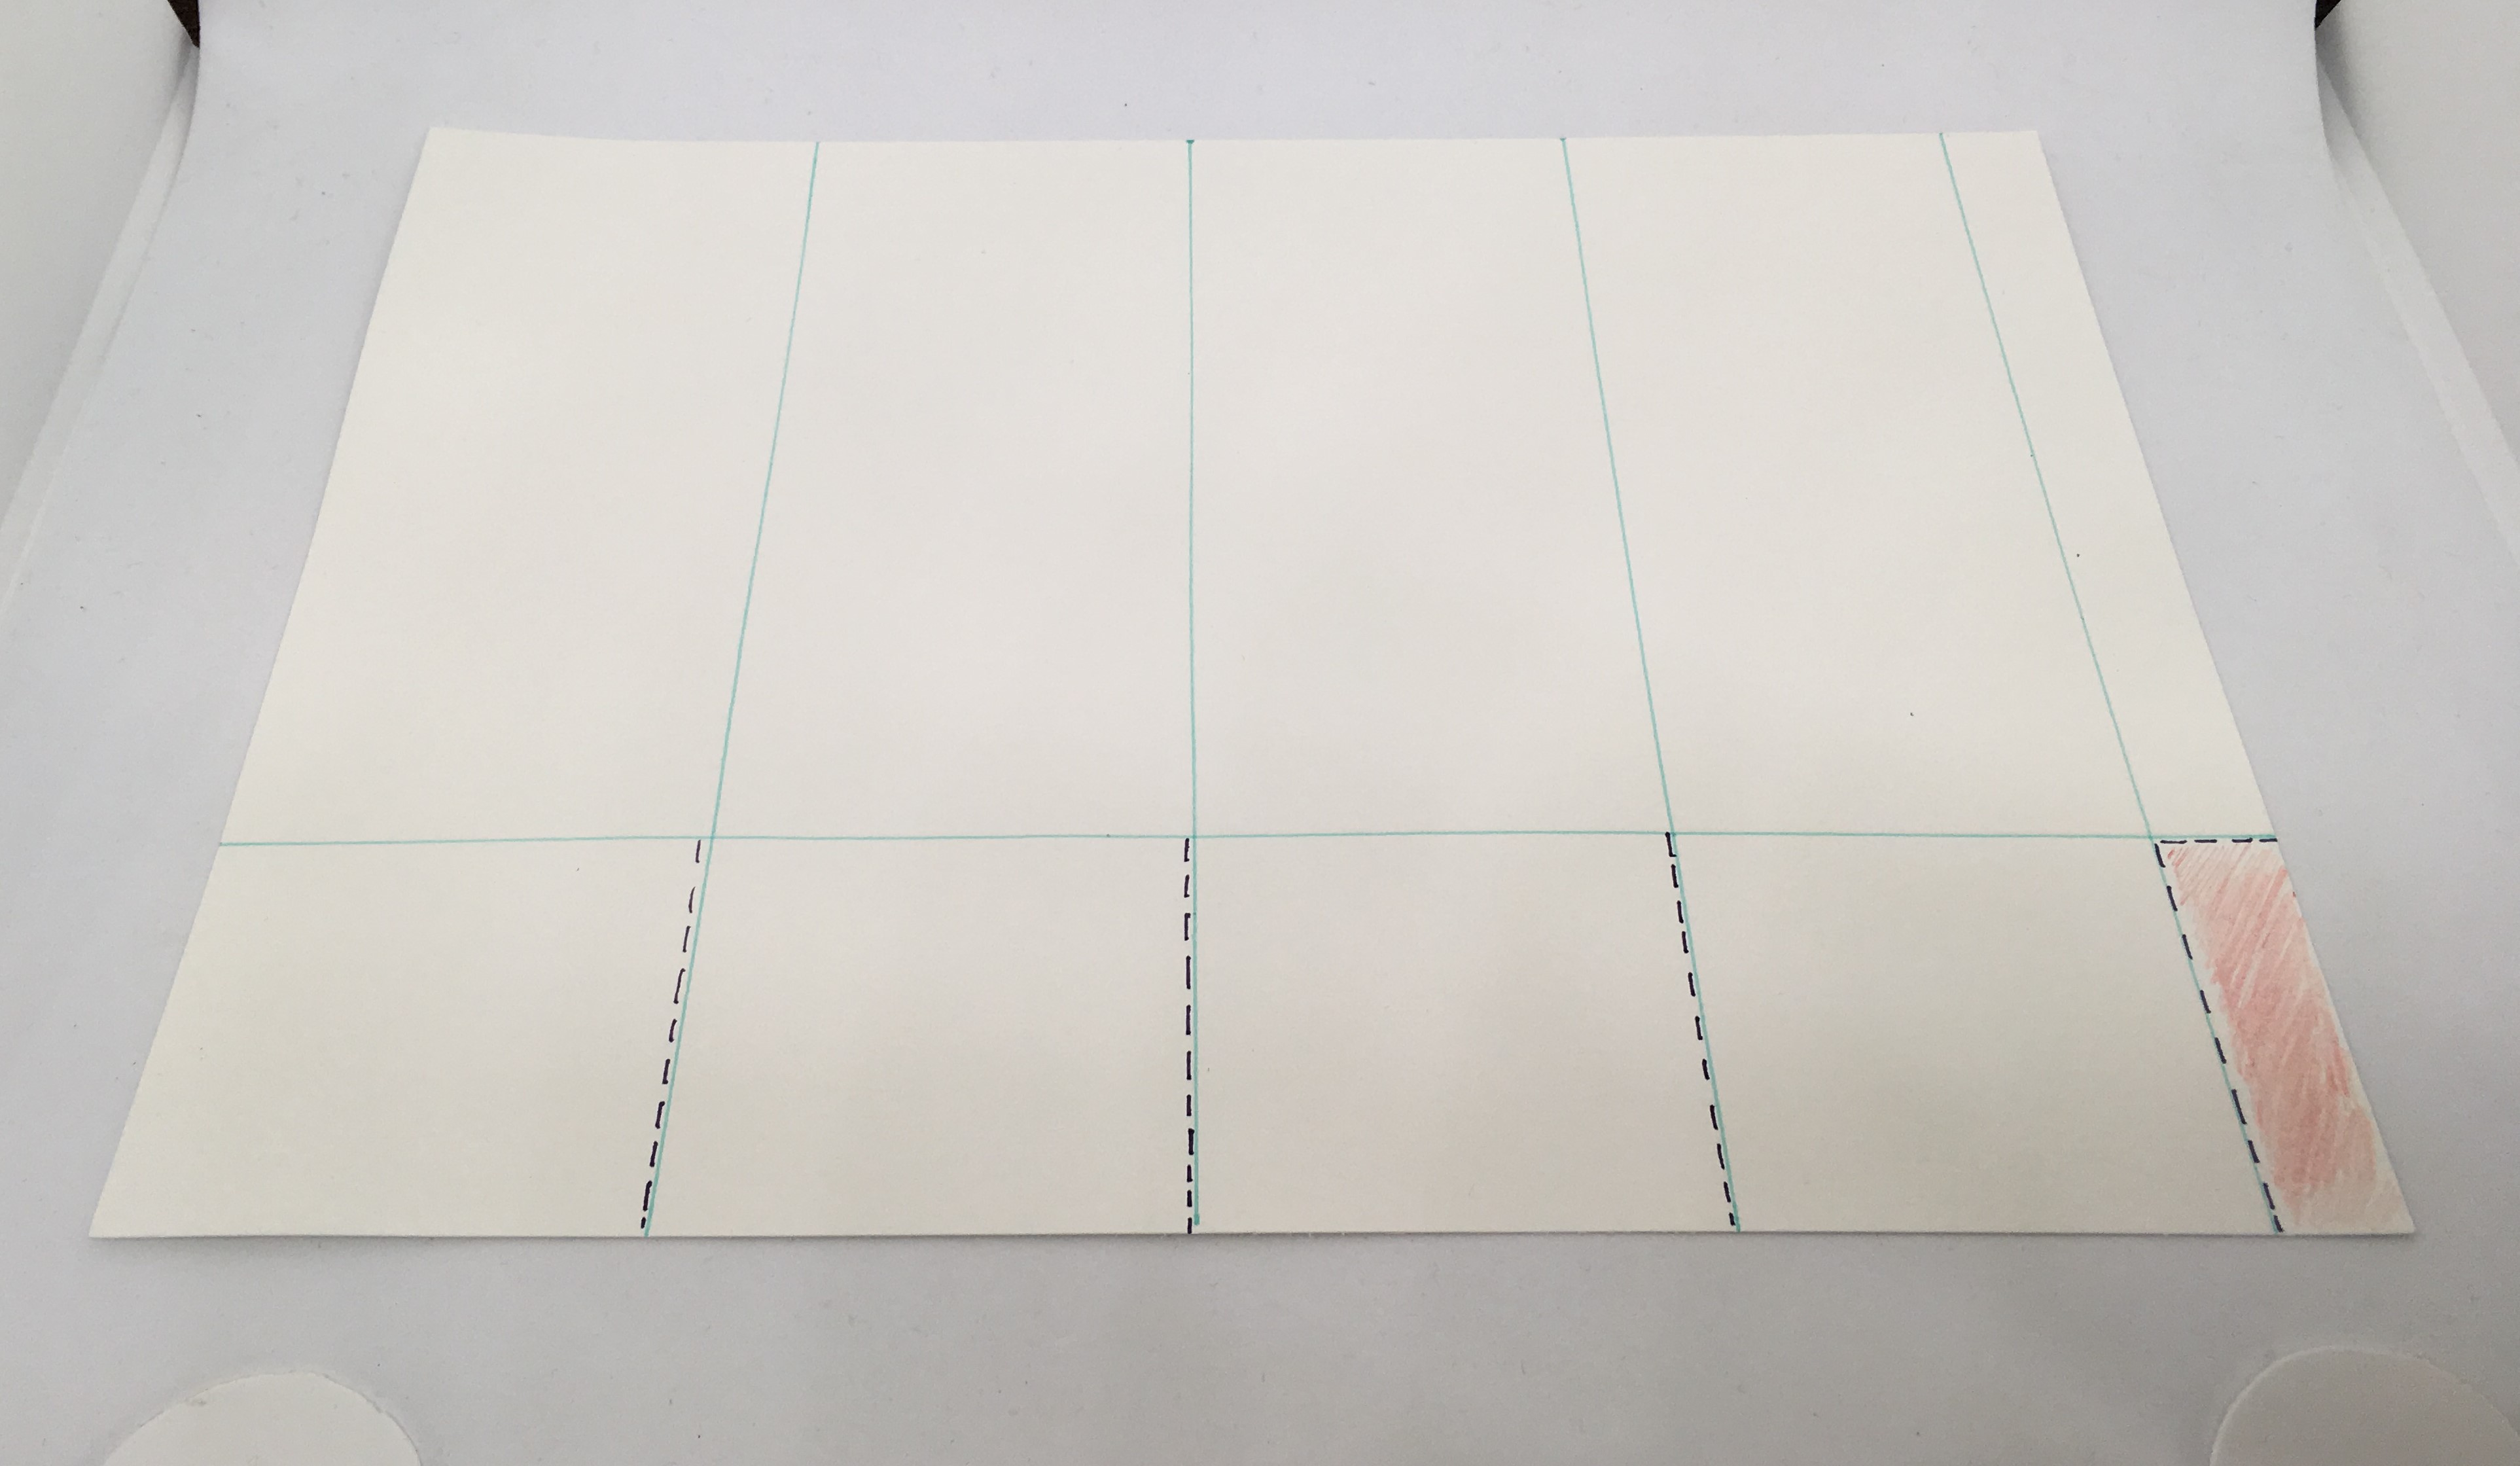
To make the box cut a piece of dsp to 25.5cm x 24cm. On the longside score at 6cm, 12cm, 18cm, and 24cm. Turn the paper 90 degrees then score at 3cm and 21cm.

You will end up with your paper in sections as shown below, the blue lines are the scored lines.

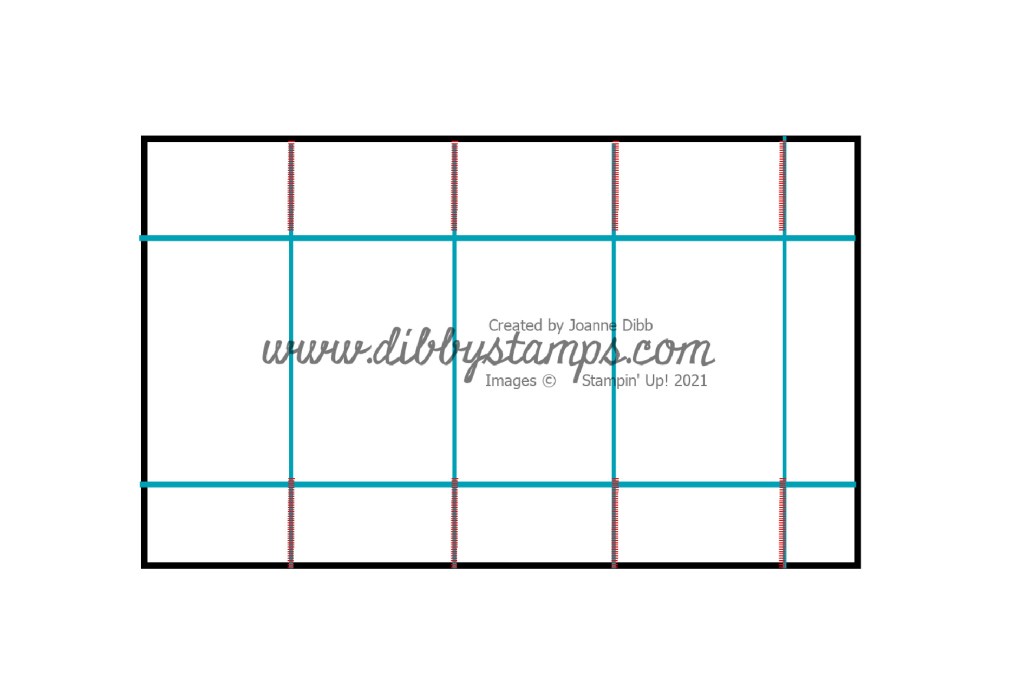
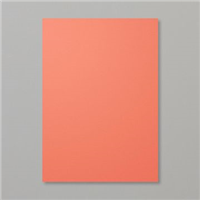
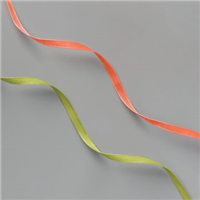
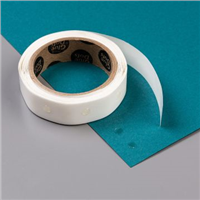
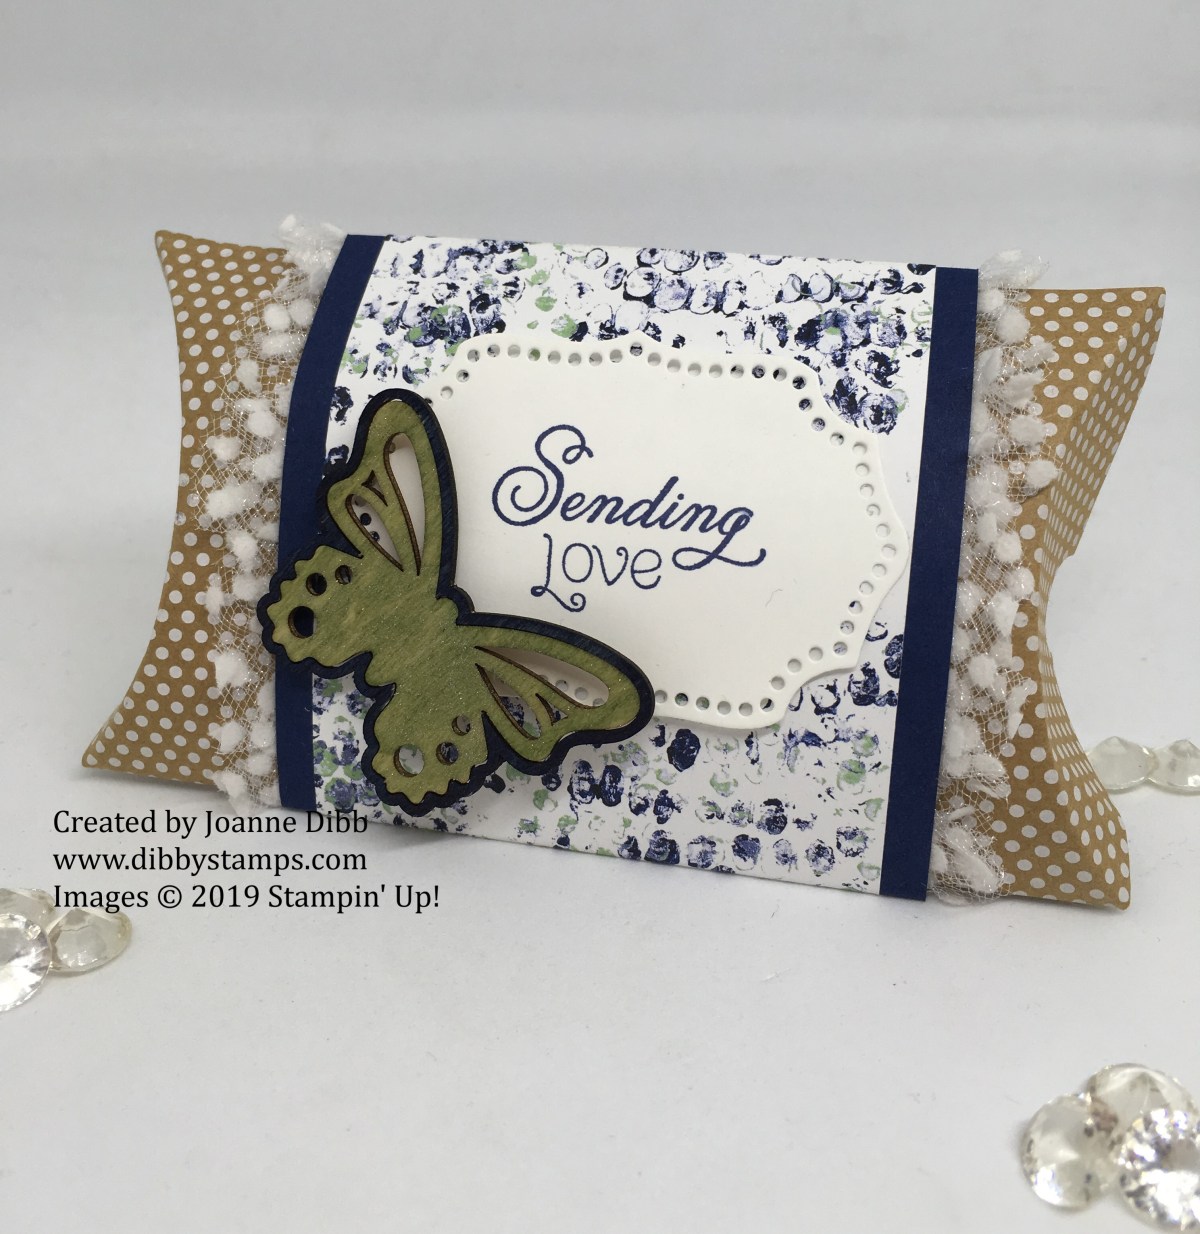
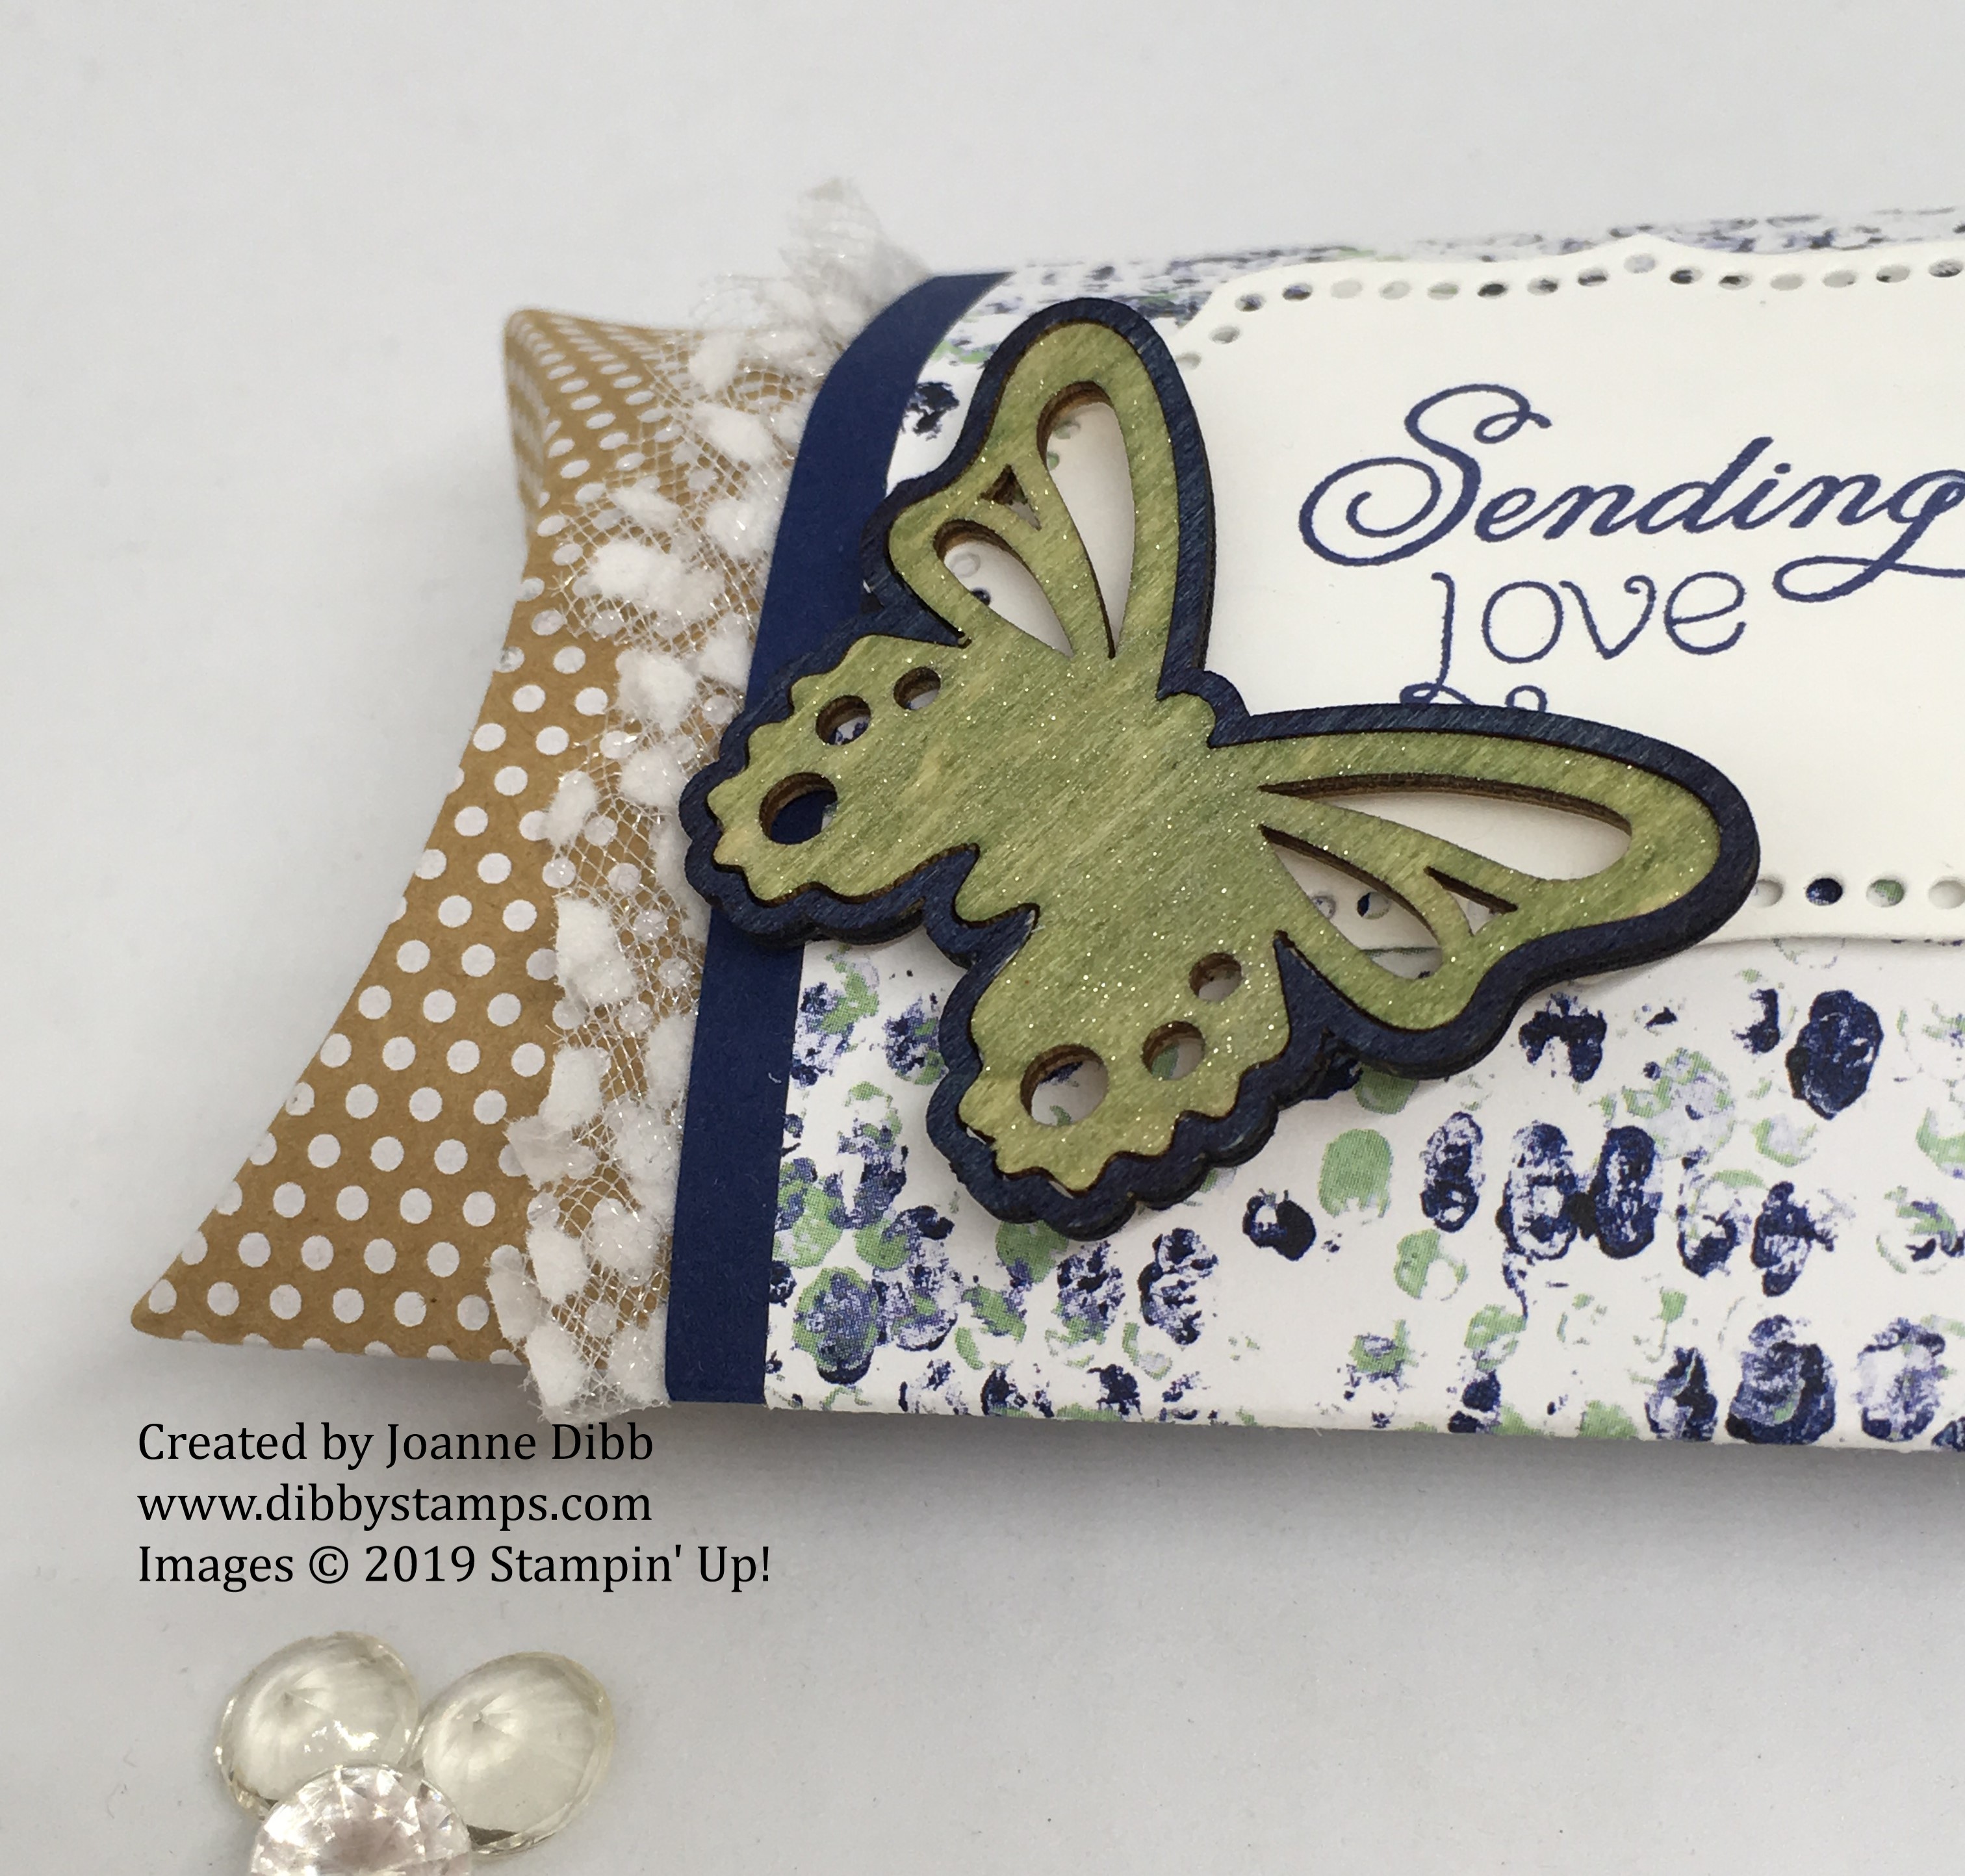
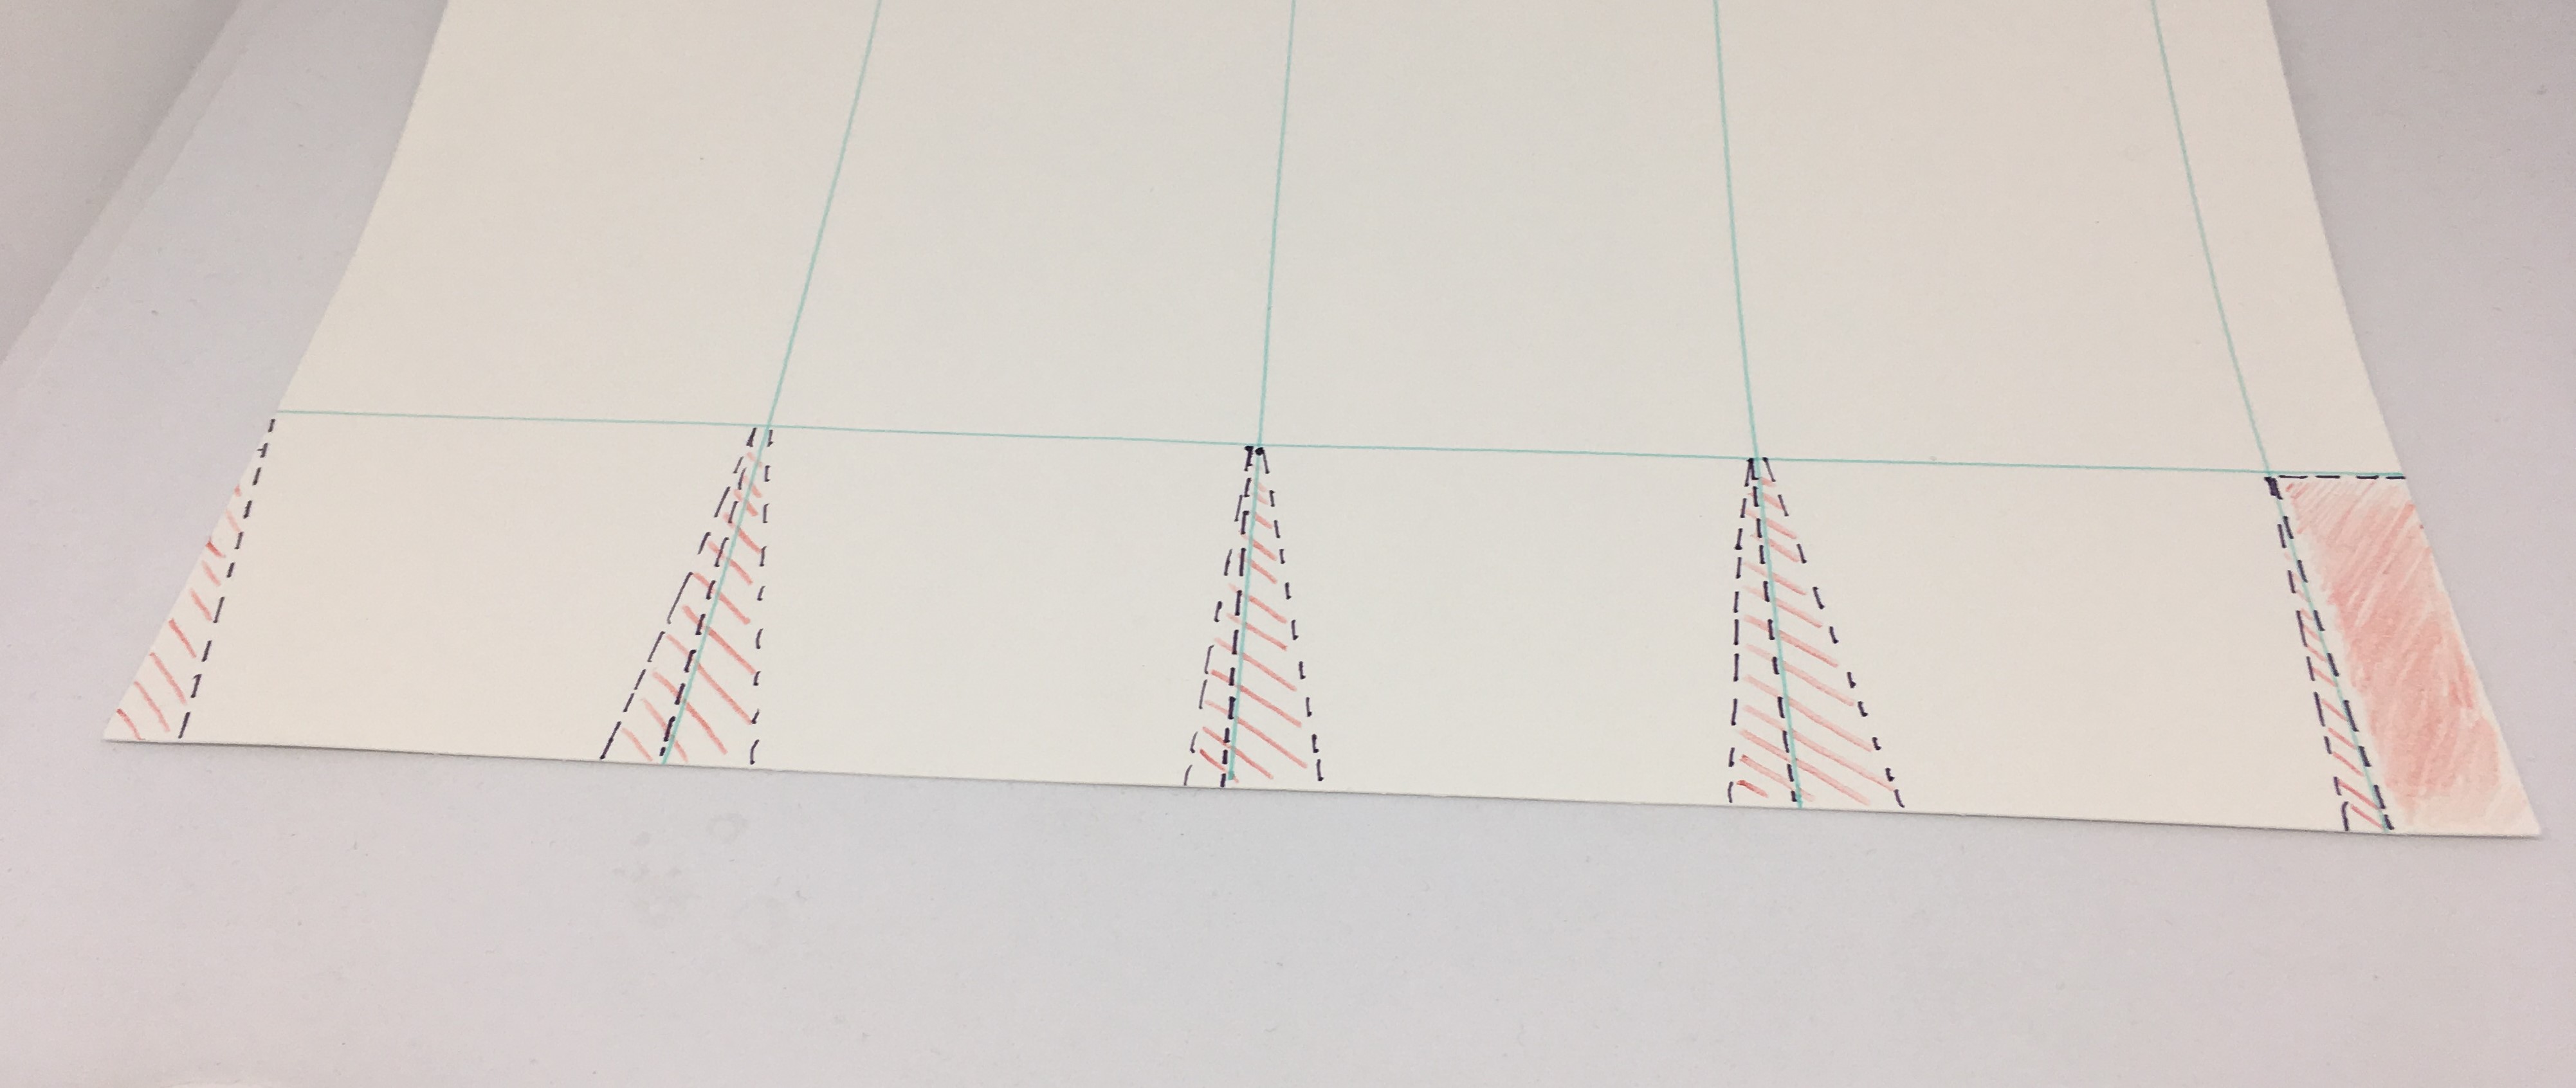
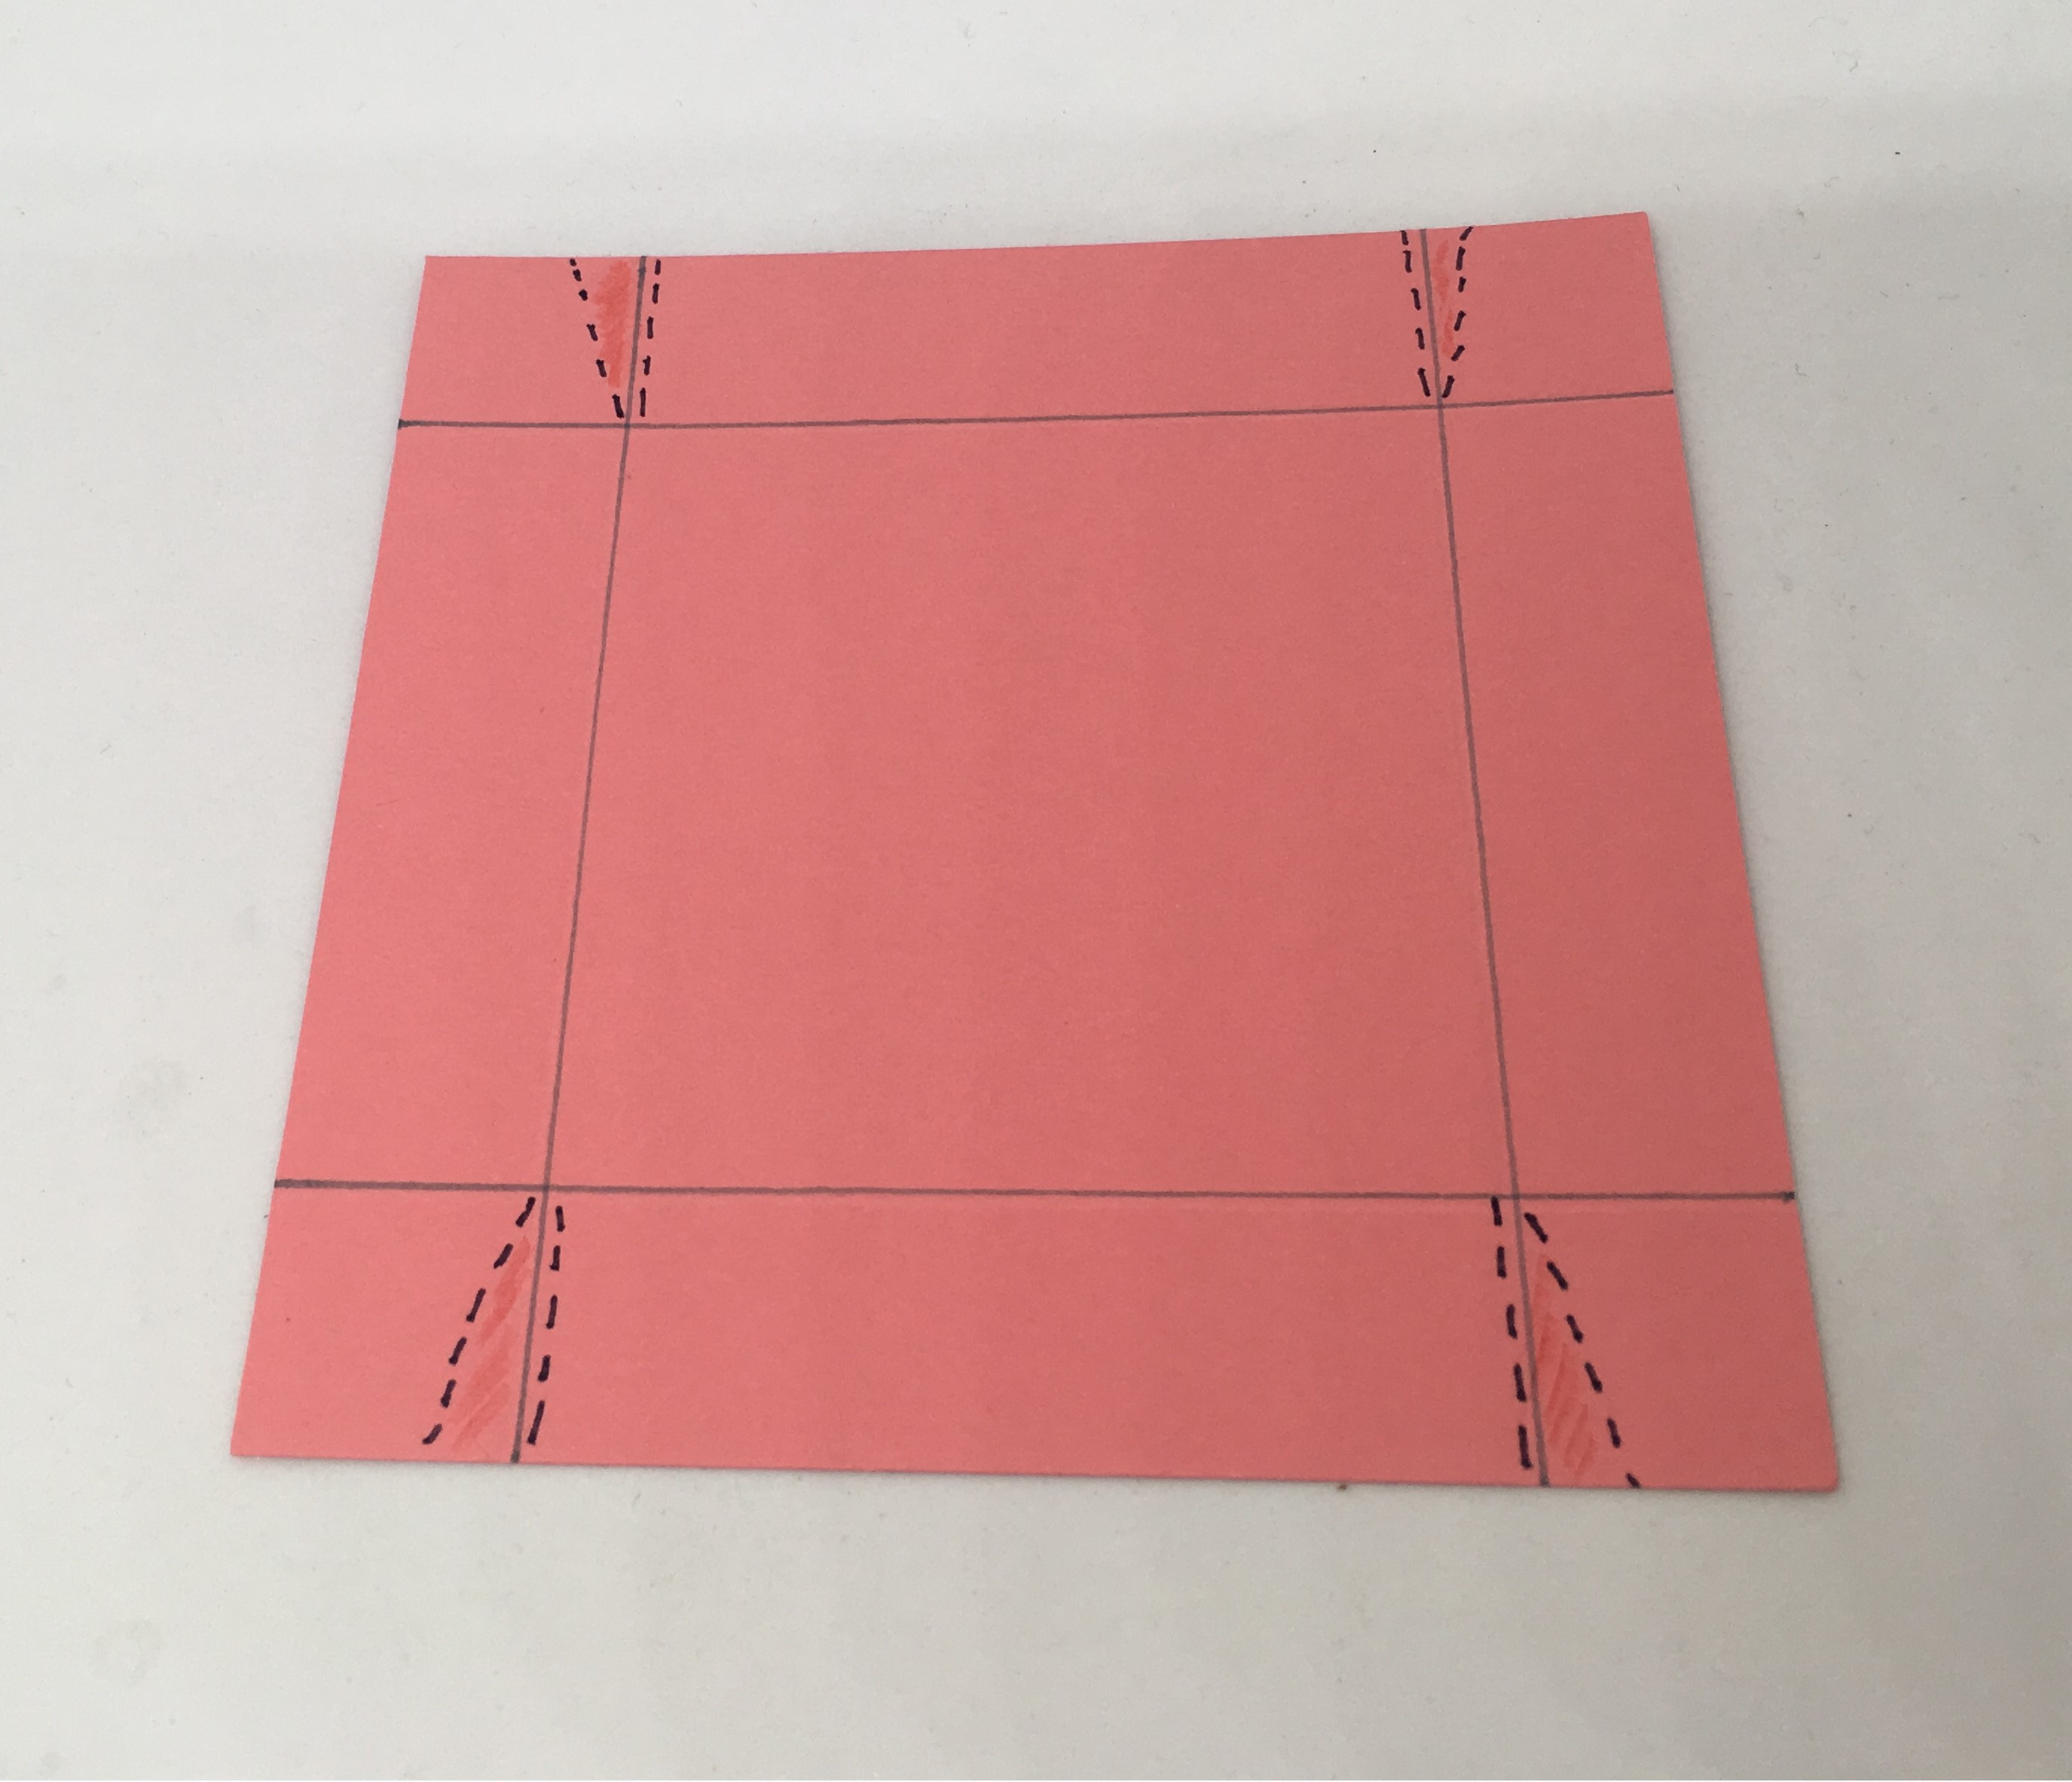
You will need to cut your paper on every red line as shown above so you have slits in the bottom and top section. Place Tear & Tape along the smallest section and fold into a box. I used Tear & Tape to secure the bottom of the box too but used Mini Glue Dots on the top as they are easier to pull apart to open. To finish simply tie with Calypso Coral Ribbon from the Ornate Garden Combo Pack.

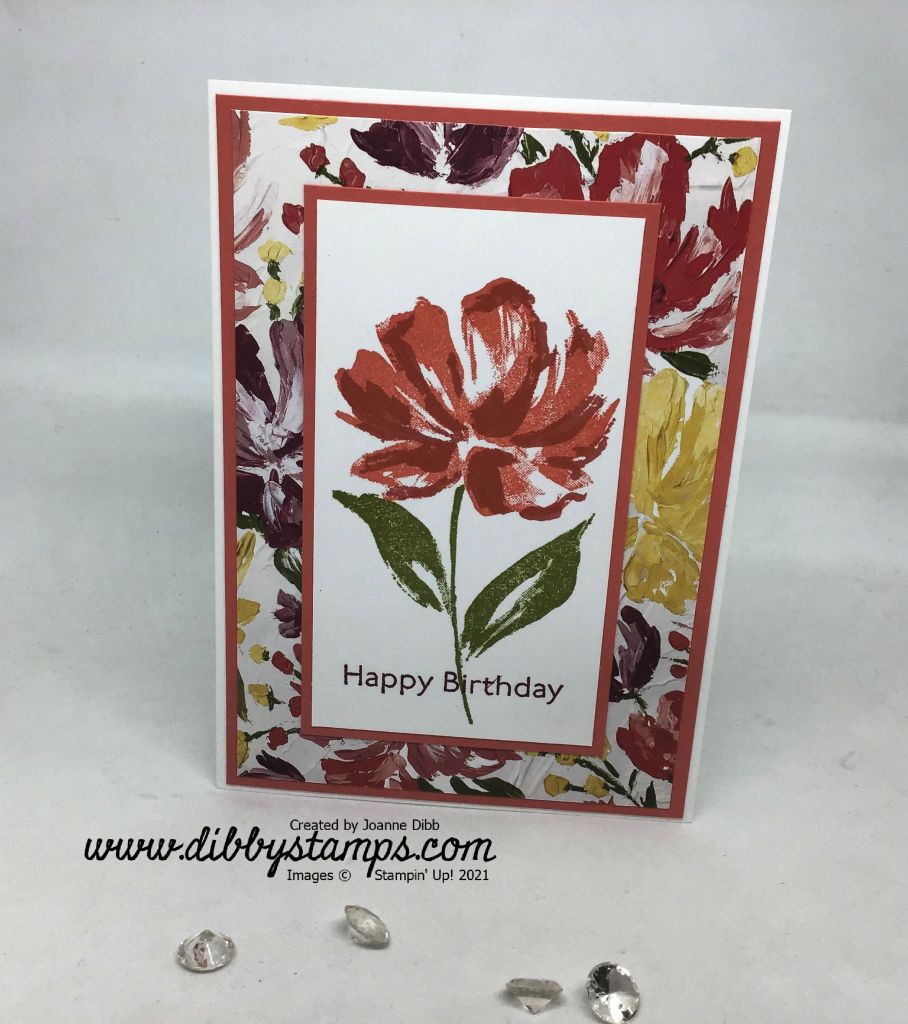
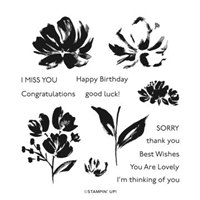
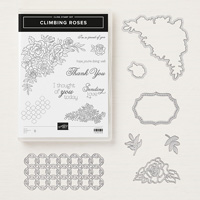
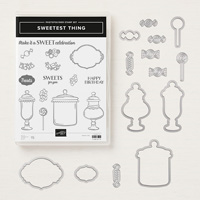
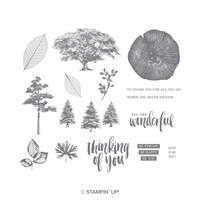
For the card I used the matching Art Gallery stamp set. The leaves were stamped in Old Olive and the flower was stamped in Calypso Coral and Terracotta Tile with the greeting stamped in Merry Merlot.

My mum loved her coordinated gift and card so I may attempt more duos in the future.

Happy Crafting

Joanne xx

Supplies:

Poinsettia Pillow Box

Today I’m sharing a simple idea to decorate our Kraft Pillow Boxes using a punch and some paper.

To make this Poinsettia flower simply punch six baubles from the larger punch from the Gleaming Ornaments Punch pack. I chose to use the Cherry Cobbler paper from the Christmastime Is Here Speciality DSP.  Scrunch each “petal” up to give that crinkly effect which Pionsettia’s have.

Poinsettia Pillow Box 1

Adhere all the red petals to a 1/2″ punched circle, overlapping each one a little. punch out another 1/2″ circle is Whisper white and adhere to the front of the flower. Cover this circle with the largest Gold Glitter Enamel Dots to create the centre of the flower.

Punch and scrunch three green petals and add them to the back of the flower to create leaves.

Poinsettia Pillow Box 2

I added a length of Gold Shimmer Ribbon around the kraft pillow box and then adhered the Poinsettia to the top.

This makes the perfect little box for those small Christmas gifts or gift cards. I also love that these little boxes are small enough to hide amoung your Christmas tree branches if you want to make a few.

Happy Crafting

Joanne x

Supplies:


Polka Dot Pillow Box

I’ve had the Kraft Pillow Boxes in my new goodies basket for ages and with the new catalogue approaching I thought it was time I did something with them. Going with the dots printed on them I decided to embrace the polka dots and work with similar products.

I knew I also wanted to use the wooden button elements out of the Sale-A-Bration catalogue as these will be gone next week. Looking for a dotty type paper I chose the Soft Soft Seafoam and Night of Navy pattern out of the Tranquil Textures DSP. This also worked well as meant I could colur my butterfly with the matching Stampin’ Blends.

Polka Dot Pillow Box Close Up

The Night of Navy layer measures 17.5cm x 8cm, scored at 8cm and 16cm enabling you to fold around the box and secure it closed with the additional little flap, for this I used Tear ‘n’ Tape. The DSP layer measures 17.cm x 7cm and was again scored at 8cm and 16cm.

To create the ruffle at the edge I used the Whisper white Polka DotTulle Ribbon folded onto a strip of Tear ‘n’ Tape. To continue with the dotty theme I added a sentiment from Climbing Roses stamped on the dot edged fram from the Rose Trellis.

Polka Dot Pillow Box flat

To finish the box off I added the wooden butterfly which had been coloured with Stampin’ Blends. To give the Seafoam layer more definition I coloured it also with wink of Stella to give some sparkle. The butterfly was adhered with quite a few mini glue dots as I wanted to use a dry adhesive.

I love how this turned out and think it would make a lovely table favour for any special occasion or just filled with treats to give to that special someone.

Happy Crafting

Joanne x


Tiny Treat Box Sweet Wrap

Surprisingly today I don’t have a card project to share with you, instead I’m sharing a simple way to decorate one of our Clear Tiny Treat boxes. With sixteen in a pack these  little boxes would make the cutest party favours. As their food safe you can fill them with any treats you like, obviously mine has been filled with jelly babies to match the paper.

tinytreatssweetywrap

To create the wrap you will need a piece of DSP measuring 2″ x 11″. Turn the paper so the side you want on the outside in face down on the Simply Scored tool. Score lines at 1″, 2″, 4″, 6″, 8″, 9″ and 10″.

Take the Scalloped Tag Topper Punch and punch each end of the DSP. Fold along all score lines and then wrap around your Tiny Treat Box. Thread some Coastal Cabana/Granny Apple Green 3/8″ Reversible Ribbon through the top of the wrap to secure it to the box. The wrap is secure enough to stay on, but easy enough to slide off when your ready to eat your treats.

tinytreatssweetytop

To decorate the wrap I added a label stamped from the Sweetest Thing stamp set and die-cut from the Jar of Sweets Framelits and then fastened onto the wrap with the Old Olive Linen Thread.

Hope you like this cute little idea, I’ll be back tomorrow with another card idea for you.

Happy Crafting

Joanne x


Flirty Flamingo Simple Shower Gel Box

Today I’ve branched out and made a box which is something I very rarely do. I just really wanted to create something which really showed off the beautiful leaf stamp to its full advantage.

Firstly you need an A4 piece of cardstock, place on your scoring board lengthways and score at 7cm, 14cm, 21cm and 28cm. Turn the paper 90 degrees and score at 6cm. Score lines are shown in mint green in the photo below.

Simple shower gel box tutourial cutting layout

Next cut up the lines shown as purple dashes in the photo above, so that you have five flaps below your horizontal score line. Cut along the horizontal score line so that the section in red on the photo above has been removed.

2nd cutscore line simple shower gel box

Next cut into each  square flap diagonally to remove a small slither from each edge, so the sections with the red diagonal line in the photo above are removed.

I then burnished all the score lines before I decorated my box. I chose to emboss some of the large leaves in silver and fill in the gaps with leaves stamped in Flirty Flamingo. Make sure not to stamp over the score lines with the leaves you are going to emboss or the embossing may crack when you fold the box together.

To make into a box place adhesive along the long  thin flap  and then fold into a box shape making sure the thin strip is on the inside. Carefully add adhesive to two  of the alternating squares at the bottom and then fold them upwards. Make sure the last flap has adhesive on to hold all the others together.

simple shower gel lid cut score

To make the lid take a piece of Flirty Flamingo cardstock measuring 11.2 x 11.2cm and score on every side at 2cm, to match the solid green lines shown above. Next cut along the purple dotted lines as shown above and then burnish all remaining score lines.

Decorate lid as required, I did some more silver embossing with the large leaves stamp which I think looks stunning.

Add adhesive so each of the corner flaps on the lid and fold in the sides to create the finished lid.

The lid should now loosely sit on top of the box, so if you wanted more security with it you might want to finish off by wrapping some ribbon around the box and securing at the top.

Hope you’ve enjoyed todays project and can understand my ramblings.

Happy Crafting

Joanne x