Floral Friday: Color and Contour

Color & Contour is one bundle which I bought more for the dies as I love a die which creates a matt for me to work with and who doesn’t love things with a scalloped edge? Win, win! So I focused just on the stamp set and here’s what I created:

I’ve used a mix of Pale Papaya, Polished Pink and Soft Succulent from the 21-23 In-colours, which are definitley my favourite collection. Stampin’ Up! please please don’t retire these colours I love them.

One thinng that makes the Color and Contour stamp set for me is the sentiments I love when they contain a mix of scripty with capitals. I’d love it if we had a complimetary birthday set in the same font.

From the stamping you can see I didn’t get the outlines to match up with the middle parts but I think this adds more depth to the card and makes the card realistic.

Happy Crafting

Joanne x

Supplies:

Step It Up Saturday: Basket of Blooms

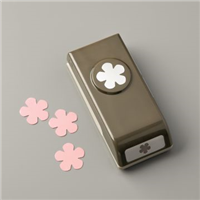
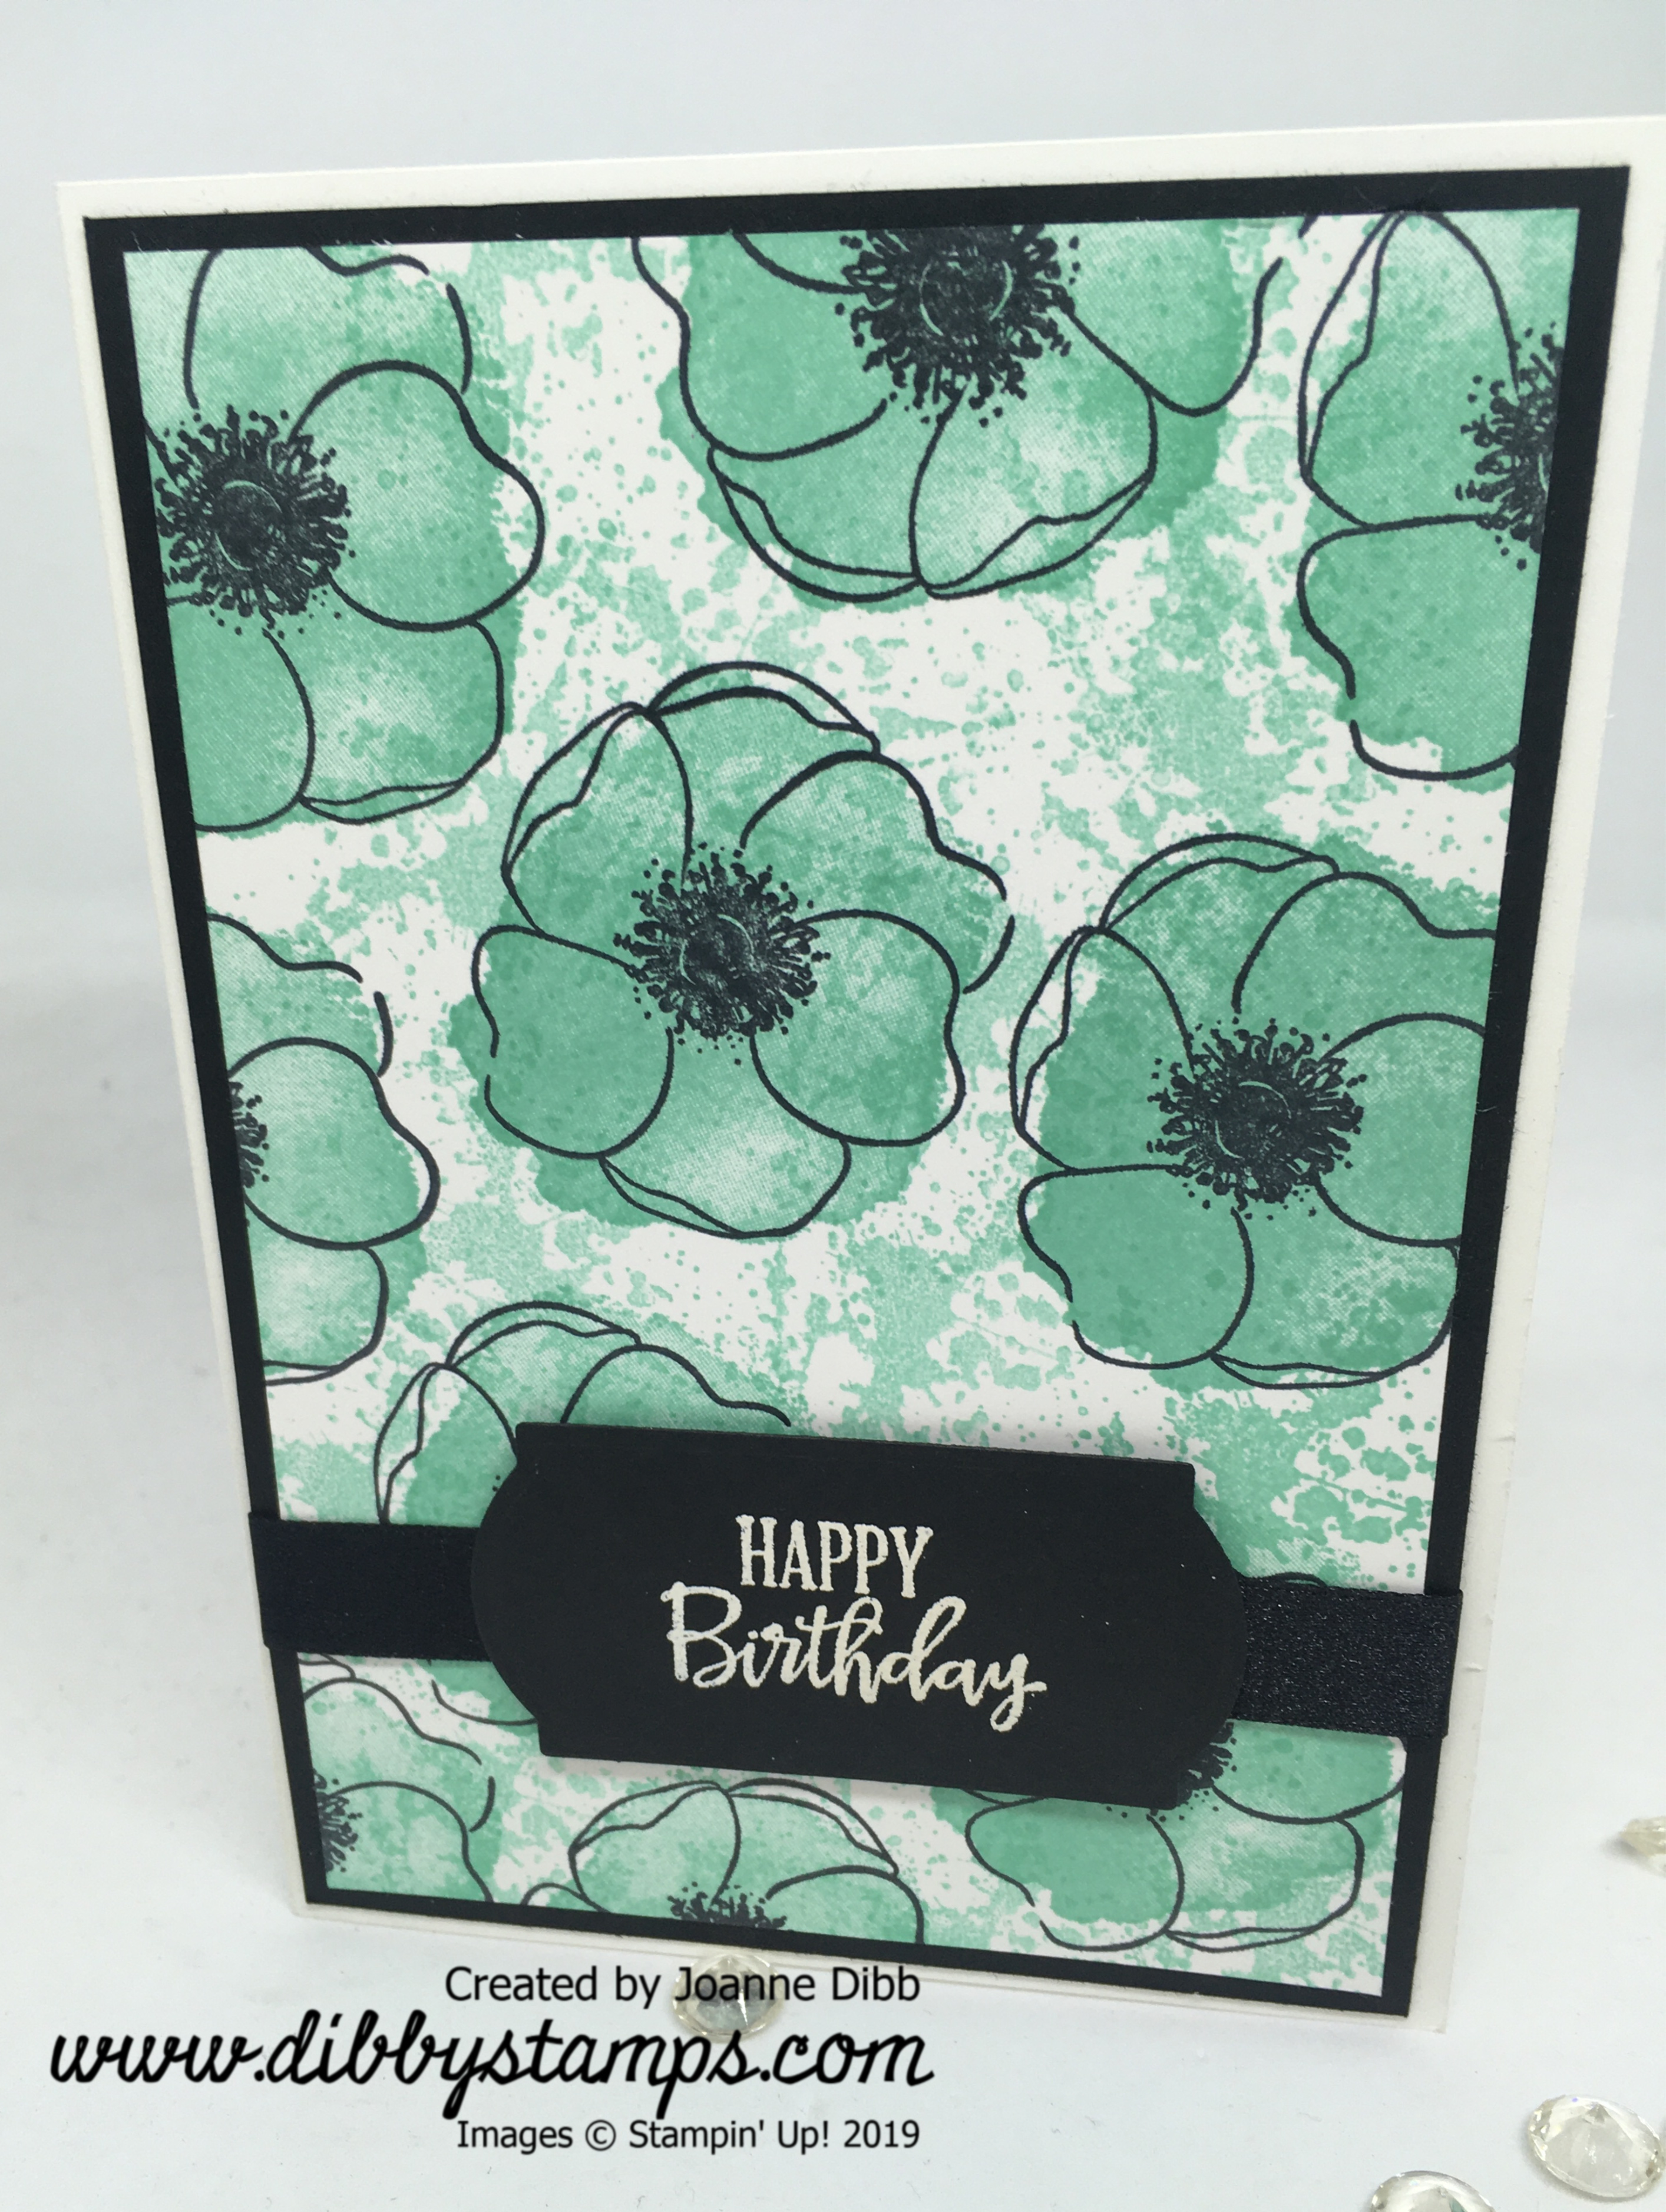
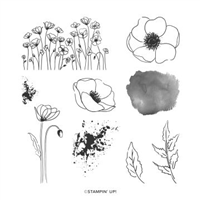
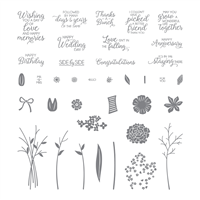
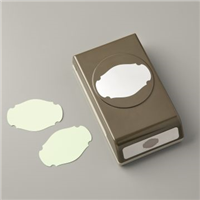
Today I’m using the Basket of Blooms set to show you how to take a from simple to stepped-up. I love the Small Bloom punch which was a Sale-A-Bration freebie and I’m glad it carried over, it works great with the Basket of Blooms stamp set to create lots of great images. It’s also one of my daughters favouties to stamp with too.

Basket of Blooms card 1

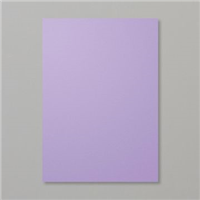
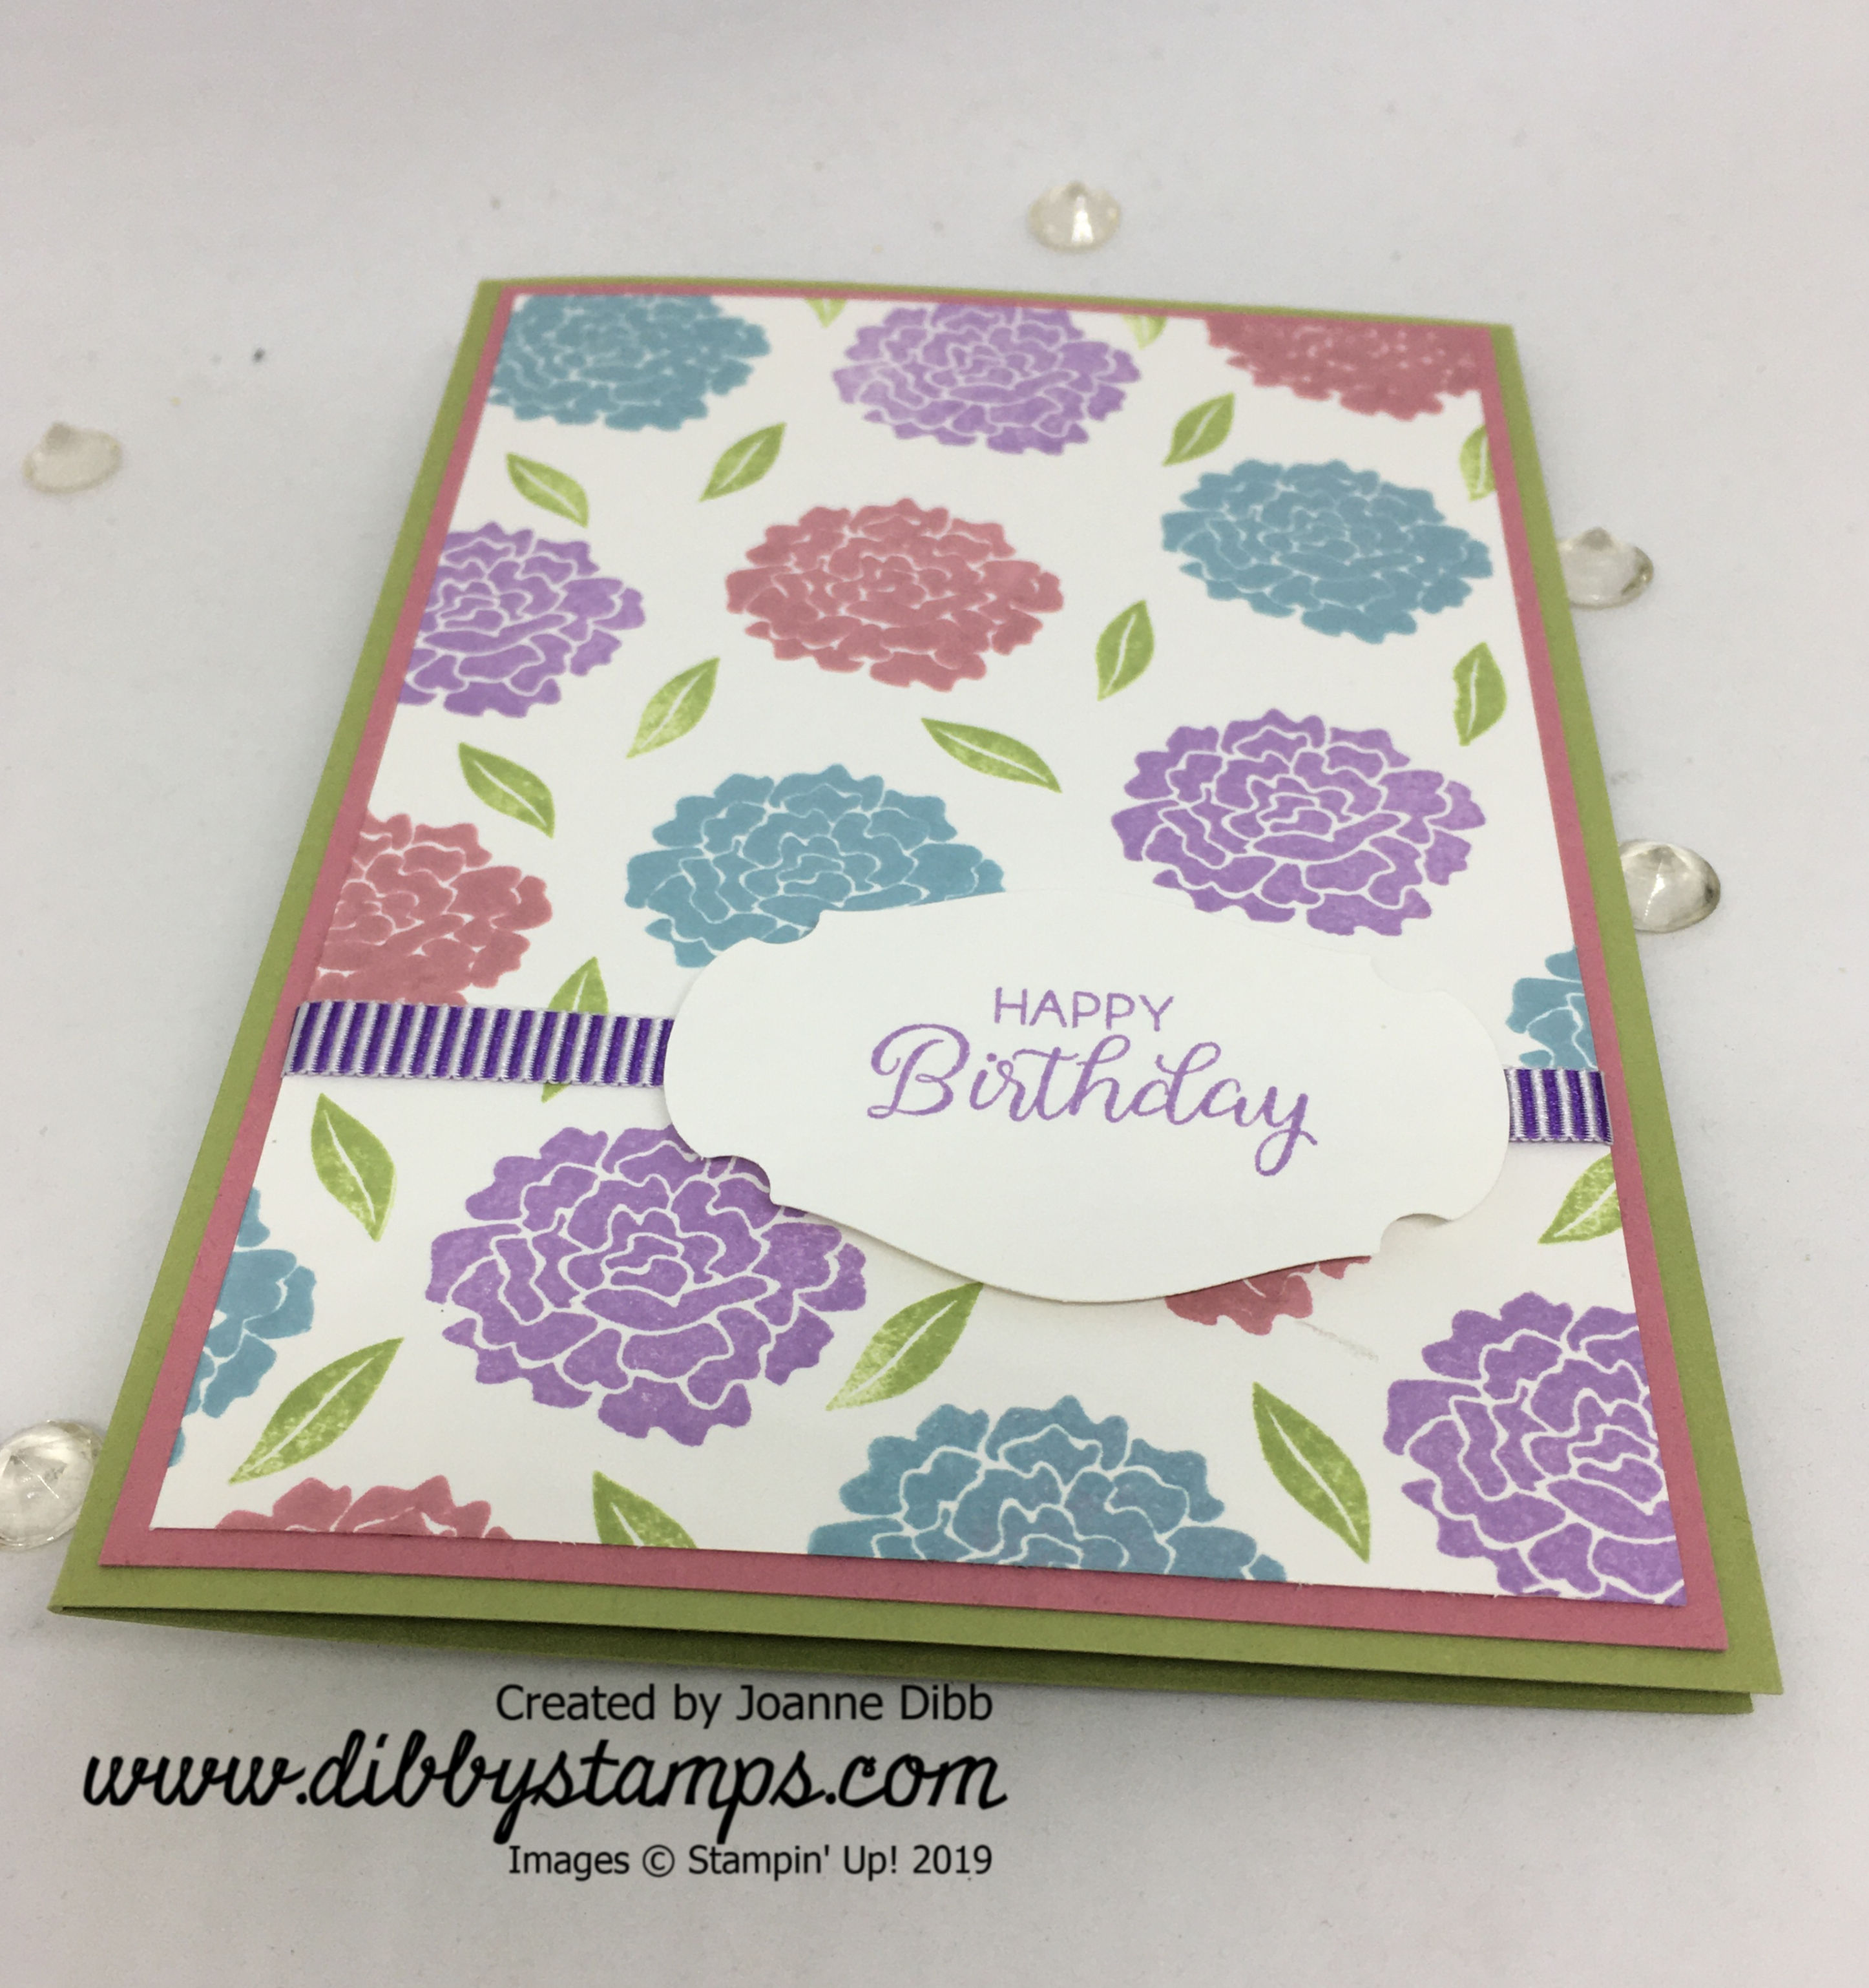
  1. For this first card cut a piece of Highland heather cardstock to 10cm x 14.4cm and stamp all over with one of the larger flowers in Highland Heather, then adhere to the card base which is made from cardstock 14.4cm x 21cm, scored down the middle at 10.5cm.
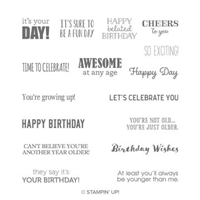
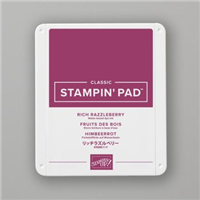
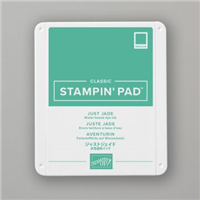
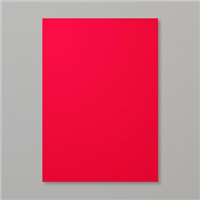
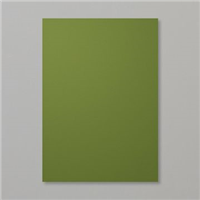
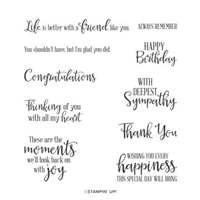
  2. Cut a piece of Whisper White cardstock to 5cm x 9cm. Stamp the tall vase at the bottom on the cardstock in Rich Razzleberry, stamp it so only half on the image is on the cardstock. Take a post-it note and stick to the top edge of the vase to cover it, stamp two leaves in Just Jade coming out of the vase, remove post-it note and the stems of the leaves should not be visable. Stamp a birthday greeting along the bottom of the 5cm x 9cm cardtock, I used the Itty Bitty Birthday stamp set.
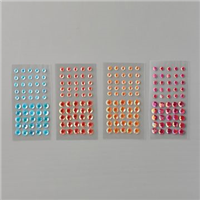
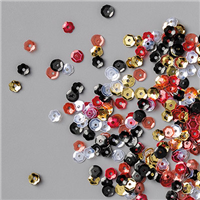
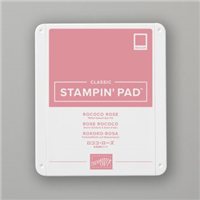
  3. Punch three small blooms from Purple Posy cardstock and adhere to the card add Rich Razzleberry adhesive sequins from the Artistry Blooms collection to the flower centres.

Basket of Blooms card 2

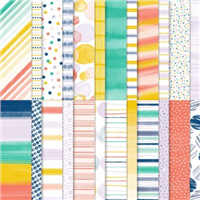
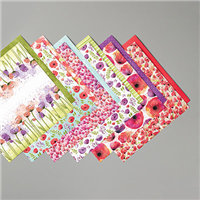
For the second card, add a layer of Playiny With Patterns designer paper measuring 9.5cm x 13.9cm to the Highland Heather layer before adhering to the card.

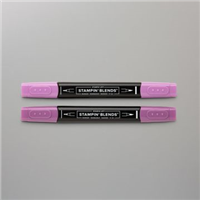
In step two, stamp the vase in Tuxedo Black Memento ink instead of Rich Razzleberry and the colour with the dark Rich Razzleberry Stampin’ Blends. Before adhering the stamped image to the card, add it too a Highland Heather cardstock matt measuring 5.5cm x 9.5cm.

Use Stampin’ Dimesnionals to give the flowers some height.

Basket of Blooms card 3

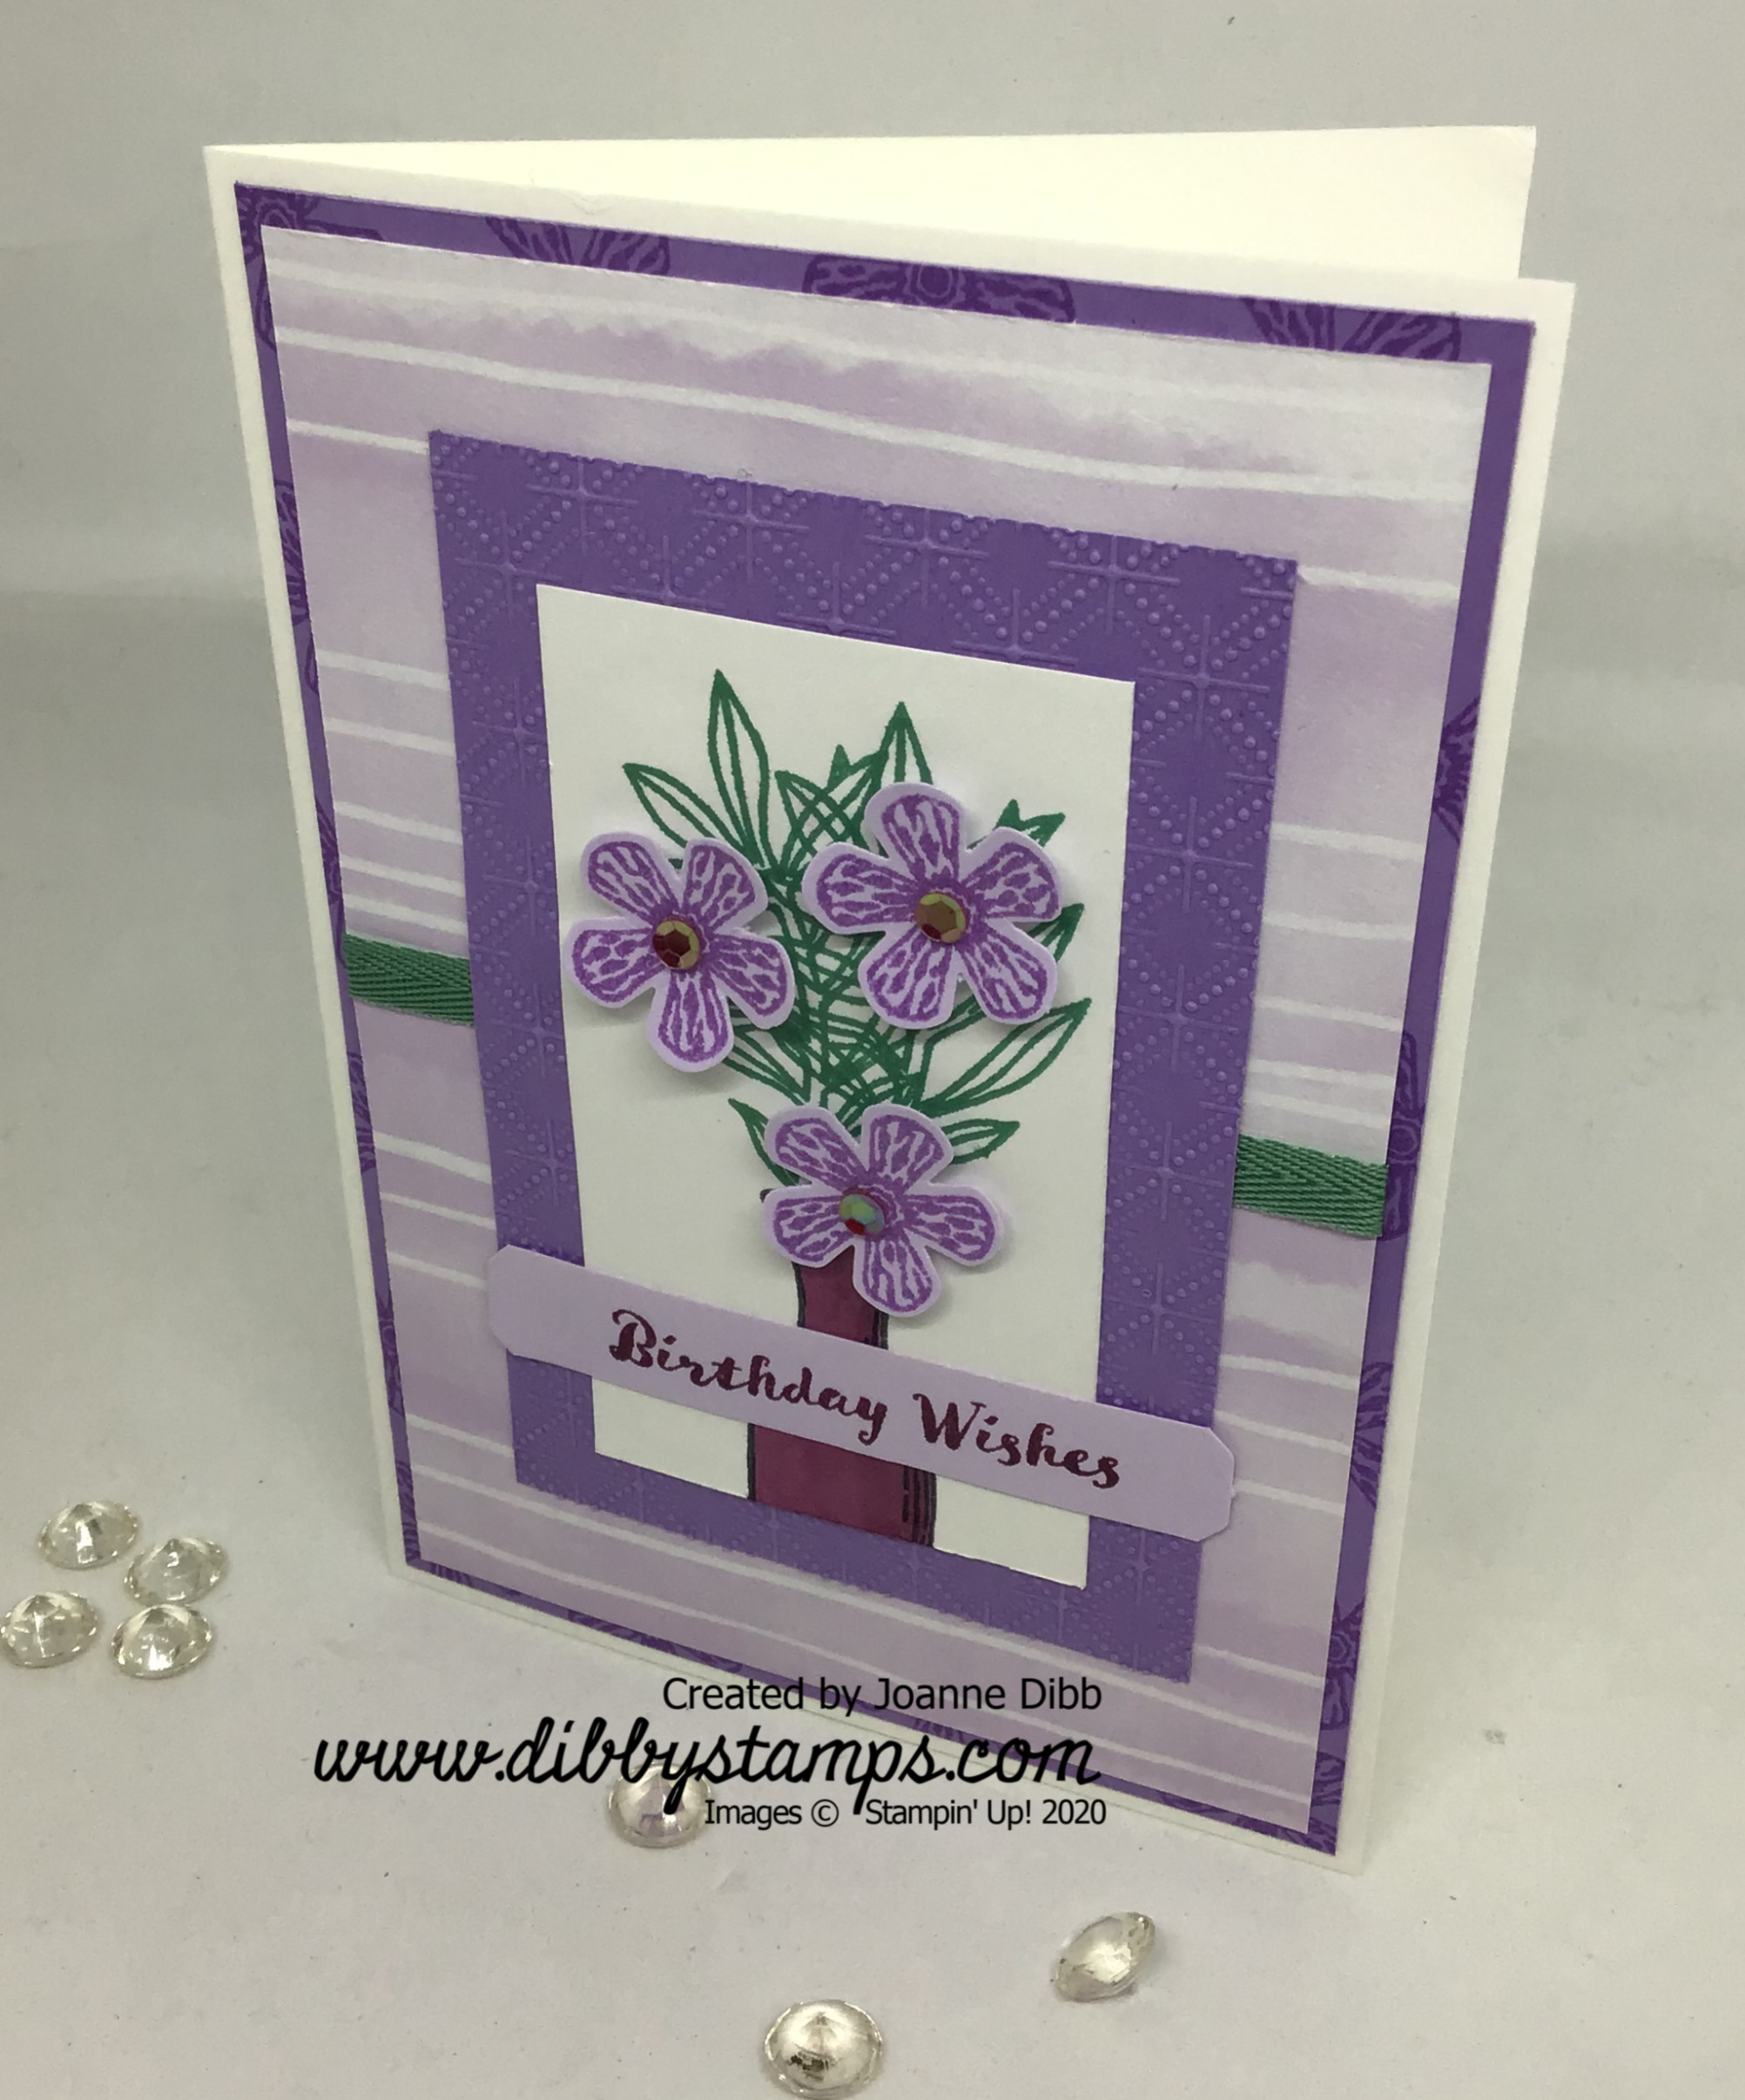
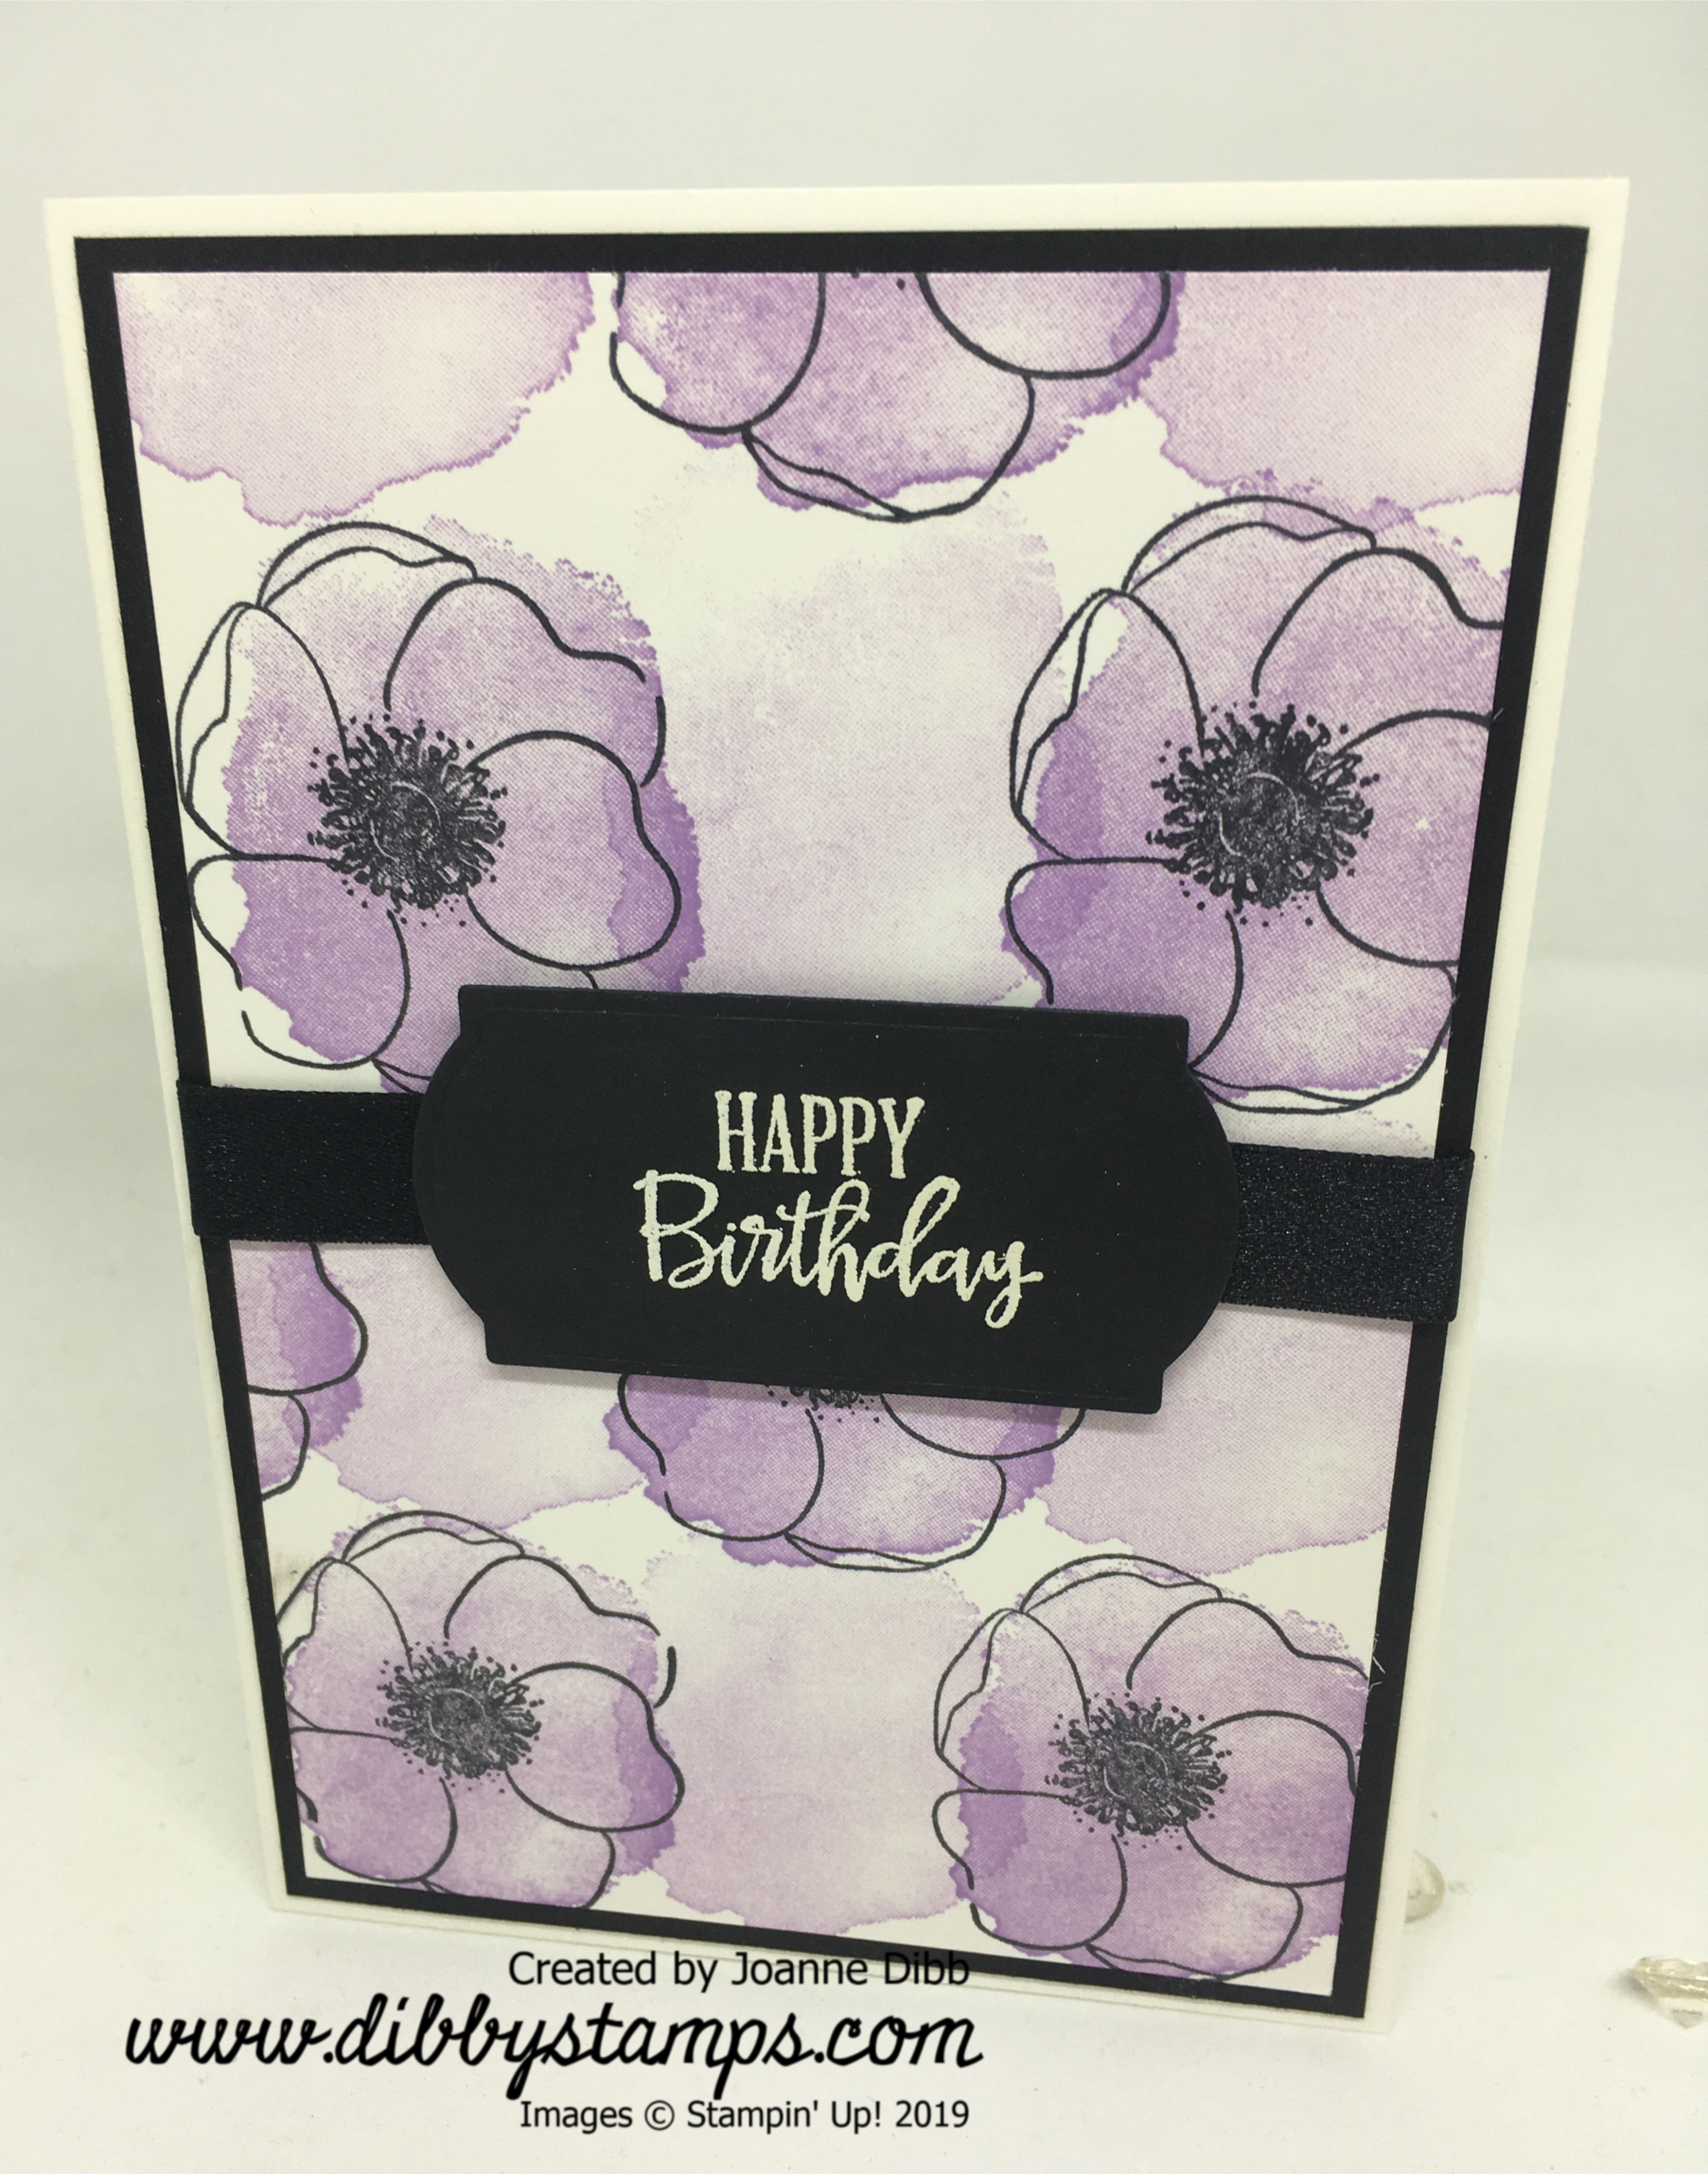
For this final card repeat the steps for the previous two cards with the following additons.

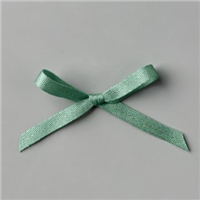
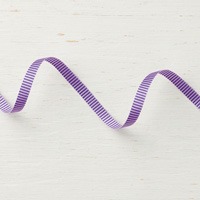
Add a length of Just Jade In-Colour Ribbon across the middle of the designer paper before adhering to the Highland Heather cardstock.

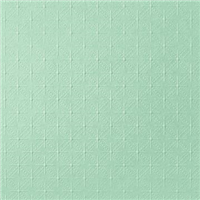
Colour the vase with both dark and light Rich Razzleberry Blends. Instead of mounting the stampe dimage on a plain cardstock matt replace with an embossed layer measuring 7cm x 11cm, here I’ve used the Dainty Diamonds Embossing Folder.

Stamp flower images in Highland Heather before punching them out. Use a foam matt and the rounded lid end of some Multipurpose Liquid glue to rub over the flowers in a circular motion, this allows the petals to curl upwards slightly.

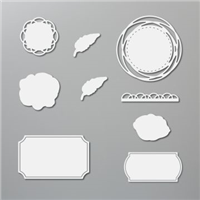
Stamp the greeting on a Purple Posy labels, made from the Lovely Labels Pick A Punch, add to the card.

I hope you can easily follow these steps and take this simple card and step it up as much as you like.

Happy Crafting

Joanne x

Supplies:


Poppy Card Duo

This gorgeous card duo are made from products in the Peaceful Poppies Suite. The main product used in these cards was the Poppy Moments dies which is a lovely collection of dies to help you build poppy (or any other type) flowers and leaves. My poppies were made from Poppy Parade cardstock with the outlines cut from Real Red. The leaves were made with Mossy Meadow and Old Olive cardstock.

Poppy Card Duo 1

The background designer paper from both cards comes from Peaceful Poppies Designer Series paper. This first card feautures some leaves which have been stamped from the Painted Poppies stamp set, Mossy Meadow ink stamped on Old Olive cardstock. Both cards also feature a strip of Real Red 3/8″ Cotton Ribbon across the middle.

Poppy Card Duo 2

The greetings for both cards come from the Peaceful Moments stamp set, stamped on labels cut from the Painted Labels dies. For a finishing touch on this second card I added some of the dark Poppy Parade flower sequins from the Peaceful Poppies Sequins, I love how cute these little flower sequins are, please Stampin’ Up! bring us these in more colours.

Happy Crafting

Joanne x

Supplies:


Three Card Thursday: Painted Poppies

Today I’m sharing three simple cards made with the gorgeous Painted Poppies stamp set, this is probably my favourite stamp set from the new catalogue. The focus of this stamp set may be poppies but I feel these flowers are versatile enough to be used to represent many other flowers too, just experiment with colour like I have here.

Painted Poppies Highland Heather

For each of these cards I used three stamps from the Painted Poppies stamp set and the Happy Birthday greeting comes from the co-ordinating stamp set Peaceful Moments, but you could use any greeting you have.

This Highland Heather card was the first I made. First I stamped the poppy outlines in Tuxedo Black Memento and then filled them in with Highland Heather and the large blob stamp. For the background I stamped off the Highland Heather once on scrap paper before filling in the background. The blob stamp (sorry I can’t think of a better name for it!) has a watercolour effect to it, so I think it makes a lovely background stamp as well as to fill in the flowers.

Painted Poppies Melon Mambo

For the second card I used Melon Mambo and used a similar technique to card one, except I didn’t leave any white space on the card and did much more overstamping.

Painted Poppies Bermuda Bay

For this third card I used Bermuda Bay and started the card the same way as card one. For the background I used the paint splash looking stamp to fill in the background. I don’t know if its the colour or this stamp but I really love how this card tured out, its my favourite of the three by far.

I hope these cards have given you a little inspiration for using colours other than red with the Painted Poppies stamp set, I’m loving creating with this set so watch out for more projects next week.

Happy Crafing

Joanne x

Supplies: