Trimming the Town Shaker Card

Today I’m sharing with you a Shaker card made from the Trimming the Town Suite. This wasn’t a suite I was initally drawn to but after seeing what other demonstrators and crafters have made I knew I had to have a play.

I’m really pleased with how this shaker turned out as its so long since I made one and as there’s no stamping involved it didn’t take long to put together.
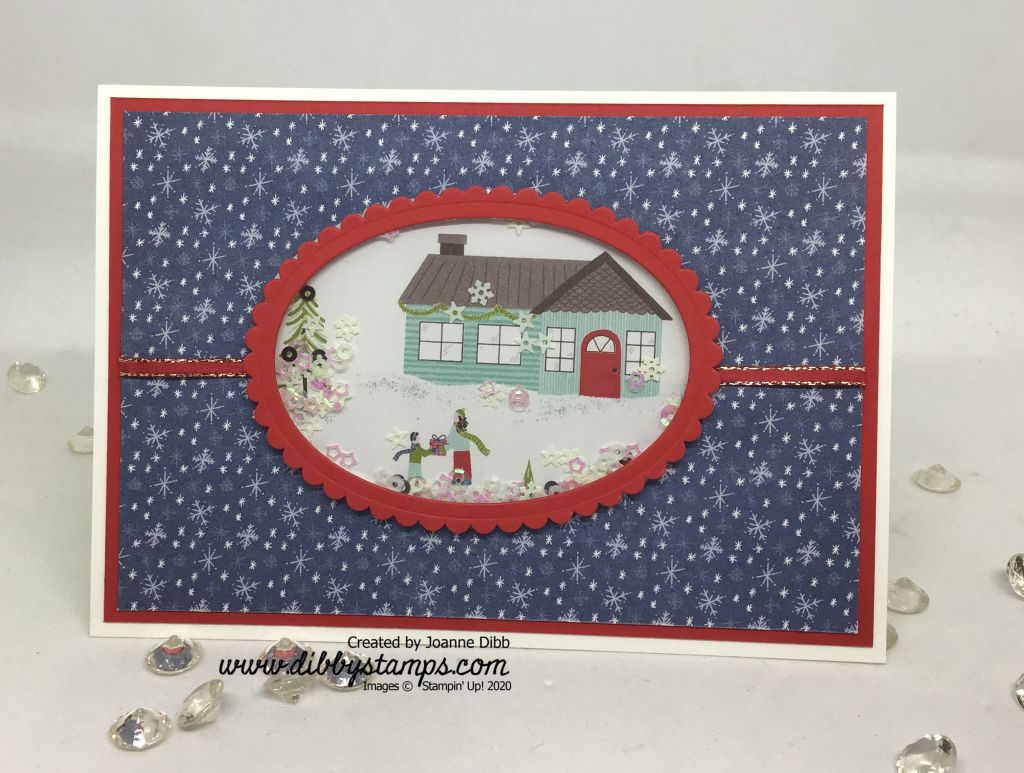
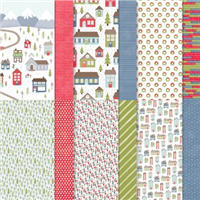
To make the shaker part of the card you will need to cut two ovals (or circle if you prefer) which are the same size. For one, the background I cut my image from the one of the scene sheets in the Trimming the Town DSP, the other oval was cut from window sheet.

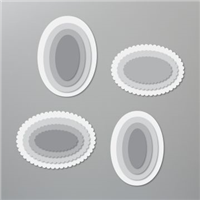
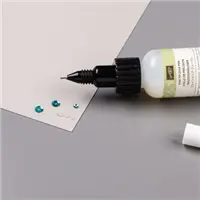
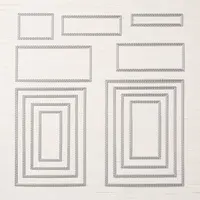
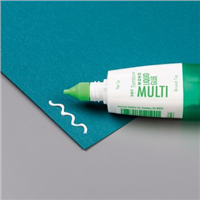
To make the red frame I took the matching scalloped oval die and also an oval which was a size small than the first and ran them through the Cut and Emboss machine together so I was left with a thin frame. I adhered the window sheet to the back of my fram using the Fine-Tip Glue Pen.
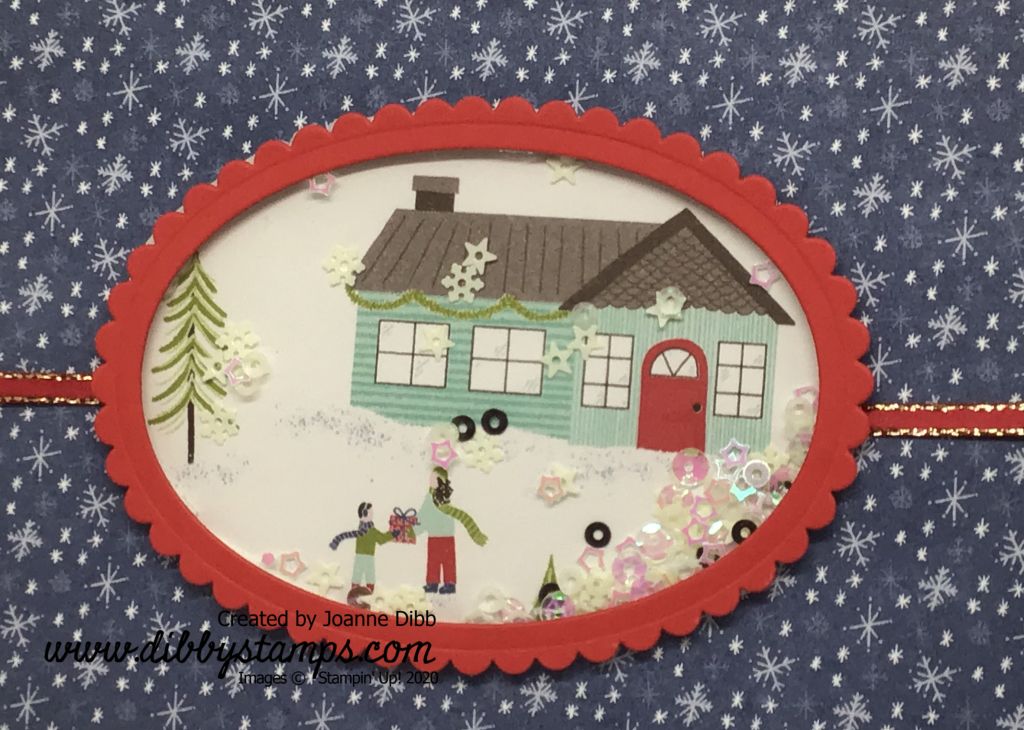
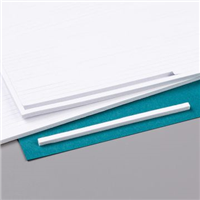
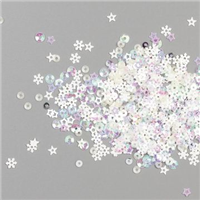
Next take the foam adhesive strips and run one right around the edge of the background oval. Next the oval fill with the Snowflake Sequins and stick the framed oval on top, now you have your shaker.

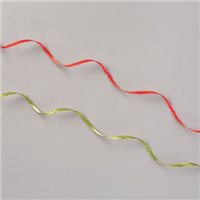
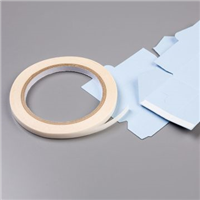
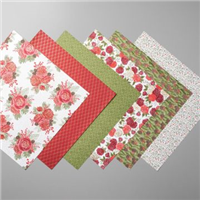
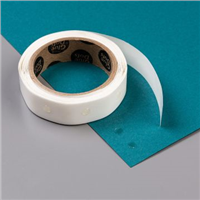
For the card background cut layer of the snowflakde dsp to 9.5cm x 13.9cm . Wrap a length of the Poppy Parade Ribbon from the All The Trimmings pack around the centre of the paper and adhere on the back with Tear & Tape. Adhere to a Poppy Parade layer measuring 10cm x 14.4cm before adhering to the card base.

I’ve left this card without a greeting but if you wanted to add on then the Trimming the Town DSP has a wonderful sheet full of greeting strips that you could cut up and use.

Happy Crafting

Joanne x

Supplies:

Poinsettia Pillow Box

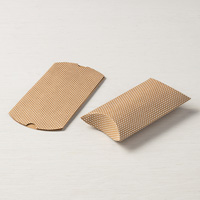
Today I’m sharing a simple idea to decorate our Kraft Pillow Boxes using a punch and some paper.

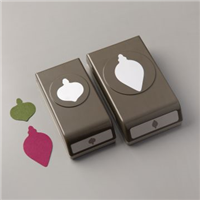
To make this Poinsettia flower simply punch six baubles from the larger punch from the Gleaming Ornaments Punch pack. I chose to use the Cherry Cobbler paper from the Christmastime Is Here Speciality DSP.  Scrunch each “petal” up to give that crinkly effect which Pionsettia’s have.

Poinsettia Pillow Box 1

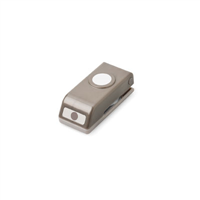
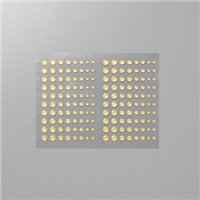
Adhere all the red petals to a 1/2″ punched circle, overlapping each one a little. punch out another 1/2″ circle is Whisper white and adhere to the front of the flower. Cover this circle with the largest Gold Glitter Enamel Dots to create the centre of the flower.

Punch and scrunch three green petals and add them to the back of the flower to create leaves.

Poinsettia Pillow Box 2

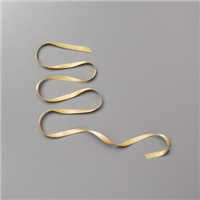
I added a length of Gold Shimmer Ribbon around the kraft pillow box and then adhered the Poinsettia to the top.

This makes the perfect little box for those small Christmas gifts or gift cards. I also love that these little boxes are small enough to hide amoung your Christmas tree branches if you want to make a few.

Happy Crafting

Joanne x

Supplies:
 

No “Stamping” Detailed Deer Card

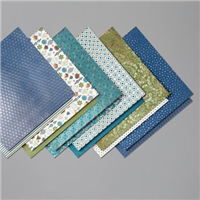
I didn’t realise until I’d finished this card that I didn’t actually stamp anything to make it, which just shows you how lovely cards can be with just some paper and die-cuts. The Brightly Gleaming Speciality DSP is pretty special though with its gorgeous Copper Foil accents and many of you must agree as its flying out the doors of the Stampin’ Up! warehouses.

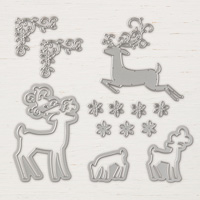
This copper deer was one of my favourite images from last years Autumn/Winter catalogue and I was so glad it carried over. It’s so beautiful that it doesn’t need any other images with it.

No Stamping Dashing Deer Card - flat

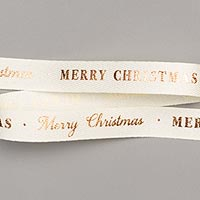
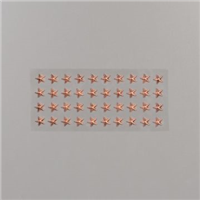
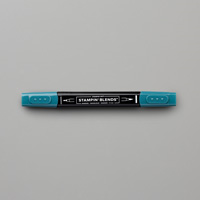
I added some of the Classic Weave Ribbon which has Merry Christmas running along it works as both an embellishment and a greeting. I finished the card off with three of the Star Designer Elements which I coloured with a dark Pretty Peacock Stampin’ Blends which gave them a gorgeous patina effect finish.

Happy Crafting

Joanne x

Supplies:
 

Thank You Thinlit Card

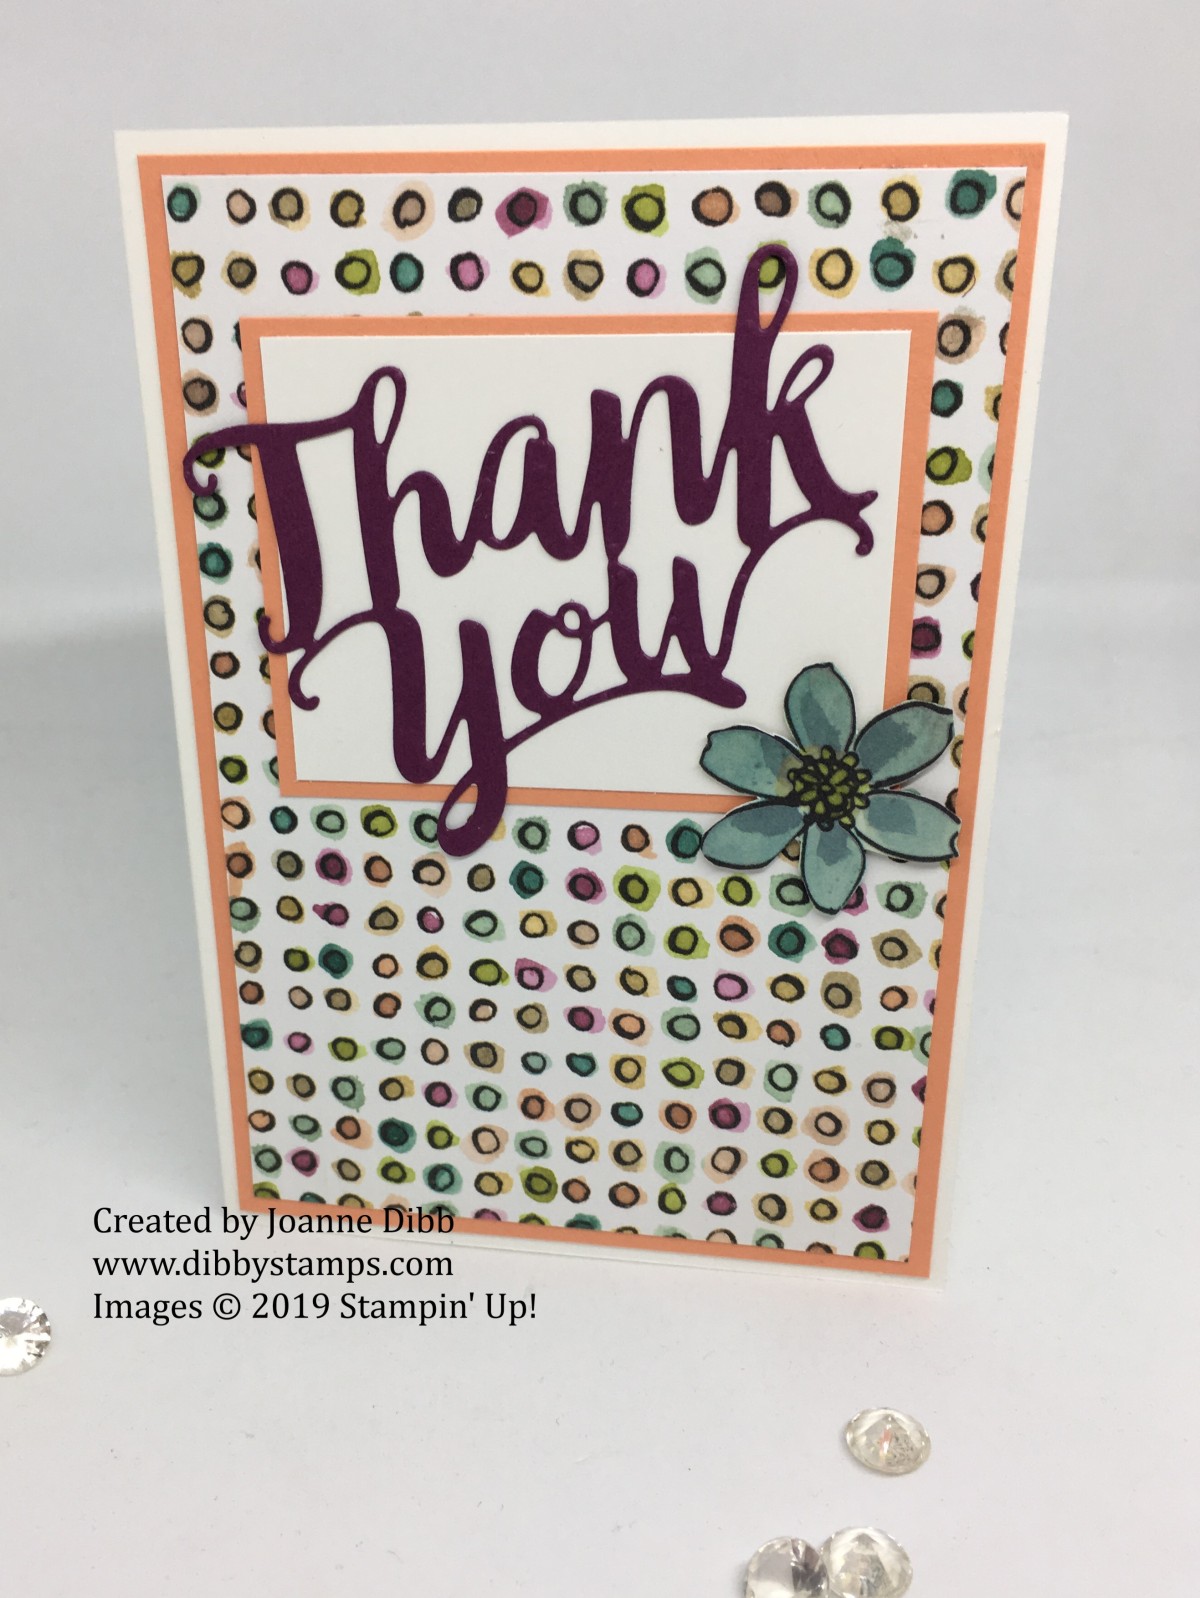
As promised here’s another project made using the Share What You Love Suite and the A Big Thank You Bundle. Today I’ve just used the Thank You Thinlit to make a card with no stamping, so if you need a thank you card quickly, this is the card for you.

Thank You Thinlit Card lfat

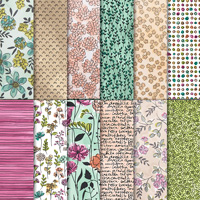
I would never have thought to put Rich Razzleberry with Grapefruit Grove but seeing them together in the Share What You Love Specaility DSP they really work. Thats why I love Stampin’ Up’s DSP whenever you’re stuck for a colour combination to work with just go and pull out some paper and you’ll soon find a great combination.

The flower on this card comes from another sheet of paper in this pack and was just fussy cut out and added with a Stampin’ Dimensional, I think it’s the perfect embellishment to finish this quick card.

Happy Crafting

Joanne x


Foiled Birthday cards with Jar of Sweets Dies

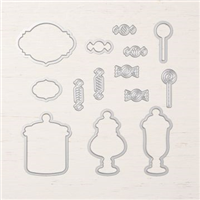
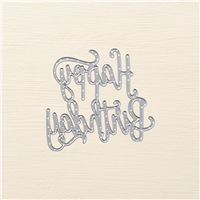
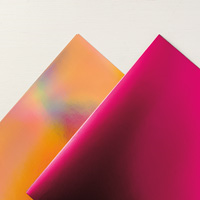
This pair of cards are made completely with die cuts and no stamps. I’ve paired the Jar of Sweets Framelits with the Happy Birthday Thinlits and the gorgeous free foil from Sale-A-Bration to make these stunning cards.

Foiled Happy Birthday Card -loveley lipstick

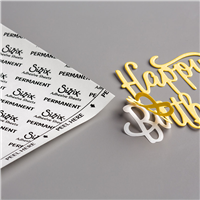
Firstly I cut my foil matt layer and then adhered it to a sheet of the Multi Purpose Adhesive Sheets, this makes sticking intricate die-cuts like the Happy Birthday Thinlits much easier than using other adhesives.

I cut all the shapes from my adhesive foil so I only used a piece 14cm x 10cm for each card.

Foiled Happy Birthday Card - grapefruit grove

I mixed and matched the two colours of foil between the two cards, for an additional finishing touch I added some of the Grapefruit Grove  Adhesive Backed sequins from the Gingham Gala pack.

I really love how these cards have turned out, the Grapefruit Grove Foil is stunning when the light catches it and makes it look iridescent. It’s free with any order over £45.00 and I think worth placing the order if you want cards with a bit of Wow Factor.

Happy Crafting

Joanne x