Hey Birthday Chick Co-ordinating Products Release

Today see the launch of three new Stampin’ Up! products which coordinate with the Hey Birthday Chick stamp set from the Jan – June Mini Catalogue. I say three new products, but one is actually a re-release from the 2017 Sale-A-Bration the Hey Chick stamp set.

I loved this stamp set back in 2017 and still have the set in my collection so I’m thrilled Stampin’ Up! have brought it back for a couple of months to partner with the Hey Birthday Chick stamp set. But the best news is both sets now have matching die sets to go with them. I can’t wait for mine to arrive as I love these stamped images but fussy cutting them is tricky and now with dies it will be quick and easy, something we all love in papercrafting!

The Hey Chick and related products will be availbale until June 30th 2021, here are links to all the Hey Chick related products:

Here are some samples made by the Stampin’ Up! team:

Put some fun into your crafting with these feathery friends.

Happy Crafting

Joanne x

Deck the Halls Card

This is another quick card using the Christmas Gleaming stamp set, unlike my post last week this card doesn’t use the matching punches its just focuses on the Holly stamp.

I used the second largest Stitched Rectangle in Whisper white for my stampinglayer. On this I randomly stamped the holly and berries stamp all over in Tuxedo Black Memento ink. To fill in the gaps I used Real Red ink and the speckle of dots stamp to create a background.

I coloured the leaves with Mossy Meadow and the berries with Real Red Stampin’ Blends.

I used one of the patterns from the Heartwarming Hugs DSP as my background, matted onto a layer of Mossy Meadow cardstock.

My greeting was stamped on the middle circle from the Stitched Shapes Dies, with the corresponding scalloped circle from the Layering Circles Dies in Mossy Meadow behind it.

This was a quick card to pull together and so perfect if you still have a lot of cards to make.

Happy Crafting

Joanne x

Supplies:

Trimming the Town Shaker Card

Today I’m sharing with you a Shaker card made from the Trimming the Town Suite. This wasn’t a suite I was initally drawn to but after seeing what other demonstrators and crafters have made I knew I had to have a play.

I’m really pleased with how this shaker turned out as its so long since I made one and as there’s no stamping involved it didn’t take long to put together.

To make the shaker part of the card you will need to cut two ovals (or circle if you prefer) which are the same size. For one, the background I cut my image from the one of the scene sheets in the Trimming the Town DSP, the other oval was cut from window sheet.

To make the red frame I took the matching scalloped oval die and also an oval which was a size small than the first and ran them through the Cut and Emboss machine together so I was left with a thin frame. I adhered the window sheet to the back of my fram using the Fine-Tip Glue Pen.

Next take the foam adhesive strips and run one right around the edge of the background oval. Next the oval fill with the Snowflake Sequins and stick the framed oval on top, now you have your shaker.

For the card background cut layer of the snowflakde dsp to 9.5cm x 13.9cm . Wrap a length of the Poppy Parade Ribbon from the All The Trimmings pack around the centre of the paper and adhere on the back with Tear & Tape. Adhere to a Poppy Parade layer measuring 10cm x 14.4cm before adhering to the card base.

I’ve left this card without a greeting but if you wanted to add on then the Trimming the Town DSP has a wonderful sheet full of greeting strips that you could cut up and use.

Happy Crafting

Joanne x

Supplies:

Step It Up: Warm & Toasty

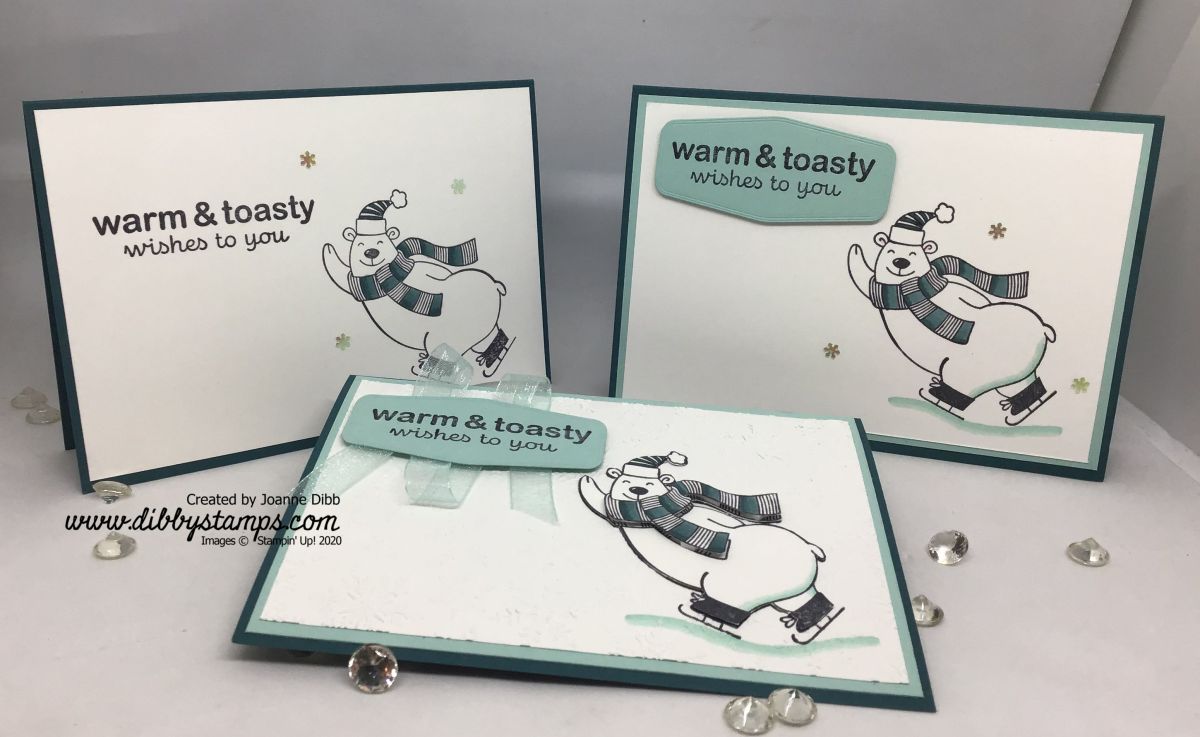
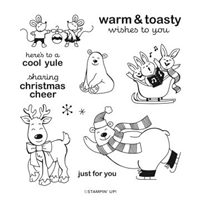
I love the cuteness of all the characters in the Warm & Toasty stamp set and today I’m taking the skating Polar Bear and showing how you can take a simple design and give it some wow factor.

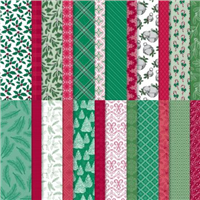
For all three cards I’ve used a colour combination of Pretty Peacock, Pool Party and Whisper White for a frosty feel to all the cards.

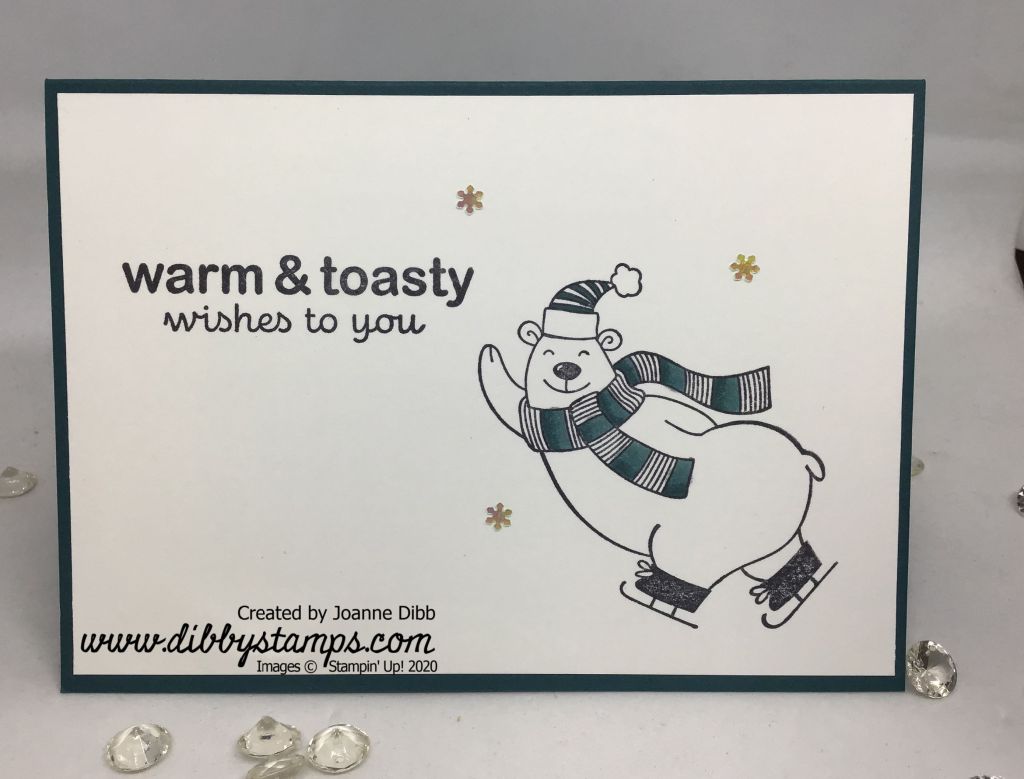
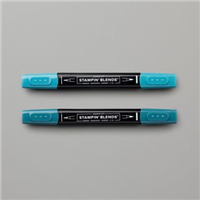
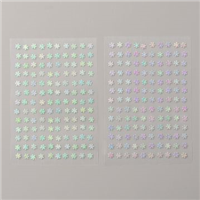
On this first card I cut a piece of Whisper White cardstock to 14.4cm x 10cm and stamped my Polar Bear and the greeting in Tuxedo Black Memento Ink. I then added some colour to the bear with a Pretty Peacock Stampin’ Blends. I added some of the Adhesive Snowflakes to embellish the card.


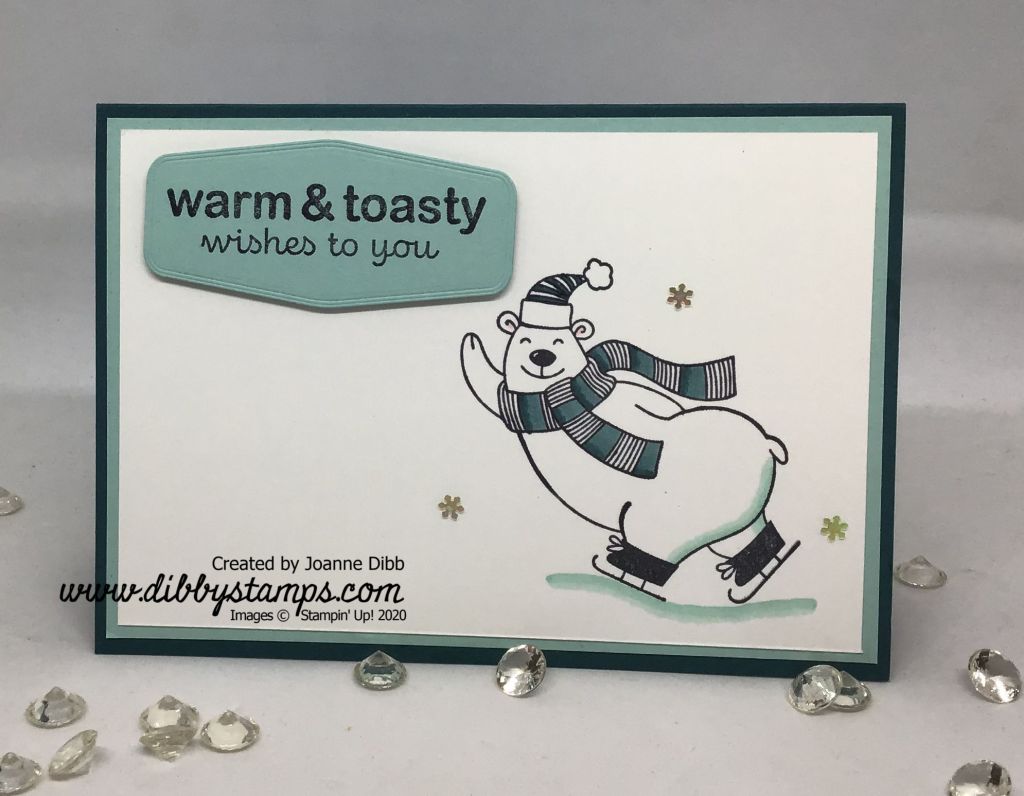
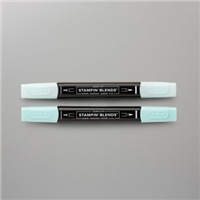
To step up my second card I added a layer of Pool Party cardstock as a layer behind my white layer. I again stamped my Polar Bear with Tuxedo Black Memento Ink but when colouring him in I added in some Pool Party for some shadows in the ground and the Poler Bears bum.

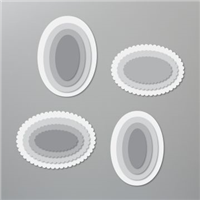
For my greeting on this card I stamped it on some seperate Pool Party cardstock and die cut with one of the Tasteful Labels dies. I used Stampin’ Dimensions to adhere the label and add some height to the card. Again I used the Adhesive Snowflake Sequins as an embellishment.

The main wow factor of this card is the Winter Snow Embossing Folder. I again stamped my Polar Bear on Whisper White cardstock and added the Pool Party shadow at the base. I then ran this through the Winter SnowEmbossing folder, yes this makes the Polar Bear covered in snowflakes.

I then stamped the Polar Bear again on some spare Whisper White cardstock and then fussy cut him out, you don’t need to cut round the skates as these are already on the background. Once he’s cut out add some colour the Polar Bear and then adhere him over the background bear.

To add an extra layer of dimension I cut and coloured another scarf for the bear and used Mini Stampin’ Dimensionals to adhere to the card.

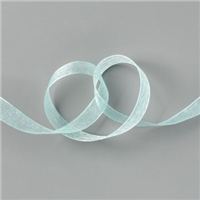
I again used the Tasteful Labels for my greeting and to embellish the card I added some ruffles of the Pool Party Sheer Ribbon behind the label before I adhered it to the card.

Which is your favourite? I love the Winter Snow Embossing folder so the third card is my favourite, but I do love all the cards as they have the cute Polar Bear.

Happy Crafting

Joanne x

Supplies:

Don’t Stop Believin’ Santa Card

I don’t think you can make Christmas cards without having a few that feature Santa himself. The Don’t Stop Believin’ stamp set has the perfect Santa image to create a focal point for your cards.

Here I’ve coloured him with Real Red Stampin’ Blends for his jacket and hat and Clear Wink of Stella to add a glittery touch to his furry trim. Now he’s all ready to deliver those presents.

The background paper comes from the ‘Tis The Season 6″ x 6″ designer series pack. This pack is full of a variety of Christmas themed imagary, if you only pick one paper pack this Christmas this would be my first choice. Until October 31st you can also recieve 15% when you purchase selected designer papers and this one is included, perfect!

Happy Crafting

Joanne x

Supplies: