Kite Delight, Simple to Stepped Up

For my Simple to Stepped Up project this week I’m using the Kite Delight stamp set and the new Cloud Punch.

For my Simple card I’ve just stamped onto Basic white cardstock with Memento Tuxedo Black Ink and then coloured with Stampin’ Blends.

For the second step I’ve added in some Pool Party clouds and then stamped the kites onto some of the Simply Marbleous Designer Paper, cut them out and adhered over the top of the clouds. I’ve also added a Pool Party matt behind the stamped to add some colour.

For my Stepped Up version I added in punched clouds from the Sunshine and Rainbows Designer Paper and used some black baker’s twine for the tail of the kite along with cut out bows.

Which is your favourite version? I like the middle version myself simple and stylish.

Happy Crafting

Joanne x

Supplies:

Step it up Sunday: Nature’s Harvest

Today I’m sharing a three cards to show you how you can take a project from simple to stepped up, this week I’m using products from the Harvest Meadow suite.

For the first card I simply stamped the Black Eyed Susan’s onto a white tag and then coloured with Stampin’ Blends. The background is a layer of designer paper from the Harvest Meadow Designer Paper. I then added a simple sentiment from the stamp set Nature’s Harvest and cut it with the Harvest Dies.

For the second card I stamped the flowers on seperate cardstock and then die cut them before adhering to the tag to add some height. I also added a Baker’s Twine bow in Crumb Cake.

For the final card I added a layer of the new Cork Speciality Paper, I love this paper it feels cork but is so so thin so doesn’t add much bulk to your proect. I also added a diecut of wheat behind the tag. As a final touch I added some of the Brushed Metallic Gems in Copper.

Which step is your favourite? I love all three and can’t wait to pull this suite of products out again.

Happy Crafting

Joanne x

Supplies:

Step It Up: Warm & Toasty

I love the cuteness of all the characters in the Warm & Toasty stamp set and today I’m taking the skating Polar Bear and showing how you can take a simple design and give it some wow factor.

For all three cards I’ve used a colour combination of Pretty Peacock, Pool Party and Whisper White for a frosty feel to all the cards.

On this first card I cut a piece of Whisper White cardstock to 14.4cm x 10cm and stamped my Polar Bear and the greeting in Tuxedo Black Memento Ink. I then added some colour to the bear with a Pretty Peacock Stampin’ Blends. I added some of the Adhesive Snowflakes to embellish the card.


To step up my second card I added a layer of Pool Party cardstock as a layer behind my white layer. I again stamped my Polar Bear with Tuxedo Black Memento Ink but when colouring him in I added in some Pool Party for some shadows in the ground and the Poler Bears bum.

For my greeting on this card I stamped it on some seperate Pool Party cardstock and die cut with one of the Tasteful Labels dies. I used Stampin’ Dimensions to adhere the label and add some height to the card. Again I used the Adhesive Snowflake Sequins as an embellishment.

The main wow factor of this card is the Winter Snow Embossing Folder. I again stamped my Polar Bear on Whisper White cardstock and added the Pool Party shadow at the base. I then ran this through the Winter SnowEmbossing folder, yes this makes the Polar Bear covered in snowflakes.

I then stamped the Polar Bear again on some spare Whisper White cardstock and then fussy cut him out, you don’t need to cut round the skates as these are already on the background. Once he’s cut out add some colour the Polar Bear and then adhere him over the background bear.

To add an extra layer of dimension I cut and coloured another scarf for the bear and used Mini Stampin’ Dimensionals to adhere to the card.

I again used the Tasteful Labels for my greeting and to embellish the card I added some ruffles of the Pool Party Sheer Ribbon behind the label before I adhered it to the card.

Which is your favourite? I love the Winter Snow Embossing folder so the third card is my favourite, but I do love all the cards as they have the cute Polar Bear.

Happy Crafting

Joanne x

Supplies:

Step It Up Sunday: Merry Moose

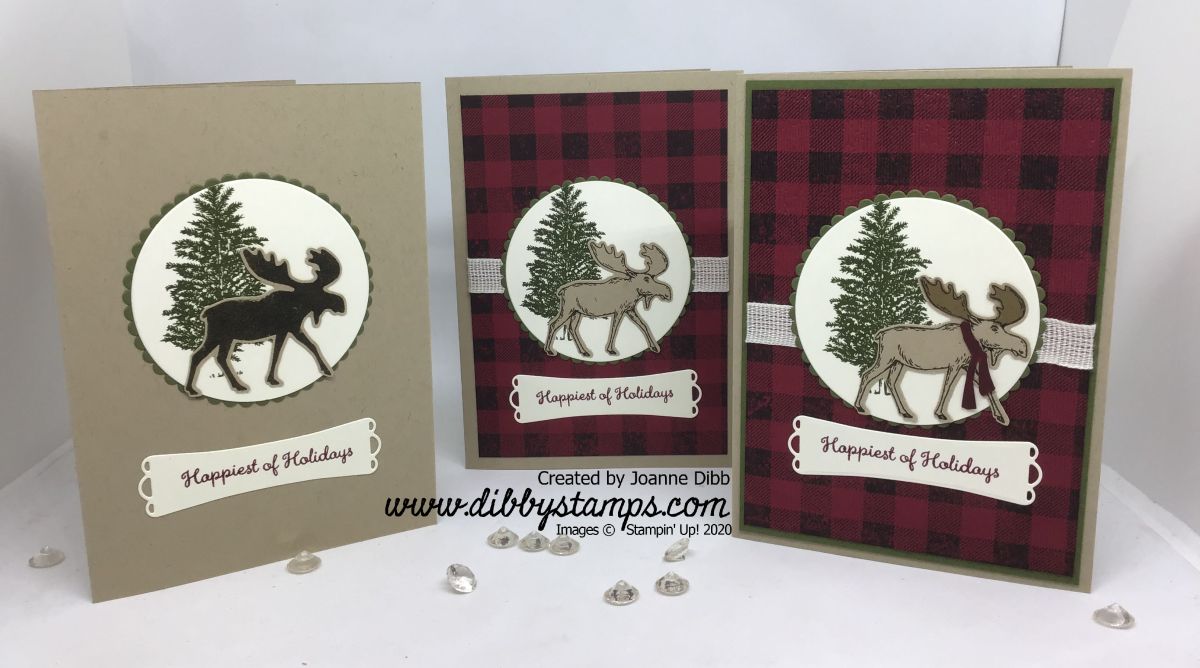
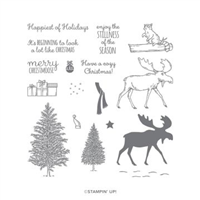
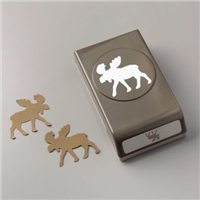
Who’s glad the Merry Moose stamp set and matching punch came back? Me definitely! I loved this bundle last year and was gutted when it sold out, so I’m excited its back and I can play again. Being in the UK the Moose is not the most obvious animal to stamp and send cards with, but there’s something about this set that just makes me happy.

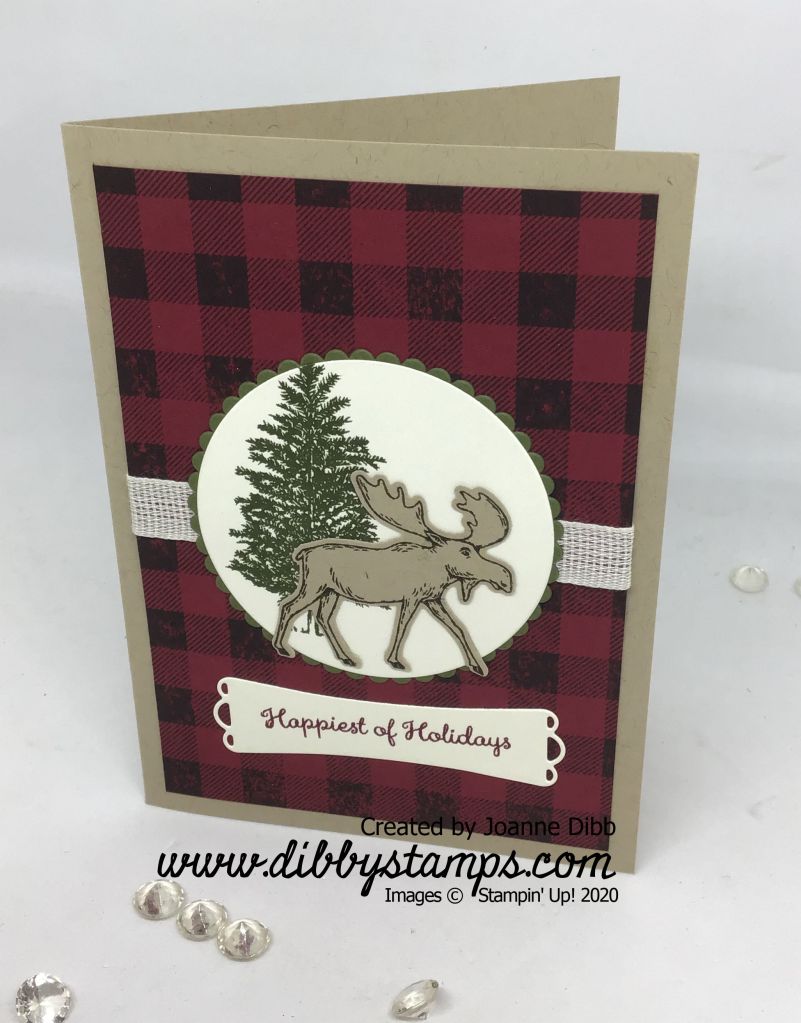
Today I’m taking a basic card design and showing how you can step it up to a more detailed card, so whatever your crafting level you can enjoy this design.

For this first step or beginner card take a card blank in Crumb Cake, mine measures 14.9cm x 21cm, scored at 10.5cm. Next take the 6.7cm diameter circle die from the Layering Circles Dies and cut a Very Vanilla circle, cut a matching scalloped circle in Mossy Meadow. Also take the label die from the Most Wonderful Time dies, found in the product Medley. If you don’t have this you could use the Classic Label Punch or either of the Banner Punches.

On your Very Vanilla circle stamp the large christmas tree in Mossy Meadow and on your label stamp your greeting in Cherry Cobbler. Also stamp the solid moose in Early Espresso and then punch out with the Moose Punch. Arrange elements as shown above.

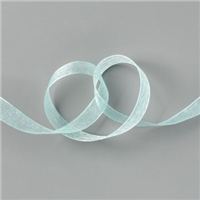
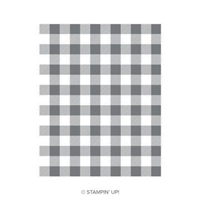
To take the card to the next level we’re going to add some detail to the background. Take a piece of Cherry Cobbler cardstock measureing 9.5cm x 13.4 and stamp it with the Buffalo Check stamp in Early Espresso. Add a layer of the Vanilla Open weave Ribbon from the Forever Greenery Suite across the middle of the Cherry Cobbler layer before you adhere to the card base.

For this card I’ve also stamped the outline of the Moose instead of the solid image to give more detail to the card.

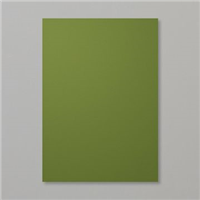
For this final step of the card I’ve added a layer of Mossy Meadow cardstock below the Cherry Cobbler layer that measures 14.4cm x 10cm. I also ran the Cherry Cobbler layer through the Sutbtle £D Embossing Folder, so the buffalo check looks like shirt fabric.

I’ve also added a little detail to the Moose himself by fussing cutting him som antlers from some Soft Suede cardstock, these were adhreed with the Adhesive Sheets. I’ve also given him a little scarf to keep him warm in the forest.

I love how all three of these cards turned out, so if you missed out on Mr Moose last year I highly recommend you add him to your stash this year.

Happy Crafting

Joanne x

Supplies:

Step It Up Saturday: Basket of Blooms

Today I’m using the Basket of Blooms set to show you how to take a from simple to stepped-up. I love the Small Bloom punch which was a Sale-A-Bration freebie and I’m glad it carried over, it works great with the Basket of Blooms stamp set to create lots of great images. It’s also one of my daughters favouties to stamp with too.

Basket of Blooms card 1

  1. For this first card cut a piece of Highland heather cardstock to 10cm x 14.4cm and stamp all over with one of the larger flowers in Highland Heather, then adhere to the card base which is made from cardstock 14.4cm x 21cm, scored down the middle at 10.5cm.
  2. Cut a piece of Whisper White cardstock to 5cm x 9cm. Stamp the tall vase at the bottom on the cardstock in Rich Razzleberry, stamp it so only half on the image is on the cardstock. Take a post-it note and stick to the top edge of the vase to cover it, stamp two leaves in Just Jade coming out of the vase, remove post-it note and the stems of the leaves should not be visable. Stamp a birthday greeting along the bottom of the 5cm x 9cm cardtock, I used the Itty Bitty Birthday stamp set.
  3. Punch three small blooms from Purple Posy cardstock and adhere to the card add Rich Razzleberry adhesive sequins from the Artistry Blooms collection to the flower centres.

Basket of Blooms card 2

For the second card, add a layer of Playiny With Patterns designer paper measuring 9.5cm x 13.9cm to the Highland Heather layer before adhering to the card.

In step two, stamp the vase in Tuxedo Black Memento ink instead of Rich Razzleberry and the colour with the dark Rich Razzleberry Stampin’ Blends. Before adhering the stamped image to the card, add it too a Highland Heather cardstock matt measuring 5.5cm x 9.5cm.

Use Stampin’ Dimesnionals to give the flowers some height.

Basket of Blooms card 3

For this final card repeat the steps for the previous two cards with the following additons.

Add a length of Just Jade In-Colour Ribbon across the middle of the designer paper before adhering to the Highland Heather cardstock.

Colour the vase with both dark and light Rich Razzleberry Blends. Instead of mounting the stampe dimage on a plain cardstock matt replace with an embossed layer measuring 7cm x 11cm, here I’ve used the Dainty Diamonds Embossing Folder.

Stamp flower images in Highland Heather before punching them out. Use a foam matt and the rounded lid end of some Multipurpose Liquid glue to rub over the flowers in a circular motion, this allows the petals to curl upwards slightly.

Stamp the greeting on a Purple Posy labels, made from the Lovely Labels Pick A Punch, add to the card.

I hope you can easily follow these steps and take this simple card and step it up as much as you like.

Happy Crafting

Joanne x

Supplies: