Eggs and Chicks Easter Card

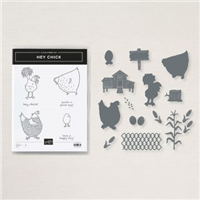
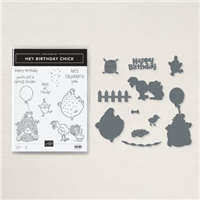
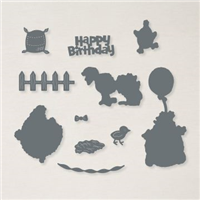
Happy Easter everyone, hope you get to celebrate with your families in some way. Can you guess the inspiration for this card? Thats right Mini Eggs, I’m a huge fan of these and would eat them year round if I could find them. At least now with the Chick Dies I can create my own card versions whenever I want.

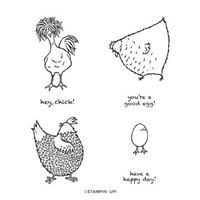
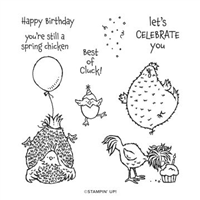
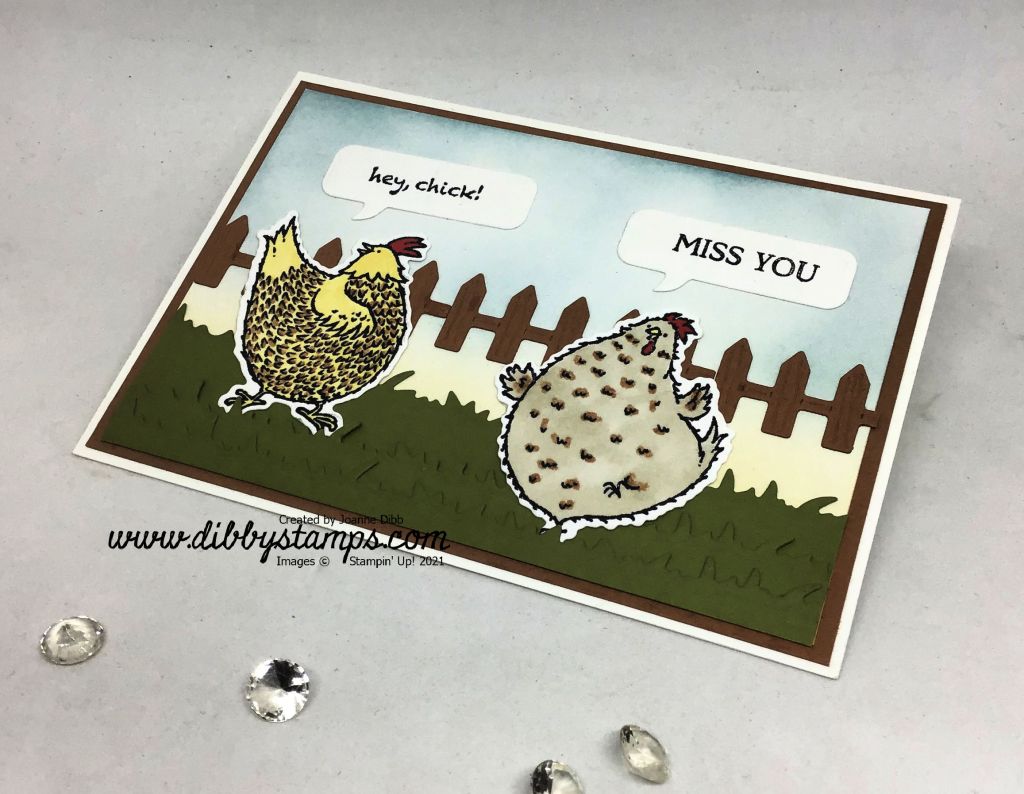
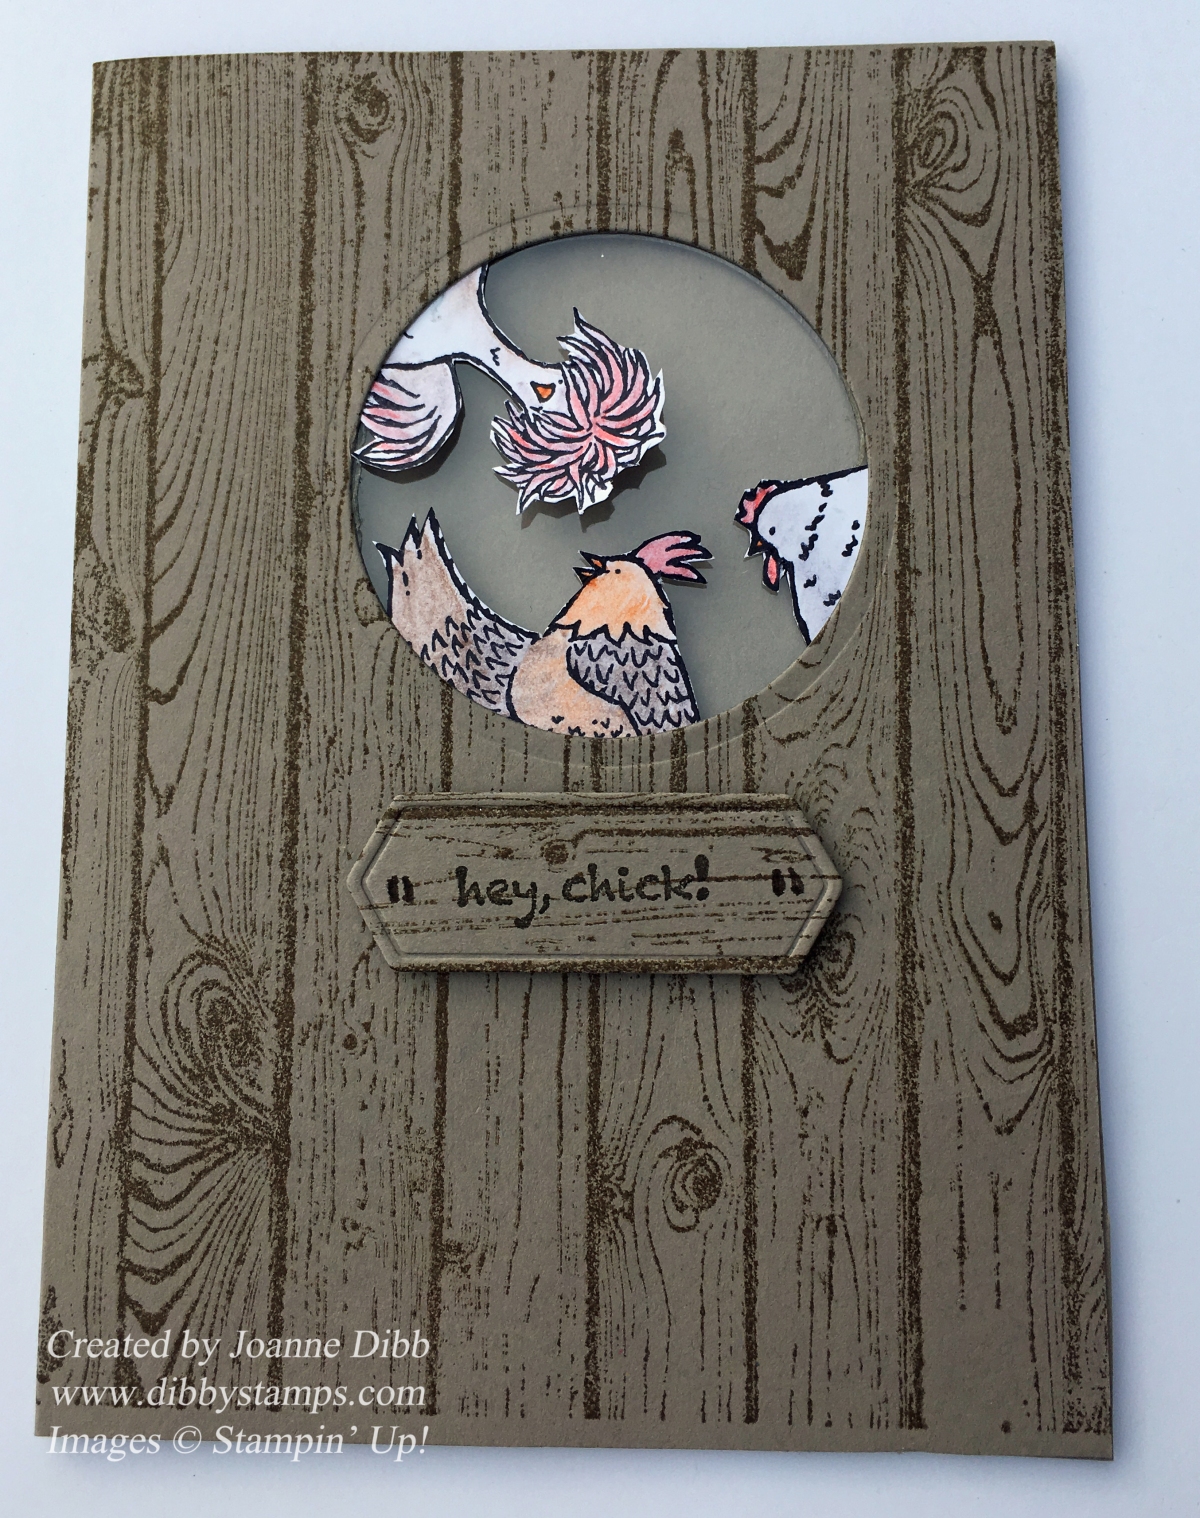
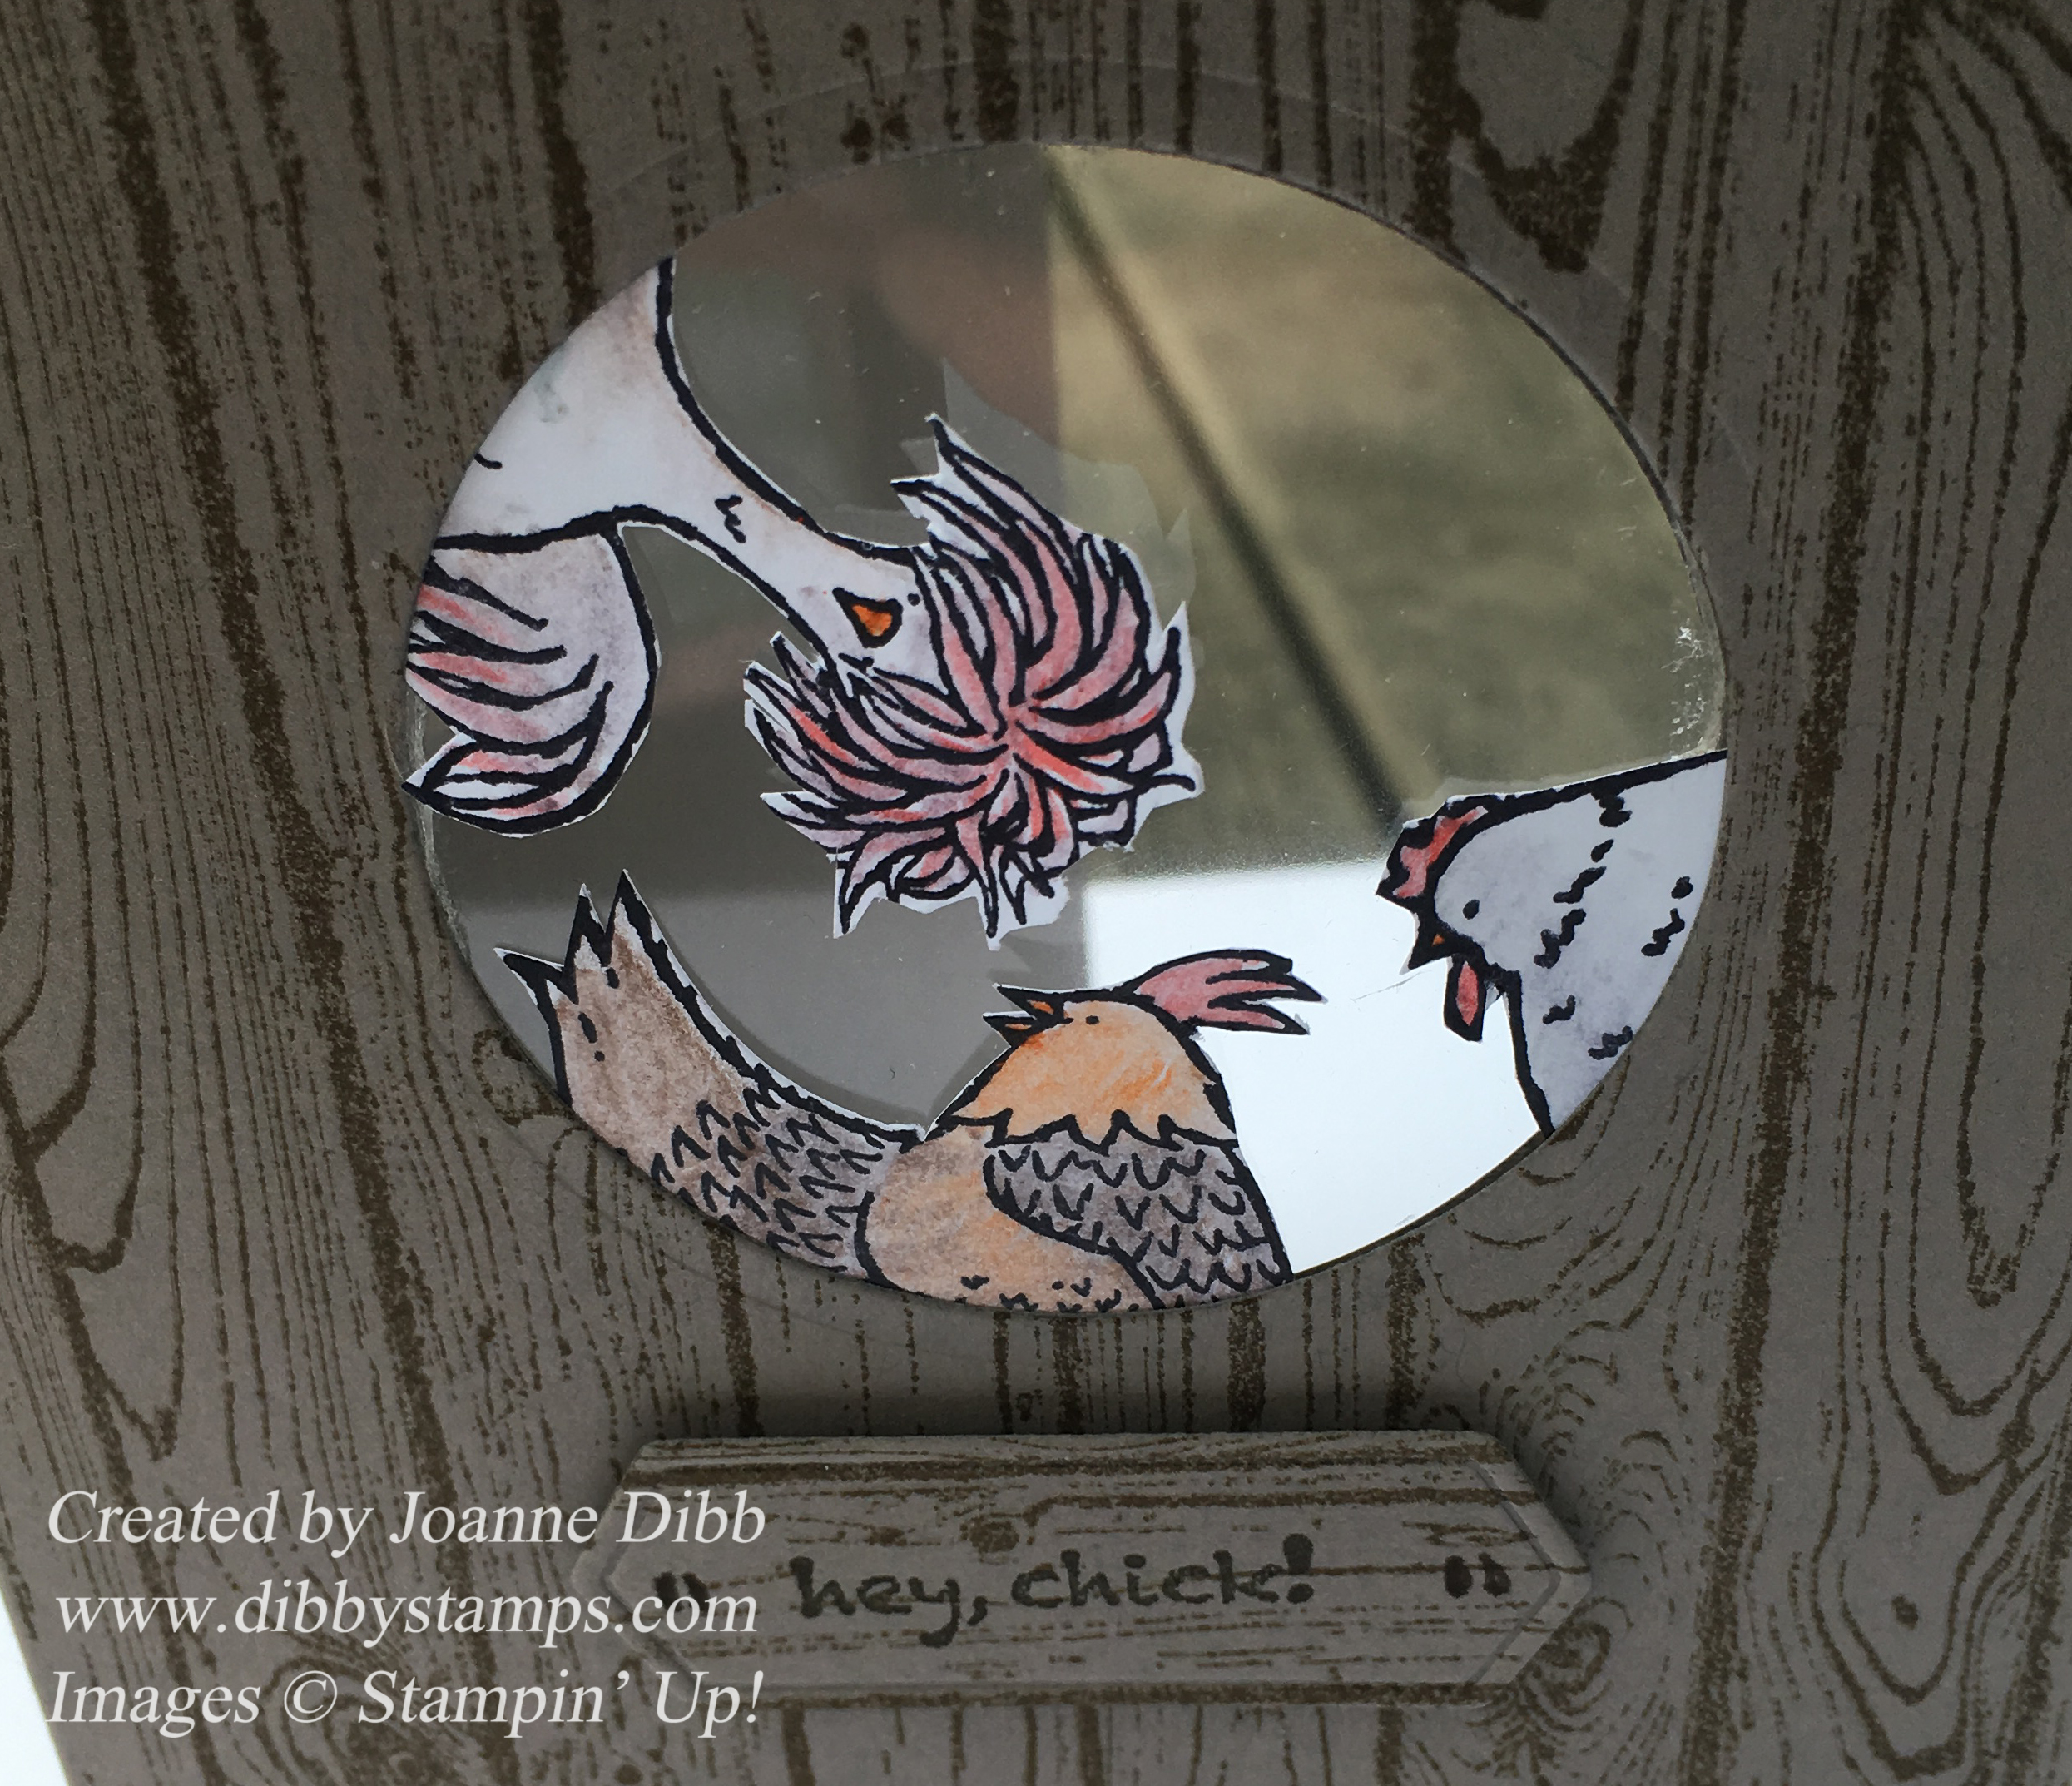
The chickens and egg come from both the Hey Chick and Hey Birthday Chick sets, I’m loving the endless combinations of scenes you can make with these characters and highly recommend you pick them up if your a chicken lover.

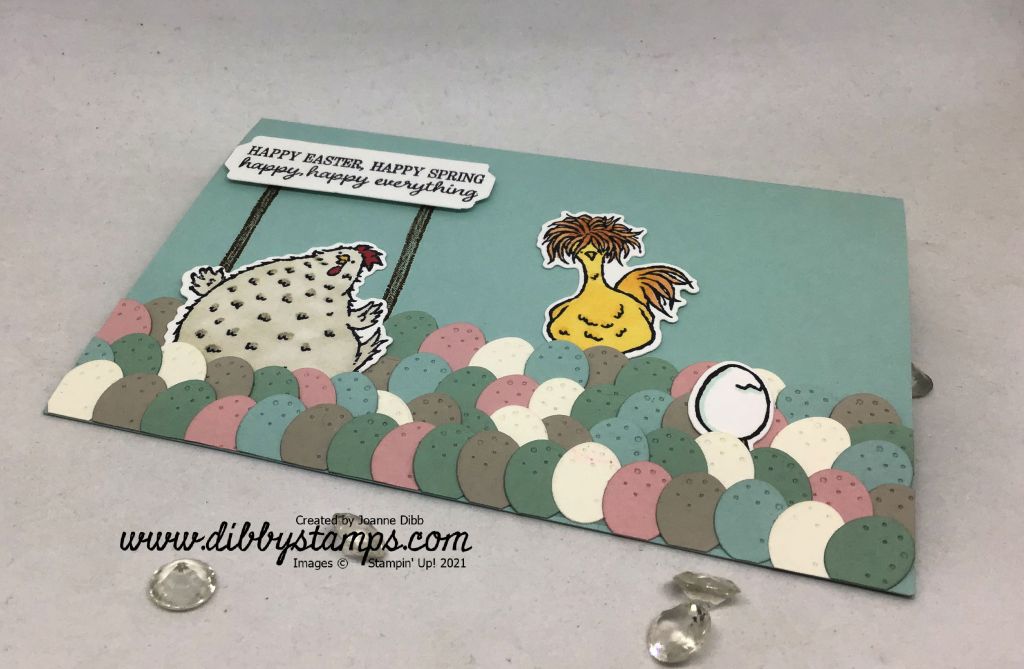
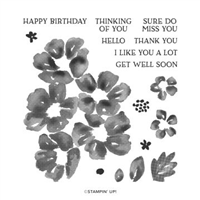
The greeting comes from the Timeless Tulips stamp set and I’ve used one of the flower stalks as a post for my greeting signpost. The actual sign is made from the Lovely Labels Pick a Punch.

Can you guess how many eggs are on the card?

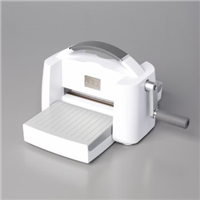
Answer: 59, as the die cuts two eggs at a time thats 30 trips through the Cut and Emboss machine, worth it though dont you think!

Happy Crafting

Joanne x

Supplies:

Hey Chick, Miss You Card

Today I’m sharing a card I’ve made for a special friend who I miss very much, I haven’t seen her since July last year and fingers crossed we can see each other soon!!

I’ve gone chick mad and used products from both Hey Chick and Hey Birthday Chick stamp sets and their matching dies and why not they all work great togther. I’ve used my favourite two chicken stamps, one from each set for my main focus.

A little blending of Balmy Blue and So Saffron created the background for my little scene. The fence die cuts come from the Birthday Chick die set.

For the grass and the little speech bubbles I pulled out the Special Day dies, which also work great for scene building.

The greeting comes from Hey, Chick and also Blossoms in Bloom where I used “Miss You” from the stamp “Sure Do Miss You” I just covered up Sure do while I inked as the whole lot wouldn’t fit in my speech bubble.

I loved making this little scene card and hope my friend does when I get it mailed out to her.

Happy Crafting

Joanne x

Supplies:

Hey Birthday Chick Co-ordinating Products Release

Today see the launch of three new Stampin’ Up! products which coordinate with the Hey Birthday Chick stamp set from the Jan – June Mini Catalogue. I say three new products, but one is actually a re-release from the 2017 Sale-A-Bration the Hey Chick stamp set.

I loved this stamp set back in 2017 and still have the set in my collection so I’m thrilled Stampin’ Up! have brought it back for a couple of months to partner with the Hey Birthday Chick stamp set. But the best news is both sets now have matching die sets to go with them. I can’t wait for mine to arrive as I love these stamped images but fussy cutting them is tricky and now with dies it will be quick and easy, something we all love in papercrafting!

The Hey Chick and related products will be availbale until June 30th 2021, here are links to all the Hey Chick related products:

Here are some samples made by the Stampin’ Up! team:

Put some fun into your crafting with these feathery friends.

Happy Crafting

Joanne x

Hey Chicken, Chicken Shed Card

Today I’m using the Hey, Chick stamp set which is available as Sale-a-Bration freebie for just 10 more days, so if you like it get those orders in. This wasn’t a stamp set which originally grabbed me but after seeing some wonderful projects its a set which has grown on me and one I’ll miss playing with after Sale-a-Bration ends.

cjickenshedcard

Originally I was just going to have one chick peeping through the window, but how could I leave out the other two chickens as they all have such cute characters. Each chick was stamped with black archival ink and then coloured with the watercolour pencils and blender pens. They were then fussy cut out which was tricky but worth it I think…all chicks did loose there feet in this process though!

The background was created by stamping the Hardwood stamp in Soft Suede onto a base of Tip Top Taupe, which is not a colour I have used very much at all. The window was cut with the 5.5cm diameter circle from the layering circles Framelits.

I attached the chick behind the window and the placed a layer of window sheet behind them to create the window pane.

chickenshedcloseup


The little greetings sign was created by cutting the sign shape from the Build It Framelits out of the circle of card  which was leftover from the window. The greeting was added with Early Expresso so it stood out and the marks at the sides are supposed to be nail heads but didn’t quite work as I wanted.

I love this fun little card and hope you do to.

Happy Crafting

Joanne