Flirty Flamingo Simple Shower Gel Box

Today I’ve branched out and made a box which is something I very rarely do. I just really wanted to create something which really showed off the beautiful leaf stamp to its full advantage.

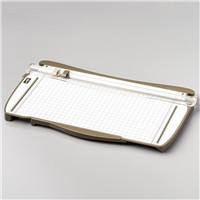
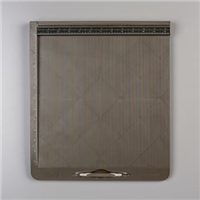
Firstly you need an A4 piece of cardstock, place on your scoring board lengthways and score at 7cm, 14cm, 21cm and 28cm. Turn the paper 90 degrees and score at 6cm. Score lines are shown in mint green in the photo below.

Simple shower gel box tutourial cutting layout

Next cut up the lines shown as purple dashes in the photo above, so that you have five flaps below your horizontal score line. Cut along the horizontal score line so that the section in red on the photo above has been removed.

2nd cutscore line simple shower gel box

Next cut into each  square flap diagonally to remove a small slither from each edge, so the sections with the red diagonal line in the photo above are removed.

I then burnished all the score lines before I decorated my box. I chose to emboss some of the large leaves in silver and fill in the gaps with leaves stamped in Flirty Flamingo. Make sure not to stamp over the score lines with the leaves you are going to emboss or the embossing may crack when you fold the box together.

To make into a box place adhesive along the long  thin flap  and then fold into a box shape making sure the thin strip is on the inside. Carefully add adhesive to two  of the alternating squares at the bottom and then fold them upwards. Make sure the last flap has adhesive on to hold all the others together.

simple shower gel lid cut score

To make the lid take a piece of Flirty Flamingo cardstock measuring 11.2 x 11.2cm and score on every side at 2cm, to match the solid green lines shown above. Next cut along the purple dotted lines as shown above and then burnish all remaining score lines.

Decorate lid as required, I did some more silver embossing with the large leaves stamp which I think looks stunning.

Add adhesive so each of the corner flaps on the lid and fold in the sides to create the finished lid.

The lid should now loosely sit on top of the box, so if you wanted more security with it you might want to finish off by wrapping some ribbon around the box and securing at the top.

Hope you’ve enjoyed todays project and can understand my ramblings.

Happy Crafting

Joanne x

Santa Silhouette Card

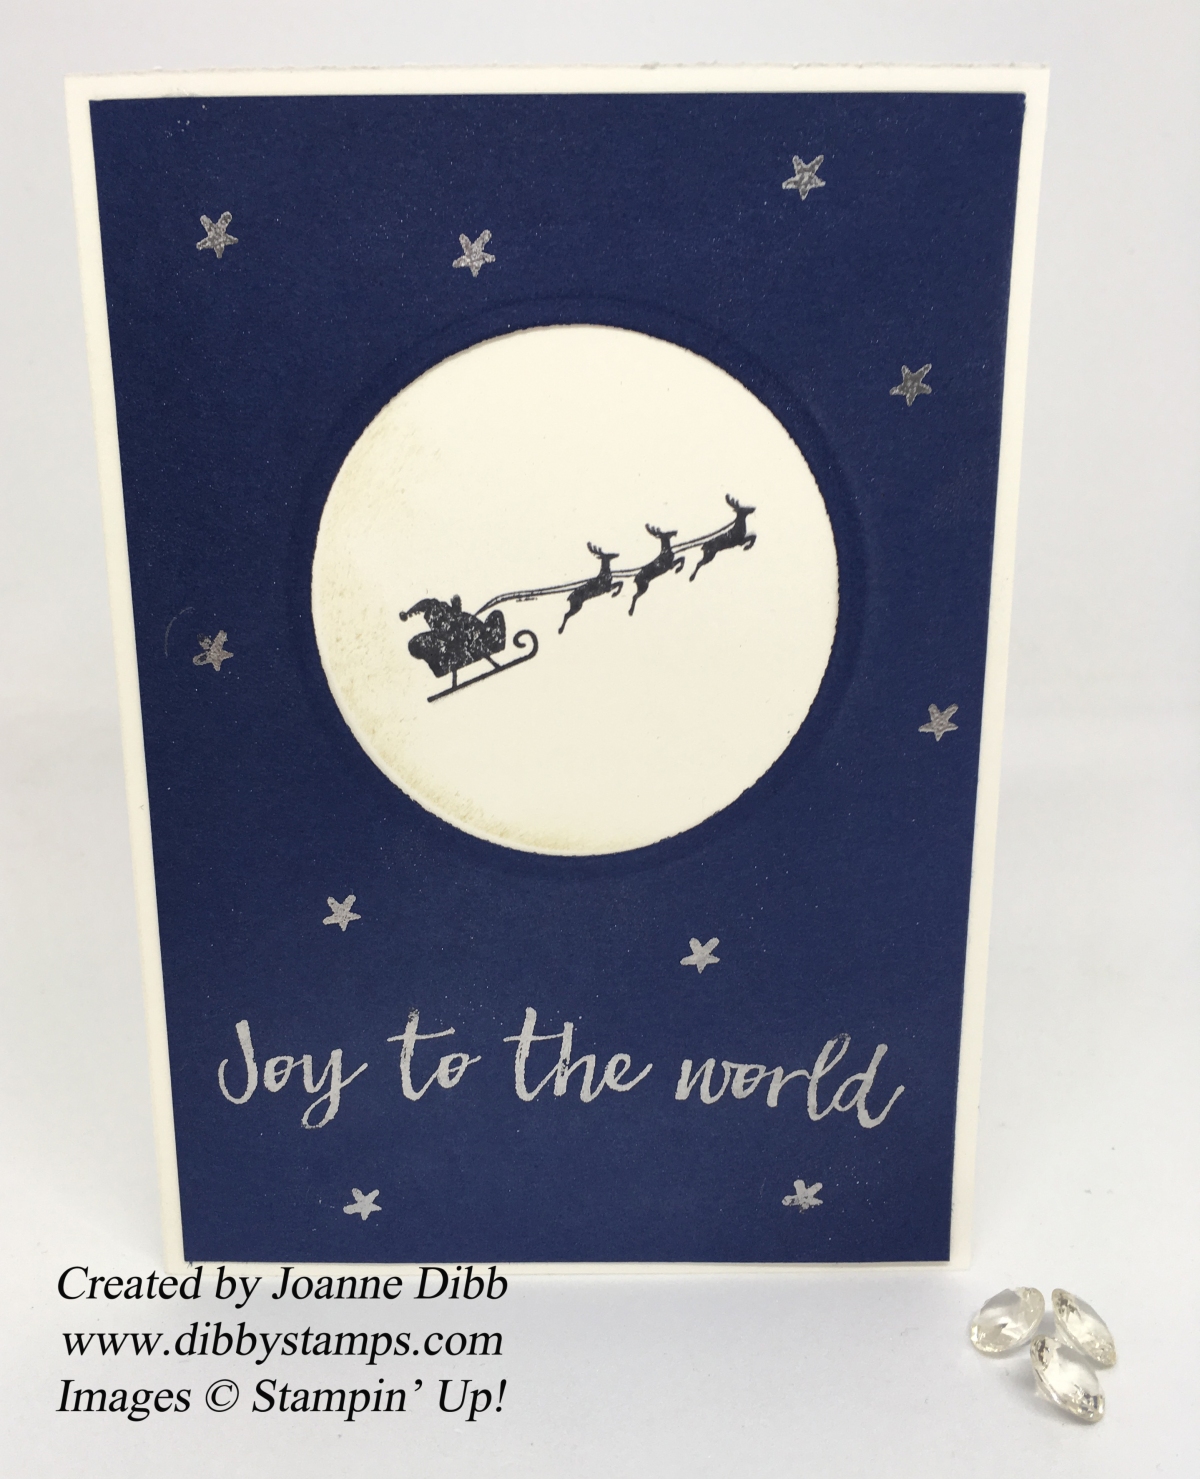
For today’s card I wanted the lovely Santa and his sleigh stamp from the Hearts Come Home stamp set to be the focus of the card and what better way to make him the focus than to have him flying across the moon. Surely one of the most iconic images of Christmas Eve everywhere.

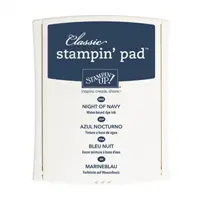
To create the card I cut a layer of Night of Navy to 10cm x 14cm and a matching layer of Window Sheet. I then put the two layers together and cut the circle out of the 6cm diameter circle from the Layering Circle Framelits.

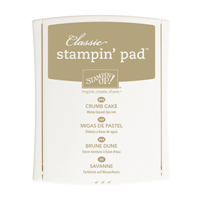
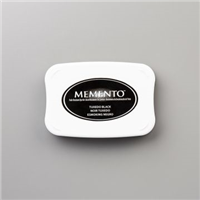
I then fixed the window sheet layer temporarily to the front of the card with washi tape. I then took some Crumb Cake ink on a sponge and very lightly inked the bottom left edge of the circle. I then stamped the Santa in the middle of the circle with blank memento ink.

joytotheworldcloseup

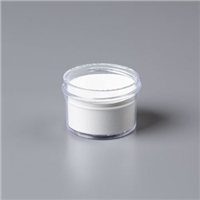
Next take the Night of Navy layer and stamp Joy to the World and some random small stars in Versamark. Heat emboss this with Silver Stampin Emboss Powder to finish the layer.

To complete the card line the Night of Navy layer over the top of the stamped images on the Whisper White card base. The Crumb Cake ink should look like a shadow at the bottom of the moon.

joytotheworldflat

Inside I just stamped a quick greeting in Night of Navy. Join me tomorrow for another card using the Hearts Come Home stamp set.

Happy Crafting

Joanne x

 

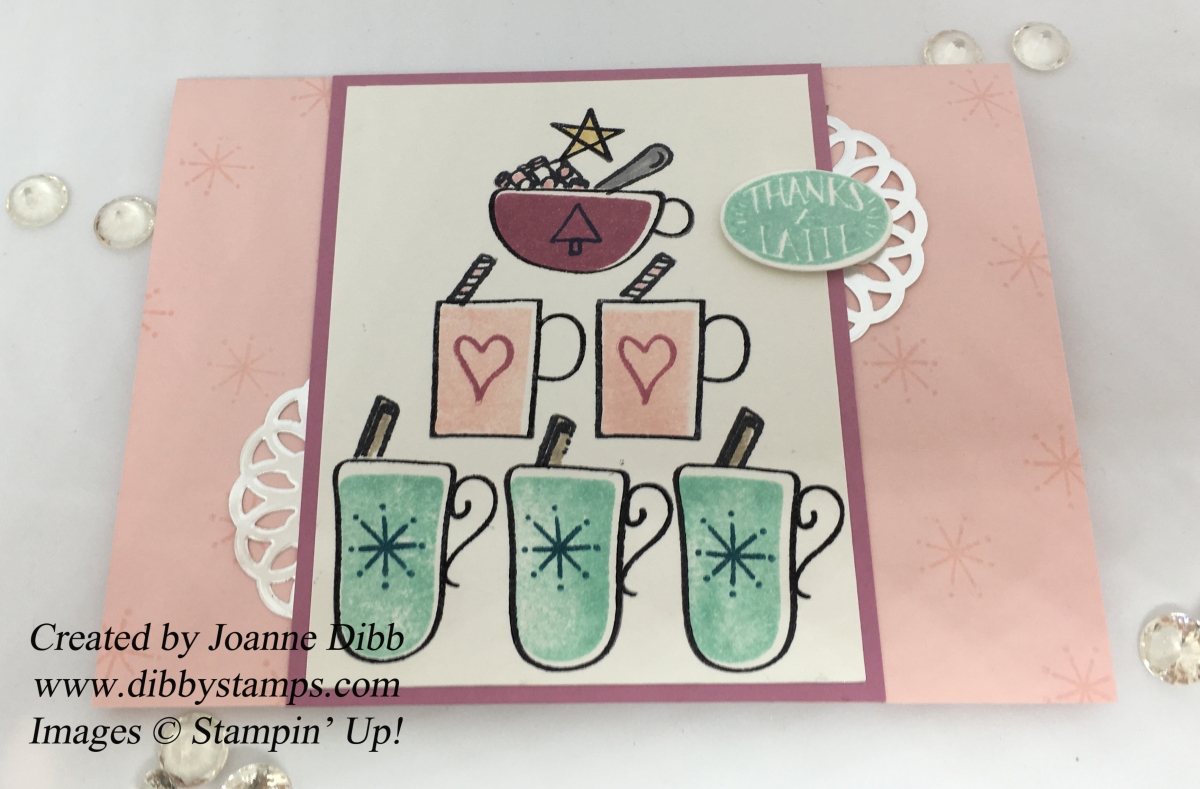
Pastel “Thanks a Latte” Card

Today I’m back with another card using the Hug in a Mug stamp set making a very girly pastel card using Powder Pink, Sweet Sugarplum, and Pool Party, if we still had Mint Macaron then I would have used that too!

First take a piece of Powder Pink cardstock measuring 14.5cm x 21cm and fold and score at 10.5cm to create a card base. Take the Powder Pink ink and randomly stamp the small twinkling star all over the front of the card base.  Continue reading “Pastel “Thanks a Latte” Card”

Swirly Snowflake Edged Card

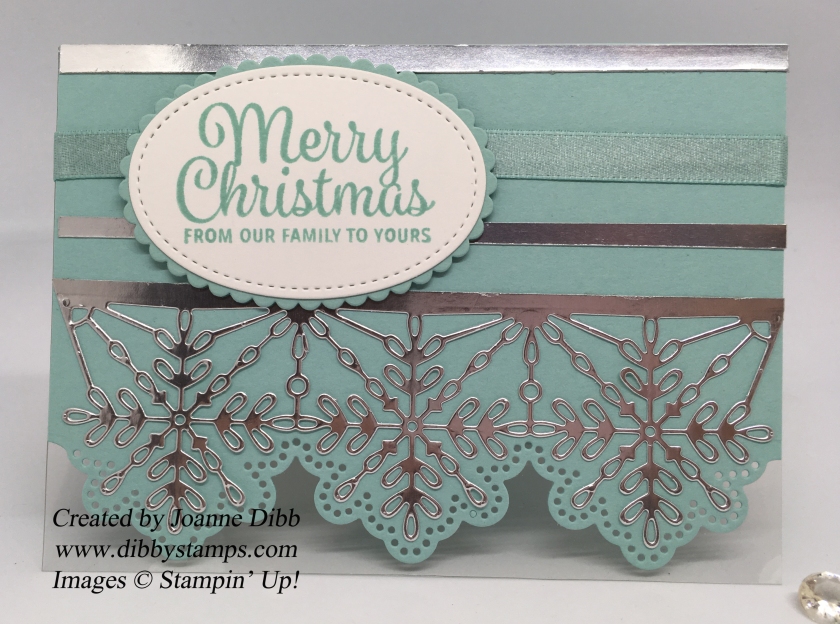
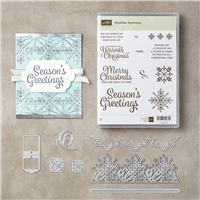
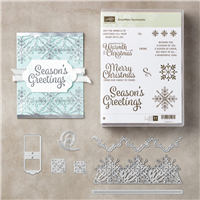
Today I’m featuring another card using my favourite colour combination for snowflake themed cards Pool Party, White and Silver. I decided to pull out and have a play with the Snowflake Sentiments bundle today, this was one of the first additions to my wish list for the autumn/winter catalogue. I love the combination of the intricate dies and the gorgeous font used in the sentiments, for me its a winning combination.

Firstly I took a card base in Pool Party measuring 14.5cm x 21cm, scored and folded at 10.5cm and used the dotted edge die to created the detailed shaped edge.  I next took a piece of window sheet measuring 10.5 x 14.5cm and stuck this to the inside of the card using tear and tape, this was to give the card a straight edge to stand up with.

snowflakesentimentspoolpartycard

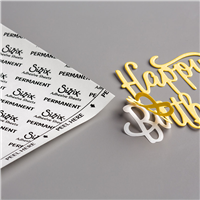
I next adhered some silver foil onto the multi-purpose adhesive sheets and cut out the detailed snowflake die, this fits along the edge of the card base perfectly once cut out. If you have the die-cut brush available now is the time to use it, I don’t have one so spent a long time pushing all the little bits out with a cocktail stick.

Adhere the snowflake die to the card. Next take the silver foil and cut three 0.5cm strips which are 14.5cm in length and stick them across the top of the card. If you have the silver washi tape from the Year of Cheer suite that is an easier alternative.

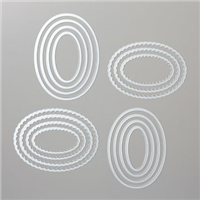
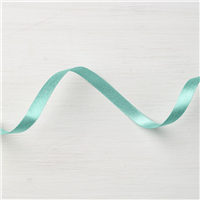
Next the Pool Party shimmer ribbon and stick across the card covering one of the silver lines, I used the tear and tape to stick mine down. For the sentiment stamp the greeting on Whisper white cardstock in Pool Party ink and then cut out the second largest Stitched Shape Oval Framelit. Take the corresponding scallop edged die from the Layering Ovals Framelits and cut that out of Pool Party, stick to the back of the greetings panel and then onto the card using Stampin’ Dimensional’s.

snowflakesentmentsinside

For the inside of the card I took a piece of Whisper White A4 and stamped one of the greetings in the middle in Pool Party. I love how the Snowflake Sentiments set have sentiments which can be used on the outside of the card and has some which can be on the inside of the card.

Pop back tomorrow for my final card from Snowflakes and Stars week featuring the Star of Light set again.

Happy Crafting,

Joanne x
 

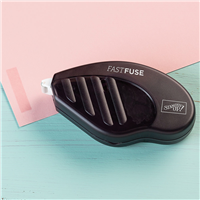
Night of Navy Star of Wonder Christmas Card

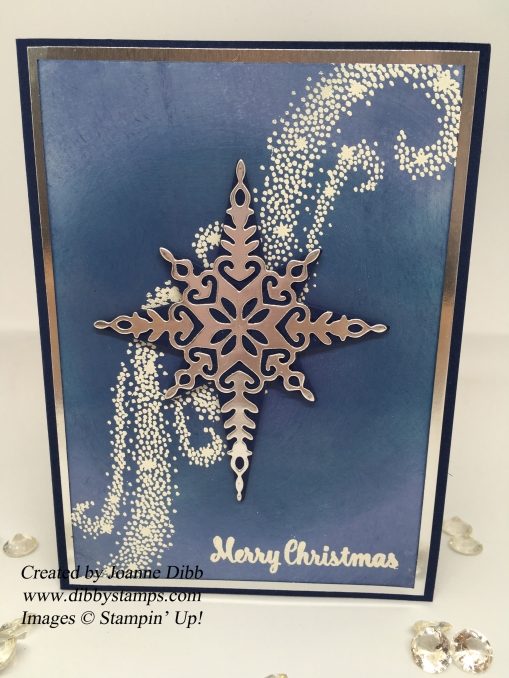
For today’s card I have gone a bit more in depth with techniques as I wanted to get a bit messy. I should have picked a different day though turning up to pick your daughter up from pre-school with blue hands is perhaps not the best idea.

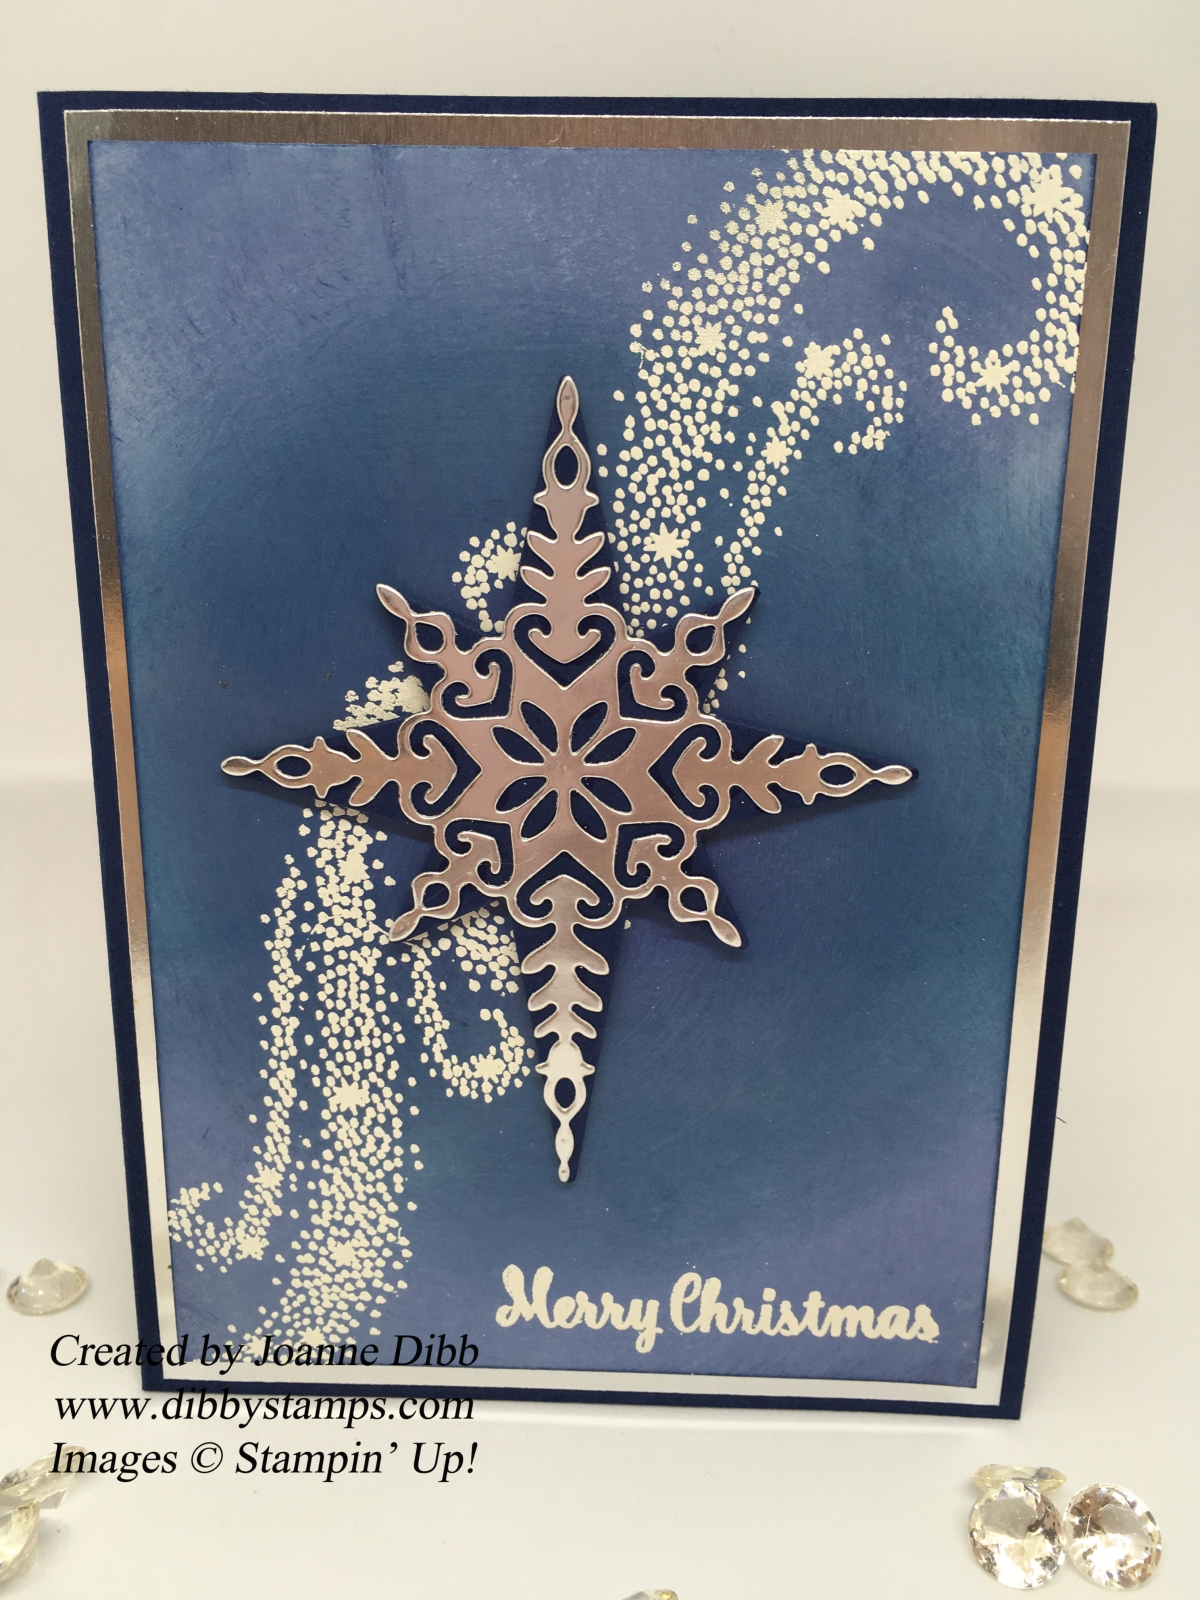
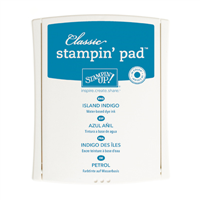
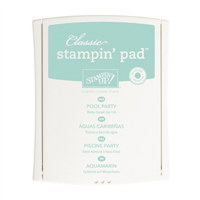
I started with some glossy cardstock measuring 13.5cm x 9.5cm and Night of Navy, Island Indigo and Pool Party inks and some craft sponges. Firstly I took the Night of Navy ink and sponged a circle in the middle of the card and then blended it out just a little. I next took the Island Indigo and went round the Night of Navy circle and blended outwards. Taking the Pool Party ink I then filled in the remaining cardstock with ink, blending together as much as I could. When this had dried for around a minute I took the Night of Navy ink again and sponged over the whole cardstock. What you are left with is an inked background which is darker in the middle and then goes lighter towards the edges.
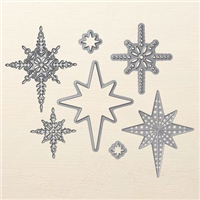
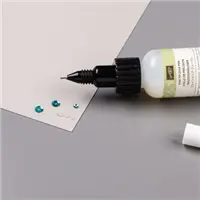
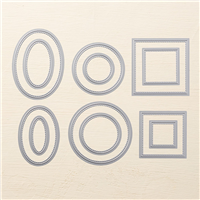
While the inked background was drying I cut out the silver foil layer which measures 14cm x 10cm and then die cut the large detailed star from the centre, this was so I didn’t waste any foil.  I then die cut the large star outline in Night of Navy and glued the silvers stars onto them using the fine-tip glue.
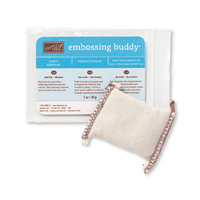
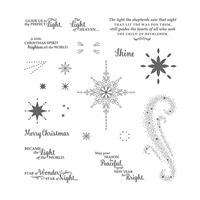
Once the inked background were dry I took my embossing buddy and rubbed it all over the cardstock. I next inked up the large swirl in Versamark ink and stamped two swirls diagonally across the centre. I also added a greeting to the bottom right corner in Versamark. I then heat embossed all the images with white embossing powder.

starofnightcard.jpg

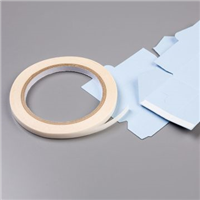
To complete the card I took a card base measuring 21cm x 14.5 cm, scored and folded at 10.5cm and adhered the silver layer and then the inked layer. The stars were added with Stampin’ Dimensional’s.

starofnightinside

For the inside of the card I took a piece of Whisper White cardstock measuring 14cm x 10cm and stamped the large swirl at the bottom in Night of Navy. I also added the greeting “May you Season be Peaceful and your New Year be Bright”.

I really enjoyed making this card, so much so I’ve now made ten of them so I have a nice stack ready for my Christmas cards, only problem was I have a very temperamental heat gun, so the embossing took a whole afternoon!

Happy Crafting

Joanne x