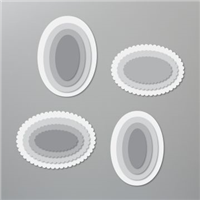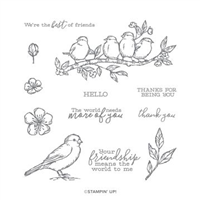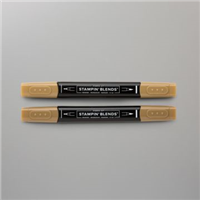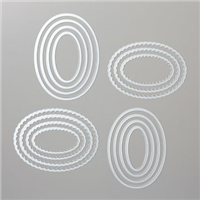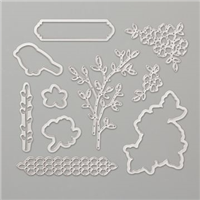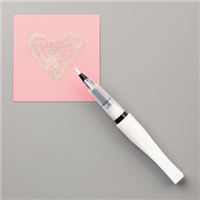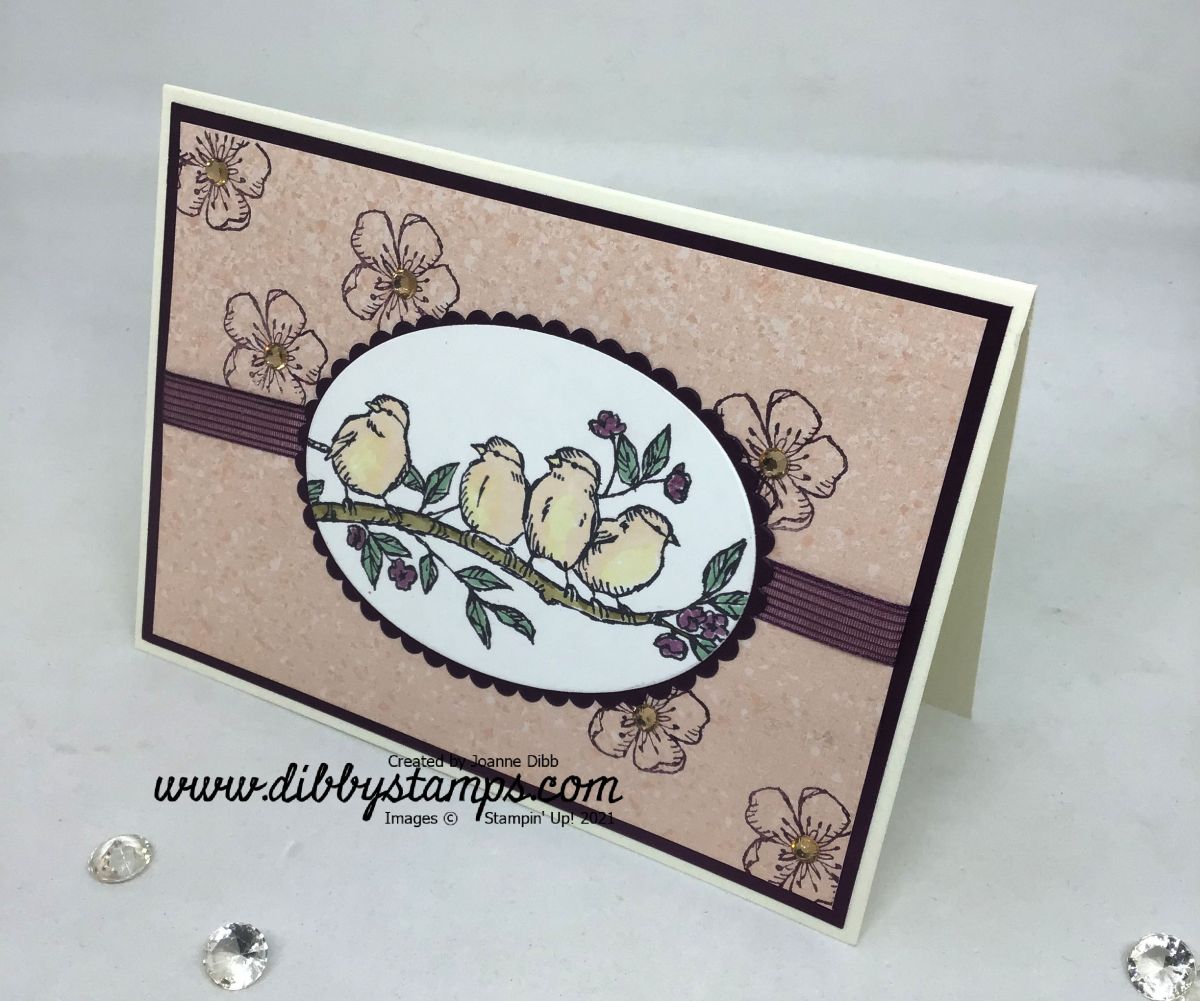
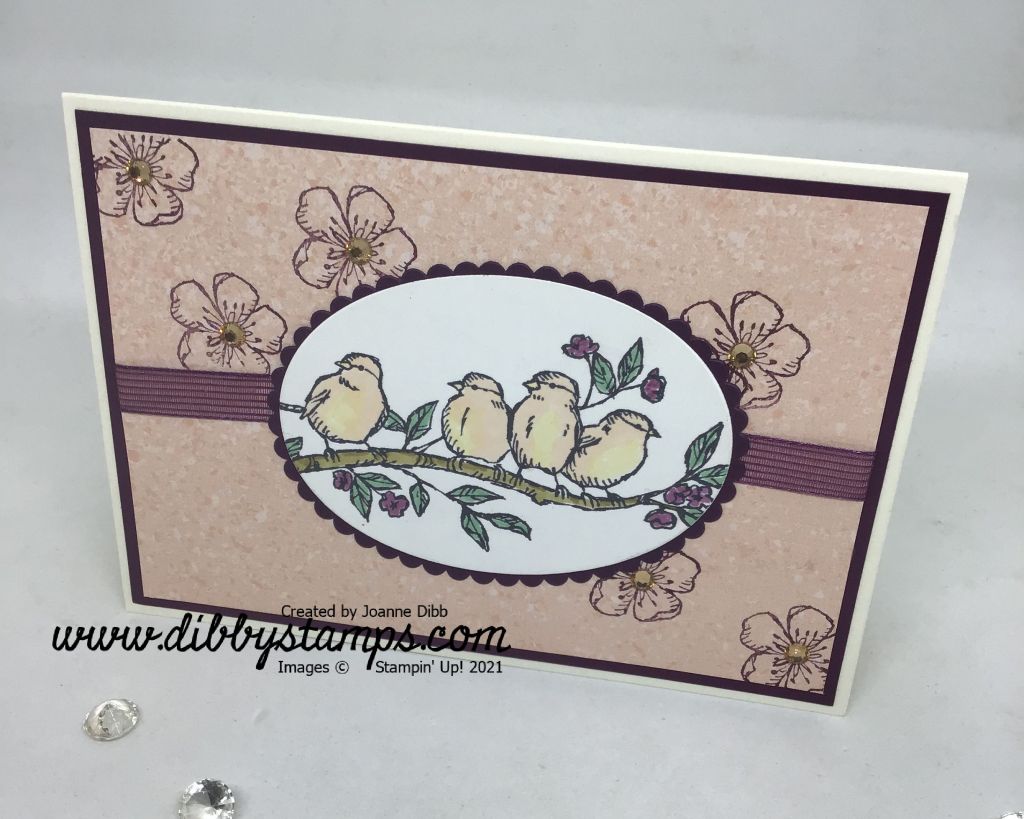
Sadly the Layering Ovals dies have now sold out here in Europe but I couldn’t let them go into my craft closet with out one final outing. I’ve paired the with the Free As A Bird stamp set which is carrying over to the next catalogue. I really like the delicate images in this set, these cute little birds were just crying out to be coloured with Stampin’ Blends.
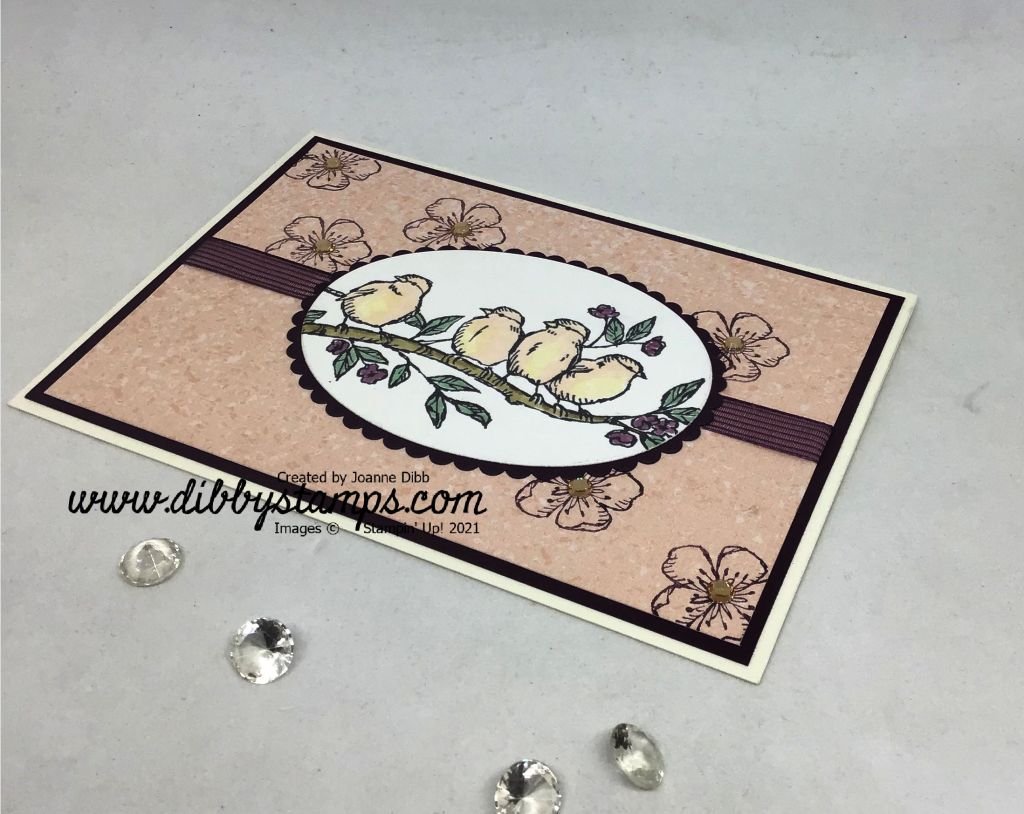
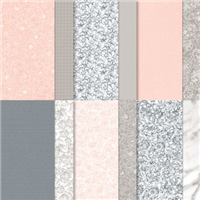
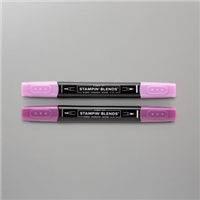
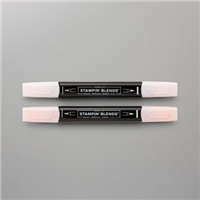
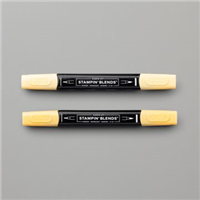
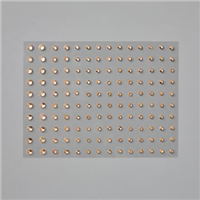
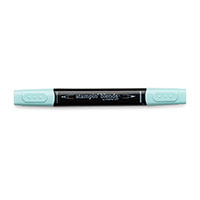
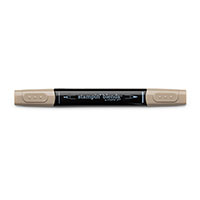
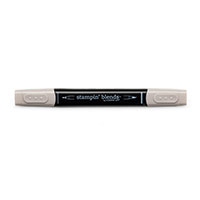
I’ve coloured the little birds with a mix of Petal Pink and So Saffron to give a blended peachy tone, which matches the Champagne Rhinestones which I’ve used to embellish the card. The branch is Soft Suede and the leaves Just Jade.

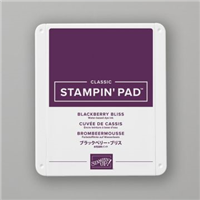
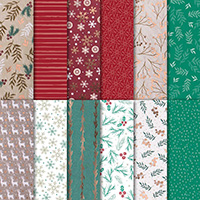
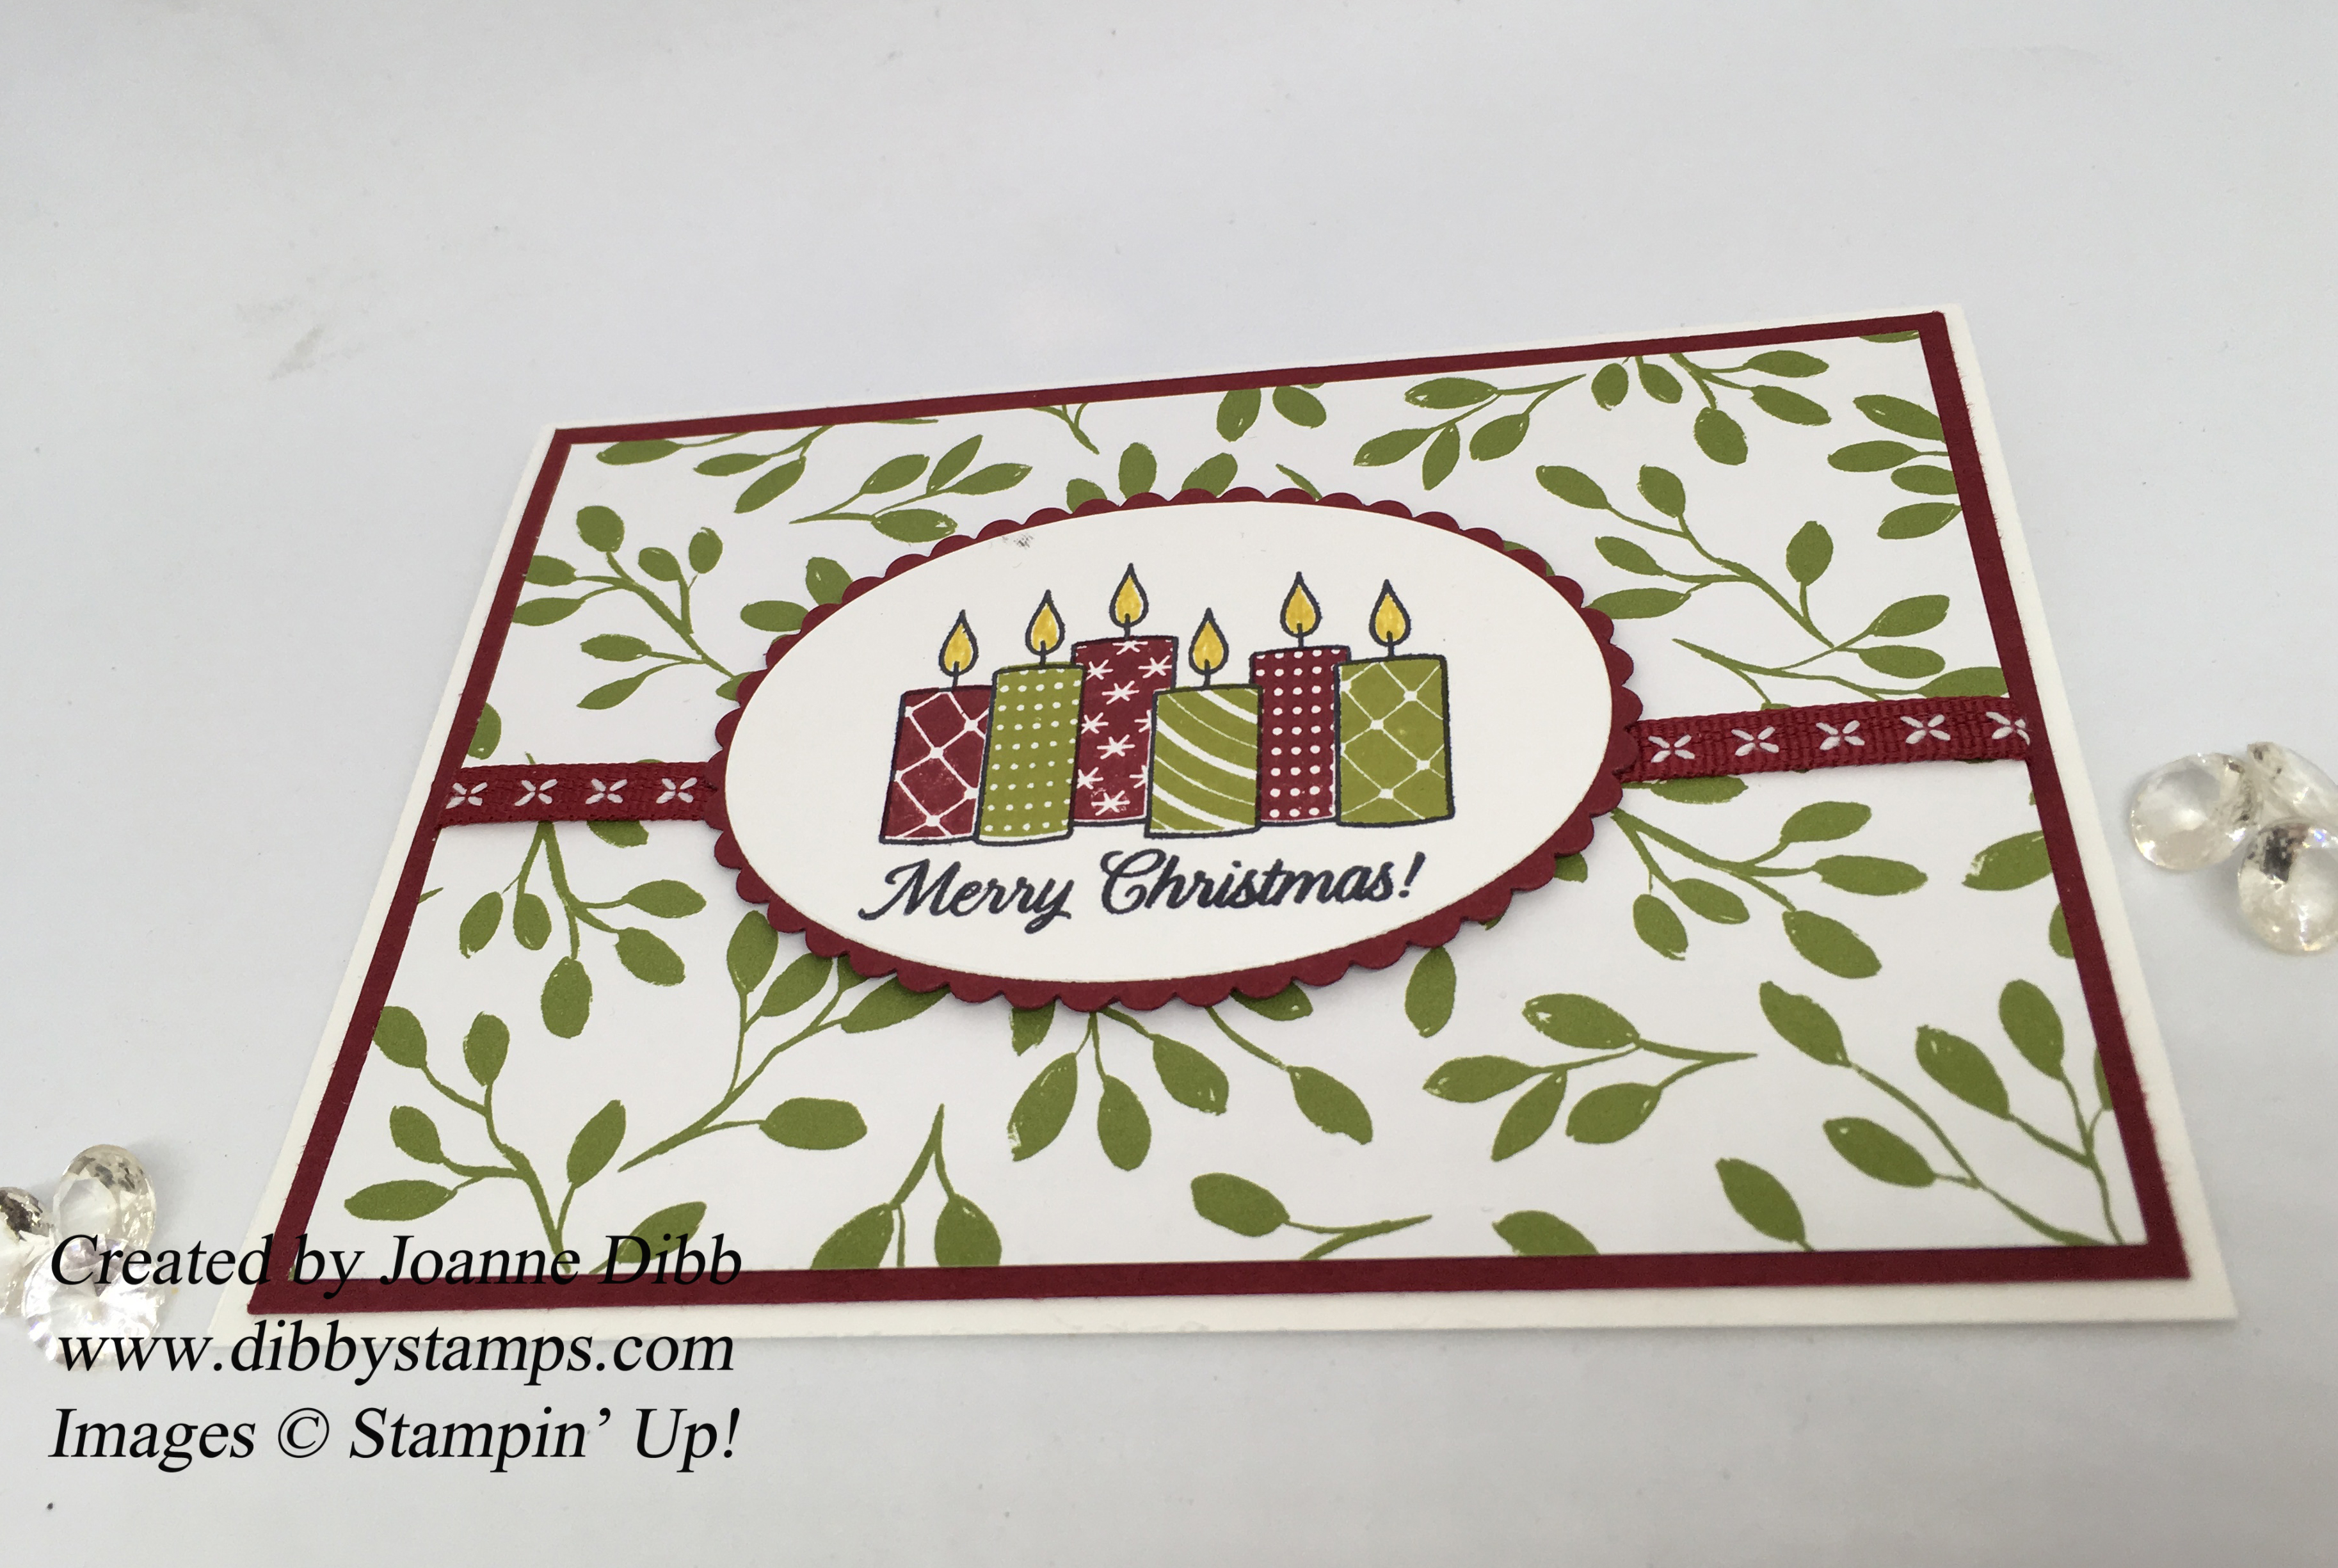
I’ve used Blackberry Bliss as an accent colour in the flowers in the stamped inmage and also for the stamped flowers on the designer paper background.
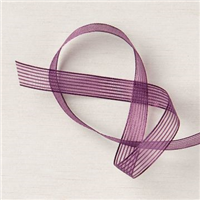
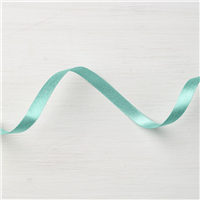
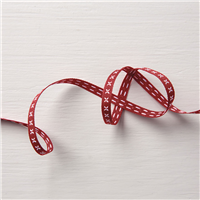
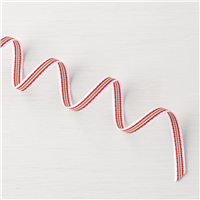
As a final touch I added a length of the Blackberry Bliss Striped Ribbon from the Mini Catalogue
I love the soft feminine feel of this card and hope its not another year before Free As A Bird sees some ink.
Happy Crafting
Joanne x
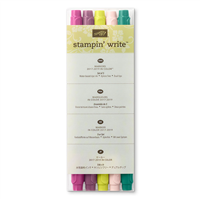
Supplies: