For the first time in a long time I’ve made a fancy fold card, well a Z-fold card so its not that fancy!!
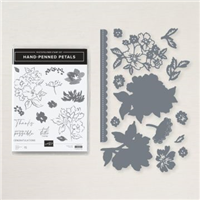
For this card I’ve used the Hand-Penned Bundle as my focal point.
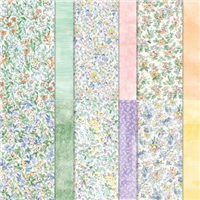
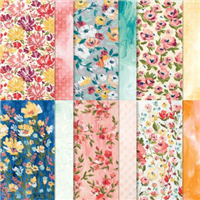
To make the base cut a piece of A4 cardstock to 28cm x 10.5cm. Score the long length at 7cm and 14cm and into the z-shape. I then covered the small front section with some of the Hand Penned Designer paper measuring 6.5cm x 10cm and covered the inside/back section with a piece measuring 13.5cm x 10cm.

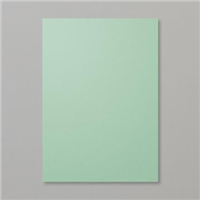
I then cut the second largest frame from the Scalloped Contours dies in Mint Macaron and two rectangles from the fourth largest Stitched Rectangle die (the one measuring 10.5cm x 7cm. The white rectangles fit perfectly inside the stitched dots on the Mint Macaron rectangle.
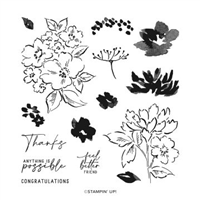
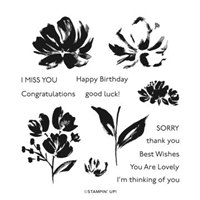
On seperate cardstock I stamped the largest flower outline from the Hand-Penned Petals stamp set and filled in with Mint Macaron leaves and Highland Heather flowers.

I stamped Thank You on one White rectangle before adhering to the Mint Macaron Scalloped rectangle, which I then adhered to the small front panel of the card, remember to only put adhesive on half of the rectangle otherwise it will stick to the back and not open. I then adhered the other white rectangle to the back of the card, lining it up behind the Mint Macaron rectangle.
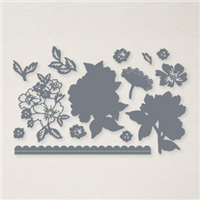
I die cut my flowers and added them to the front of the card and then finished off with three Mint Macaron gems from the Genial Gems pack.
I love this bundle and hope it carries over into the 2022-2023 Annual Catalogue.
Happy Crafting
Joanne x
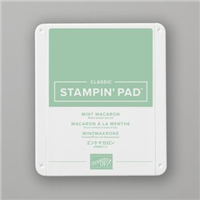
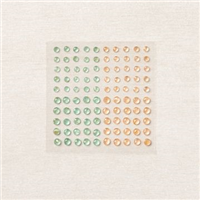
Supplies: