Parisian Blossoms Paper Strip Card

Today I’m using the Parisian Blossoms Speciality Designer Paper to create a card with a paper stip background. This techinque is a great way to use all those little scraps of paper which you have left at the end of a paper pack. For this card my strips measured 1.5cm x 8.5cm. Iused seven strips for this card and mounted them on a background of Champagne Foil measuring 9cm x 12cm.

Parisian Blooms Strip Card - flat

For the greeting I used the retiring Label Me Pretty stamp set and matching Pretty Label punch and I embellished the card with some Petal Pink Metallic Edged Ribbon and a couple of Champagne Rhinestones, which I’m pleased to say are carrying over to the new catalogue.

Happy Crafting

Joanne x

Supplies:


Pastel Above the Clouds Card

I’ve had the Above the Clouds bundle in my stash since june but I’ve not inked it up yet. I love the sentiments in this set but I’ve struggled with the balloons, so I’ve taken inspiration from the catalogue and made my own version of the card on page 89 of the Annual Catalogue.

I’ve used the Stitched Rectangle dies to create the Purple Posy frame and the matt for the clouds, which were stamped in Pool Party.

Pastel Above the Clouds flat

The balloons are stamped in Purple Posy and Grapefruit Grove and the greeting is stamped in Highland Heather so it stands out more.

I’ve finished the card off with three sequins from the iridescent assortment. I’m quite pleased with how this turned out so hopefully theis set will see some more ink again soon.

Happy Crafting

Joanne x

Supplies:


Floral Friday: Needlepoint Nook Trio

For today’s Floral Friday post I’m saying a fond farewell to the Needlepoint Nook Suite from the Spring/Summer catalogue. This suite is jam packed with embroidery and stitching images which remind me so much of cushion covers from my childhood which my grandma stitched. If like me you love a bit of stitching or some nostaligia then this is a great collection to play with.

For my cards today I focused on the large flower head image as starting  point for my project and the colour combination of Poppy Parade, Pear Pizzazz, Night of Navy and a hint of Crushed Curry.

Floral Friday - Neddlepoint Nook 1

I used one of the busier patterns for this background so wanted my focal point to be quite bold so it didn’t get lost in all the colours behind. I chose three Poppy Parade flowers with the matching leaves in Pear Pizzazz. I love how these two stamp/die comibnations work perfectly togther to create stunning elements simply. To finish this card I just stamped the greeting ” Get Well Soon” in Night of Navy and cut up the seperate words and adhered one to each flower.

Floral Friday - Needlepoint Nook 2

for this second card I started by using the largest die in the set which creates this lovely stitched effect in the cardstock, which is great for some subtle detail. I again added one of the Poppy Parade and Pear Pizzazz flower combinations with a couple of extra die cut leaves. I stamped the greeting onto the lovely label die included in the set and highlighted that with a small strip of patterned paper. I finished the card off with some stamped Poppy Parade stiches in the corners.

Floral Friday - Needlepoint Nook 3

For my last card I went a little die cut crazy and threw a whole bunch of different flowers and leaves onto the card to make this gorgeous floral arrangement. The greetings label is made from using the Pretty Label punch. First stamp your greeting and then take the stitching die from the Needlepoint Elements and run through the die cutting machine and then simply punch with the Pretty Label punch and you have a label with gorgeous stiching all around it.

Hope you’ve enjoyed today’s projects, I’ve loved pulling out the Needlepoint Nook Suite again, lucky for me I have plenty of paper left so can make plenty more projects.

Happy Crafting

Joanne x


Rainbow Flower Birthday Card with Happy Birthday Gorgeous

We’ve had miserable weather here in the UK the last couple of days so I was inspired to make a rainbow themed card in the hope the sun will come back out for the last week of the school holidays. So I pulled out one of my favourite stamp set Happy Birthday Gorgeous and a mix of colours to make a rainbow.

Starting at the top of my card a stamped a row of flowers in the following colours: Real Red, Pumpkin Pie, Daffodil Delight, Granny Apple Green, Blueberry Bushel and Fresh Fig. I did have Balmy Blue and Night of navy in the mix for my blue and indigo colours but half way down I realised I wouldn’t have room to complete the rainbow so swapped them for Blueberry Bushel which is the perfect mix of blue and indigo.

Happy Birthday Gorgeous Rainbow Flower Card Flat

To finish the card I stamped and embossed the Happy Birthday greeting in white onto black card and punched it out with the Pretty Label Punch.

A quick simple card which will hopefully encourage the sun to come back out.

Happy Crafting

Joanne x


Pootler’s Design Team – The Little Things Week Three

14088395_10153745365531603_281310922678395855_n

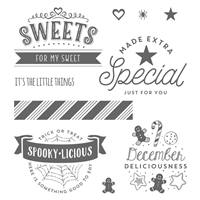
Wow I can’t believe were are in the third week of November already, have you started getting ready for Christmas yet? I’m working my way through my list but one of the most difficult people to buy for is my husband as the only thing her ever want at Christmas is sweets. So this year I’ve decided to wrap some of his favourites up a little differently using my Stampin’ up! supplies and where better to start than the SWEETs stamp in The Little Things Stamp set.

pdtwk3-1

As you can see I went with a romantic theme rather than a Christmassy one as that little heart stamp is just the cutest, I actually think I could have added a lot more hearts to my stamping as there are quite a few gaps…oh well.

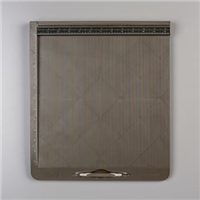
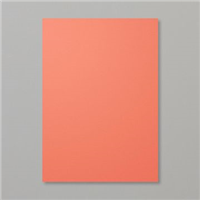
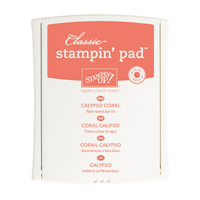
To make the box I used Thick Very Vanilla cardstock and Calypso Coral ink and Ribbon. The inside draw of the box is made for a piece of cardstock measuring 4″ x 10″ . Score the short side at 1″ and 3″ and the long side at 1″ and 9″, which leaves you with a grid pattern.

pdt-thelittlethings-wk3-5

Cut inside the score lines on the short side on the insides of the outer small rectangles and diagonally across each corner. Fold each triangle that is left in to create the ends of the box.

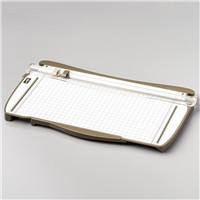
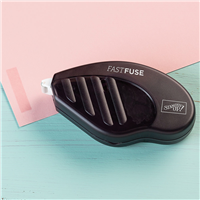
For the outer box take a piece of cardstock measuring 8 3/8″ by 7″. Stamp your decoration all over the card. Next turn your card on the 7″ side, then score at 1 1/16″, 2 1/8″, 4 1/8″ and 5 1/16. Burnish all the score lines and the run Fast Fuse all the edge of the largest section. Wrap this piece of card around the box to create a sleeve so the inside box can slide in and out.

pdt-thelittlethings-wk3-3

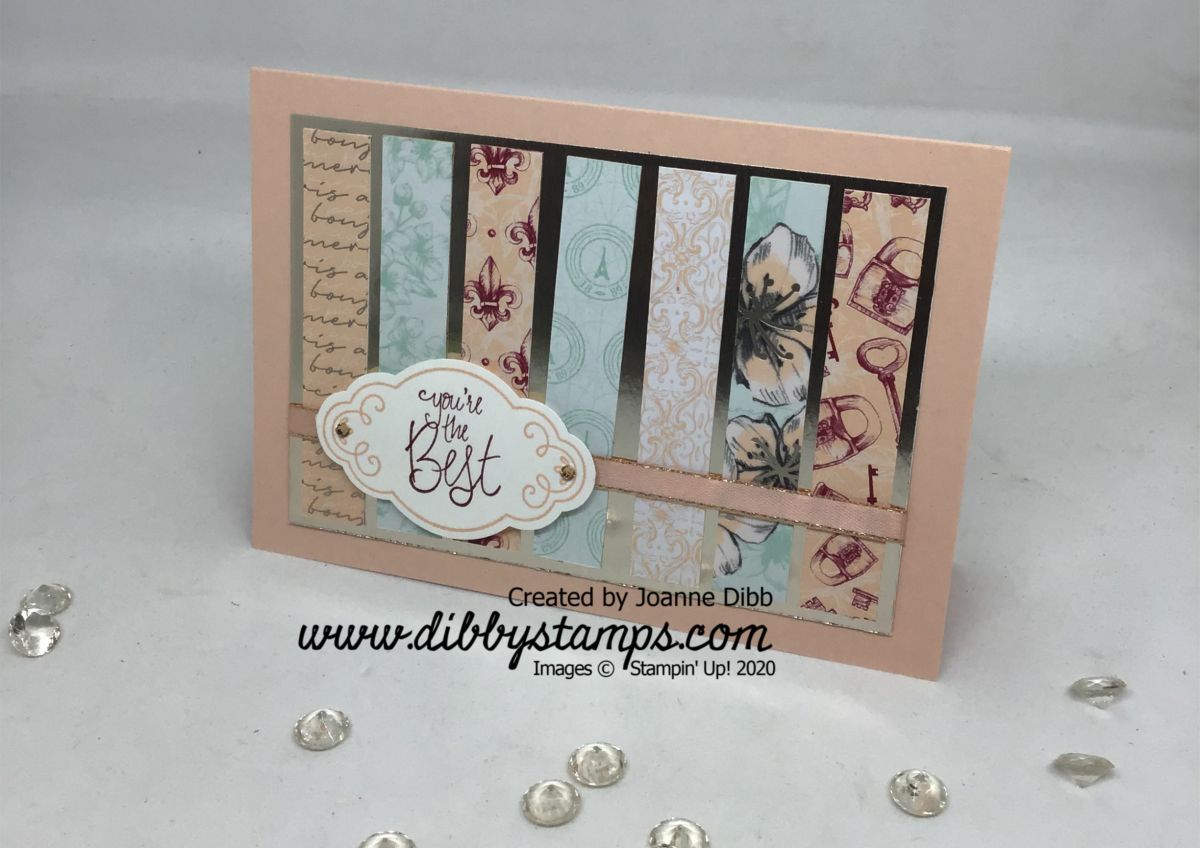
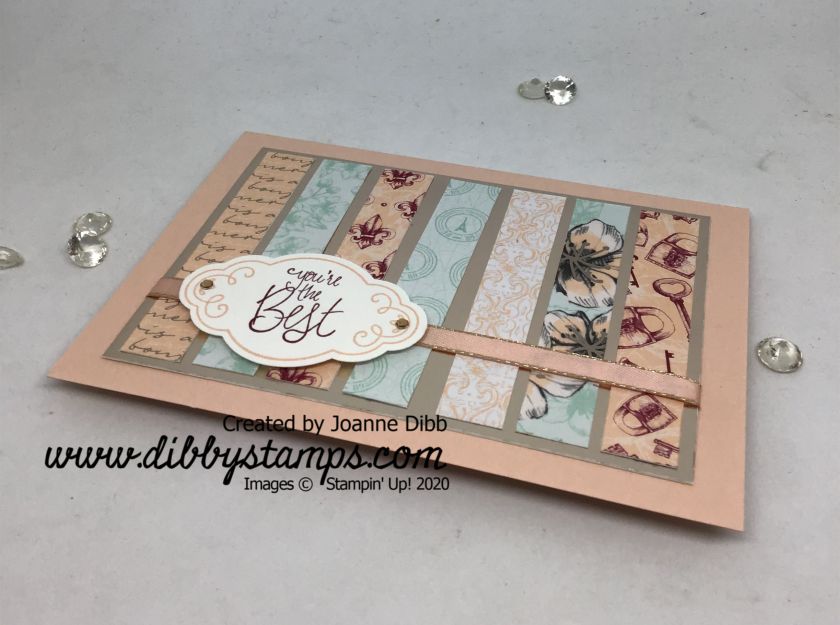
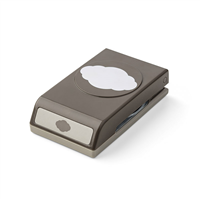
To create the label I stamped the SWEETS stamp in Calypso Coral and punch out using the Pretty Label punch, to make it stand out I punched out another two labels in Calypso Coral and used them as a border.

pdt-thelittlethings-wk3-4

To finish the box I wrapped some of the Ombre Calypso Coral Ribbon around and secured it to the top of the box behind the label.

Hope you enjoyed today’s project and look out for more sweetie packaging ideas in the next few weeks.

Happy Crafting

Joanne x