Christmas Sparkle Coffee Cup Card

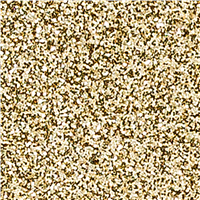
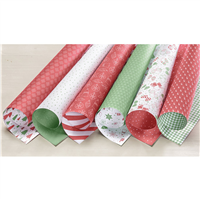
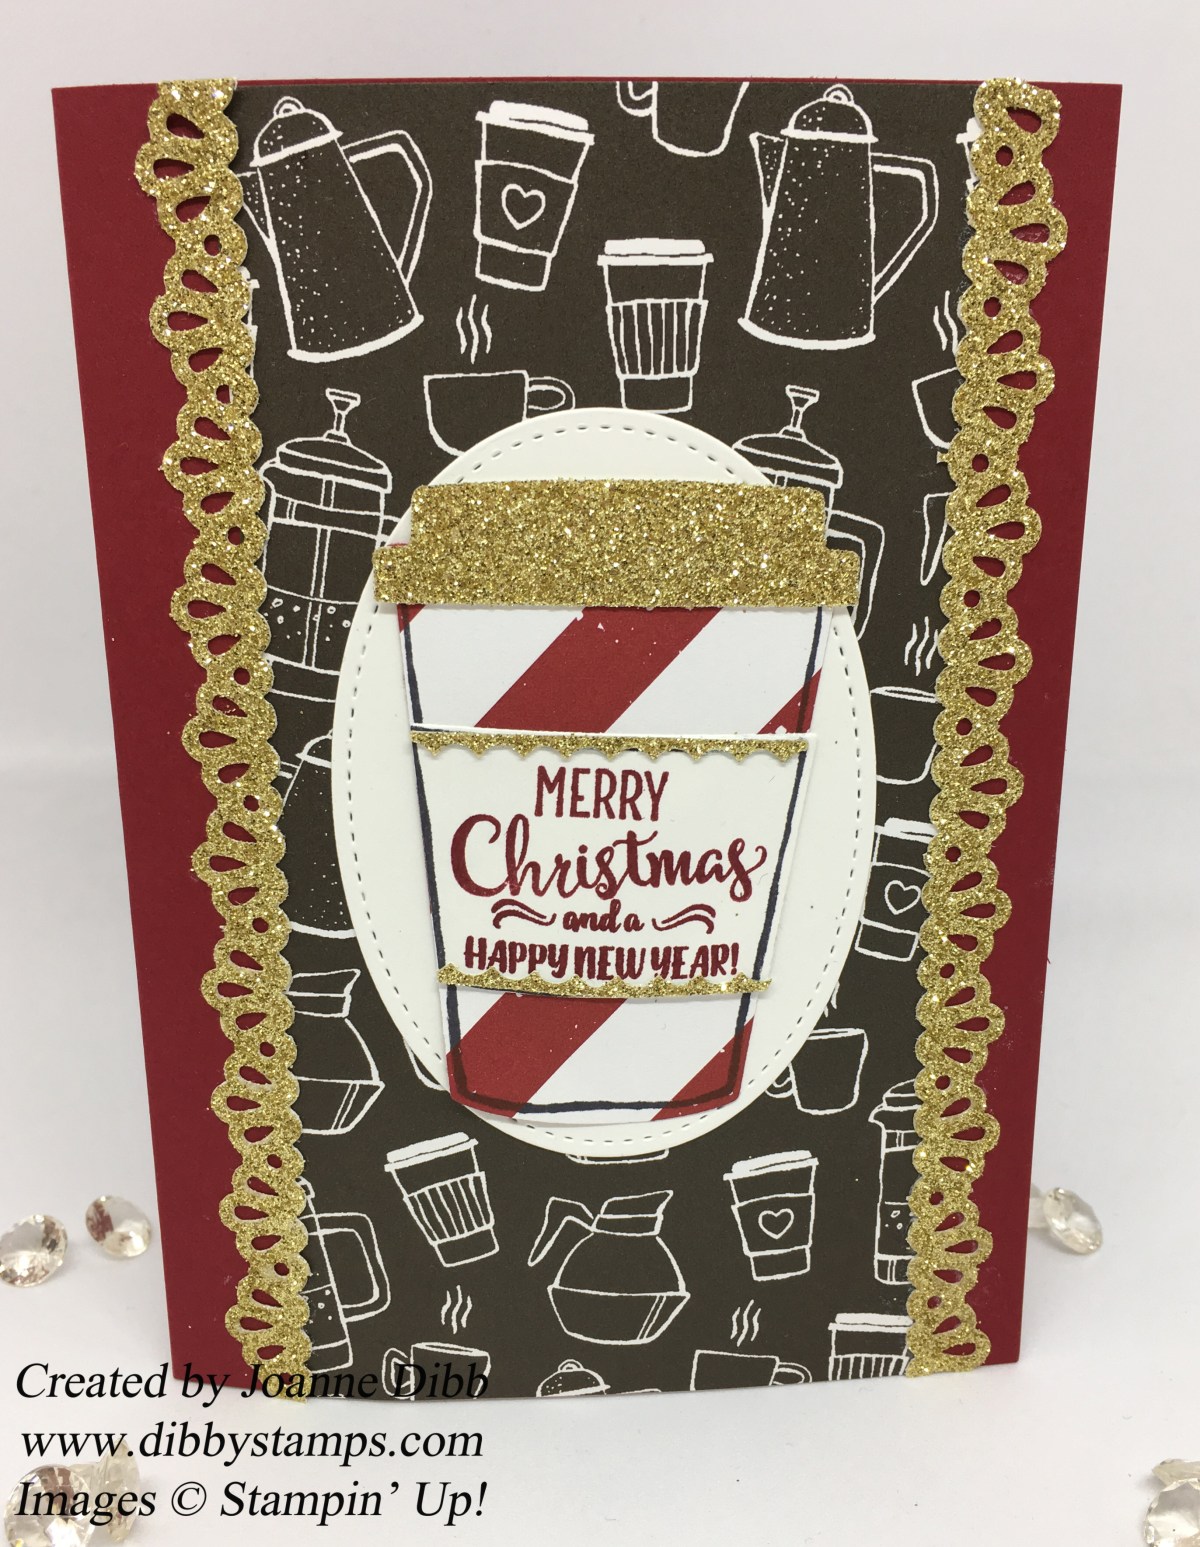
When I think of Christmas I immediately think of all things sparkly, Christmas lights, stars, pretty packages so for today’s card I’m adding some extra sparkle to my project with the Gold Glimmer paper. This stuff is fabulous, super duper sparkly and hardly any glitter loss, plus a little bit really gives your project the wow factor.

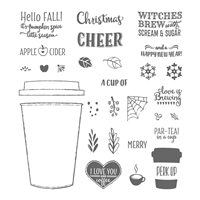
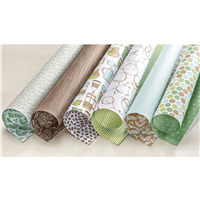
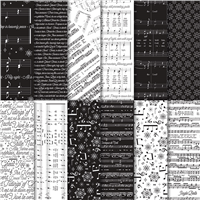
Once again I’m using the Coffee Café bundle and the Merry Café stamp set for my card, I love how easy a card comes together with these products. I started today’s card with a card base in Cherry Cobbler measuring 14.5cm x 21cm, scored and folded at 10.5cm. I next took a strip of the black coffee cup paper from the Coffee Break DSP measuring 14.5cm x 8cm and stuck this to the card base.

goldglimmercoffeecupcard

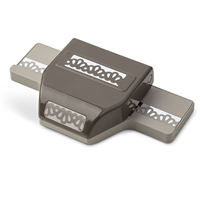
Next I took the Decorative Ribbon Border punch and punched a full 12″ length of Gold Glimmer Paper, I cut this to two strips of 14.5cm and stuck it onto the card front using multipurpose adhesive sponged on the back.

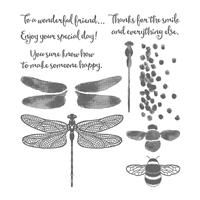
I next stamped and cut out the pieces for the coffee cup and the stitched oval, including a gold glimmer coffee lid for the cup. I glued these two the stitched oval  and finished the card off by adding the gold glimmer edging to the coffee cup wrapper. These gold strips were the offcuts from using the punch and fit the wrapper perfectly and also add some extra sparkle.

goldcoffecupcloseup

I’m yet to decorate the inside of this card but I’m thinking one of the cute little coffee cups with the heart on which are on the black paper will look good in the bottom right corner.

Happy Crafting

Joanne x


Star of Wonder, Star of Night Christmas Card

For today’s card I’ve gone for a more traditional feel using a black, white and silver colour scheme and some of the music paper from the Merry Music Speciality Designer Series Paper.

I took a Basic Black card base and embossed the greetings in silver in the top left and bottom right hand corners of the card. Make sure you use  the embossing buddy to avoid extra marks on your card.

black star of wonder card

To make the background piece I cut a piece of the dsp to 10.5cm x 8cm, then ripped  the top and  bottom  diagonally across to create rough edges. Take the Versamark pad and run it along these edges and then emboss with silver powder.

To make the focal point of the card cut out the outline star shape from the Starlight Thinlits in vellum and the largest detailed star in Silver Foil stuck on to the multipurpose adhesive sheet, then stick the two stars together. To finish off the card front take some silver metallic thread and wrap in round your fingers to create a large loop. stick this onto the card front using small amount of tear and tape to adhere, behind where the star will go.  Add the star to the top of the silver loops and the card front is complete.

blackstarofwondercardinside

To complete the inside of the card I took a piece of whisper white cardstock measuring 10cm x 14cm. Then take the Basic Black archival ink and stamp the large detailed star image in the bottom right corner.

Thank you for joining me today, tomorrow’s card will feature the Snowflake sentiments stamp set from the new autumn/winter catalogue.

Happy Crafting

Joanne x


Rainbow Dragonfly Card

Hello everyone,

Hope you’ve all have a lovely weekend and enjoyed the sunshine. It’s lovely but today I’m thankful I live in a stone cottage and can cool off easily. Today’s card was inspired by the watercolour pencils. I was playing around creating rainbow in various patterns across watercolour paper and my favourite result was this rainbow stripe.

rainbowdragonfly

I didn’t want to detract too much from the lovely rainbow effect so I chose to just use Basic Black ink and minimal stamping. The dragonfly is actually stamped twice as the first time he was very faint as I forgot to do the tap, tap, twist motion with the archival ink. Although with the photopolymer stamps this was really easy to do.

The leaves are from the Falling Flowers stamp set as I wanted a bold outlined leaf shape and this was perfect. I’ve not chosen a sentiment for this card as I think it could work for many occasions and doesn’t need anything else adding.

Happy Crafting

Joanne x