I Love Coffee Card

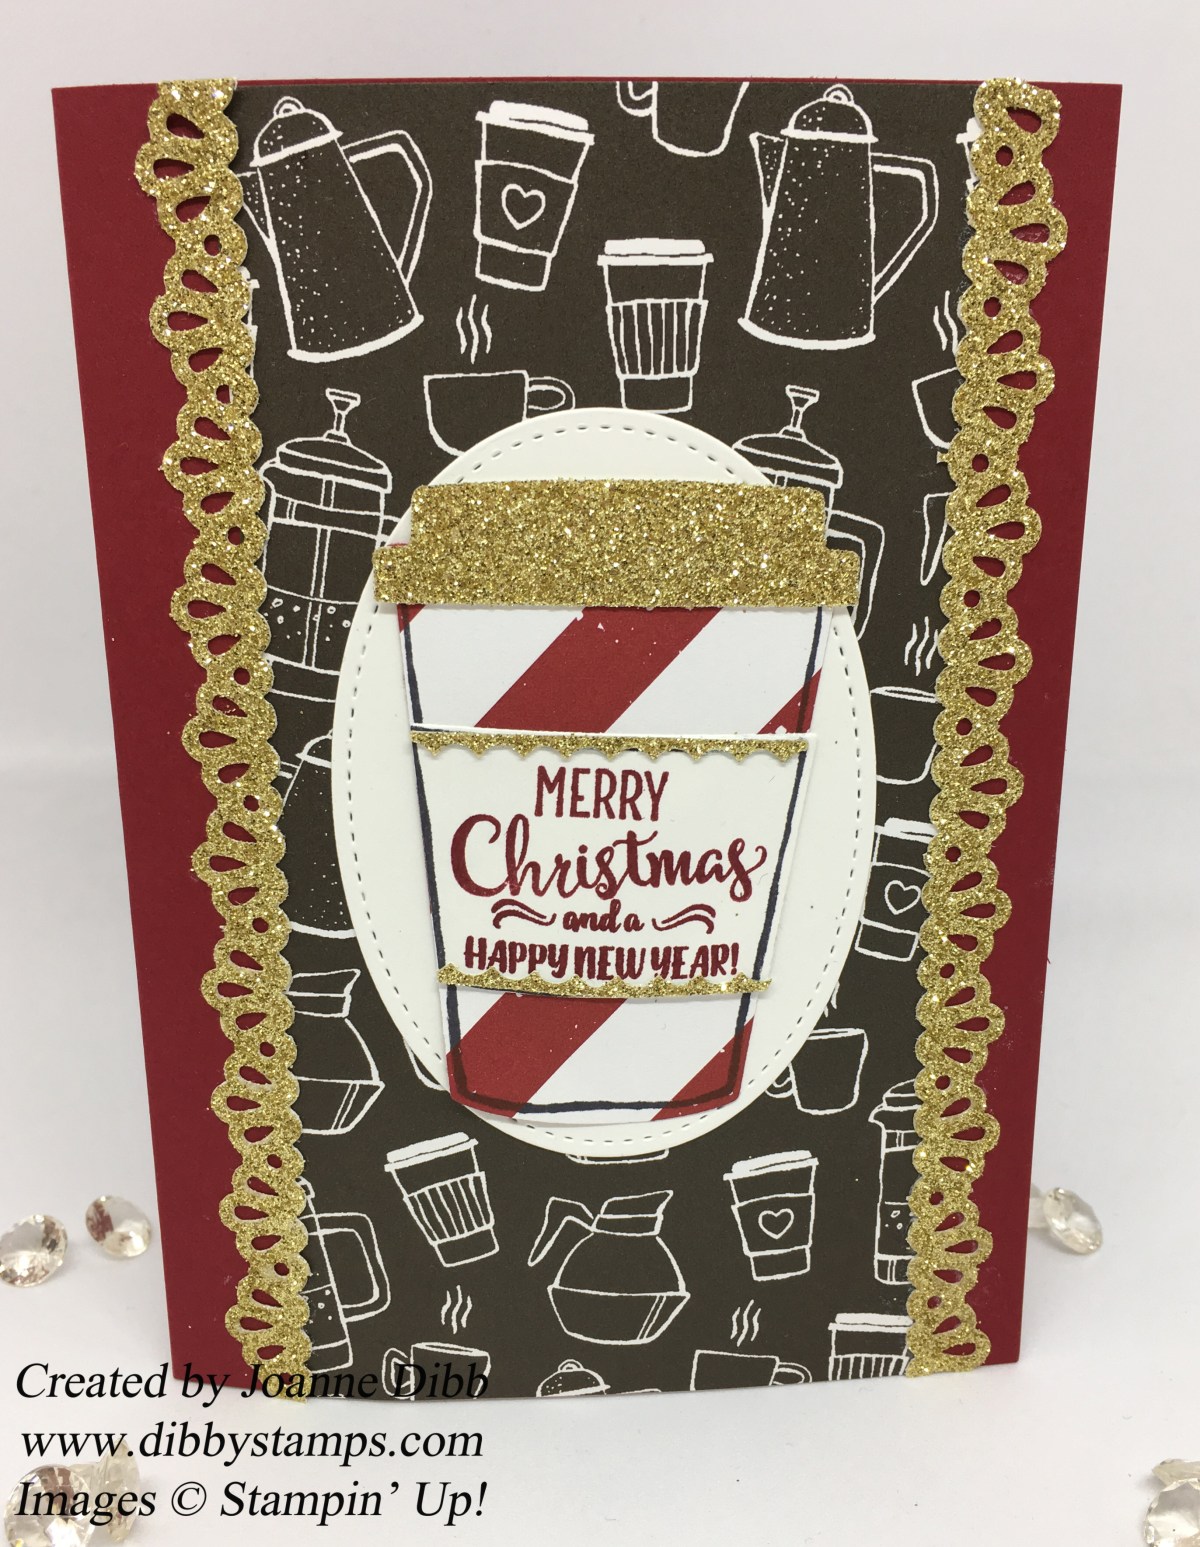
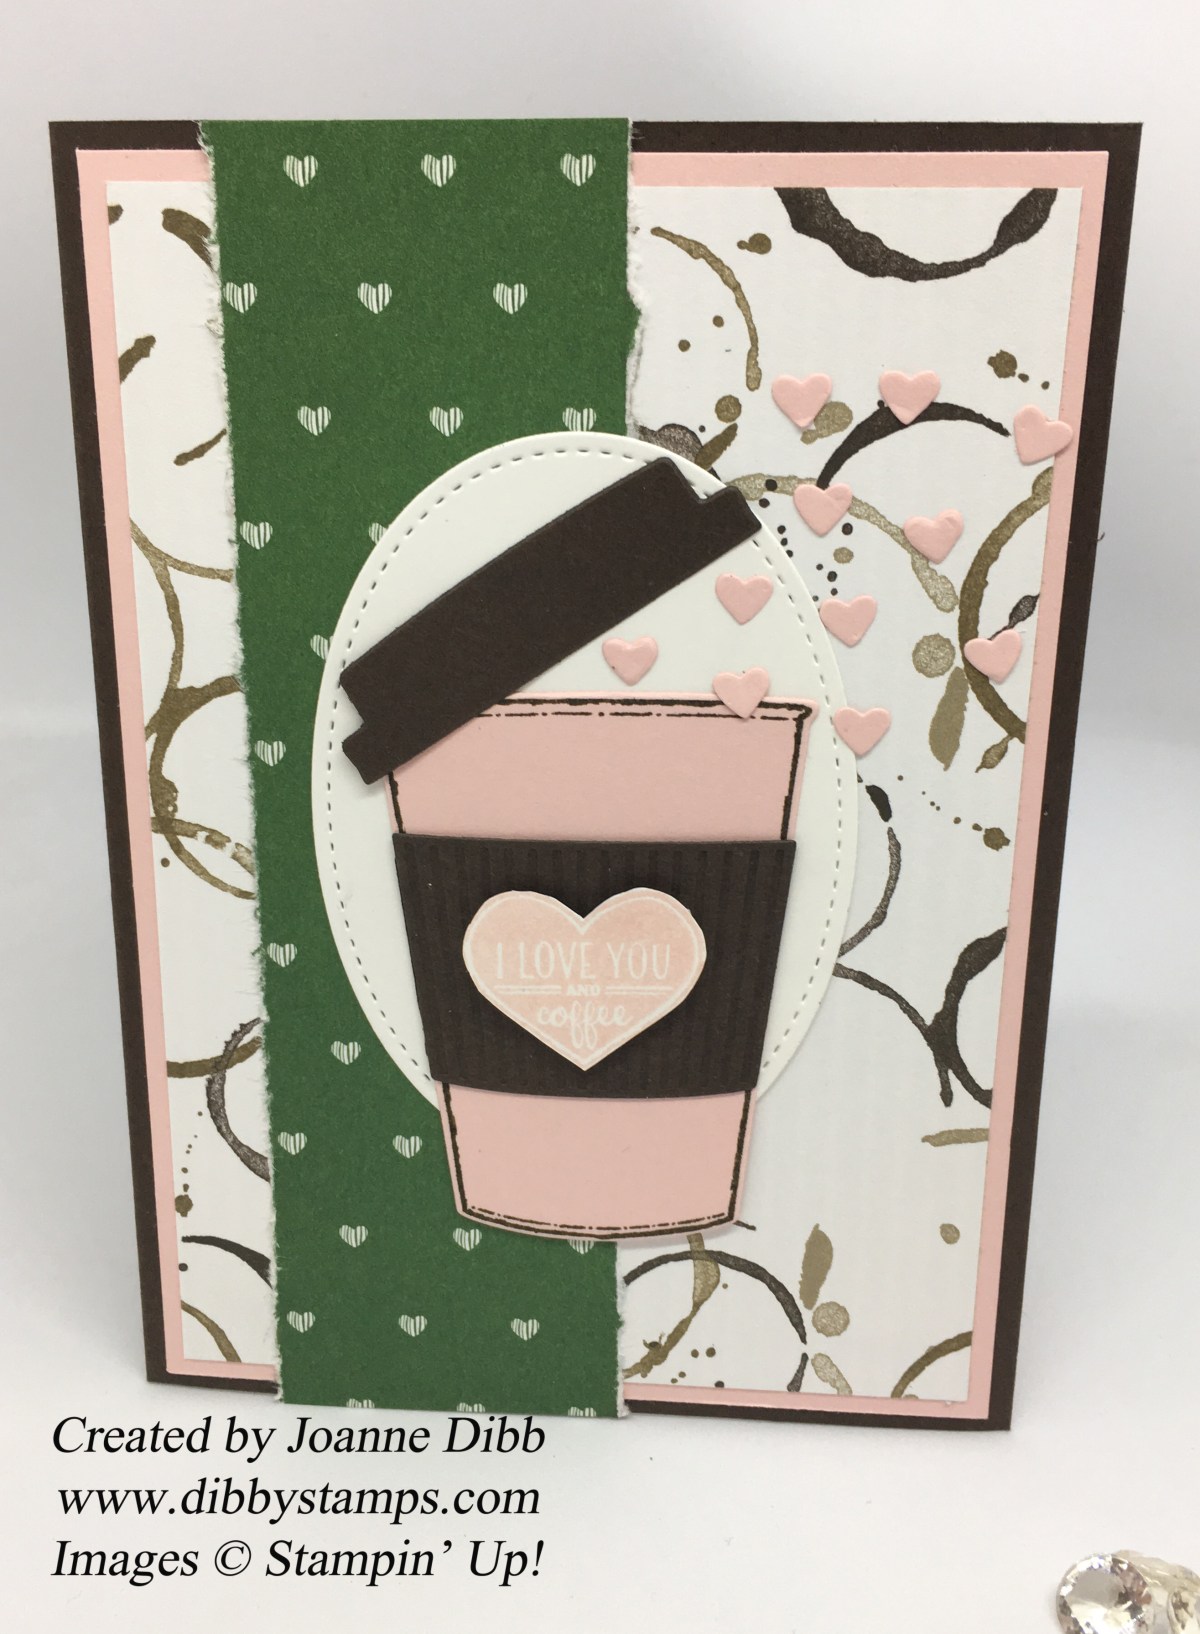
For today’s card I’ve gone for sharing the love. A perfect card to send to that special someone who knows how much you love all things coffee.

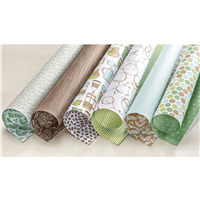
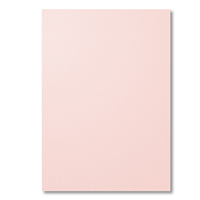
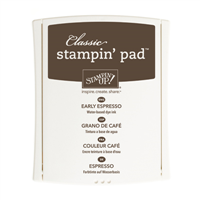
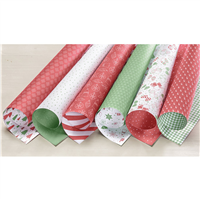
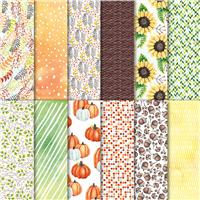
This card was really quick to make with just a few layers and die cuts. The card base is Early Expresso measuring 14.5cm x 21cm, folded and scored at 10.5cm. The next layer is Powder Pink measuring 14cm x 10cm and then there is a final layer cut from the Coffee Break DSP measuring 13.5cm x 9.5cm.

lovecoffeecard

Next add a strip of the garden green heart paper from the Coffee Break DSP measuring 14.5cm x 4cm. To get the ripped edge measure the paper 14.5cm x 6cm and then take an aqua painter and a ruler and measuring 1cm in from each edge, run the aqua painter down the line and then rip. The water from the aqua painter will soften the paper and give the ripped edges.

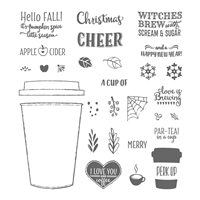
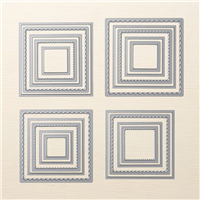
Cut the coffee cup out using the Coffee Cup Framelits and Powder Pink and Early Expresso cardstock. Cut out the largest oval from the Stitched Shape Framelits in Whisper white and stick to the middle of the card. Arrange the coffee cup elements on the card as shown in photo.

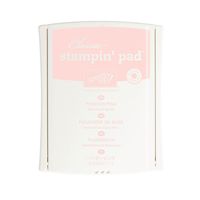
Stamp the heart from Merry Café in Powder Pink onto Whisper White and adhere to the coffee cup using Stampin Dimensional’s. To make the additional small hearts I used the Window Box Thinlits dies and Powder Pink cardstock. Similar items you could use are the hearts die from Everyday Jars or the heart on the Cookie Cutter Builder Punch.

heartsinside

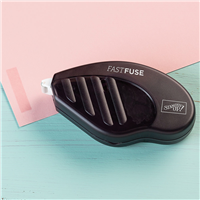
To finish off the inside of the card I stamped some hearts in Powder Pink in the bottom right hand corner of a piece of Whisper White measuring 14cm x 10cm and stuck to the inside of the card using Fast Fuse Adhesive.

lovecoffeecardfront

Hope you enjoyed today’s card and pop back tomorrow for my final card in Cups and Coffee week.

Happy Crafting

Joanne x


Coffee Cup Gift Card Holders

For today’s post I loved making these Coffee Cup Gift Card Holders so much that I’ve made two versions, a winter themed one and a Christmas one. I can’t decide which is my favourite.

crumbcakegiftholder

For the gift card base take a piece of cardstock measuring 10.5cm x 28cm and score at 7cm and 14cm on the long side. Turn the cardstock round 90 degrees and make a score mark at 5cm. Cut the cardstock from the 5cm mark to the top of the 7cm scoreline, as shown in the picture below. Fold the gift card holder in half at 14cm and then fold inwards at 7cm, that completes the card base.

giftcardscoremap

To make the front half section of the card cut a piece of Soft Sky to 6.5cm x 10cm and a piece of the Coffee Break DSP to 6cm x 9.5cm, layer them together and stick to the front of the card using Fast Fuse Adhesive.

For the coffee cups I used images from the Coffee Café and Merry Café stamps sets and stamped the in Early Expresso ink and then cut out with the Bigshot using the Coffee Cup Framelits. Assemble the cups as shown and fix to the front of the card. When sticking the first coffee cup down be care to only use adhesive on one side so the overlapping part is not sticky.

crumbcakegiftinside

To make the inside of the card take a piece of Whisper White cardstock measuring 13cm x 9.5cm and stamp the  greeting and snowflakes with Early Expresso. Matt the white stamped cardstock onto a layer of Soft Sky cardstock measuring 13.5cm x 10cm and adhere to the inside of the card using Fast Fuse.

To make the gift card holder part run fast fuse along the bottom of the inside flap and up to the 5cm, once stuck down this with create a triangular shaped pocket to insert your gift card.

redgreengiftholder

To make the Christmas version use a Garden Green base and Cherry Cobbler instead of Soft Sky and replace the Coffee Break DSP with the Be Merry DSP. Use a combination of Basic Black Archival and Cherry Cobbler ink for the stamping.

coffeegiftholders

So there are my two projects for today, which do you prefer? I love them both but think the Crumb Cake/ Soft Sky just has the edge.

Happy Crafting

Joanne x


Christmas Sparkle Coffee Cup Card

When I think of Christmas I immediately think of all things sparkly, Christmas lights, stars, pretty packages so for today’s card I’m adding some extra sparkle to my project with the Gold Glimmer paper. This stuff is fabulous, super duper sparkly and hardly any glitter loss, plus a little bit really gives your project the wow factor.

Once again I’m using the Coffee Café bundle and the Merry Café stamp set for my card, I love how easy a card comes together with these products. I started today’s card with a card base in Cherry Cobbler measuring 14.5cm x 21cm, scored and folded at 10.5cm. I next took a strip of the black coffee cup paper from the Coffee Break DSP measuring 14.5cm x 8cm and stuck this to the card base.

goldglimmercoffeecupcard

Next I took the Decorative Ribbon Border punch and punched a full 12″ length of Gold Glimmer Paper, I cut this to two strips of 14.5cm and stuck it onto the card front using multipurpose adhesive sponged on the back.

I next stamped and cut out the pieces for the coffee cup and the stitched oval, including a gold glimmer coffee lid for the cup. I glued these two the stitched oval  and finished the card off by adding the gold glimmer edging to the coffee cup wrapper. These gold strips were the offcuts from using the punch and fit the wrapper perfectly and also add some extra sparkle.

goldcoffecupcloseup

I’m yet to decorate the inside of this card but I’m thinking one of the cute little coffee cups with the heart on which are on the black paper will look good in the bottom right corner.

Happy Crafting

Joanne x


Hello Fall Coffee Cup Card

With Autumn truly started now this weeks theme is Cups and Coffee to celebrate those comforting drinks we all enjoy at this time of year. So today’s card is celebrating that autumnal favourite the Pumpkin Spice Latte. This doesn’t sound an appealing drink to me as I’m not big on any kind of spicy drink but I know for some of you the season isn’t complete without one or ten of these.

So to start todays card I took a card base measuring 14.5cm x 21cm, scored and folded at 10.5cm in Pumpkin Pie…what else? I next took a piece of designer series paper from the Painted Autumn pack measuring 14.5cm x 8cm and adhered this to the left side of my card.

hellofallcoffecupcard

I then took a strip of Early Expresso to create a boarder between the designer series paper and the card base.  Mine is about 0.7cm in width. I cut most of my A4 to 21cm x 29cm to make to two card bases measuring 14.5cm x 10.5cm, so I always have a little offcut left over. I find these super handy if you just want a little something to add to your card/

I next created the frame using the 6cm scalloped square and  the slightly smaller straight square from the Layering Squares Framelits. You’ll know you’ve got the right one because it fits perfectly inside the scalloped square. Cut the frame out of Early Expresso, then cut a 6cm square out of Very Vanilla for the back of the frame. Before sticking the two pieces together take some Linen Thread and wrap around the bottom left hand side of the frame and finish with a bow.

hellofallcoffecupcloseup

Next take the dotted patterned paper from Painted Autumn and stamp the large coffee cup from Coffee Café in Early Expresso. Take some Very Vanilla cardstock and stamp the cup wrapper in Early Expresso, then take Pumpkin Pie and stamp the leaves all over the wrapper, making sure some are stamped over the edge. Finally take the Hello Fall greeting and stamp in Early Expresso. Cut these out using the Coffee cup Framelits and also a coffee cup lid in Early Expresso. Stick your coffee cup together using multipurpose liquid glue. Then add to your card using Stampin Dimensional’s.

hellofallcardinside

For the inside of the card I took a piece of Very Vanilla measuring 14cm x 10cm and stamp Pumpkin Pie leaves along the bottom.

Hope you’ve enjoyed today’s card, pop back tomorrow for a Christmas version.

Happy Crafting

Joanne x