This week I’m focusing on the Everything Is Rosy Product Medley from Stampin’ Up! This is the first product of its kins released from Stampin’ Up! which contains a whole variety of co-ordinating products to make gorgoeus projects, if you want a closer look at the contents take a look at this post which has all the details. This kit is available until the end of May or until supplies have run out, so if you want it order it as soon as you can.
Category: Floral Cards
Floral Friday: Needlepoint Nook Trio
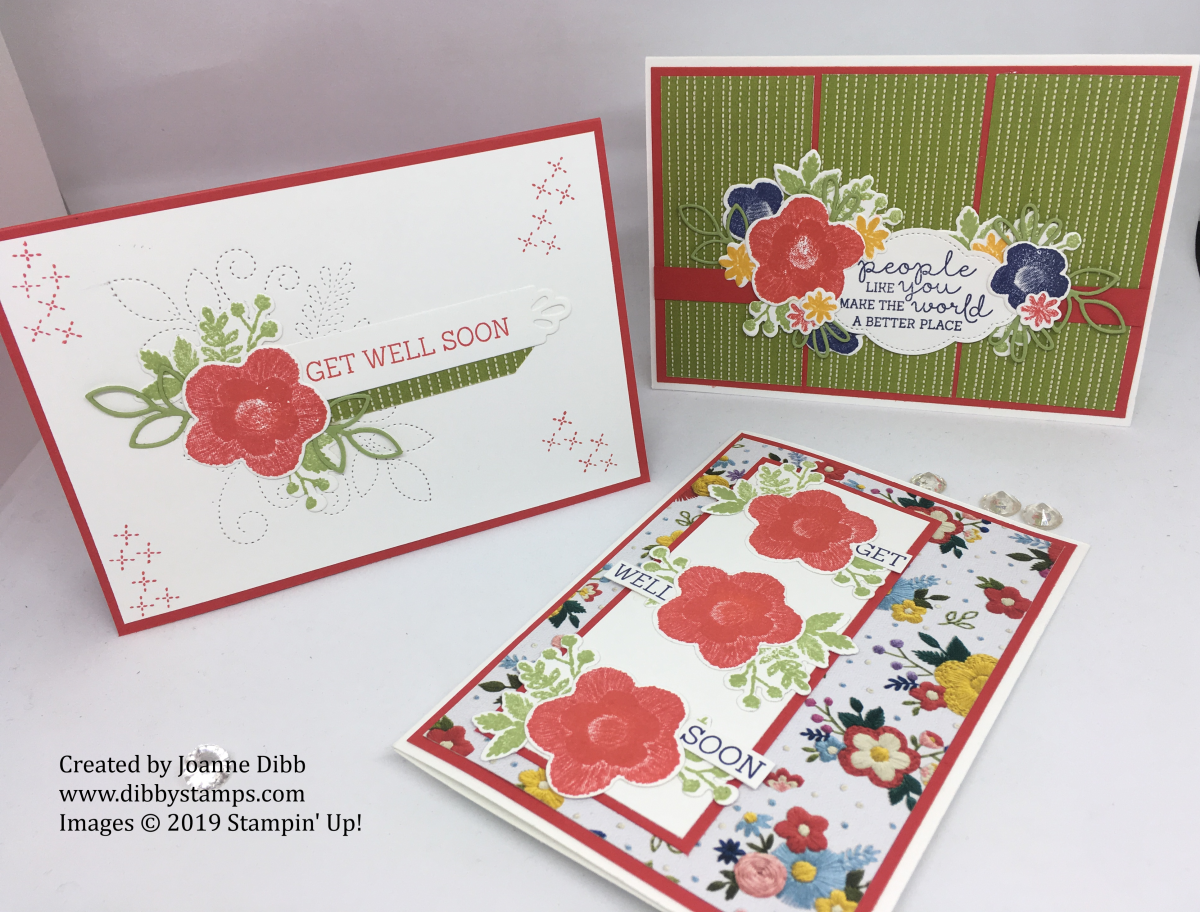
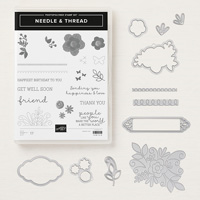
For today’s Floral Friday post I’m saying a fond farewell to the Needlepoint Nook Suite from the Spring/Summer catalogue. This suite is jam packed with embroidery and stitching images which remind me so much of cushion covers from my childhood which my grandma stitched. If like me you love a bit of stitching or some nostaligia then this is a great collection to play with.
For my cards today I focused on the large flower head image as starting point for my project and the colour combination of Poppy Parade, Pear Pizzazz, Night of Navy and a hint of Crushed Curry.

I used one of the busier patterns for this background so wanted my focal point to be quite bold so it didn’t get lost in all the colours behind. I chose three Poppy Parade flowers with the matching leaves in Pear Pizzazz. I love how these two stamp/die comibnations work perfectly togther to create stunning elements simply. To finish this card I just stamped the greeting ” Get Well Soon” in Night of Navy and cut up the seperate words and adhered one to each flower.

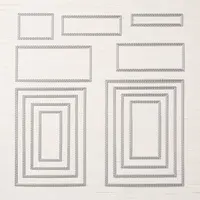
for this second card I started by using the largest die in the set which creates this lovely stitched effect in the cardstock, which is great for some subtle detail. I again added one of the Poppy Parade and Pear Pizzazz flower combinations with a couple of extra die cut leaves. I stamped the greeting onto the lovely label die included in the set and highlighted that with a small strip of patterned paper. I finished the card off with some stamped Poppy Parade stiches in the corners.

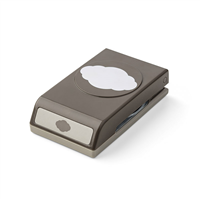
For my last card I went a little die cut crazy and threw a whole bunch of different flowers and leaves onto the card to make this gorgeous floral arrangement. The greetings label is made from using the Pretty Label punch. First stamp your greeting and then take the stitching die from the Needlepoint Elements and run through the die cutting machine and then simply punch with the Pretty Label punch and you have a label with gorgeous stiching all around it.
Hope you’ve enjoyed today’s projects, I’ve loved pulling out the Needlepoint Nook Suite again, lucky for me I have plenty of paper left so can make plenty more projects.
Happy Crafting
Joanne x


All That You Are Watercolour Card

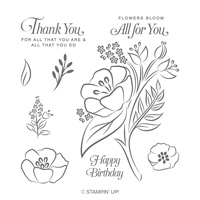
Hiding on the inside cover of the Spring/Summer Catalogue the All That You Are stamp set might be one which you’ve over-looked, I know I did for a couple of months. It’s a stamp set which contains lovely floral images and the best thing is the two smaller flowers can be cut out with the First Frost dies which carried over from the Autumn/Winter catalogue.
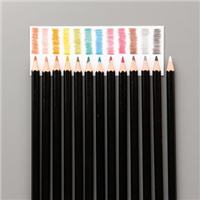
I love the main floral image so wanted to highlight that by creating a very simple card, so out came my Stazon ink and water-colour pencils.

Using the Rectangle Stitched Dies to add a sentiment and some of the Black Cord finishes the card off and makes it look elegant.
Happy Crafting
Joanne x


Wonderful Romance Anniversary Card

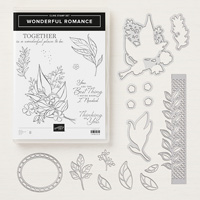
After making an Anniversary card with the To Have and To Hold stamp set I decided to make a few more using other sets, so today I’m sharing this card made with the Wonderful Romance bundle.
This is part of the Floral Romance Suite which is perfect for all theings romanctic and wedding themed. There are some gorgeous embellishments in this suite but sadly they didn’t make it onto this card but look out for them on a project soon.
I used Lovely Lipstick and Soft Sea Foam as a colour scheme to show these products look gorgeous in any combination, not just those suggested in the suite.
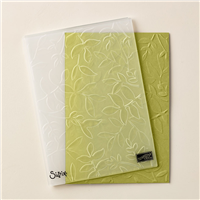
To start the card I stamped and embossed three of the floral bunches on vellum. I then coloured them on the verse side using a mixute of Mossy Meadow with hints of Pineapple Punch for the leaves and Lovely Lipstick and Petal Pink on the flowers.

I used one full bunch of flowers for one side of my card and sections of the other two images I’d stamped on the other side so I ended up with more of the larger flowers. I love that you can cut the images up to create your own arrangements, don’t be afraid to experiment as thats part of the fun
I finished the card off with some Lovely Lipstick Enamel Dots in the centres of the flowers which really bring out the Lovely Lipstick.
I love how versatile this bundle is and think you should definielty consider it for your collection before its gone.
Happy Crafting
Joanne x


Thank You Thinlit Card
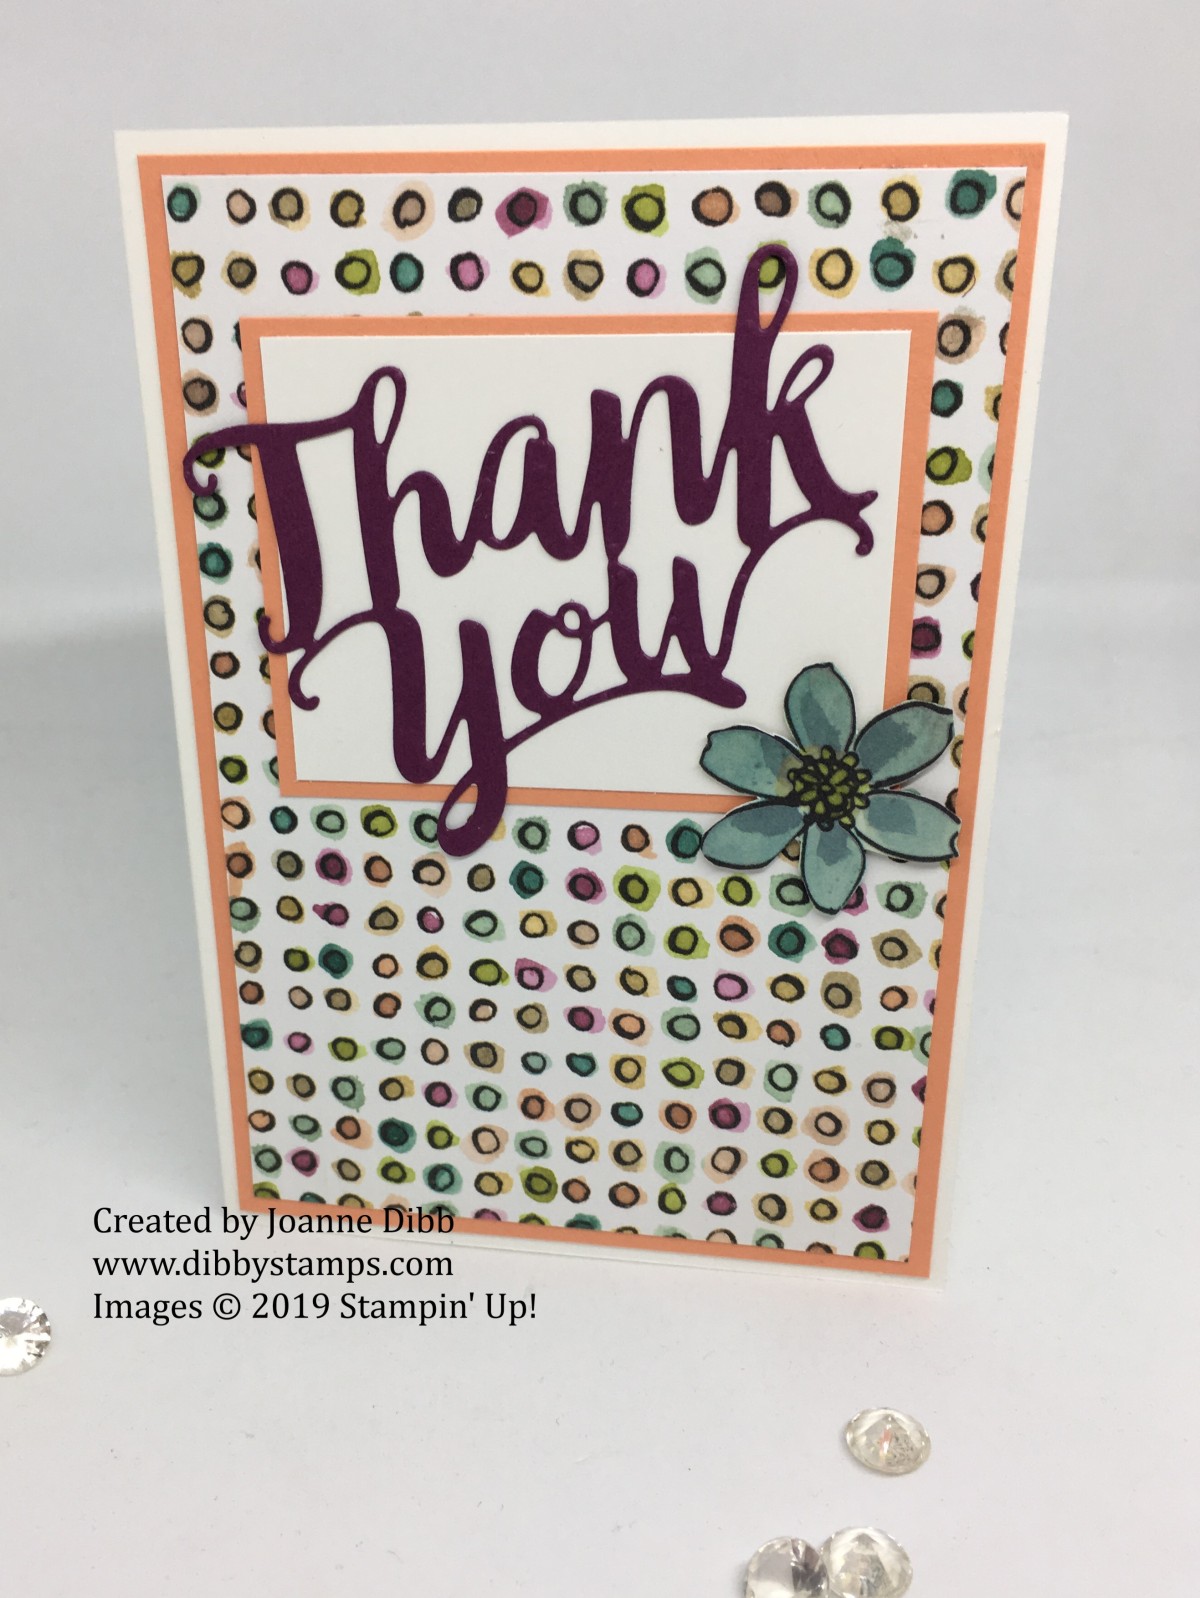
As promised here’s another project made using the Share What You Love Suite and the A Big Thank You Bundle. Today I’ve just used the Thank You Thinlit to make a card with no stamping, so if you need a thank you card quickly, this is the card for you.

I would never have thought to put Rich Razzleberry with Grapefruit Grove but seeing them together in the Share What You Love Specaility DSP they really work. Thats why I love Stampin’ Up’s DSP whenever you’re stuck for a colour combination to work with just go and pull out some paper and you’ll soon find a great combination.
The flower on this card comes from another sheet of paper in this pack and was just fussy cut out and added with a Stampin’ Dimensional, I think it’s the perfect embellishment to finish this quick card.
Happy Crafting
Joanne x