Hello Fabulous Card

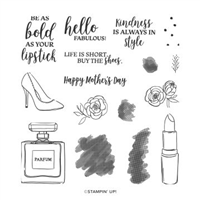
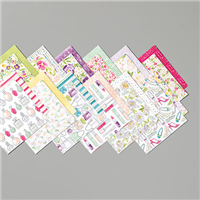
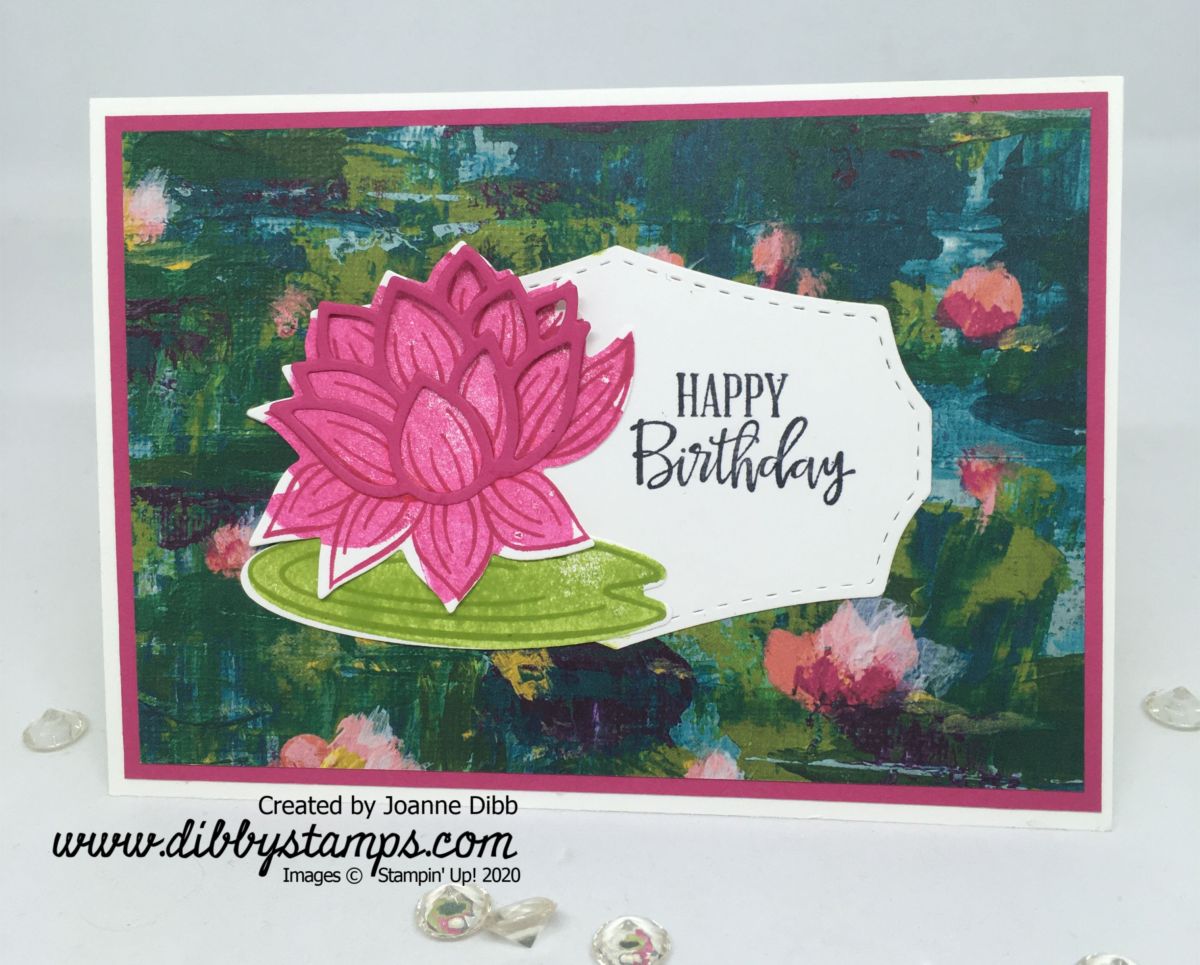
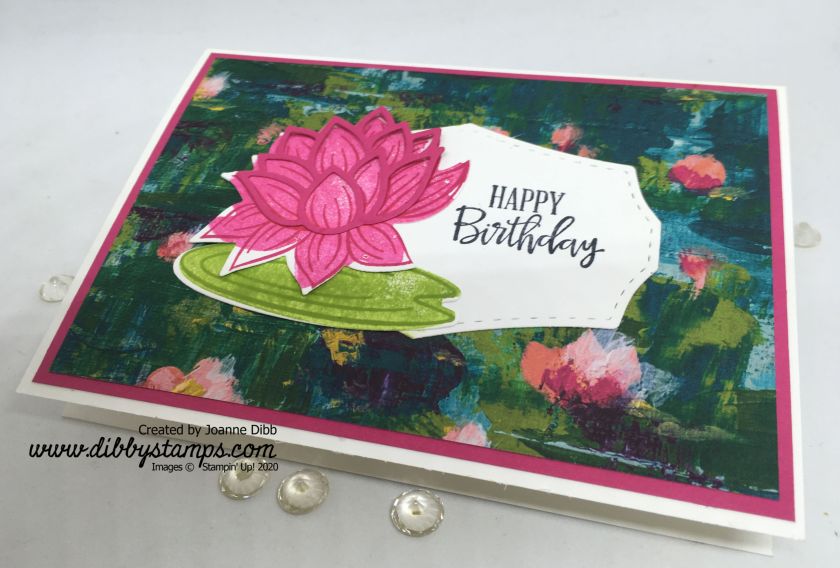
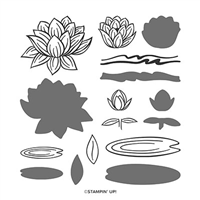
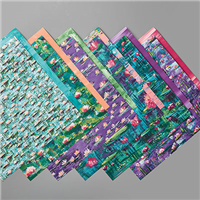
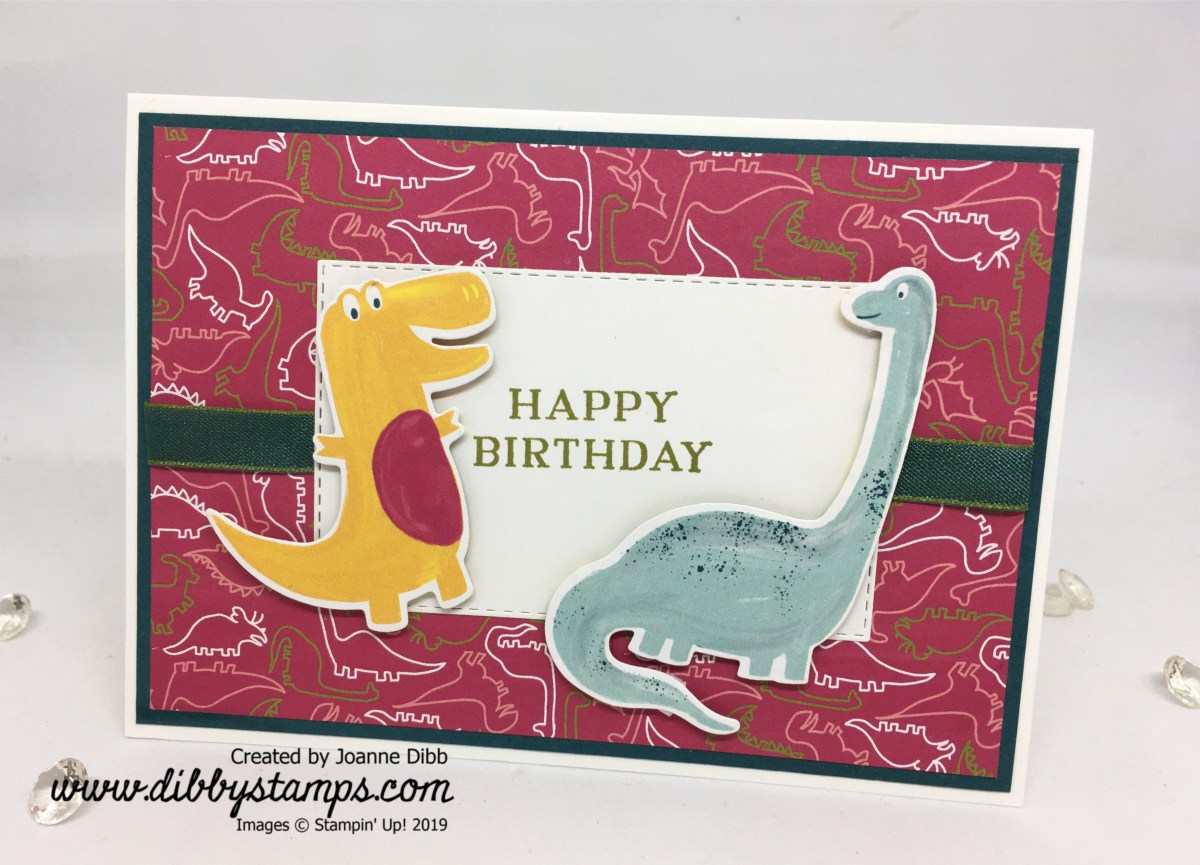
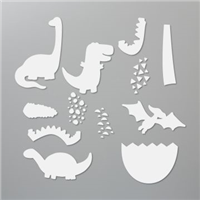
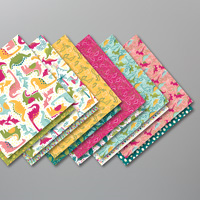
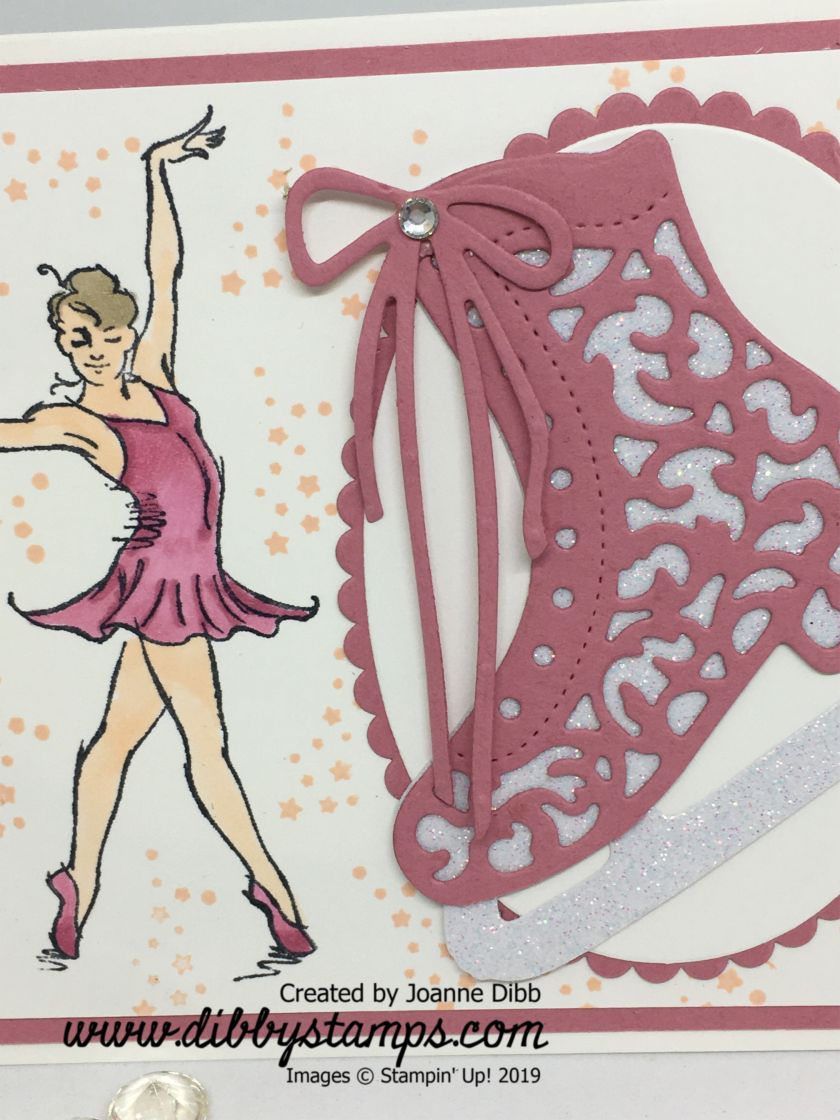
Here’s a simple card made using the Dressed to Impress stamp set and matching Best Dressed 6″ x 6″ designer paper. These products are perfect for all things girly and the paper has the perfect mix of girly items and gorgeous florals so is a winner in my book.

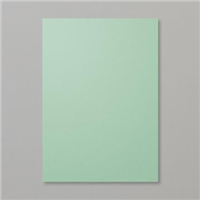
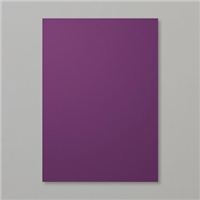
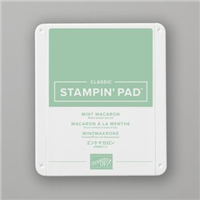
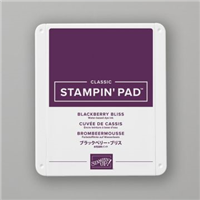
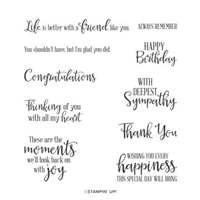
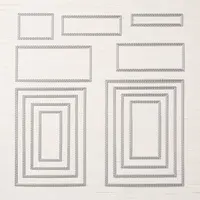
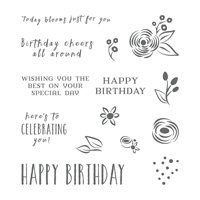
I’ve used Mint Macaron and Blackberry Bliss as my colour palette. On a Stitched Circle I stamped the sentiment in Blackberry Bliss and added some texture using the splotches from the set stamped off in Mint Macaron.

Hello

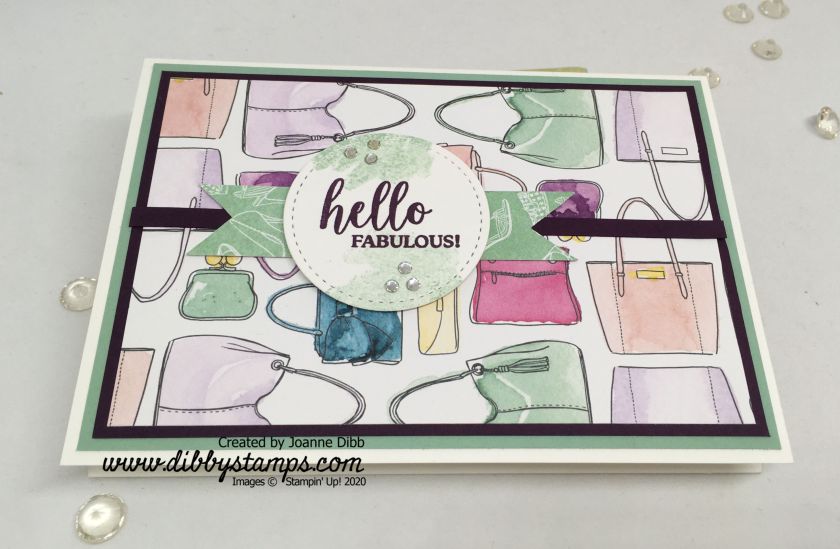
To finish the card off I added a strip of Blackberry Bliss cardstock, a Mint Macaron banner cut from the Best Dressed DSP and some rhinestones to add a little sparkle, which every girl needs.

This is a simple card which is quick to make with the designer paper doing all then hard work but I love it!

Happy Crafting

Joanne x

Supplies:


Lovely Lily Pad Birthday Card

Todays card features three products which are part of our Sale-A-Bration collection for 2020. The stamp set and paper pack are options which are available with a £50.00 order and the dies set is free with a purchase of £90 or more.

The Lily Impressions paper is stunning, it has so many of my favourite colours in it and I love its inspired by the painting by Claude Monet. This quick card highlights the paper and if you don’t like the pattern I’ve chosen, most of the other designs in the pack work just as well.

Lovley Lily Pad Birthday card - flat

The white die cut comes from the Wild Rose die set and the greeting comes from the Peaceful Moments stamp set. The Lovely Lily Pad stamp set is part of our new Reversibiles range, this means you can use both sides of the stamp for stamping. This doubles the creativity and is great for floral images which I love.

I stamped the solid parts of the lily’s first using the flat/ back sides of the stamps and by stamping one layer of Melon Mambo ink on scrap paper first. I then stamped over with the outline, they don’t quite line up due to the uneven flower but give a lovley artisitc effect which I think adds to the floral feel of the stamping. I did the same with the laeves using Granny Apple Green.

After die cutting I assembled the card and added a final outline die cut layer to the Lily flower to add extra dimension.

Happy Crafting

Joanne x

Supplies:


Watercolour Birthday Cake Card Duo

Today I’m sharing another birthday card duo, this time featuring the Piece of Cake stamp set and matching Cake Builder Punch.  I’ve used Rococo Rose for one card and Seaside Spray for the other and kept them simple by using no embellishments.

Rococo Rose Watercolour Cake Card

I used the Fluid 100 watercolour paper for the background and used the Aqua Painter to create a wash of colour over the backgorund. I then used the finger flick technique to add the flecked ink across the card to add some more detail. I then stamped the Happy Birthday from the stamp set all over randomly in Rococo Rose.

Seaside Spray Watercolour Cake Card

For the centre of the card I stamped dotty/stripy birthday cake in Tuxedo Memento Ink and then coloured with Stampin’ Blends beforing punching out. I also punch out to cake stands in Silver Foil. I then cut a white oval matt and stamped the little lollipops at the top. I adhered the white oval onto a Silver Foil oval and then attached to my card bases.

As a finishing touch added the cakes to the centre of the ovals using Stampin’ Dimensionals to give some dimension and interest to the card.

Which is your favourite the pink or blue version?

Happy Crafting

Joanne x

Supplies:


Dino Birthday Card

Just a quick post today as I’m snowed under with Christmas wrapping. This is another birthday card made with the Dinoroar suite which has been one of my favourites for childrens cards.  These dinosaurs were cut straight from the Dinoroar DSP  with the Dino Dies, which makes putting a card together super quick.

Dino Birthday Card - flat

I’ve added a little shimmer to this card with the Old Olive/Pretty Peacock Reversable Ribbon  and the greeting comes from the Perennial Birthday stamp set.

I think this card would be suitable for boys or girls because of the mix of colours and anyway who doesn’t love a cute dinosaur!

Happy Crafting

Joanne x

Supplies:


Ice Skater Birthday Card

The Free Skate Bundel and stamp set may have sold out here in Europe but as the dies are still available (as I write this) I thought I’d share this birthday card I made using them and the Born to Shine stamp set which features ballerina images.

This card is larger than my usual card bases so I could fit the boots and the two ballerina images. I cut a sheet of A4 to 18cm x 21cm  scored in half at 10.5cm. The Rococo Rose layer is 17.5cm x 10cm and the Whisper White layer I stamped on measures 17cm x 9.5cm.

Ice Skater Birthday Card- close up

The two ballerina’s were stamped in Tuxedo Black Memento Ink and then colured with Rococo Rose and Petal Pink Stampin’ Blends. I then added the starry background in Petal Pink.

The skate was made from a Rococo Rose detailed outline and a Sparkle Glimmer paper solid layer which were glued together with Liquid Glue.

Ice Skater Birthday - flat

I adhered the Skate onto a background of Layered Ovals and then added some Rococo Rose laces and a Rhinestone to finish the card.

I’ve left a greeting off this card as I feel its finished as it is, plus there’s plenty of room inside to say exactly what you want.

Happy Crafting

Joanne x