Thank You Thinlit Card

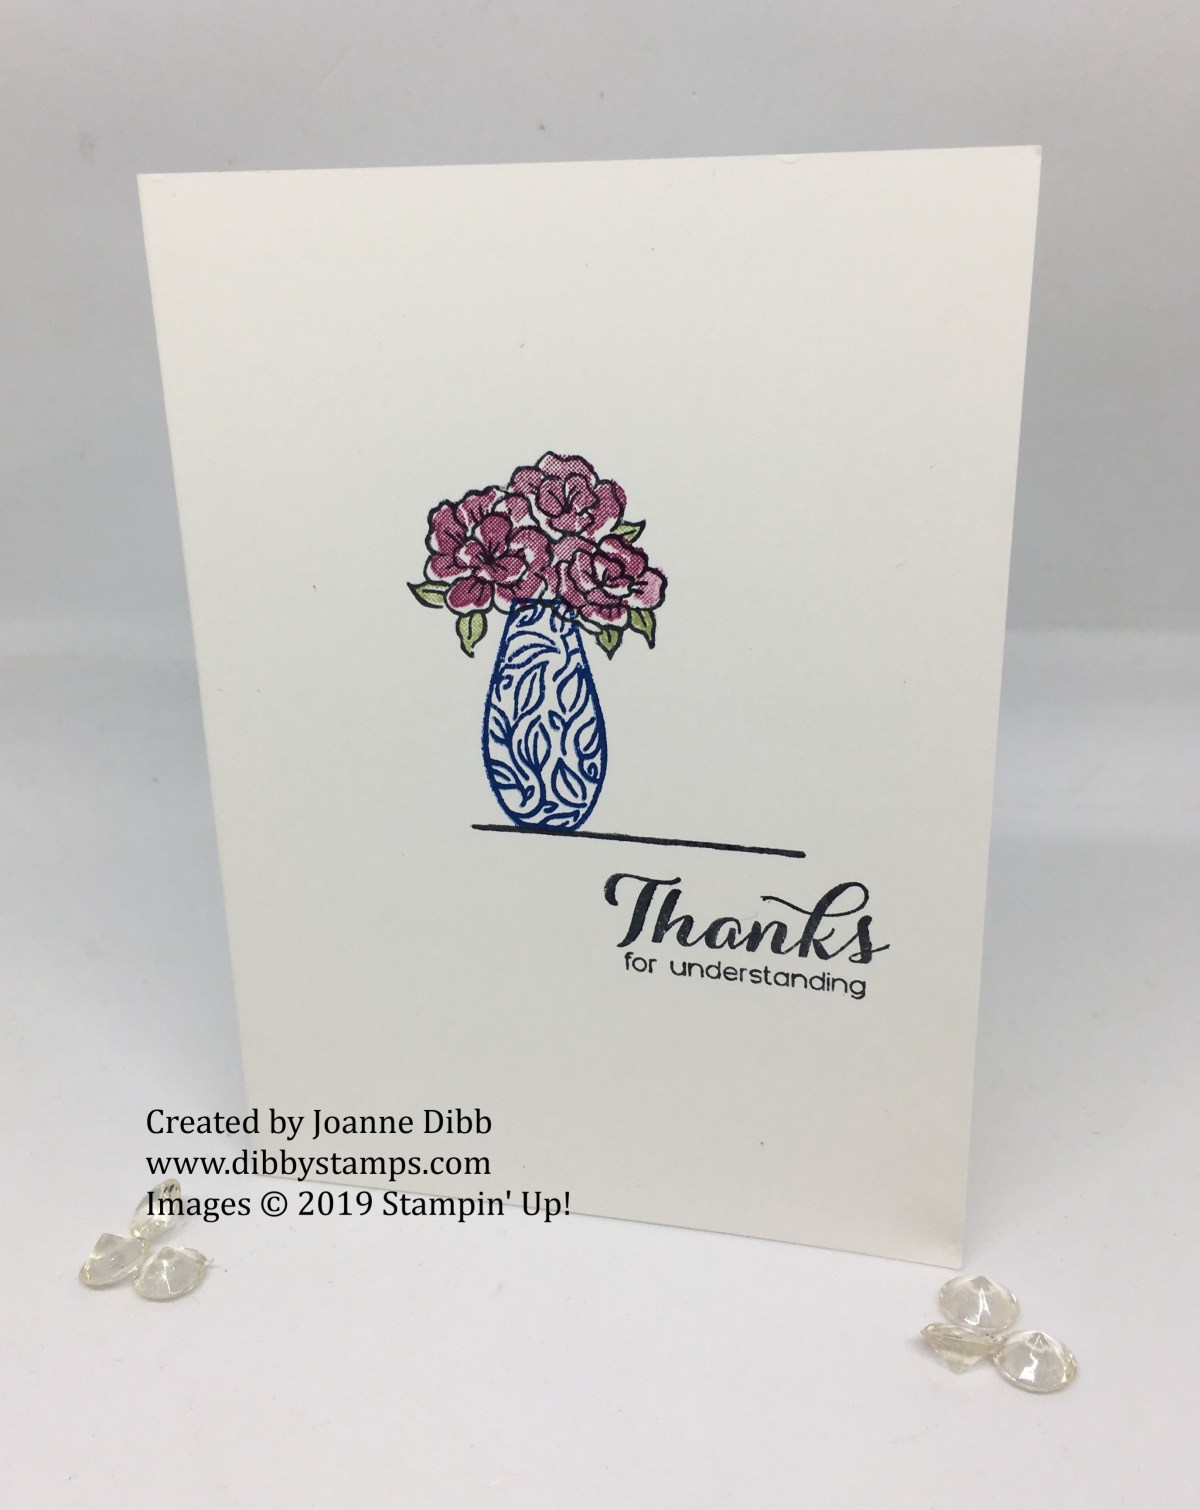
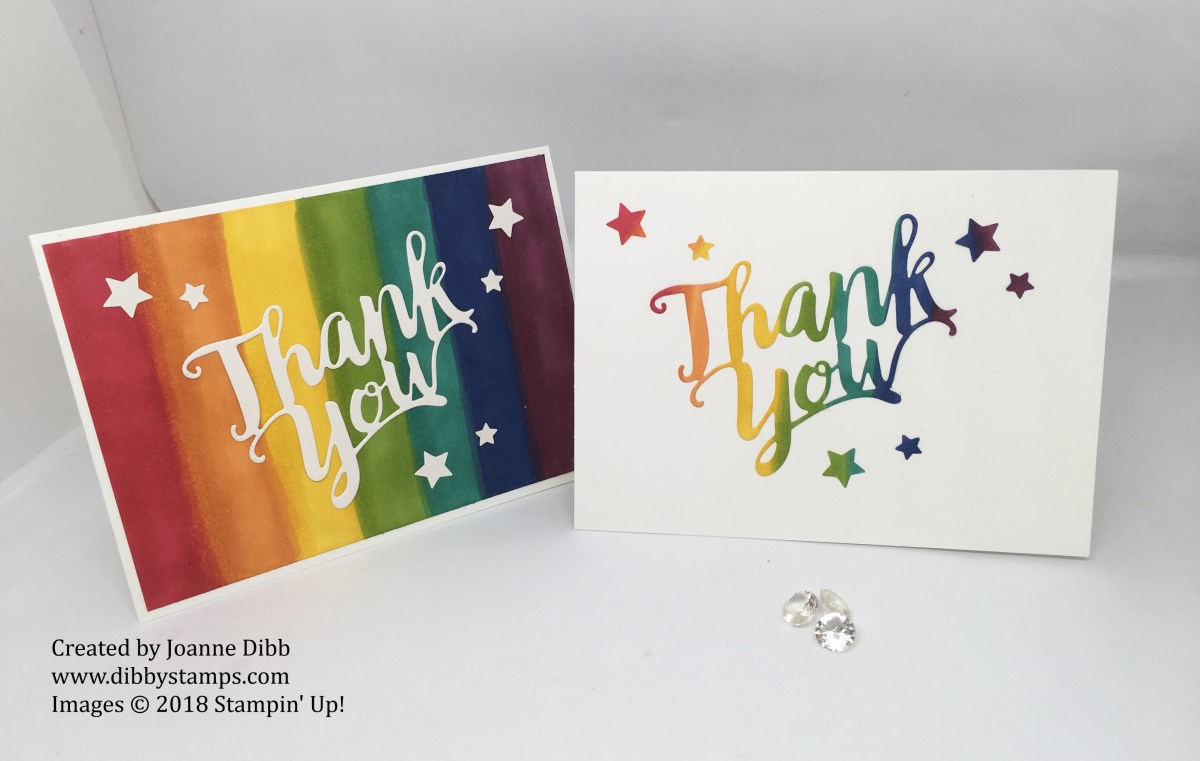
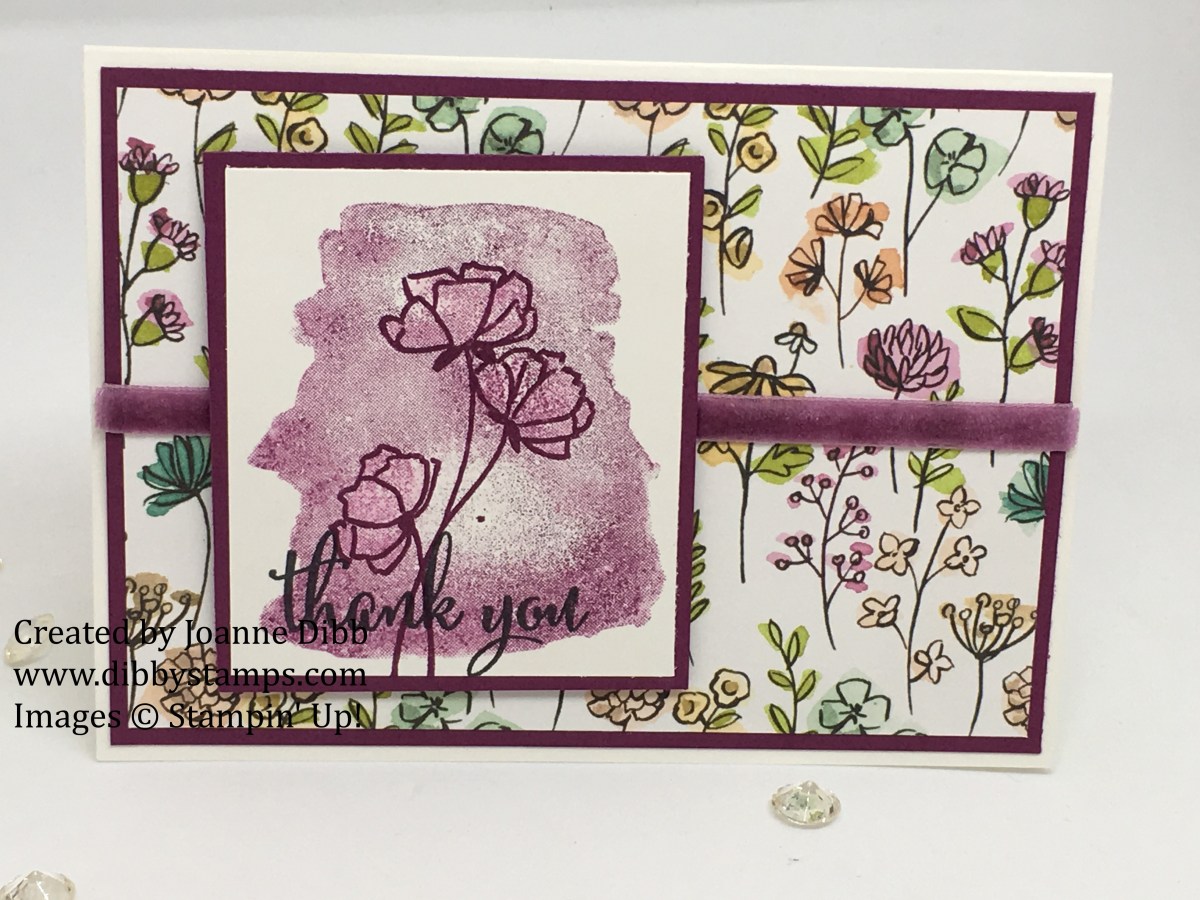
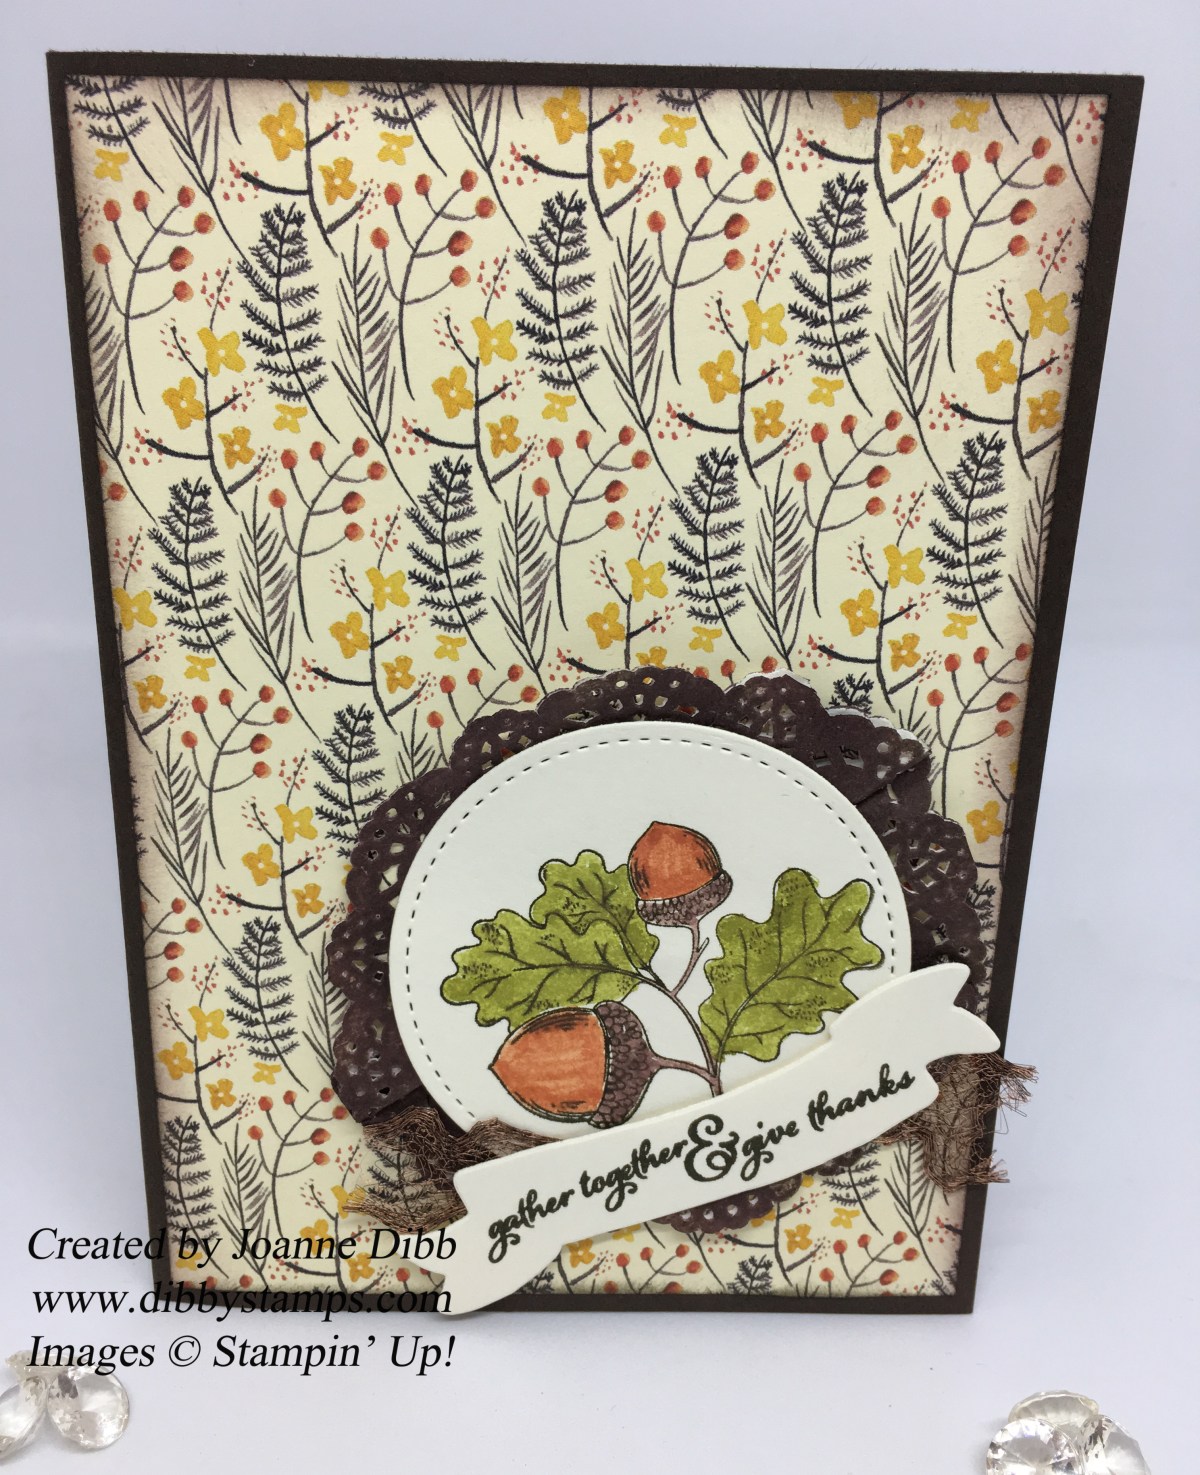
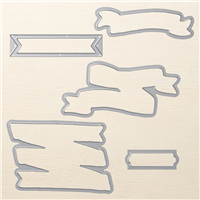
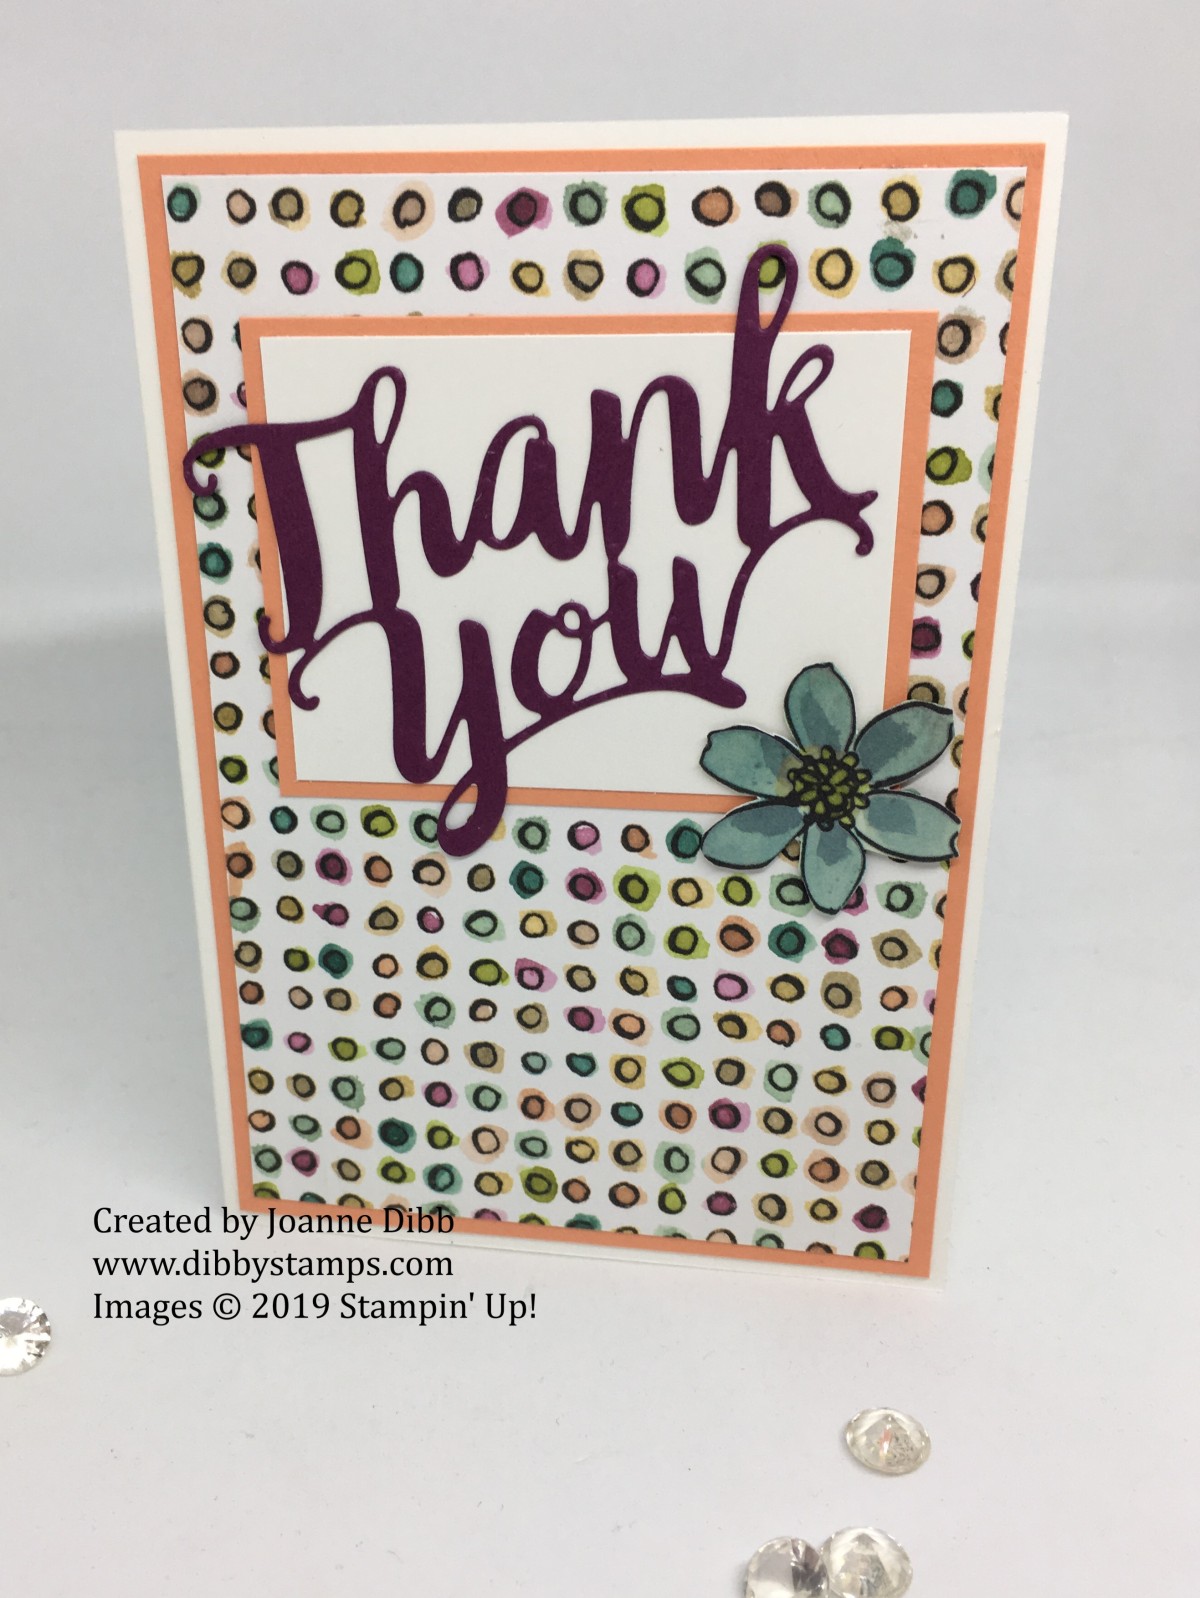
As promised here’s another project made using the Share What You Love Suite and the A Big Thank You Bundle. Today I’ve just used the Thank You Thinlit to make a card with no stamping, so if you need a thank you card quickly, this is the card for you.

Thank You Thinlit Card lfat

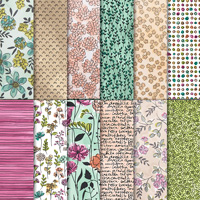
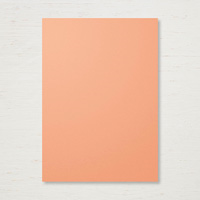
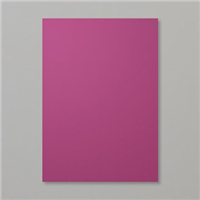
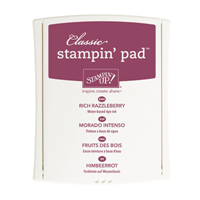
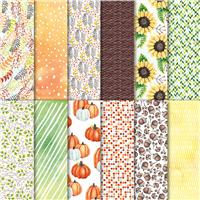
I would never have thought to put Rich Razzleberry with Grapefruit Grove but seeing them together in the Share What You Love Specaility DSP they really work. Thats why I love Stampin’ Up’s DSP whenever you’re stuck for a colour combination to work with just go and pull out some paper and you’ll soon find a great combination.

The flower on this card comes from another sheet of paper in this pack and was just fussy cut out and added with a Stampin’ Dimensional, I think it’s the perfect embellishment to finish this quick card.

Happy Crafting

Joanne x


Simple Stamping – Vibrant Vases

So today I’m bringing #SimpleStamping to the Vibrant Vases set. I was so pleased to see this in the new catalogue as its adds even more versatility to using the Varied Vases Bundle which is one of my favourites from the Annual Catalogue.

For this project I’ve used just four inks (Blueberry Bushel, Old Olive, Calypso Coral and Tuxedo Black Memento) and the stamp set.

vibrant vases - flat - simple stamping

Although these are photopolymer stamps and easy to line up  I would suggest using the Stamp-a-ratus if your going to create an image where things need lining up in straight lines like the vase on the shelf. This would also make creating multiples of this card very quick.

Hope you’ve enjoyed today’s #SimpleStamping and a quick look at Vibrant Vases.

Happy Crafting

Joanne x


September Customer Thank You Cards: Rainbow Blends

For my September customer cards I wanted to create so colourful rainbow cards so I got colouring with my Stampin’ Blends to create a background.  I used seven of the dark Stampin’ Blends in Real Red, Pumpkin pie, Daffodil Delight, Granny Apple Green, Bermuda Bay, Night of Navy and Blackberry Bliss to colour stripes to create my background.

Rainbow background card

To finish off the card I cut out the Thank You Thinlit in Shimmery white cardstock and added some punched out some stars from the Twinkle Builder punch to embellish.

For my second card I switched things around and cut my “Thank You”  and gthe stars from some coloured cardstock and stuck onto a white card base.

rainbow thank you card

The best adhesive I’ve found for using these large delicate die cuts is the multipurpose adhesive sheets as no adhesive is shown, but be careful when placing your die cut as when they’re stuck down there’s no moving them.

I love how simple and bright these cards are, they could easily be turned into birthday cards using the Happy Birthday Thinlit die, you could also change up the colours to match any theme you like.

Happy Crafting

Joanne x


Simple Thank You Car with the Share What You Love Suite

I’m loving playing with the Share What You Love Suite of products which is currently available as three bundles. This card features products from the biggest bundle the Gotta Have It All Bundle which includes my newest favourite paper pack the Share What You Love Speciality Paper. Here’s a look at my card:

Share What You Love gotta have it all bundle

The beautiful paper doesn’t need much adding to it to make a great card so I just stamped a simple panel with the largest floral stamp from the Love What You Do stamp set in Rich Razzleberry. I added a little texture to the card with the new Rich Razzleberry Velvet Ribbon which is so soft to touch.

flat share what you love gotta have it all bundle

Hope you’ve enjoyed today’s project.

Happy Crafting

Joanne x

Supplies


Thankful Acorn Card

For today’s’ card I fancied doing a little water colouring, so I pulled out the Count My Blessings stamp set and work with the acorn stamp. I used my aqua painter and inkpads to get the colours I wanted. The leaves are done in Old Olive and the acorns a mix of Chocolate Chip and Cajun Craze.

acornflat

I wanted the coloured acorn to be the focus of the card so used the second largest Stitched Shape Framelit to cut it out. To add some texture behind I took a Delicate White Doily and inked it with a mixture of Early Expresso and Chocolate Chip. Once dry I scrunched it up to create even more texture. I folded the doily a little to create folds within the circle to add some ruffles, I then attached this to the back of my acorn circle.

acorncloseup

For the greeting I stamped “gather together & give thanks” in Early Expresso on some Very Vanilla cardstock, I then cut this out using one of the banners in the Bunch of Banners Framelit set. To add some more texture I attached some pulled apart Copper Trim.

To finish the front of the card I cut a layer of the Painted Autumn DSP measuring 10cm x 14xm and sponged a little Early Expresso around the edges. I then attached this onto an Early Expresso card base using Fast Fuse. I mounted my acorn circle in the bottom right corner and then stuck the banner diagonally across the bottom.

acorninside

I added an extra stamped acorn to the inside of the card but left this one as just an outline.

Happy Crafting

Joanne x