Swirly Snowflake Edged Card

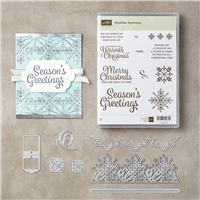
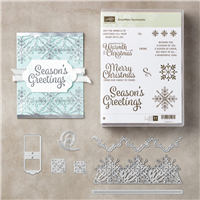
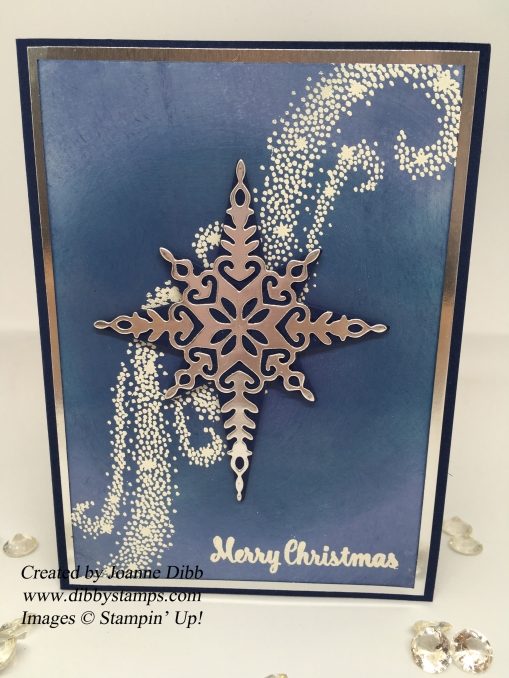
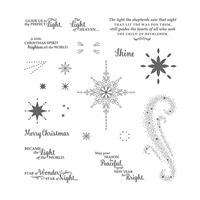
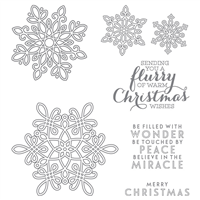
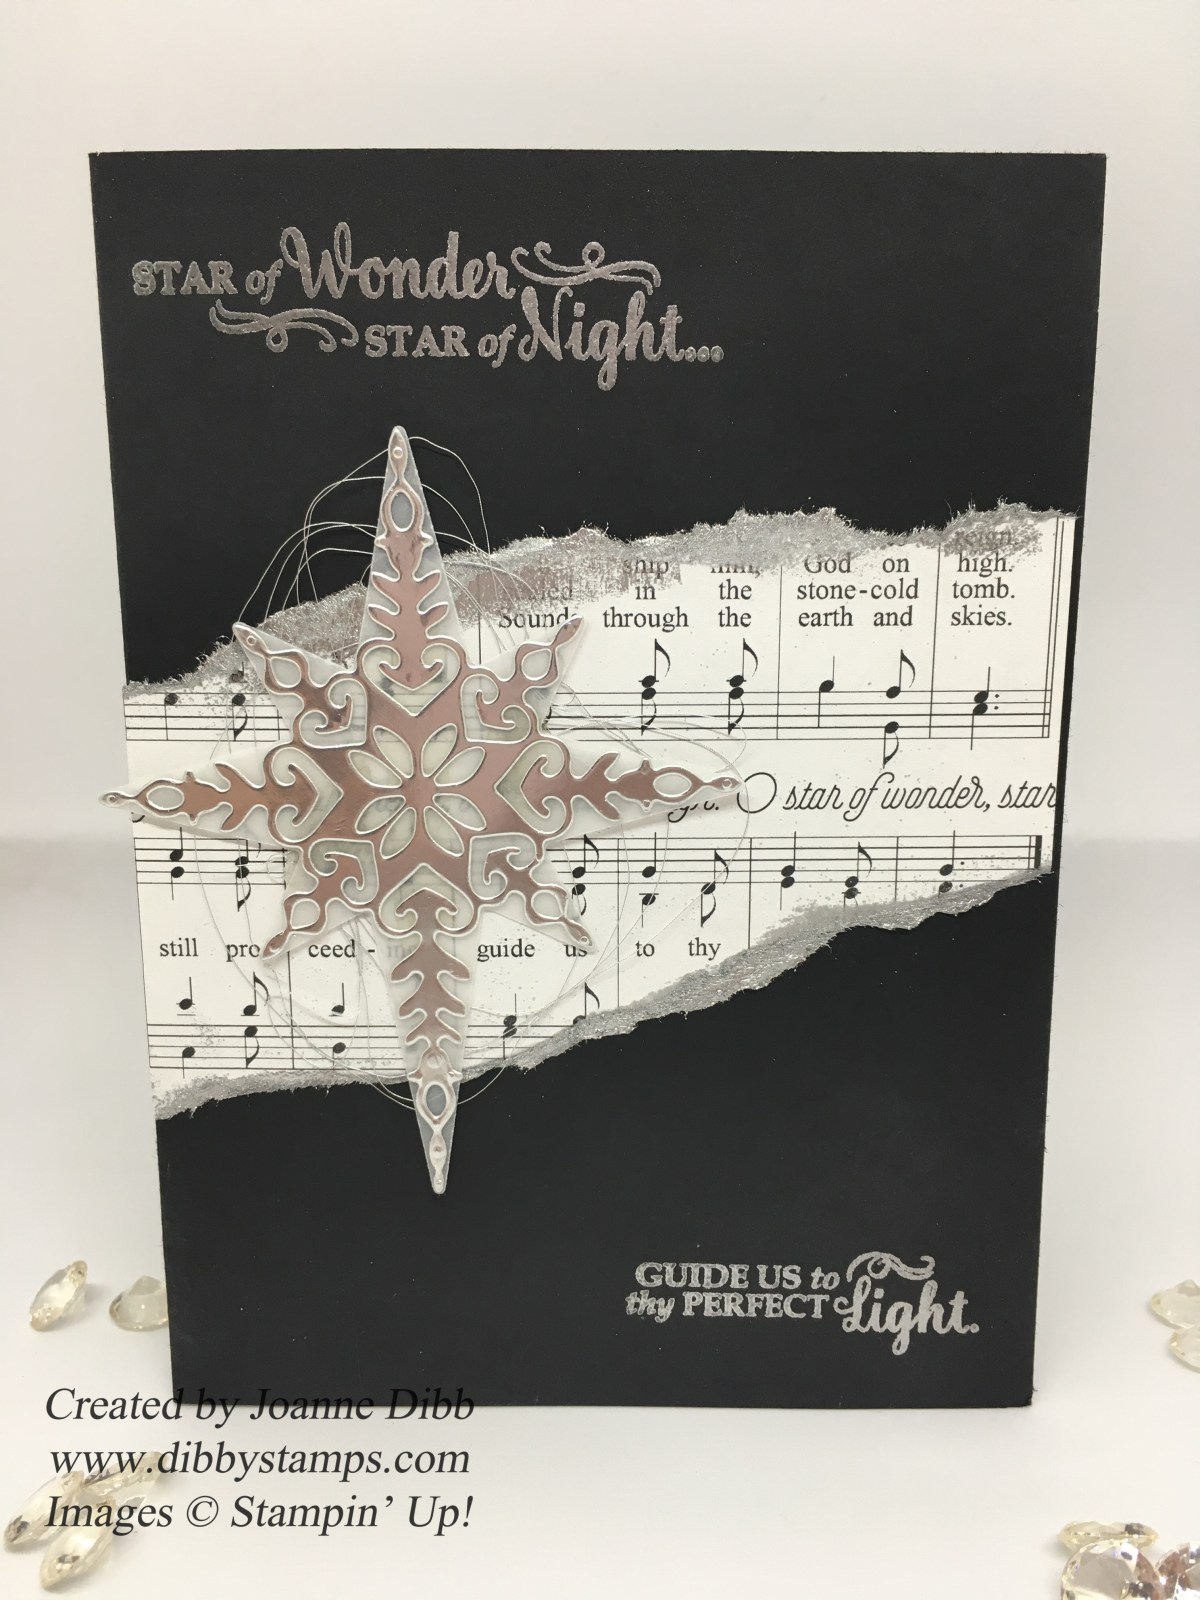
Today I’m featuring another card using my favourite colour combination for snowflake themed cards Pool Party, White and Silver. I decided to pull out and have a play with the Snowflake Sentiments bundle today, this was one of the first additions to my wish list for the autumn/winter catalogue. I love the combination of the intricate dies and the gorgeous font used in the sentiments, for me its a winning combination.

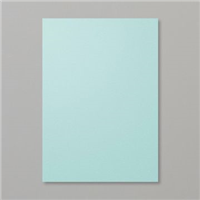
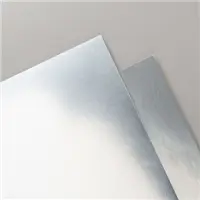
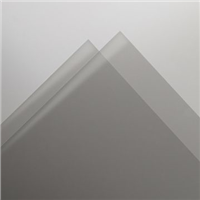
Firstly I took a card base in Pool Party measuring 14.5cm x 21cm, scored and folded at 10.5cm and used the dotted edge die to created the detailed shaped edge.  I next took a piece of window sheet measuring 10.5 x 14.5cm and stuck this to the inside of the card using tear and tape, this was to give the card a straight edge to stand up with.

snowflakesentimentspoolpartycard

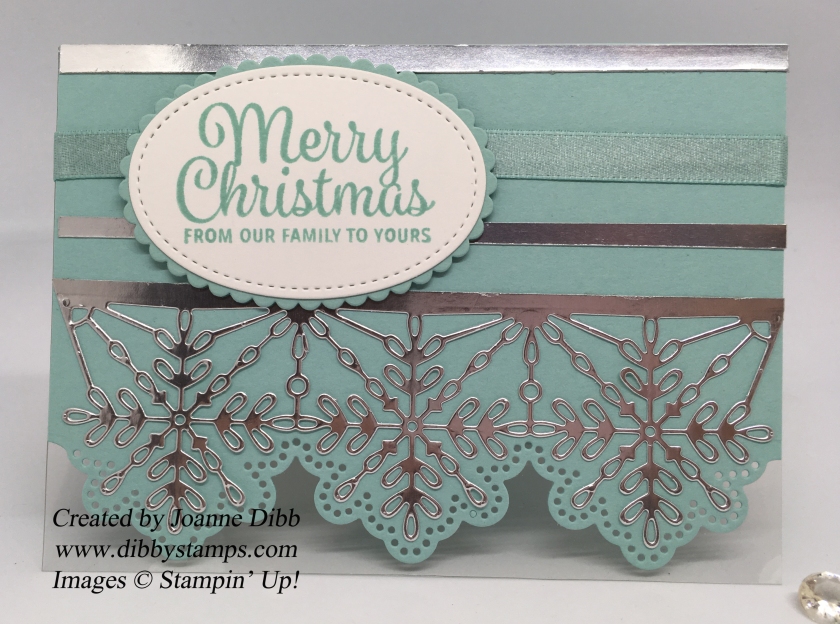
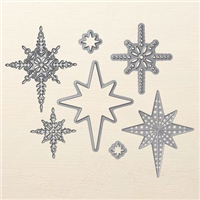
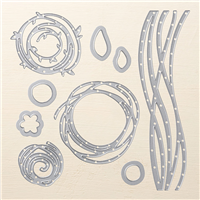
I next adhered some silver foil onto the multi-purpose adhesive sheets and cut out the detailed snowflake die, this fits along the edge of the card base perfectly once cut out. If you have the die-cut brush available now is the time to use it, I don’t have one so spent a long time pushing all the little bits out with a cocktail stick.

Adhere the snowflake die to the card. Next take the silver foil and cut three 0.5cm strips which are 14.5cm in length and stick them across the top of the card. If you have the silver washi tape from the Year of Cheer suite that is an easier alternative.

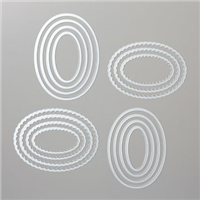
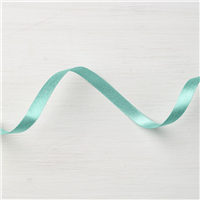
Next the Pool Party shimmer ribbon and stick across the card covering one of the silver lines, I used the tear and tape to stick mine down. For the sentiment stamp the greeting on Whisper white cardstock in Pool Party ink and then cut out the second largest Stitched Shape Oval Framelit. Take the corresponding scallop edged die from the Layering Ovals Framelits and cut that out of Pool Party, stick to the back of the greetings panel and then onto the card using Stampin’ Dimensional’s.

snowflakesentmentsinside

For the inside of the card I took a piece of Whisper White A4 and stamped one of the greetings in the middle in Pool Party. I love how the Snowflake Sentiments set have sentiments which can be used on the outside of the card and has some which can be on the inside of the card.

Pop back tomorrow for my final card from Snowflakes and Stars week featuring the Star of Light set again.

Happy Crafting,

Joanne x


Night of Navy Star of Wonder Christmas Card

For today’s card I have gone a bit more in depth with techniques as I wanted to get a bit messy. I should have picked a different day though turning up to pick your daughter up from pre-school with blue hands is perhaps not the best idea.

I started with some glossy cardstock measuring 13.5cm x 9.5cm and Night of Navy, Island Indigo and Pool Party inks and some craft sponges. Firstly I took the Night of Navy ink and sponged a circle in the middle of the card and then blended it out just a little. I next took the Island Indigo and went round the Night of Navy circle and blended outwards. Taking the Pool Party ink I then filled in the remaining cardstock with ink, blending together as much as I could. When this had dried for around a minute I took the Night of Navy ink again and sponged over the whole cardstock. What you are left with is an inked background which is darker in the middle and then goes lighter towards the edges.

While the inked background was drying I cut out the silver foil layer which measures 14cm x 10cm and then die cut the large detailed star from the centre, this was so I didn’t waste any foil.  I then die cut the large star outline in Night of Navy and glued the silvers stars onto them using the fine-tip glue.

Once the inked background were dry I took my embossing buddy and rubbed it all over the cardstock. I next inked up the large swirl in Versamark ink and stamped two swirls diagonally across the centre. I also added a greeting to the bottom right corner in Versamark. I then heat embossed all the images with white embossing powder.

starofnightcard.jpg

To complete the card I took a card base measuring 21cm x 14.5 cm, scored and folded at 10.5cm and adhered the silver layer and then the inked layer. The stars were added with Stampin’ Dimensional’s.

starofnightinside

For the inside of the card I took a piece of Whisper White cardstock measuring 14cm x 10cm and stamped the large swirl at the bottom in Night of Navy. I also added the greeting “May you Season be Peaceful and your New Year be Bright”.

I really enjoyed making this card, so much so I’ve now made ten of them so I have a nice stack ready for my Christmas cards, only problem was I have a very temperamental heat gun, so the embossing took a whole afternoon!

Happy Crafting

Joanne x


Let It Snow Snowflake Card

Today’s card is featuring snowflakes instead of stars, which come from the Flurry of Wishes and Colorful Seasons stamp sets. I’m a huge fan of Pool Party and Island Indigo for wintery themed cards, especially snowflakes and love how the background of this card turned out.

letitsnowpoolpartycard

I then was struggling a bit with what else to add to the card to finish it off without detracting too much from the background, enter the Merry Little Labels stamp set and punch. I love this set and can see many uses for the various sentiment labels in the set, but the Let It Snow one was the perfect image to use as a topper for my card.

A quick stamp and punch with the Everyday Label punch which I love and the topper is done (Stampin’ Up! if you’re reading this please, please carry this punch over to the next catalogue!). I added a couple more punched labels in Island Indigo to give a border and a extra pop, simply glue the Island Indigo labels together along one edge and then pop the stamped image in the middle lining up with the oval at the top.

letitsnowpoolpartycloseup

A little strip of the super shiny Pool Party Shimmer Ribbon and a few enamel dots and the card is ready, super quick and easy to mass produce for this years Christmas cards.

letitsnowinsidecard

For the inside of the card I added a Whisper White insert with a couple of snowflakes stamped in Pool Party.

Happy Crafting

Joanne x


Star of Wonder, Star of Night Christmas Card

For today’s card I’ve gone for a more traditional feel using a black, white and silver colour scheme and some of the music paper from the Merry Music Speciality Designer Series Paper.

I took a Basic Black card base and embossed the greetings in silver in the top left and bottom right hand corners of the card. Make sure you use  the embossing buddy to avoid extra marks on your card.

black star of wonder card

To make the background piece I cut a piece of the dsp to 10.5cm x 8cm, then ripped  the top and  bottom  diagonally across to create rough edges. Take the Versamark pad and run it along these edges and then emboss with silver powder.

To make the focal point of the card cut out the outline star shape from the Starlight Thinlits in vellum and the largest detailed star in Silver Foil stuck on to the multipurpose adhesive sheet, then stick the two stars together. To finish off the card front take some silver metallic thread and wrap in round your fingers to create a large loop. stick this onto the card front using small amount of tear and tape to adhere, behind where the star will go.  Add the star to the top of the silver loops and the card front is complete.

blackstarofwondercardinside

To complete the inside of the card I took a piece of whisper white cardstock measuring 10cm x 14cm. Then take the Basic Black archival ink and stamp the large detailed star image in the bottom right corner.

Thank you for joining me today, tomorrow’s card will feature the Snowflake sentiments stamp set from the new autumn/winter catalogue.

Happy Crafting

Joanne x


Blue & Silver Star Spirit Christmas Card

For today’s card I chose a more traditional colour scheme for a Star themed card featuring blue and silver. I love how this card turned out, the swirly stripe die from the Swirly Scribbles Thinlits looks so striking in the silver and indigo and really makes the card “pop”.

starbg

I took a Whisper White card blank and stamped the front all over with Pool Party using the second smallest star in the Star of Light stamp set.

To create the stripe I took some Silver Glimmer paper and some Island Indigo cardstock and stuck them onto the Multipurpose sheets. I then laid the silver wave across the middle of the card. To fill in the wave take the Island Indigo offcuts from the second die cut and fill in the gaps in the silver wave.

stampedoval

To make the focal point of the card cut one of the largest scalloped ovals in Island Indigo and one of the largest ovals in Whisper White.  Take the small detailed star die and cut out of Silver Foil, stick this to the centre of the Whisper white oval.

Take the Pool Party ink and use the triangular line stamp around the star to create a glow effect. Take the greeting “A little Christmas Spirit brightens all the World” and stamp at the bottom of the oval in Island Indigo.

indigostarcloseup

Adhere the oval to the middle of the card and finish off the card with a pool party enamel star.

starbg

To finish off the inside of the card I added some of the smallest stars to the top left and bottom right corners of the card base. Here’s the finished card again:

indigostarcard

Hope you enjoyed today’s project, pop back tomorrow for a more traditional inspired star Christmas card.