Santa’s Wishlist Bookmarks

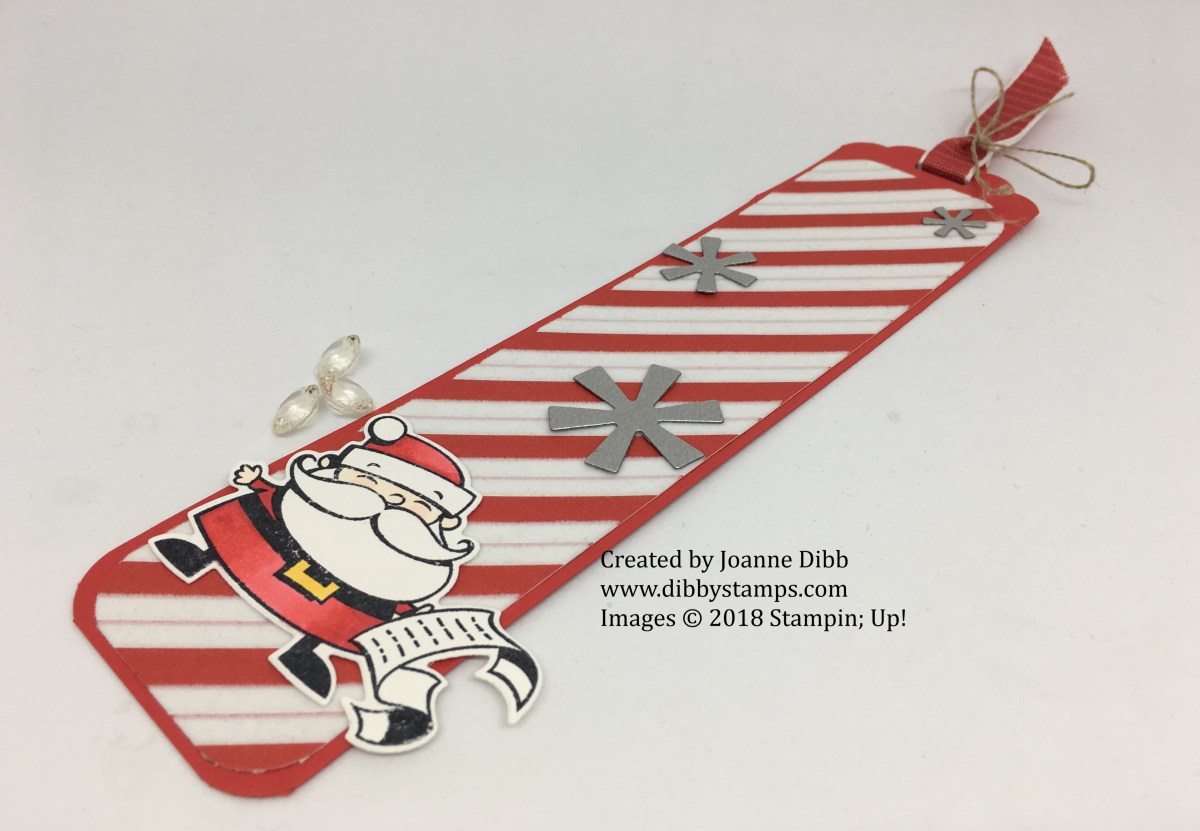
Today’s project has been in my head since I first saw the catalogue back in August, a  little bookmark using the cute Santa from the Santa’s Workshop suite. I’ve seen a few variations on Pintrest so this must be a common idea amongst us crafters. It does help that this suite is perfectly co-ordinated meaning simple projects like this are easy to recreate and perfect for those up and coming Christmas markets.

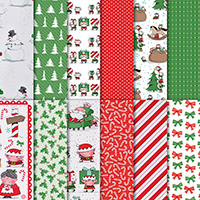
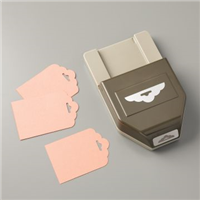
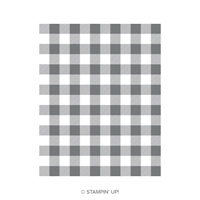
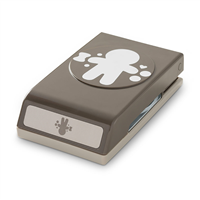
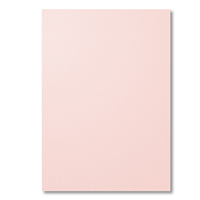
The base of the bookmark measures 21cm x 5cm ( 8″ x 2″) and was cut from Poppy Parade. Each of the bottom corners were rounded using the new Detailed Trio Punch and for the top I used the Scalloped Tag Topper. The stripy layer is cut from the Santa’s Workshop Speciality Designer Paper and what’s so special about this paper is it has flocking on it, those stripes are actually flocking giving a lovely texture to the bookmark. This layer measures 19cm x 4.5cm ( 7 1/2″ x 1 3/4″) and has had all four corners rounded in the Detailed Trio Punch.

close up Santa's list bookmark

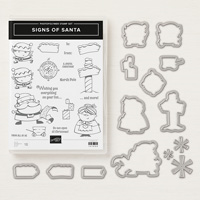
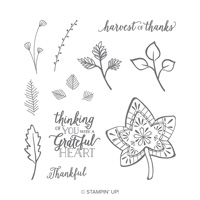
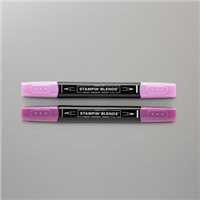
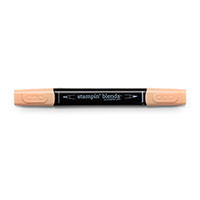
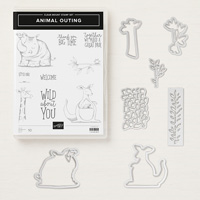
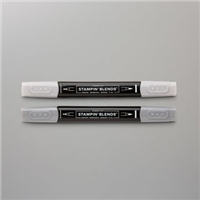
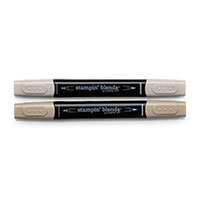
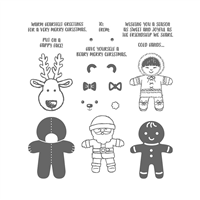
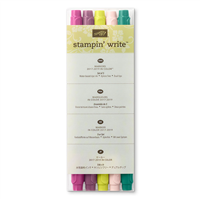
I stamped the Santa in Memento Tuxedo black ink and coloured with Stampin’ Blends before cutting him out with the matching die set. If your not a fan of colouring you can also die cut this Santa straight from the Designer Paper, making your project even quicker.

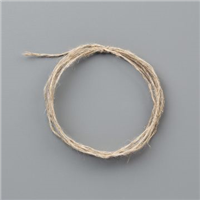
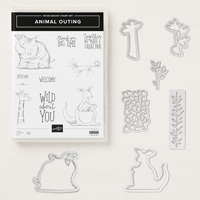
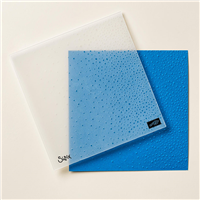
For some decoration I added some snowflakes from the same Santa’s Signpost Framelits set cut from the new Galvanized Metallic Paper. To finish off the book mark I threaded some of the new Poppy Parade Textured Weave Ribbon through the slit at the top of the bookmark and secured in place with some Linen Thread.

Santa's List bookmark 1

Hope you’ve enjoyed today’s project, pop back soon for more ideas with this suite as its my favourite from this years Autumn/Winter catalogue.

Happy Crafting

Joanne x


August Customer Thank You Cards with Falling For Leaves

For today’s project I have my August customer thank you cards which you should have all received (hopefully as I gave them to hubby to post, fingers crossed). They are very simple cards which did take a little time to make as there is lot of colouring involved in each card.

I stamped the large maple leaf from Falling for Leaves in Memento Tuxedo Black ink onto Very Vanilla cardstock and then coloured with Stampin’ Blends. The edges used Black Bliss with the centres in Mint Macaron and the remaining details were coloured with Light Pumpkin Pie which looks similar to Grapefruit Grove which is the colour I wanted to use.

Falling for Leaves august thank you flat

After mounting on some Blackberry Bliss card the main card is finished. I stamped the lovely sentiment from the same set onto the second largest set of dies from the Layering Circles Framelits in Blackberry Bliss. Simple cards that were a joy to create.

Happy Crafting

Joanne x


Baby Cards with Animal Outing

Ever since I first saw the Animal Outing set in the catalogue back in May I’ve wanted to create baby cards with that cute Kangaroo and Koala image but I’ve never found a background I was happy with, until now. The new Buffalo Check background stamp gives the perfect amount of detail without taking over from the cuteness of the Kangaroo and it can be any colour you want.

Animal Outing petal pink baby card

Petal Pink was my choice for a baby girl card purely because of the matching embellishments from the Twinkle Twinkle Suite. A little bit of bakers twine wrapped around the background layer helps to ground my focal point of the Kangaroo and also adds a little sparkle.

Behind the Kangaroo I added three layers to give some more interest to then card, the first is a circle of Whisper white cardstock punched from the 1 3/4″ punch, the second layer is Petal Pink cardstock punched from the Starburst punch and the third layer is Vellum which is cut from the second largest circle in the Stitched Shapes Framelits.
animal outing pool party baby card

For the blue version I used Pool Party as I thought I had the matching twine aswell,  turns out I don’t or more likely I’ve lost it! So I used the silver and white bakers twine which looks just as good. To add some more bling to each card a added three stars from the Twinkle adhesive Backed Stars. I love these because half of the pack are iridescent and half are silver so match these two cards perfectly.

Hope you’ve enjoyed today’s cute little cards.

Happy Crafting

Joanne x


Supplies:

Price: £46.00


Eskimo Twins with Cookie Cutter Christmas

I’ve pulled out an old favourite today, Cookie Cutter Christmas which was released two years ago, I’m sure many of you have this stamp set and its matching punch in your collection. It’s the perfect combination for making quick Christmas cards.

I’ve focused my project today on the cute little Eskimo as I’m not 100% certain this one has seen ink yet and with the addition of our Stampin’ Blends its even quicker to make a lovely card.

cookie cutter christmas eskimo twins flat

A little Wink of Stella on the Eskimo’s fur adds a little frosty sparkle and the Softly Falling Textured Impressions Embossing folder adds a subtle snow effect to the background. Adding some Shimmer Ribbon in Pool Party gives a more frosty effect. I love how this card turned out and its the perfect non-traditional Christmas card to share with one of your best friends.

Happy Crafting

Joanne x


You’re Inspiring Daffodil Card

Today’s card is much more suited to a spring day and not the middle of summer but I thought I’d share anyway. I coloured the daffodil image in ages ago, probably in the spring and I thought it was time it made its way onto a card. When I saw the new 6×6″ Designer Series Paper Stacks in the new colour collections I knew I had the perfect background.

you're inspiring daffodil card flat

I’ve left this card with no greeting as nothing seemed to fit how I wanted it too and to be honest sometimes its nice to have some blank cards ready to just send a quick not to someone.

Hope you like my simple project today.

Happy Crafting

Joanne x