Pootles Design Team – My Hero Week 5

14088395_10153745365531603_281310922678395855_n

So its my last week on the Pootles Design Team and I decided to  stretch myself and make a box. If you’d been in my house this weekend you’d know just how much this has stretched me, I am NOT a person whose brain works in 3D. Anyway I managed to make a box and I even have instructions for you to make your own version of what is actually a very simple project.

pootlesdesignteammyherowk5main.jpg

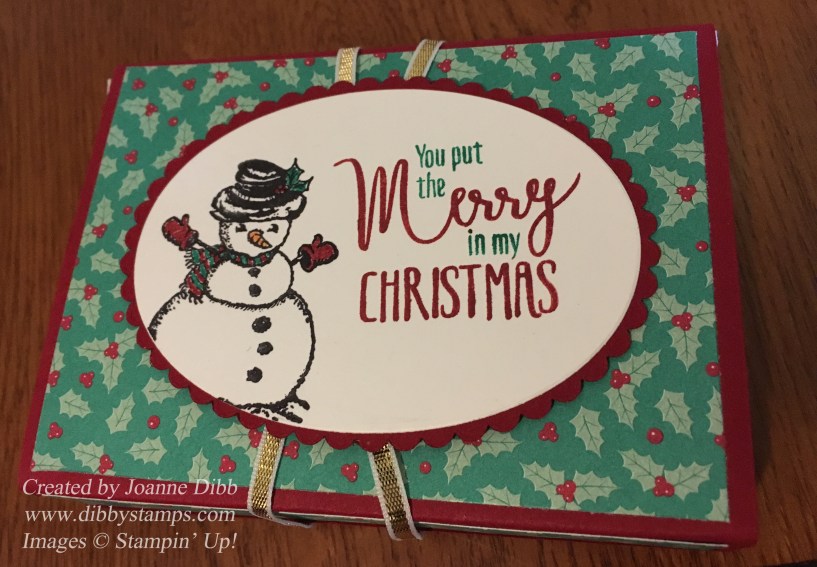
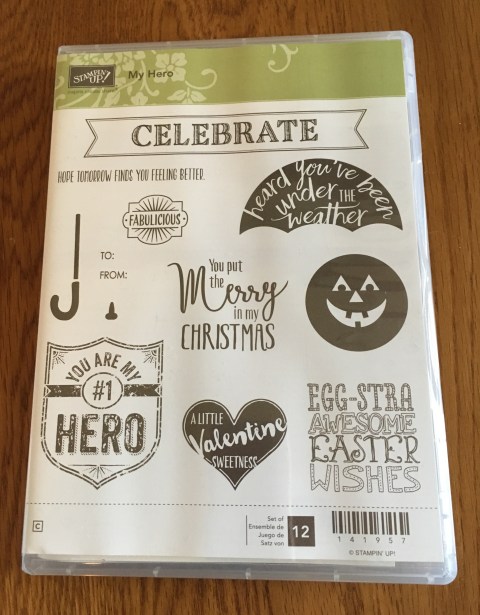
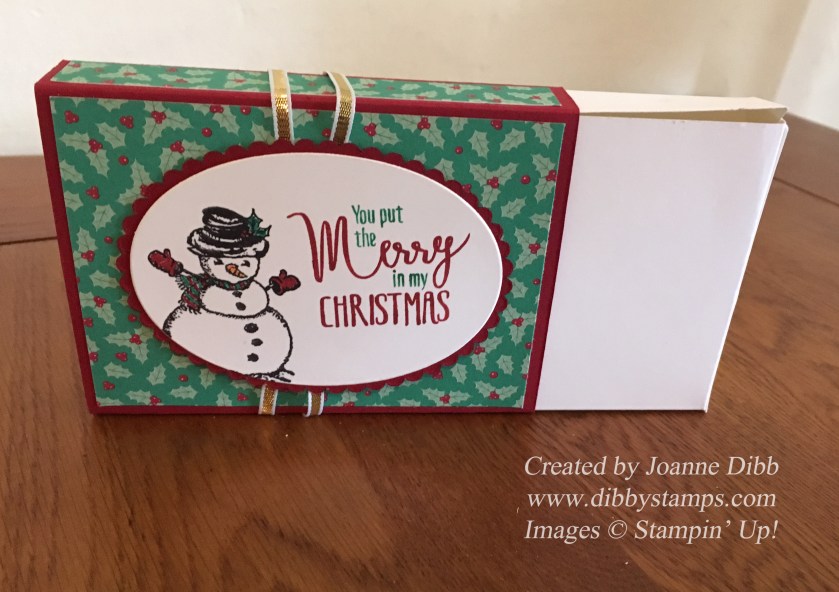
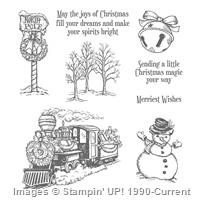
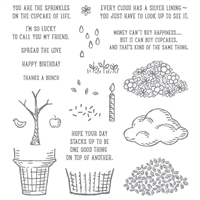
I just adore this cute little snowman from the Christmas Magic stamp set and thought he worked brilliantly with the Christmas sentiment from the My Hero set.  Here is the box with the inner part peeping out so you can see in more detail.

pootlesdesignteammyherowk5open.jpg

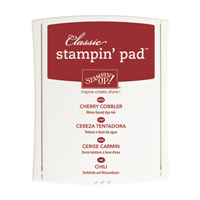
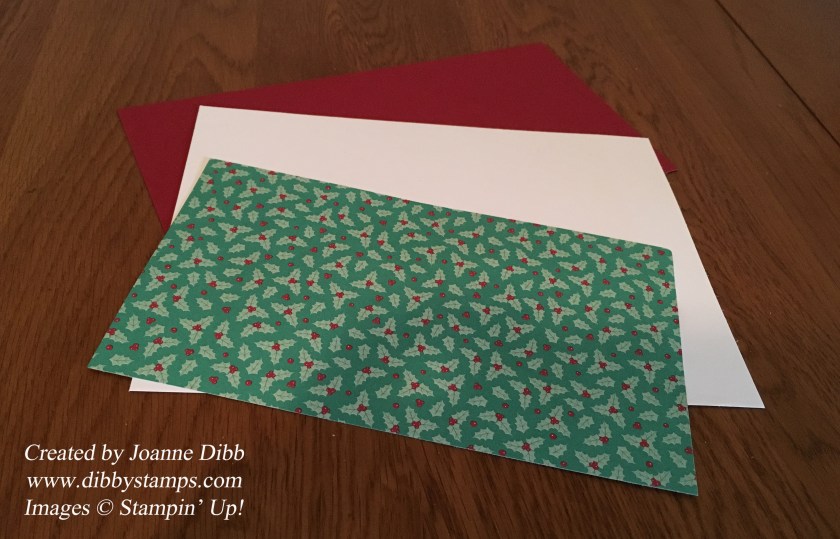
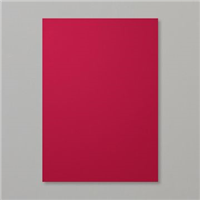
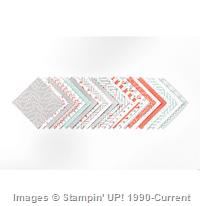
So here’s how to make the box, first you will need a piece of Whisper White cardstock measuring 20 x 14.5 cm, a piece of Cherry Cobbler measuring 10.5 x 21.4 cm and finally if you want to decorate like I did a piece of dsp measuring 10.5 x 18.4cm

pootles designteammyherowk5paper.jpg

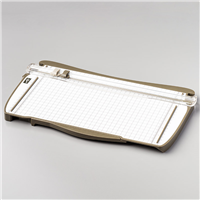
To make the outer sleeve of the box take the Cherry Cobbler cardstock and score vertically at 8.2 cm, 10.2cm and 18.4cm, which should look like this (score lines are the black dotted lines).

pdtmyherowk5cherrycobbler.jpg

Fold over all the score lines and then run SNAIL adhesive down the small edge on the right hand side. Now fold over to create the sleeve.

Next take the Whisper White card and score vertically at 8cm. 10cm and 18cm.

Then score horizontally at 2cm and 12.5cm. So you should have the following score lines:

pdtmyherowk5whiteboxtemp.jpg

Next take your scissors and cut along the red lines as shown above. So you should be left with this once you have cut off two of the corners.

pdtmyherowk5whitelayer.jpg

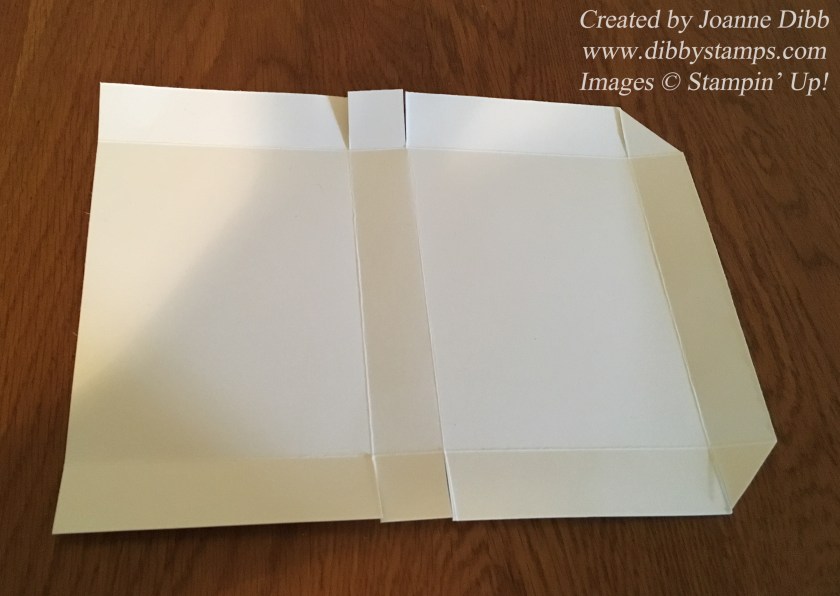
Turn the card so the outside edge is on top and the place SNAIL adhesive on the two small flaps and the first two long strips. Fold the two smallest flaps onto the other glued strips and then fold the other side up on the outside. So you should be left with a box which looks like this:

pdtmyherowk5boxes.jpg

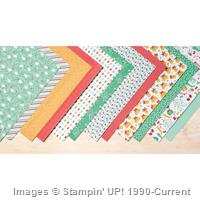
Your now ready to decorate your box anyway you want. I took my piece of 10.5 x 18.4cm dsp and cut it into four strips. Two measuring 7.7cm x 10.5cm and two measuring 1.5 x 10.5cm. I then stuck these to each side of the cherry cobbler sleeve. The white box just slips inside the sleeve so doesn’t need decorating.

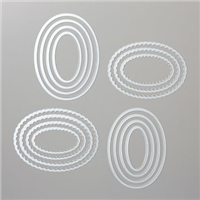
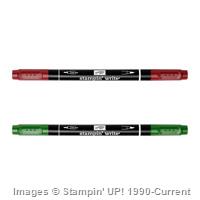
So back to the My Hero stamp set and how I made the topper. First I cut out the largest scalloped oval Framelits in Cherry Cobbler and then the oval which fitted inside in Whisper White. I took the greeting from the My Hero set and used Emerald Envy and Cherry Cobbler Stampin’ Markers to colour different parts of the greeting. I love doing this as it really adds interest to the greeting. I then stamped the snowman from Christmas Magic in black archival ink and coloured with markers. I finished off the whole project by wrapping some 1/8″ gold ribbon around the box and securing on top underneath where I stuck on my topper panel.

So here is the finished project again.

pootlesdesignteammyherowk5open

I hope you have enjoyed my Pootles Design Team projects as much I have enjoyed making them. Next week its the turn of the October team with a new stamp set so be sure to pop across to www.pootles.com to check them out and come back here to see what I’ve been creating with some other products.

Happy Crafting

Joanne x

Pootles Design Team My Hero – Week 4

14088395_10153745365531603_281310922678395855_n

This week I have been surrounded by poorly children who have now passed their delightful germs onto me, so the obvious choice for this week was a get well card.

I also don’t think we could focus on this set and not make some get well cards as this is the Ronald MacDonald House Charities set which raises money to help families with sick children who are receiving treatment far from home., so this is definitely a set you should consider as £2.00 from every sale goes to the charity.

I went for a super simple card this week with a couple of layers and just a little stamping. Here is the card

pootlesdesignteammyherowk4.jpg

I chose a colour scheme of Rich Razzleberry, Pool Party and Smokey Slate and I love how well they work together. The only dimension on the card is the top of the umbrella as I wanted to make it easy for posting.

Thank you for popping by, if you would like to check out what the rest of the design team make take a look on www.pootles.com for the links.

Happy Crafting

Joanne x

Pootles Design Team My Hero – Week 3

14088395_10153745365531603_281310922678395855_n

This week for the Pootles Design Team Challenge I have made an Easter card, it’s actually a card I’ve been wanting to make since I bought the Balloon Celebration stamp set when I first became a demonstrator.  Those speckled balloon insides just make me think of the very poplar mini eggs which are available at Easter. The greeting stamp in My Hero provided the prefect greeting to make my card.

pootlesdesignteammyherowk3.jpg


This easel card is made from a base of 5” by 10” piece of Very Vanilla cardstock, scored on the long side at 2.5” and 5”. These are then folded over to form the easel part of the card. I stamped the greeting from the My Hero set in Soft Suede ink on Very Vanilla cardstock and cut it out using the Layering Squares Framelit Dies

pootlesdesignteammyherowk3closeup.jpg

The “eggs” were made from the speckled stamp in the Balloon Celebration stamp set and punched out with the Balloon Bouquet punch, you just need to trip off the bottom of the balloon where it would have been tied. I chose to use So Saffron, Very Vanilla, Pink Pirouette and Pool Party as a colour scheme to match those chocolate eggs.

The form strips were used to form the “stopper” at the bottom of the card and were covered with the eggs.  Here is a side very of the card:

pootlesdesigteammyherowk3sideview.jpg

Don’t worry easel cards can still fold flat so are easy for posting. I’m glad the design team challenge has given me the chance to make this card as its been in my head far too long…time to make room for some new ideas.

If you would like to see what everyone else in the team has made this week then head over to www.pootles.com for all the links.

Happy Crafting

Joanne x


Pootles Design Team My Hero – Week 2

14088395_10153745365531603_281310922678395855_nThis week I’ve been feeling very loved up, no idea why, so have challenged myself to come up with a love/anniversary card and here’s what I came up with:

pootlesdesignteammyherowk2

Cherry Cobbler and Gold is one of my favourite colour combinations, I think they look so rich and luxurious together so they had to be used for this card. The heart border stamp comes from the Birthday Blooms set and is one I’ve been longing to use. The cute little ladybirds come from the Love You Lots hostess set which is one of my favourites of the annual catalogue.

pootlesdseignteammyherowk2closeup
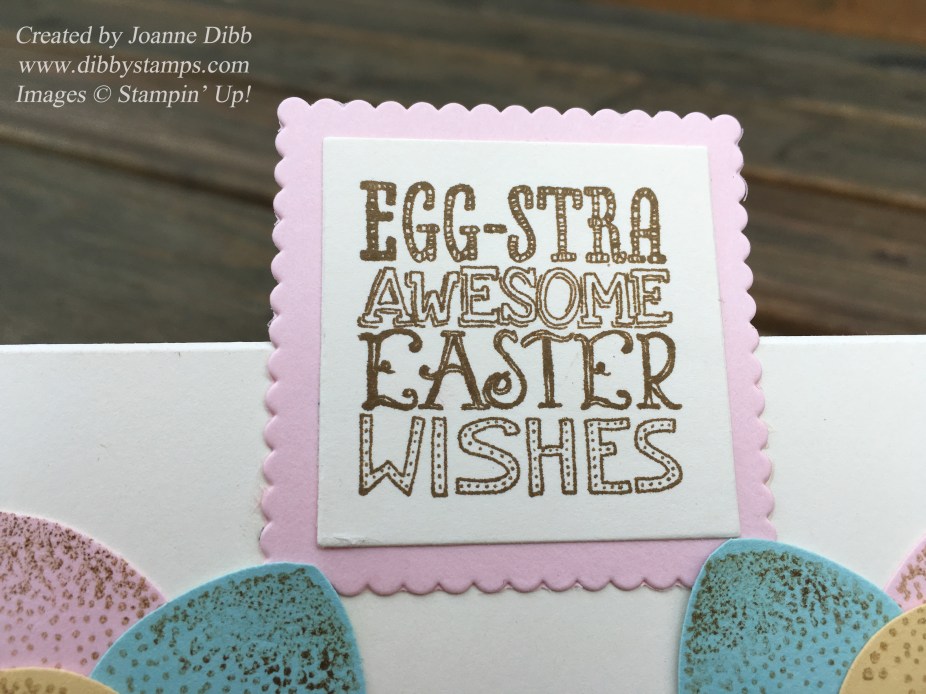
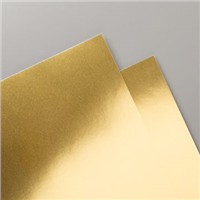
Here is a close up of the stamp from the My Hero set which was used as my focal point. I stamped it in Cherry Cobbler and then cut away the outer border. To make the gold layer I heat embossed the image in clear powder on the gold foil and cut it out, a simpler way would have been to use the Best Badge punch, but I don’t have this my collection…..yet!

pootlesdesignteammyherowk2flat
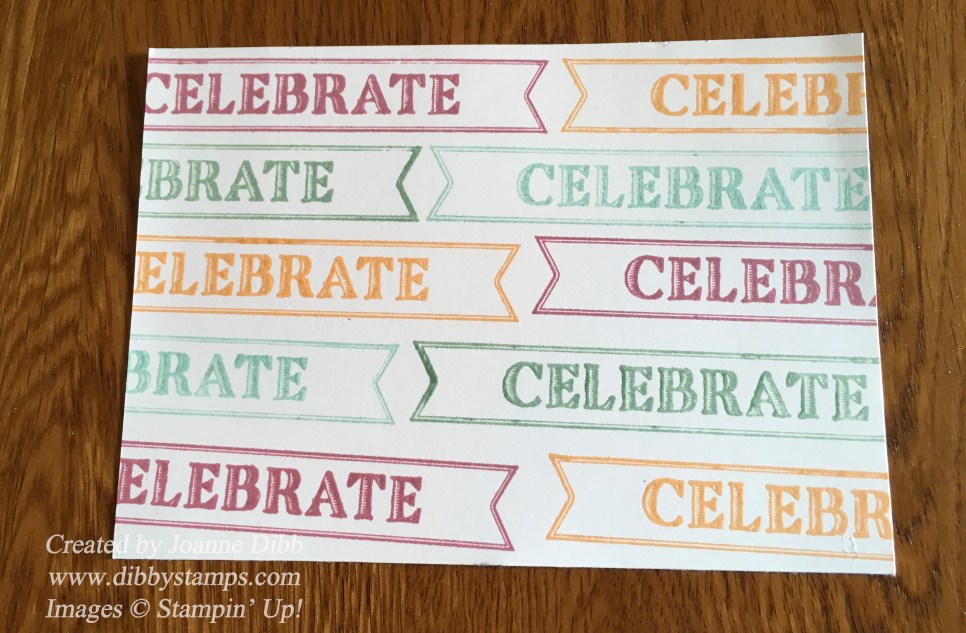
Here is a final photo of the card laid flat. I’m really loving the challenge of focusing on one stamp set and have more ideas than I thought I would, so go challenge yourselves to create a few different cards using one set, its fun!
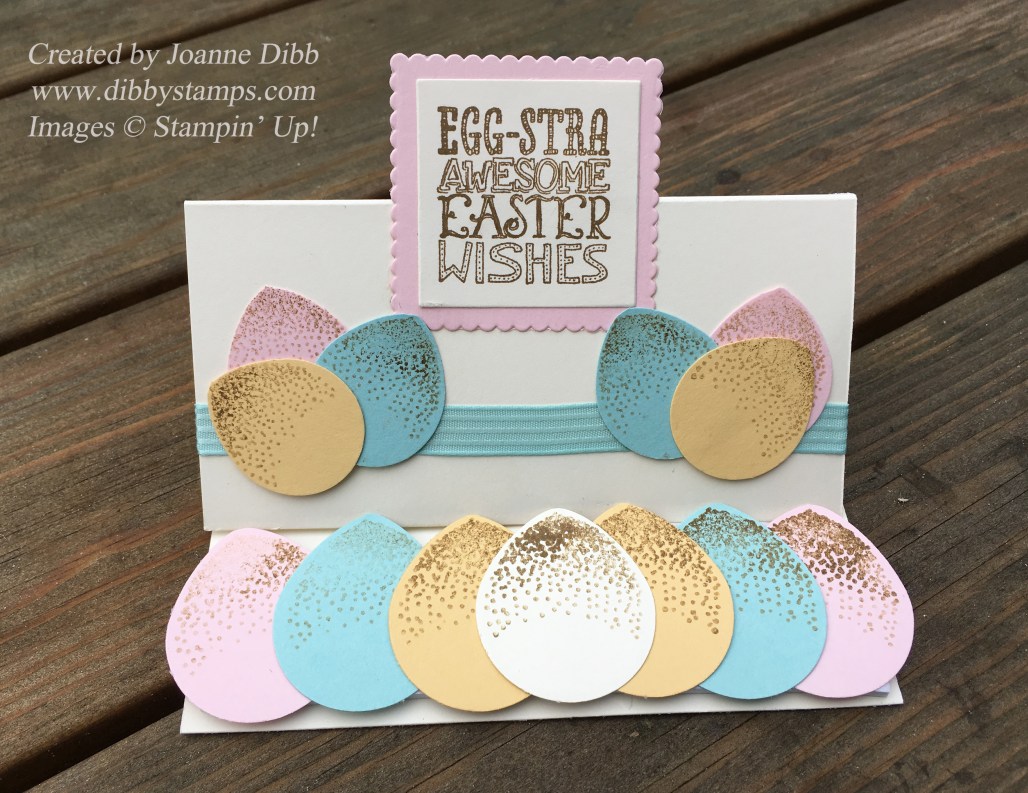
To see what the other members of the design team came up with this week click here visit http://www.pootles.com

Happy Crafting

Joanne x


Pootles Design Team My Hero – Week 1

14088395_10153745365531603_281310922678395855_n

Today I’m happy to announce that for September I’m part of the Pootles Design Team. For this we are given one stamp set and asked to create a project for every Thursday in the month. The stamp set that we were given for September was My Hero, which can be found on the inside of the back cover of the annual catalogue, just in case you’ve missed it.

myherostampset.jpg

This is a very special stamp set as it is this years Ronald McDonald House Charities stamp set, which means every-time someone buys this stamp set £2.00/€2.25 is given to the charity.

When this stamp set first arrived I was very unsure I was going to be able to come up with one project let alone 5! But after using it a few times its growing on me and one I can see being a popular choice for some quirky greeting.

So here is what I came up with for this week:pootlesdesignteammyherowk1.jpg

First I made the background by taking the celebrate stamp and stamping repeatedly with Sweet Sugarplum, Peekaboo Peach, Mint Macaron and Pool Party, using the Stamp-a-ma-jig to keep it fairly straight.

myherocard1background.jpg

I felt this was a little too bright for a background so I added a layer of vellum, securing it on the back so the layer popped up a little.

Next I punched some balloons in matching cardstock from the balloon bouquet punch, I added a little curve to these by rubbing the backs of each one with the lid of my tombow glue on a foam matt.

myherotip1.jpg

I finished the balloons off with some linen thread and secured onto the card with stampin’ dimensionals. I created the banner by colouring the outline of the celebrate stamp set with the Sweet Sugarplum marker and stamped  a greeting from the Birthday Banners set. I added two enamel stars for an embellishment.

Hope you like my first project and pop back next week to see what else I create with this set. To take a look at what the other members of the team created visit http://www.pootles.com

Happy Crafting

Joanne x