Over the Moon Birthday Card

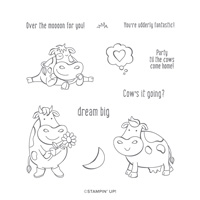
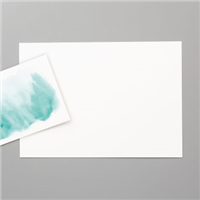
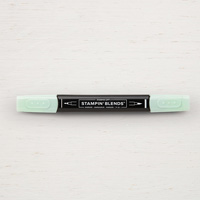
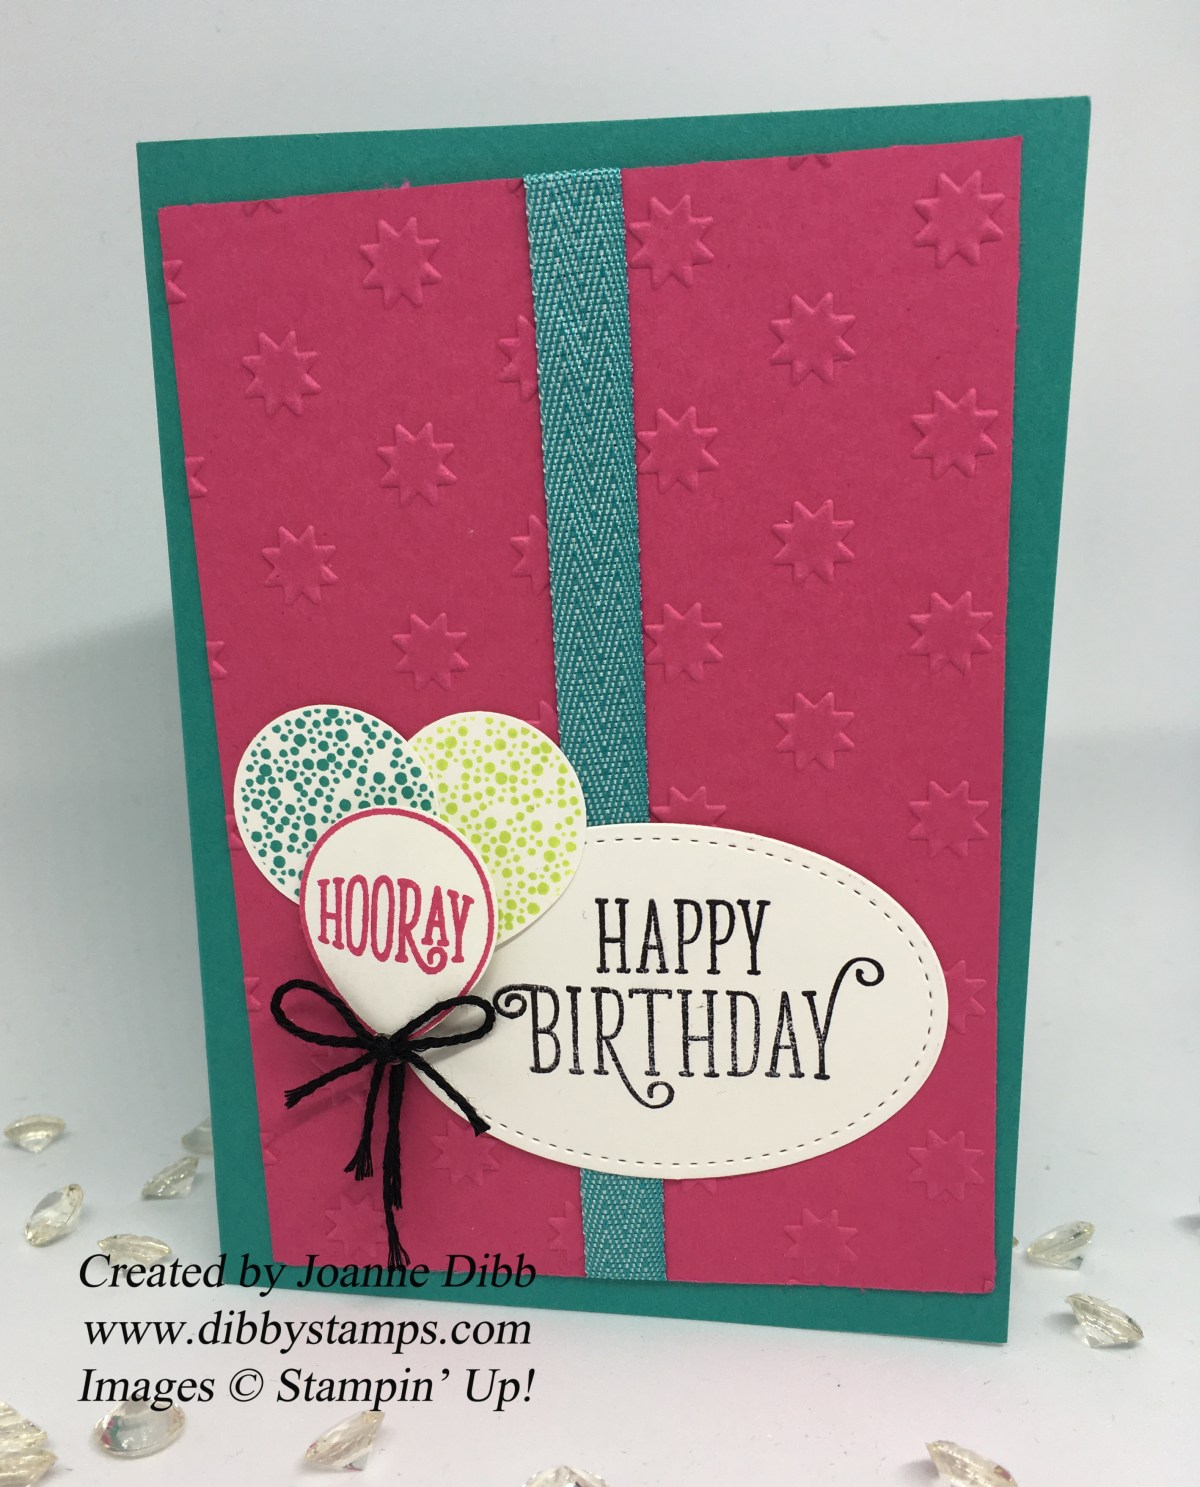
Today I’m sharing another childrens birthday card, this time made with the Over the Moon stamp set. The background was a watercolour wash of Mint Macaron on the old watwercolour paper, having now used our new Fluid 100 watercolour paper I much prefer this as its blends so much smoother.

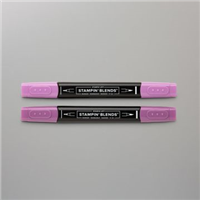
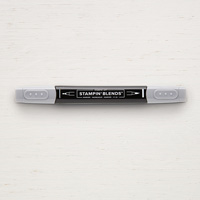
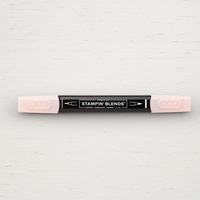
I stamped the cow in Memento Tuxedo Black and coloured with Stampin’ Blends before fussy cutting her out. Here’s a little close up of her:

Over the Moon - Purple Birthday card close up

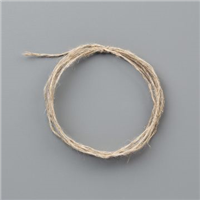
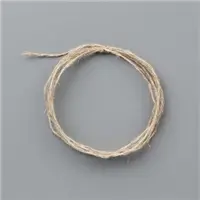
I attached some linen thread around the base of the punched out balloon with Tear N Tape around the back. I then attached the thread to the cow using some more tape rolled into a ball, you could also use a glue dot here but I’m out of them at the moment.

Over the Moon - Purple Birthday card - flat

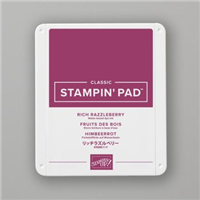
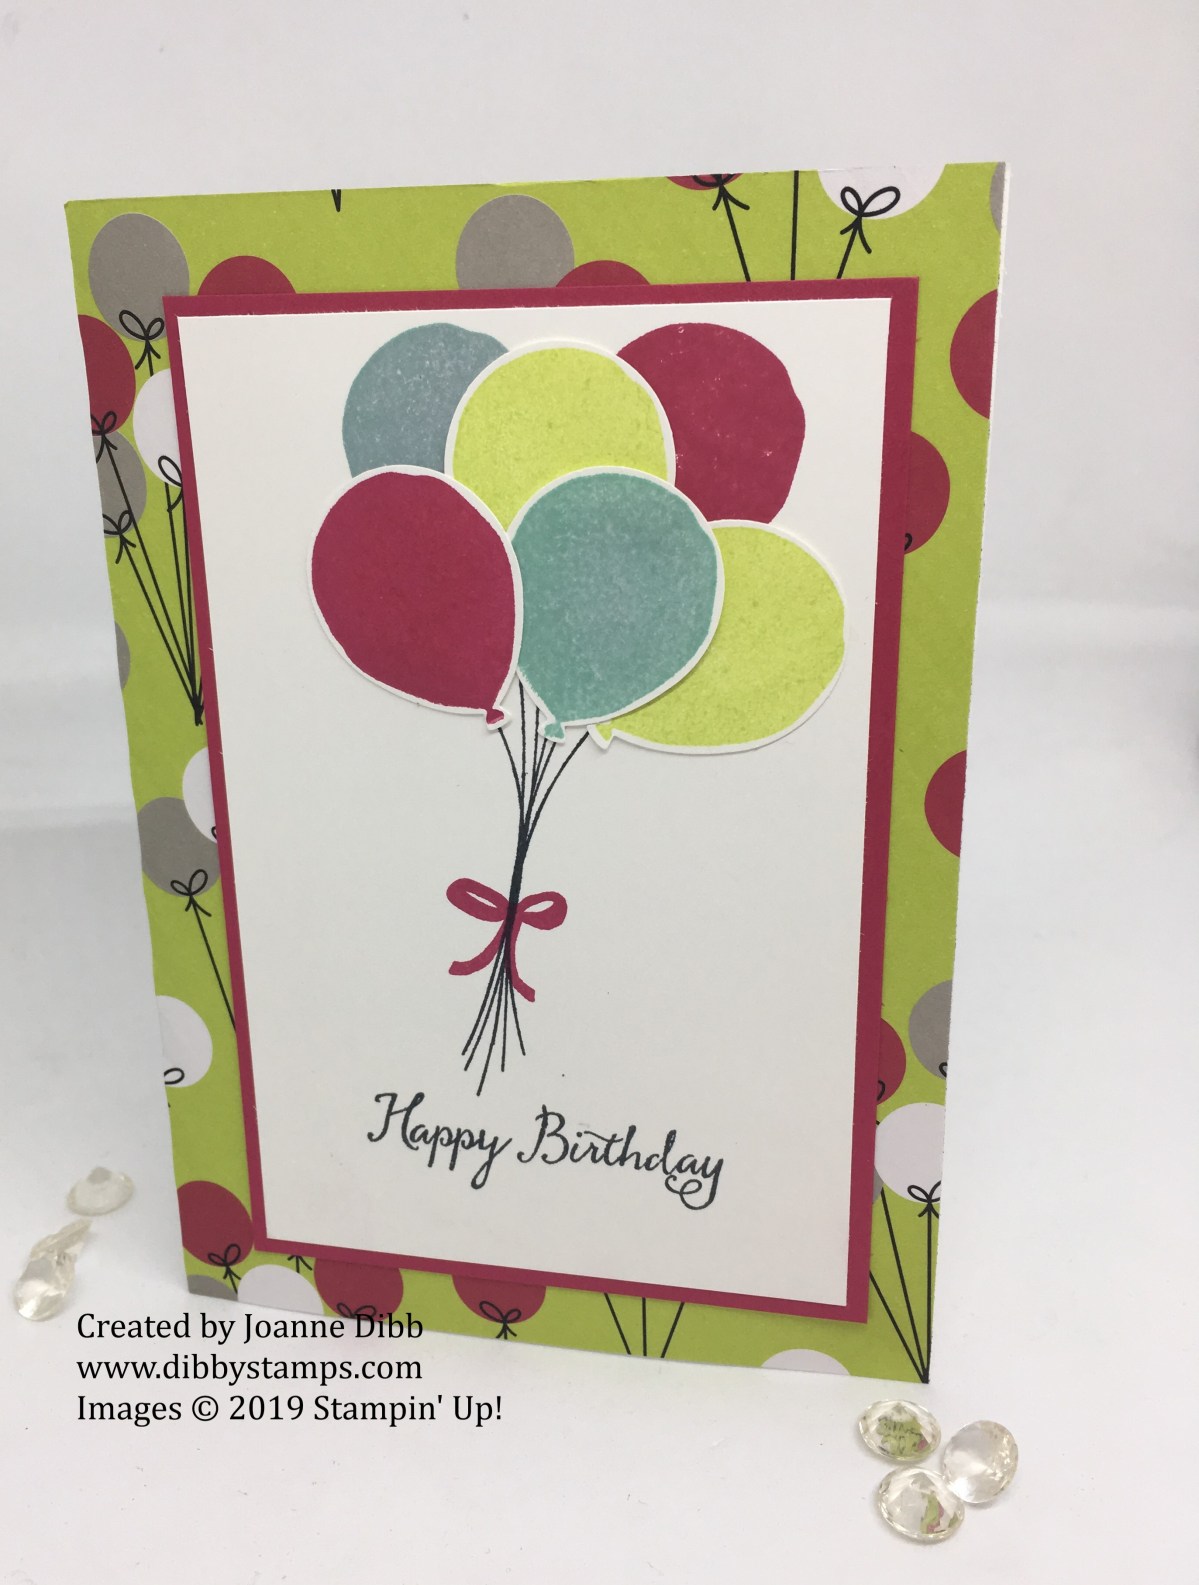
To finish the card stamp Happy Birthday from Perennial Birthday across the bottom of the card in Rich Razzleberry.

Finished result a cute birthday card which I’m sure anyone would love.

Happy Crafting

Joanne x

Basic Measurements:

Card Base: Half A4 sheet of cardstock measuring 14.9 x 21cm, scored at 10.5cm

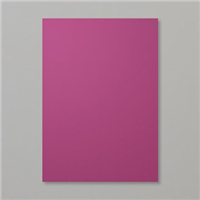
Rich Razzleberry Matt: 14.4cm x 10cm

Watercolour Paper: 13.9cm x 9.5cm
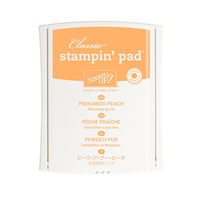
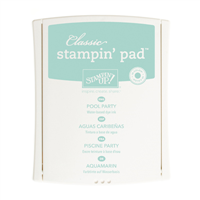
Supplies:


Balloon Celebration Birthday Card

Today I’ve pulled out another older set Balloon Celebration which even after three years is still one of my favourites and with the matching Balloon Bouquet punch you cna have a lovely card in minutes.

The background paper on this card comes from the Broadway Birthday Speciality DSP, one side of each sheet has gold foiling one but on the other sides there are bright fun patterns. perfect for creating birthday card for peaople of any age.

Balloon celebratio flat

If you have this stamp set then why don’t you pull it out and have a play this weekend?

Happy Crafting

Joanne x


Oh My Stars Embossing Folder Birthday Card

Today I’m featuring a product which I always seem to pass over in the catalogue, the embossing folders. However in this new catalogue there are quite a few which are on my must have list and even a couple of the older ones which I can see working really well with new stamp sets.

The “Oh My Stars” embossing folder was on our demonstrator pre-order list and is one which I think makes a lovely background all on its own and it helped inspire this bold and bright birthday card.

ohmystarsbirthdaycard

The colour combination of Bermuda Bay, Melon Mambo and Lemon Lime Twist is perfect for this bright bold birthday card. I wanted to show also the Happy Birthday Gorgeous doesn’t just have to male floral cards and if you changed the colour scheme its perfect for male cards too.

Don’t you just love the Bermuda Bay Chevron ribbon too? The other colours are definitely on my wish-list. I love the ribbon selection in this catalogue, I just need to come up with more ways to use it so stay tuned…

Happy Crafting

Joanne x

Pootles Design Team My Hero – Week 1

14088395_10153745365531603_281310922678395855_n

Today I’m happy to announce that for September I’m part of the Pootles Design Team. For this we are given one stamp set and asked to create a project for every Thursday in the month. The stamp set that we were given for September was My Hero, which can be found on the inside of the back cover of the annual catalogue, just in case you’ve missed it.

myherostampset.jpg

This is a very special stamp set as it is this years Ronald McDonald House Charities stamp set, which means every-time someone buys this stamp set £2.00/€2.25 is given to the charity.

When this stamp set first arrived I was very unsure I was going to be able to come up with one project let alone 5! But after using it a few times its growing on me and one I can see being a popular choice for some quirky greeting.

So here is what I came up with for this week:pootlesdesignteammyherowk1.jpg

First I made the background by taking the celebrate stamp and stamping repeatedly with Sweet Sugarplum, Peekaboo Peach, Mint Macaron and Pool Party, using the Stamp-a-ma-jig to keep it fairly straight.

myherocard1background.jpg

I felt this was a little too bright for a background so I added a layer of vellum, securing it on the back so the layer popped up a little.

Next I punched some balloons in matching cardstock from the balloon bouquet punch, I added a little curve to these by rubbing the backs of each one with the lid of my tombow glue on a foam matt.

myherotip1.jpg

I finished the balloons off with some linen thread and secured onto the card with stampin’ dimensionals. I created the banner by colouring the outline of the celebrate stamp set with the Sweet Sugarplum marker and stamped  a greeting from the Birthday Banners set. I added two enamel stars for an embellishment.

Hope you like my first project and pop back next week to see what else I create with this set. To take a look at what the other members of the team created visit http://www.pootles.com

Happy Crafting

Joanne x