Hi Everyone,
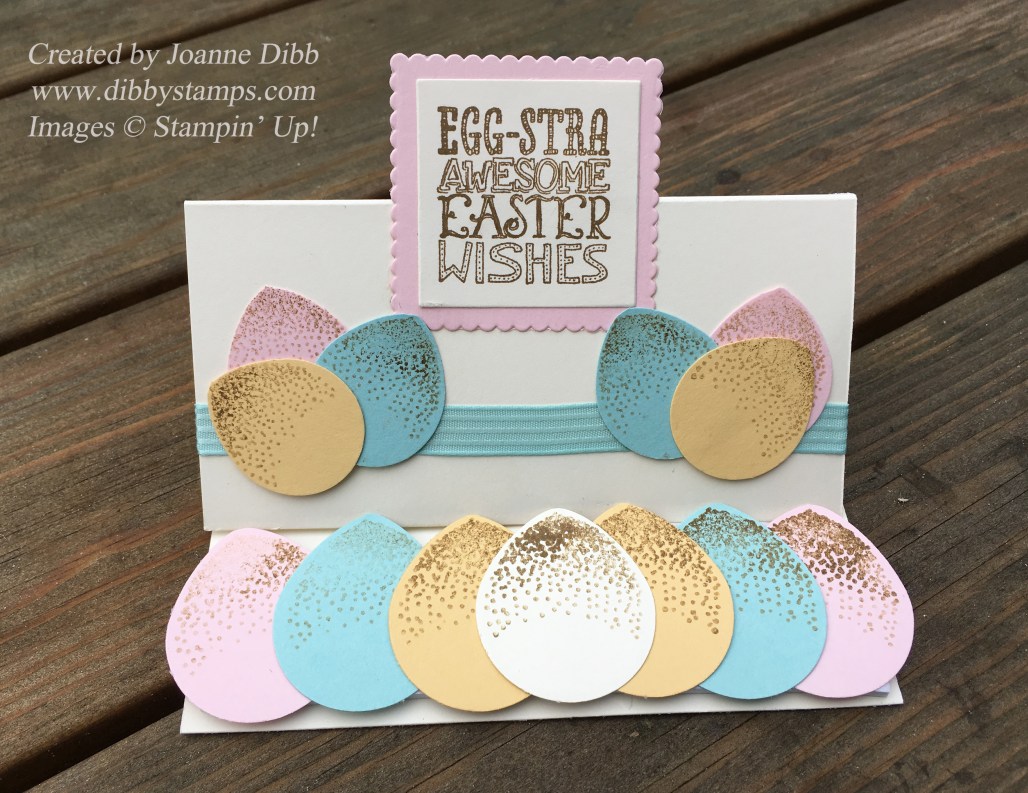
How are you today? I’m so glad its a bit cooler at last as I don’t function well in heat at all. I’ve not got a Floral Friday post today but I have got this gorgeous Vintage Butterfly Easel card. As soon as I saw the Background Bits Hostess set in the catalogue I knew this was a card I wanted to make and I can’t wait to share it with you any longer.
As you may know if you’re a regular reader it’s not often I venture into vintage, distressed, shabby chic style cards as I don’t seem to pull the look off very well but I’m so pleased with how this turned out.
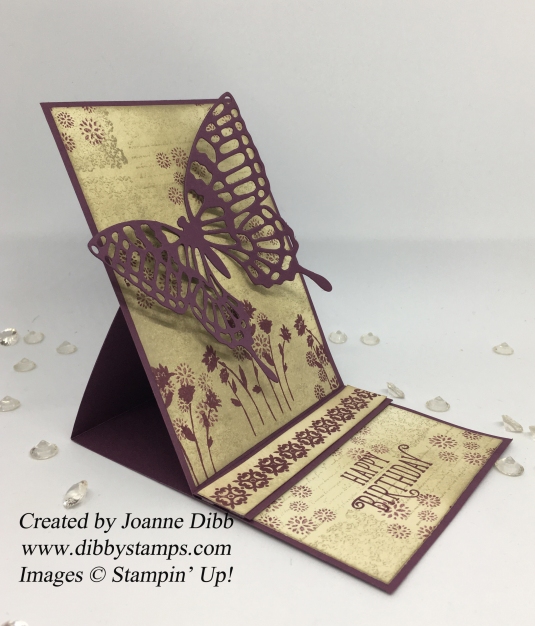
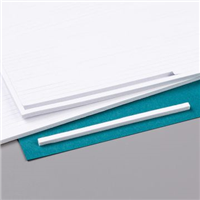
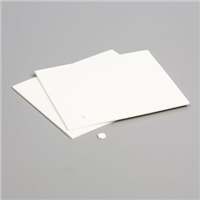
To create a basic easel card take a piece of card measuring 28cm x 10.5cm. Score it at 14cm and at 21cm. Fold in half at 14cm and then fold at 21cm to create the triangle shape you can kind of see above. Next cut an extra piece of card 14.5cm x 10.5 cm and this is used as your card front. Then create a strip of card 10.5 x 2.5cm to use as your stopper.
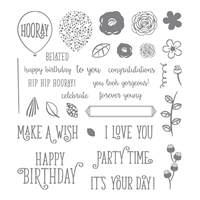
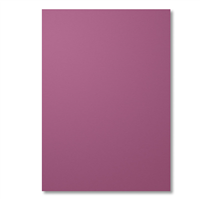
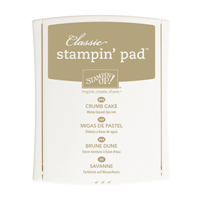
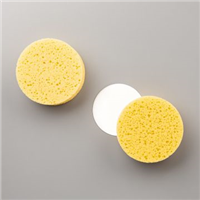
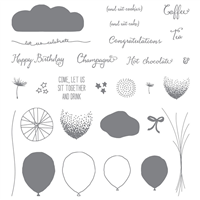
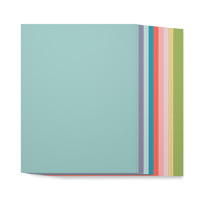
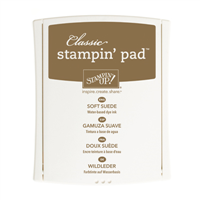
To create the front of the card I took a piece of Very Vanilla cardstock measuring 14cm x 10cm and randomly stamped the script stamp and the background swirl pattern all over in Crumb Cake. My Crumb Cake ink pad desperately needs re-inking so if yours is juicy you might want to stamp off one on scrap paper before each stamp. I then took a sponge and sponged and blended Crumb cake ink all over to create that vintage look.
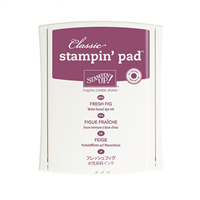
For some added detail I took the flower head type stamp and my Fresh Fig ink which I stamped off once on scrap paper and randomly created a pattern. To finish my background I stamped the flower stems all in a row along the bottom.
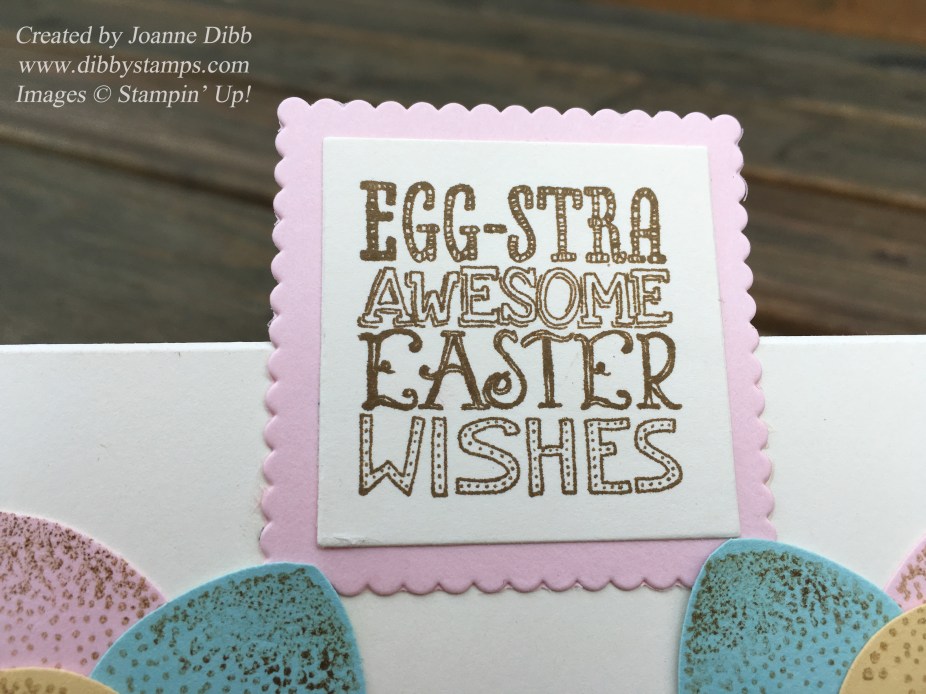
For the greeting panel I took a piece of Very Vanilla cardstock measuring 10cm x 5cm and repeated the above process. Instead of Fresh Fig flowers I stamped the Happy Birthday greeting from Happy Birthday Gorgeous.

I then adhered these two panel to my card base. To finish off the stopper piece I took a strip of Very Vanilla measuring 10.5cm x 2cm and sponged over it in Crumb Cake ink. I then took the border stamp from Background Bits and stamped it in Fresh Fig. To stick the stopper to your card your can use foam strips or do what I did and use the edges off the new Mini Stampin Dimensional’s as these were the perfect width.

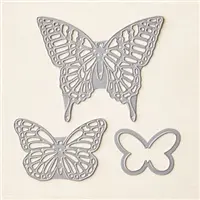
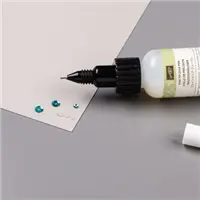
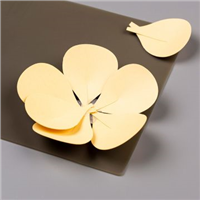
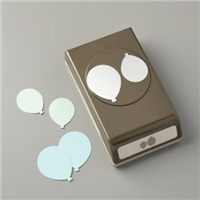
To finish off the card I die cut the largest butterfly from the Butterfly Thinlits and adhered this with Fine-tip glue.
The Background Bits stamp set is only available as a hostess so you will need to place an order over £150.00. If you can stretch to a £300.00 order then this month Stampin’ up! are giving £30 extra in hostess freebies, so that’s at least £60.00 in free product. Perfect is your new catalogue wish-list is huge like mine.
Hope you’ve enjoyed today’s project and pop back soon.
Happy Crafting
Joanne x