Rainbow Flower Birthday Card with Happy Birthday Gorgeous

We’ve had miserable weather here in the UK the last couple of days so I was inspired to make a rainbow themed card in the hope the sun will come back out for the last week of the school holidays. So I pulled out one of my favourite stamp set Happy Birthday Gorgeous and a mix of colours to make a rainbow.

Starting at the top of my card a stamped a row of flowers in the following colours: Real Red, Pumpkin Pie, Daffodil Delight, Granny Apple Green, Blueberry Bushel and Fresh Fig. I did have Balmy Blue and Night of navy in the mix for my blue and indigo colours but half way down I realised I wouldn’t have room to complete the rainbow so swapped them for Blueberry Bushel which is the perfect mix of blue and indigo.

Happy Birthday Gorgeous Rainbow Flower Card Flat

To finish the card I stamped and embossed the Happy Birthday greeting in white onto black card and punched it out with the Pretty Label Punch.

A quick simple card which will hopefully encourage the sun to come back out.

Happy Crafting

Joanne x


Christmas Deer with Rooted in Nature

For my final project focusing on the Nature’s Poem Suite I’m going all Christmassy and mixing in the Stitched Seasons Framelits and a brand new stamp set launching on September 5th Dashing Deer which is gorgeous and reminds me of a single deer stamp we had a few years ago.

I used the frames in the Stitched Seasons Framelits to create the window in the Under the Mistletoe Designer Paper and the red frame. I love the stitched detailing which is added around both edges of the frame by using the two largest dies together,

A couple of the fir trees from Rooted in Nature stamped in Shaded Spruce and some gold embossed deer create the main image for my card.

Christmas Deers with Rooted in Nature flat

To finish the card I stamped a greeting from the Dashing Deer stamp set in Shaded Spruce and die cut it with a frame from the Petal & More Thinlits Dies.

I think the fir trees make the perfect background for these gorgeous deer and I can see myself using this combination for many Christmas cards.

Hope you’ve enjoyed my exploration of the Nature’s Poem Suite and I hope I’ve given you some different ways of using the Rooted in Nature bundle. It is a considered purchase but I think its worth every penny as its so versatile.

Happy Crafting

Joanne x


Nature’s Roots Birthday Card

For today’s project I’ve made a quick birthday card which will suit anyone who loves nature.  I’ve kept the colour scheme very simple with Tranquil Tide and Crumb Cake but used different textures and layers to add interest.

The background was created by simply stamping the small leaf randomly all over my card base in Tranquil Tide to give a tone on tone look. The Simple Stripes Embossing Folder adds some texture to the Crumb Cake layer, a little inking to the edges adds a little more definition to the ripped edges.

Natures Roots flat card

Some of the Nature’s Twine in Crumb Cake adds a final touch of texture along with the raised up Scots Pine die cut from the Nature’s Roots Framelits. The happy birthday greeting is from Perennial Birthday.

Happy Crafting

Joanne x


Floral Friday: Berry Burst Flowers from Nature’s Root Framelits

For today’s flowery themed post  I’m going to share with you some flowers I’ve made from the spikey leafed die in the Nature’s Root Framelits. I’m not sure if anyone else sees flowers when they look at that die but I did and after a little play I came up with these cute little flowers, that are quite simple to make.

berry burst flower steps

  1. You will need to cut four flowers in your desired colour for each flower you plan to make, I chose Berry Burst. You will also need to punch a circle from the 1/2″ circle punch, I chose Powder Pink.
  2. Scrunch up each of your leaves so your petals have more texture.
  3. Take a Stampin’ Dimensional as the centre of your flower and stick on your first petal. I would recommend using the Silicone Craft Sheet for this but mine’s gone walk about…if you find it please send it back 😉
  4. Layer all four petals around the dimensional and adhere using Mini Glue Dots, the new Take Your Pick tool was perfect for this. Finish the flower centres with the punched circle and a Clear Faceted Gem.

berry burst flower card flat

Here’s an example of a finished card to show you how lovely these flowers look when used, a few stamped leaves and you have a completed project.

Hope you’ve enjoyed today’s quick tutorial.

Happy Crafting

Joanne x


Flirty Flamingo Simple Shower Gel Box

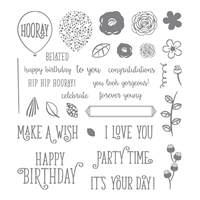
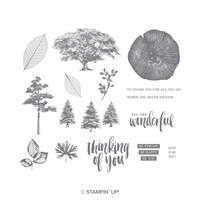
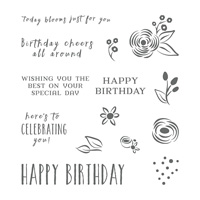
Today I’ve branched out and made a box which is something I very rarely do. I just really wanted to create something which really showed off the beautiful leaf stamp to its full advantage.

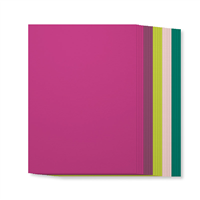
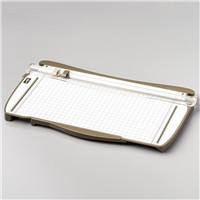
Firstly you need an A4 piece of cardstock, place on your scoring board lengthways and score at 7cm, 14cm, 21cm and 28cm. Turn the paper 90 degrees and score at 6cm. Score lines are shown in mint green in the photo below.

Simple shower gel box tutourial cutting layout

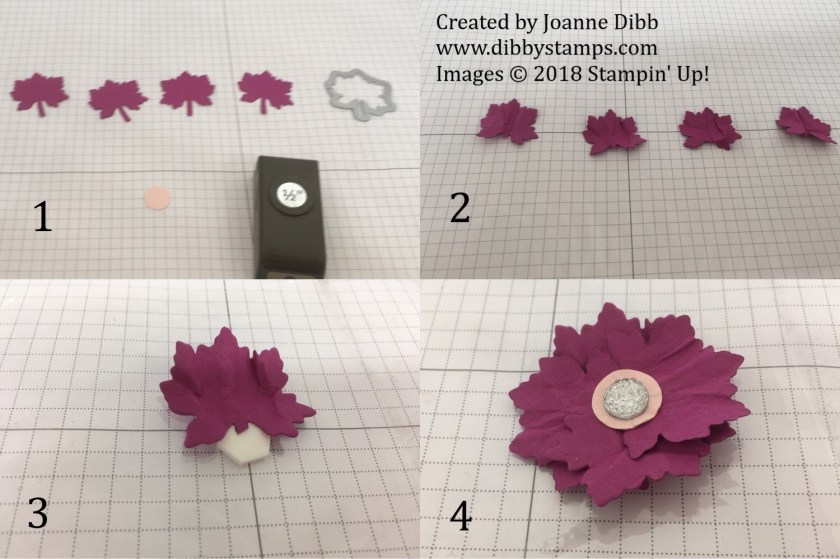
Next cut up the lines shown as purple dashes in the photo above, so that you have five flaps below your horizontal score line. Cut along the horizontal score line so that the section in red on the photo above has been removed.

2nd cutscore line simple shower gel box

Next cut into each  square flap diagonally to remove a small slither from each edge, so the sections with the red diagonal line in the photo above are removed.

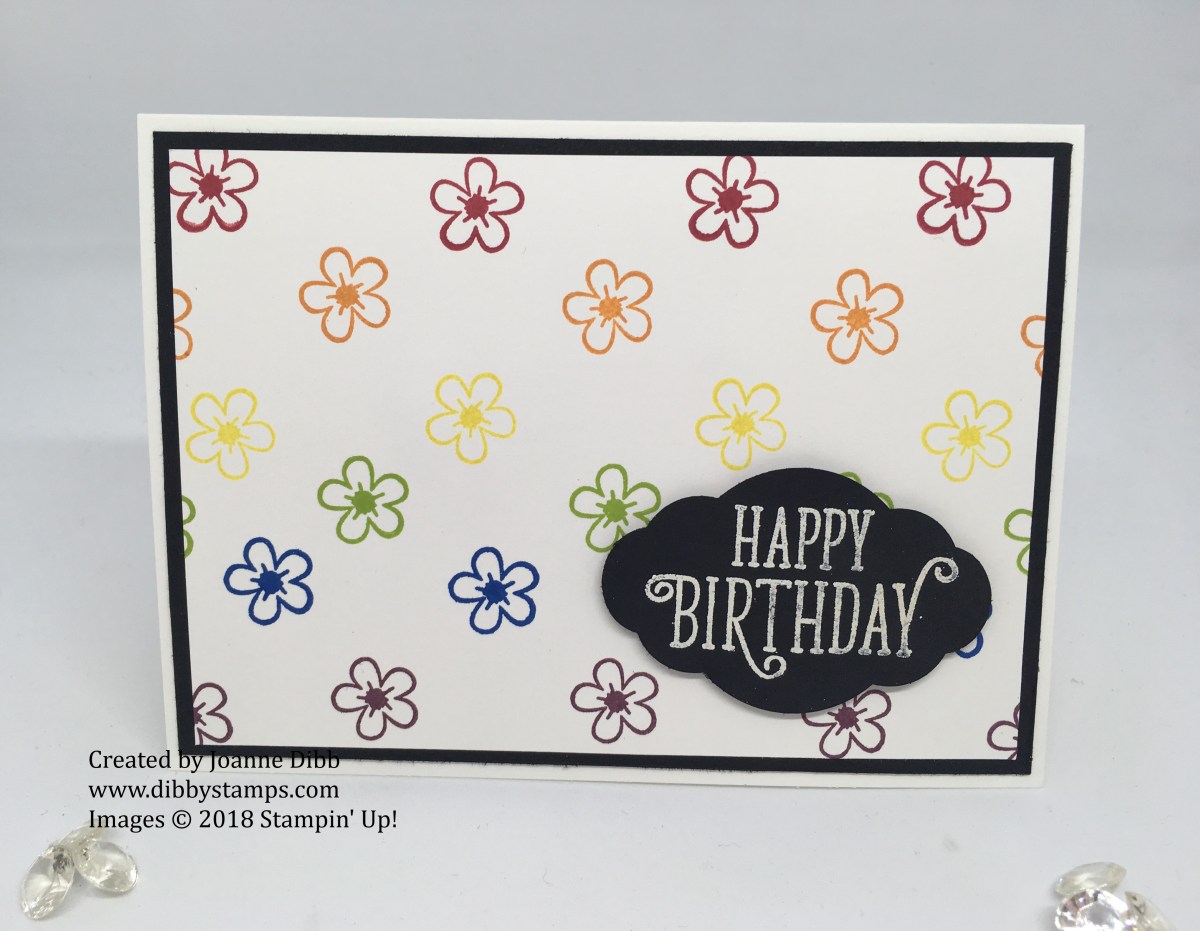
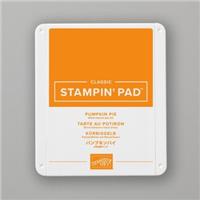
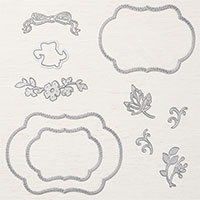
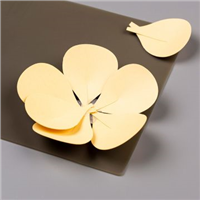
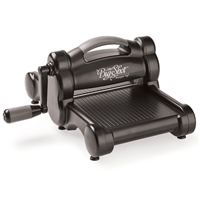
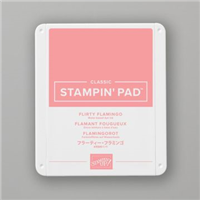
I then burnished all the score lines before I decorated my box. I chose to emboss some of the large leaves in silver and fill in the gaps with leaves stamped in Flirty Flamingo. Make sure not to stamp over the score lines with the leaves you are going to emboss or the embossing may crack when you fold the box together.

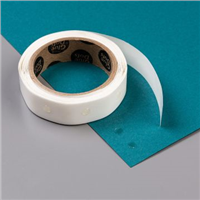
To make into a box place adhesive along the long  thin flap  and then fold into a box shape making sure the thin strip is on the inside. Carefully add adhesive to two  of the alternating squares at the bottom and then fold them upwards. Make sure the last flap has adhesive on to hold all the others together.

simple shower gel lid cut score

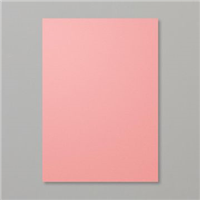
To make the lid take a piece of Flirty Flamingo cardstock measuring 11.2 x 11.2cm and score on every side at 2cm, to match the solid green lines shown above. Next cut along the purple dotted lines as shown above and then burnish all remaining score lines.

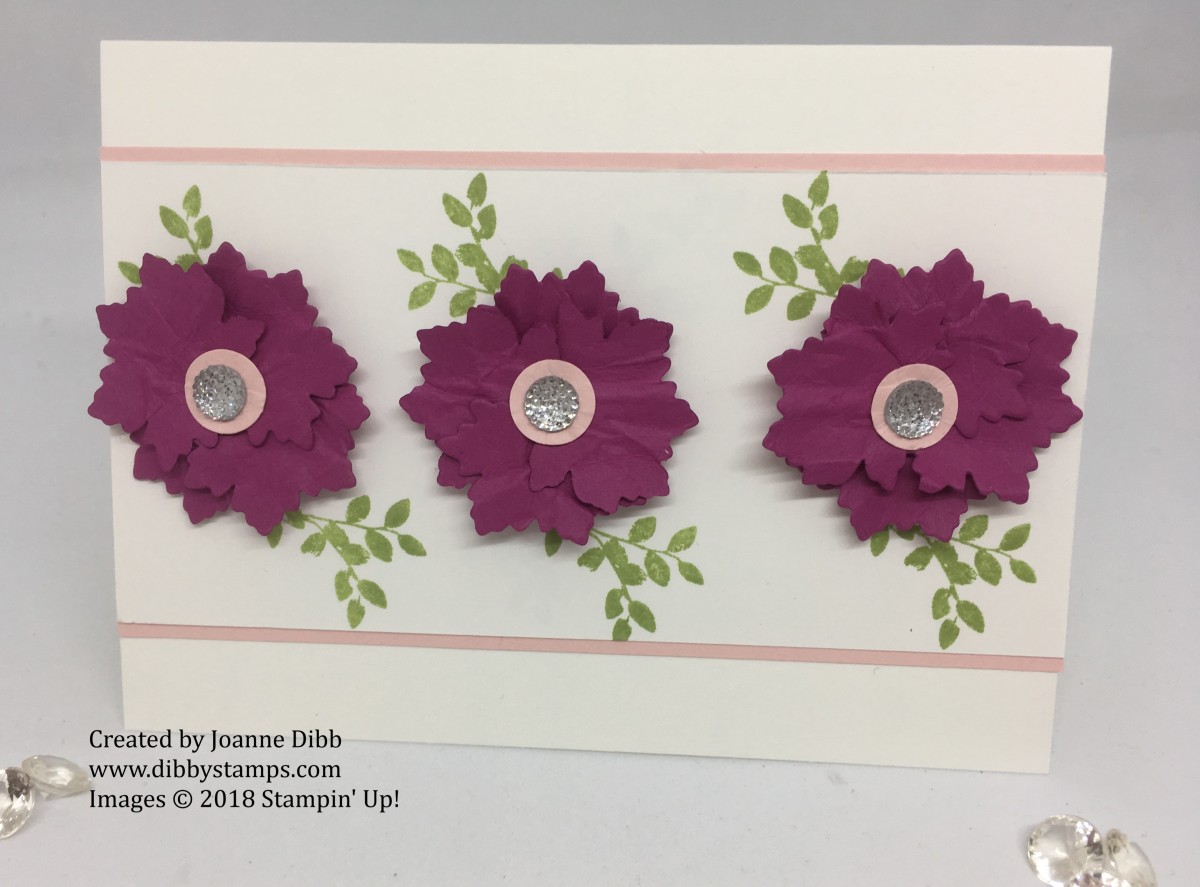
Decorate lid as required, I did some more silver embossing with the large leaves stamp which I think looks stunning.

Add adhesive so each of the corner flaps on the lid and fold in the sides to create the finished lid.

The lid should now loosely sit on top of the box, so if you wanted more security with it you might want to finish off by wrapping some ribbon around the box and securing at the top.

Hope you’ve enjoyed todays project and can understand my ramblings.

Happy Crafting

Joanne x