Todays Tiles Card Trio

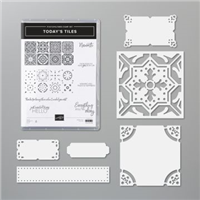
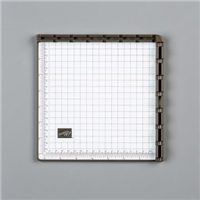
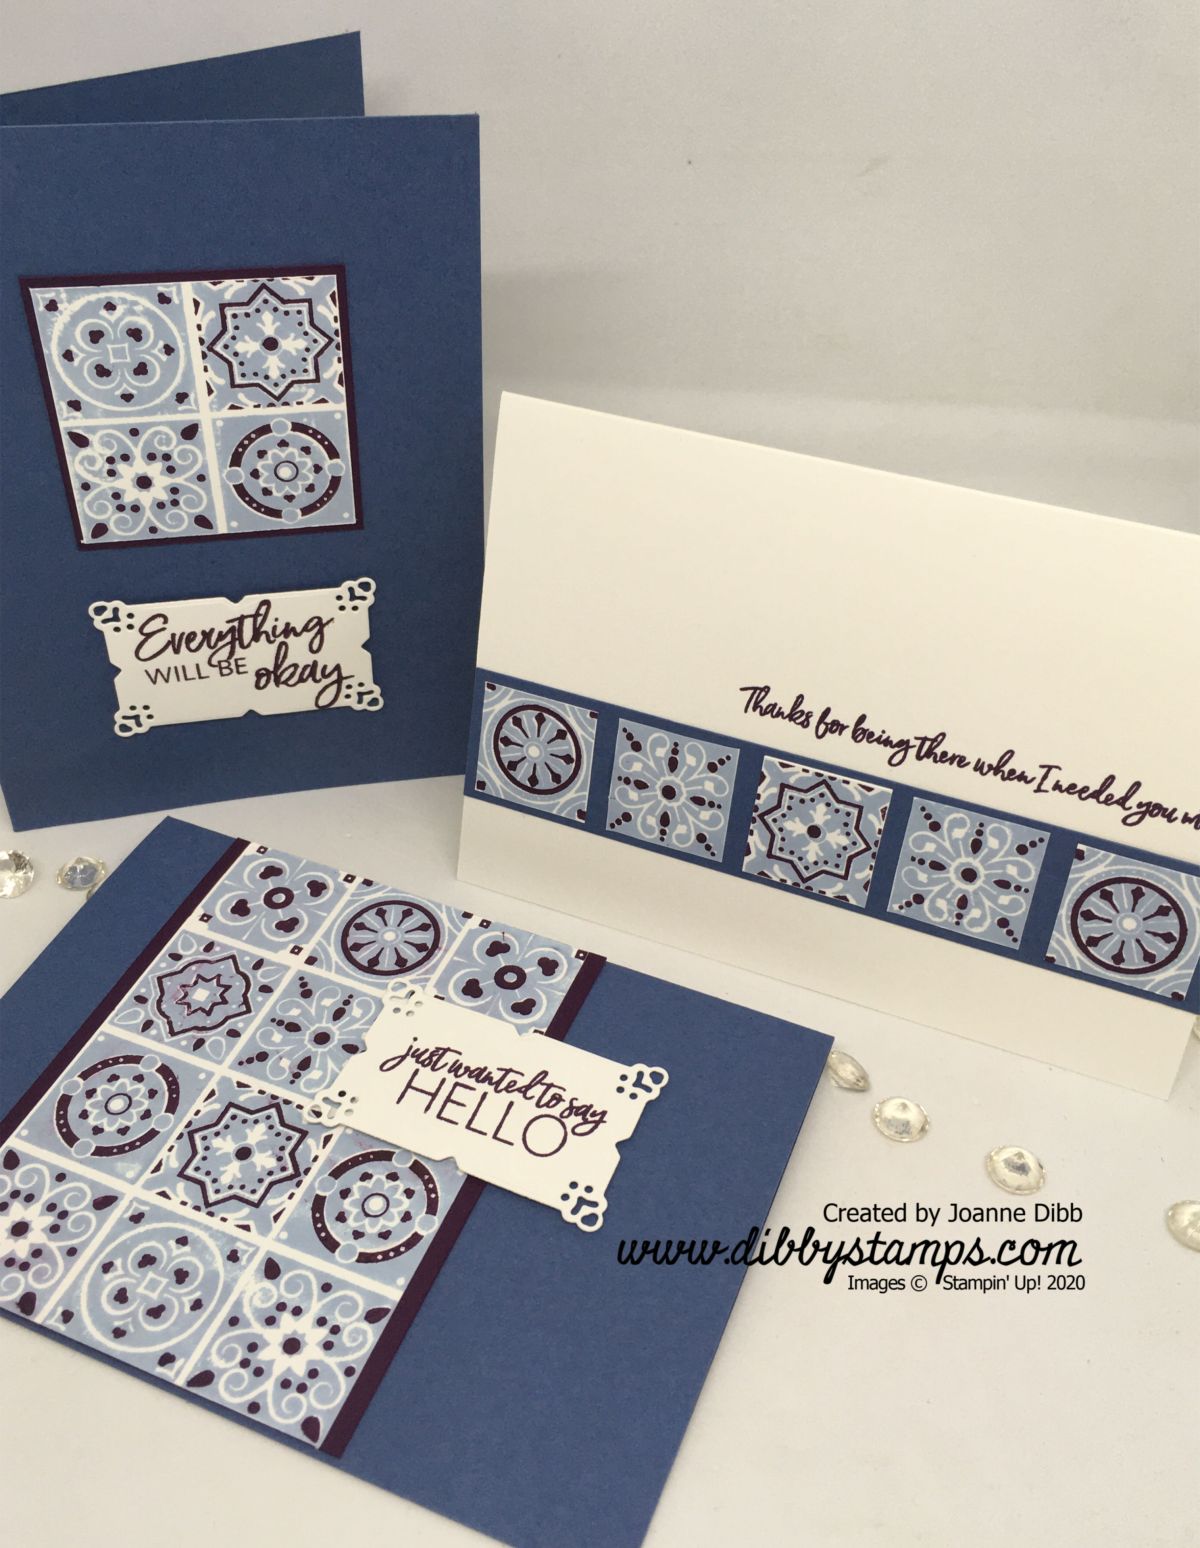
I love how the stamps in the Todays Tiles set create intricate looking patterns which look like they’ve taken ages to stamp but in reality took just seconds. The trick with this stamp set is to use the Stamp-a-ratus to line up the stamps and then you will get perfect alighment everytime.

Todays Tiles Moonlight Card 1

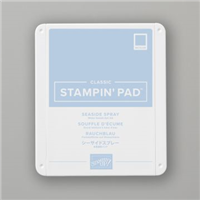
I cut my Whisper White cardstock to fit the Stamp-a-ratus and then stamped a row of the base tiles in Seaside Spray. You can fit three blocks of stamped tiles on the Stamp-a-ratus if you start right near the right hand-side and then move two spaces across or down depending on which way you’ve lined up the stamp. I needed four blocks for these cards so did a second set of stamping on more cardstock.

Todays Tiles Moonlight card 2

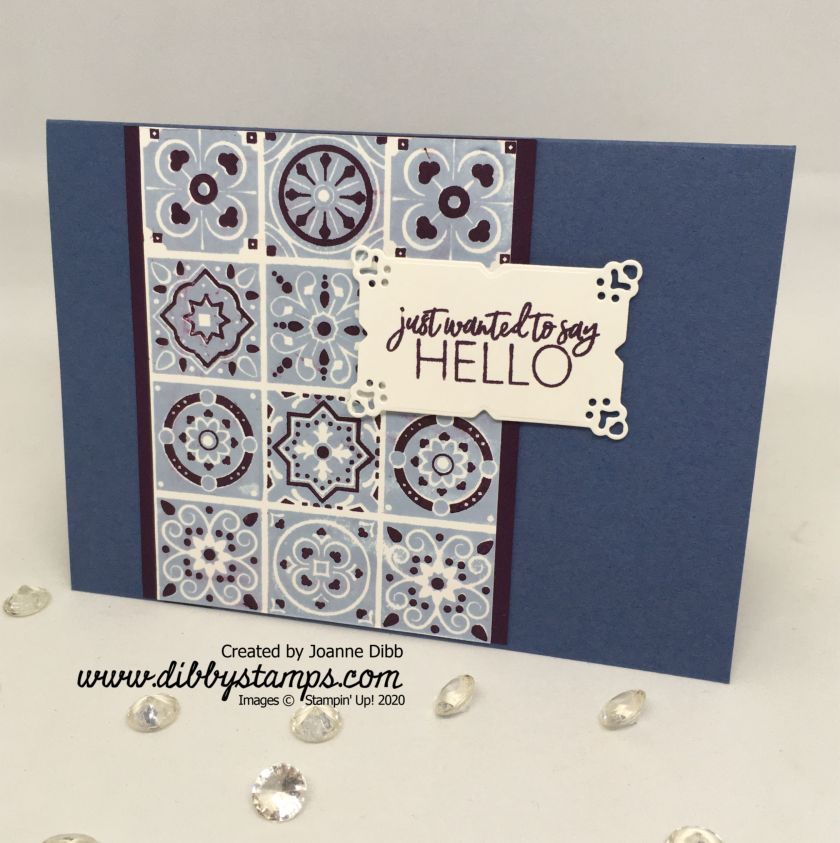
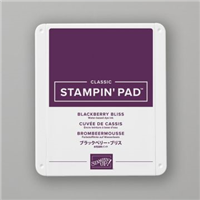
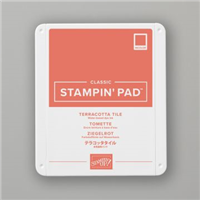
After stamping the Seaside Spray layer I kept the stamp on the Stamp-a-ratus for my second batch of stamping but turned it over to add the detail stamp. Take time here to make sure you’ve lined up your stamp correctly and ensure the magnets have a firm hold on your paper as the slightnest nudge can throw the design off. I’ve stamped my detailed layer in Blackberry Bliss so it really stands out.

Todays Tiles Moonlight Card 3

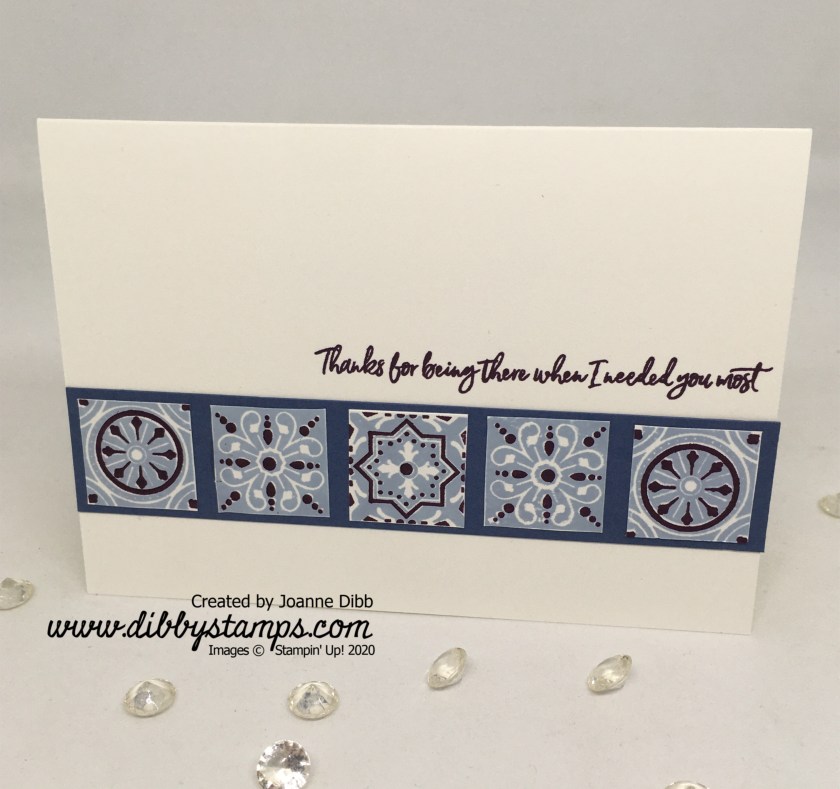
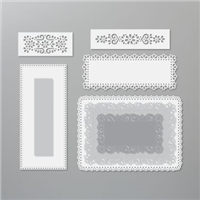
I’ve used Misty Moonlight as a complimentary colour for these cards and used Blackberry Bliss for stamping the sentiments. Two of the sentiments were stamped onto dies from the Field Tiles die set which can be bought in a bundle with the Today’s Tiles stamp set.

I love how simple these cards were to create and look forward to playing with more colour combinations and designs soon.

Happy Crafting

Joanne x

Supplies:


Ornate Garden Simple Thank You Card

Today I’m sharing a simple thank you card featuring products from the new Ornate Garden Suite which went on early release last month. I think this suite has a very retro vibe with the Terracotta Tile and Old Olive and our new Bumble Bee In-Colour, in reminds me of curtains my grandma had when I was little.

This card was very quick to make as it involves one layer of dsp, two die cuts and one stamped greeting and a small amount of ribbon.  I used Terracotta Tile as my colour for this card as I think it makes this background paper look it very best,

Ornate Garden Simple Thank You -flat

I added a strip of the Terracotta Tile ribbon across the centre of the dsp before adhering to my card base. I then stamped the greeting in Terracotta Tile on Whisper White cardstock and adhegred it to the ornate frame cut again from Terracotta Tile.

I love how the “Thank You” greeting fits perfectly in the rectangle die-cut giving a great focal point to the card, meaning you can out this card together in minutes, perfect for those customer thank yous.

Happy Crafting

Joanne x

Supplies:


Autumnal Painted Harvest Card

Today I’ve beenat my daugthers harvest assembly and they were singing the song “Autumn Days” which reminded me of the Painted Harvest stamps set, so i rushed home, pulled it out and here’s what I created.

For the sunflowers I used a base layer of So Saffron and then stamped over with two layers of Pumpkin Pie to make them exra bright and sunny. The middles are Soft Suede with dots of Early Espresso. I added a little Granny Apple Green on my stamped panel simply because I wanted to use the Textured Weave Ribbon in the same colour.

I ran the stamped panel through the Subtle 3D Embossing folder at add a little textue and then mounted this on a matt of Soft Suede and then a matt of Granny Apple Green.

I finished the card off with a greeting stamped over a small Stitched Oval.

Happy Crafting

Joanne x

Supplies:


Rainbow Butterflies Thank You Card

For today’s card I’ve used a different sized card base so I could fit five butterflies on and show more of the rainbow effect I created. This card base is from a piece of card measuring 21cm x 14cm, scored at 7cm on the narrow side, giving a tall narrow card similar to the Narrow Notecards that we used to carry.

To create the rainbow effect I used the Real Red, Pumpkin Pie, Daffodil Delight, Granny Apple Green, Pool Party, Bermuda Bay and Rich Razzleberry Stampin’ Blends and coloured a rainbow across some Whisper White cardstock.

Butterfly Rainbow Close up

I then stamped five butterflies from Butterfly Gala across the rainbow, positioning them so each butterfly had more than one colour on its wings. I then punched them out using the Butterfly Duet Punch and added a black body to each butterfly.

Butterfly Raibow Card flat

To finish off the card I stamped a greeting at the bottom of the card and then attached each butterfly with a Stampin’ Dimensional. A final florish was to add antenna to each of the butterflies.

Hope you enjoyed this project and if you’ve got your own collection of Stampin’ Blends you can create rainbow butterflies in any colour combination.

Happy Crafting

Joanne x

Supplies:


Little Elephant Thank You Card

Today I’m sharing a quick little thank you card which I think is super cute, using the Little Elephant stamp set and the Elephant Builder punch.

I chose a very subtle colour scheme of Rococo Rose, Soft Seafoam, Highland Heather and Gray Granite, if you wanted a more masculine version you could substitute the Highland Heather for Balmy Blue or Seaside Spray.

To create a focal point for my card I cut out the second largest circle from the Stitched Shapes dies, if you wanted to add a larger greeting you could use the largest circle as it still works.

Little Elephant thank you card - flat

I used Rococo Rose to stamp the little heart thank you on this card. To add a little dimension to the card I used Stampin’ Dimensional’s to adhere the elephant to the card.

Hope you enjoyed today’s quick little card.

Happy Crafting

Joanne x

Supplies: