Wild Rococo Rose Friendship Card

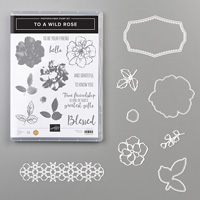
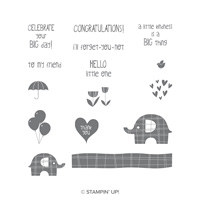
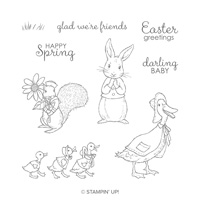
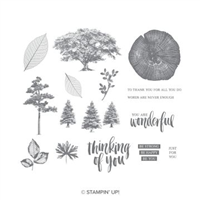
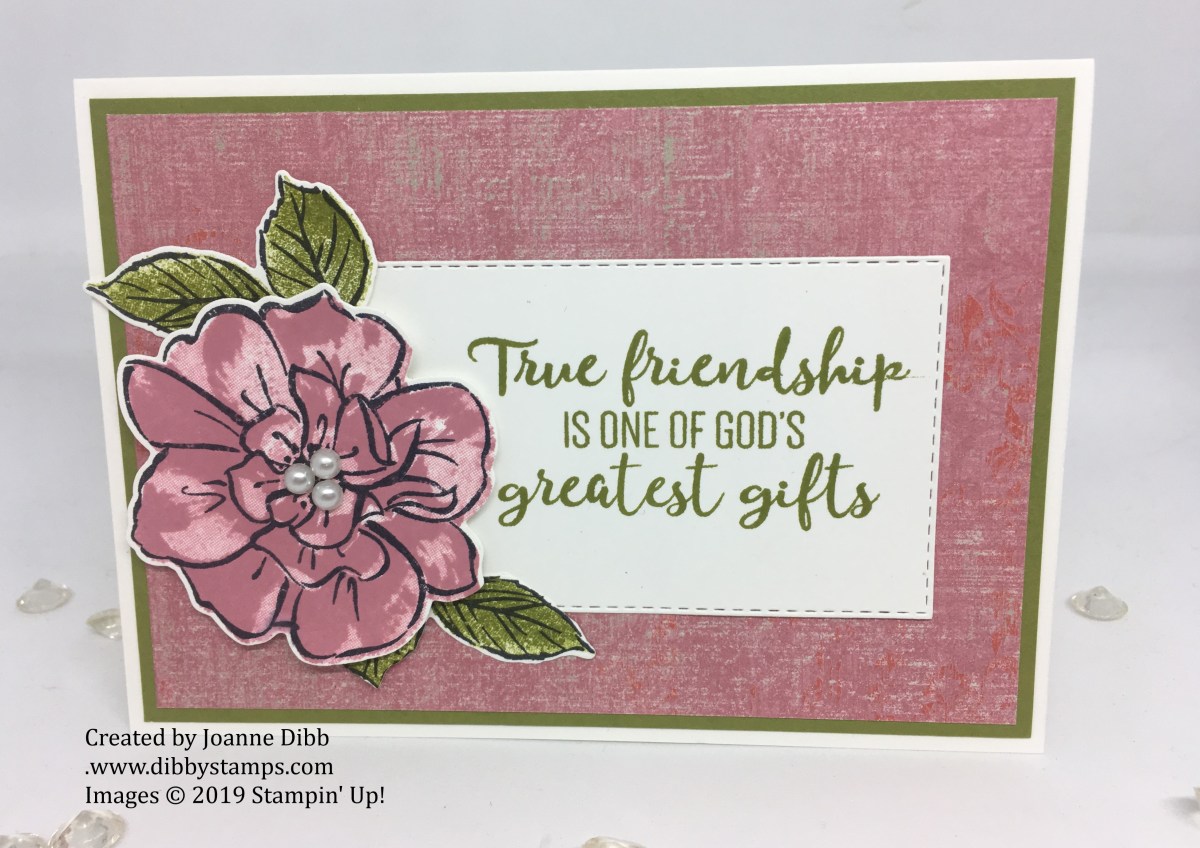
Don’t you just love this gorgeous rose image, it comes from the stamp set To A Wild Rose and was designed by Mary Ellen Byler who is one of Stampin’ Up! Million dollar sales acheivers, I think she’s done a fantastic job with this set.

This stamp set is a two-step stamp set meaning you build up various stamping layers to create one image, you may only end up with one flower and leaf combination but the design possibilities with the images are endless.

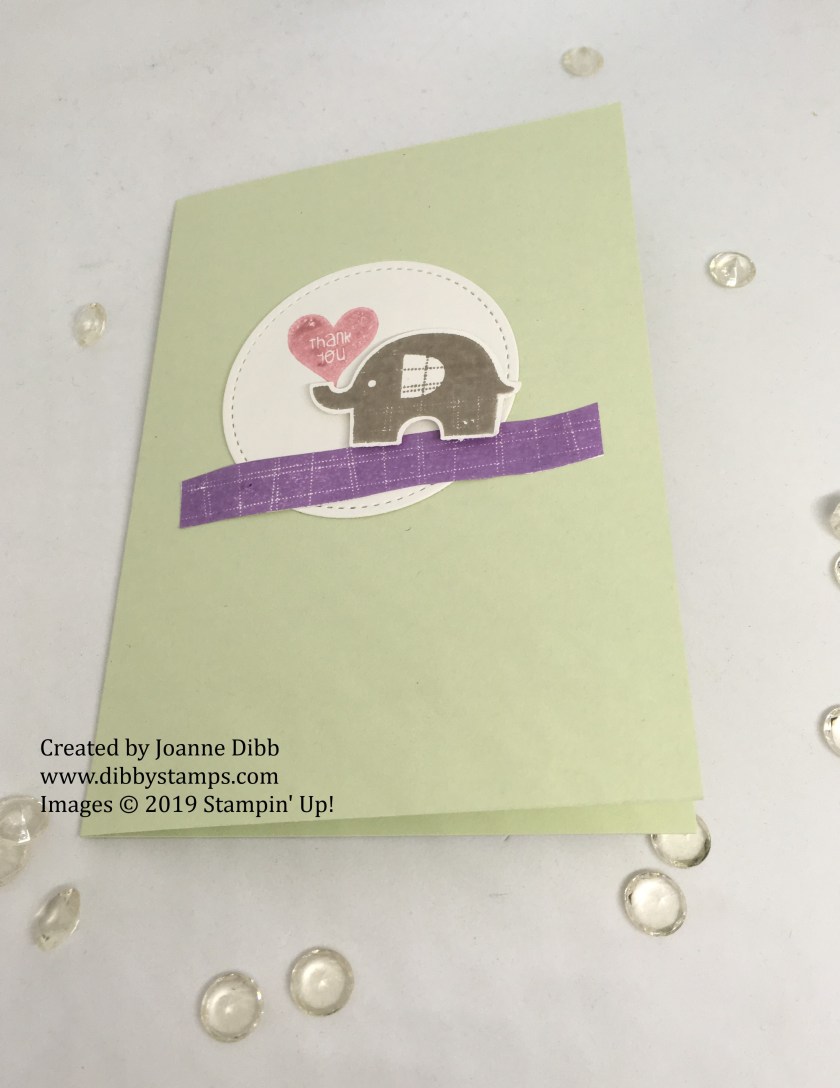
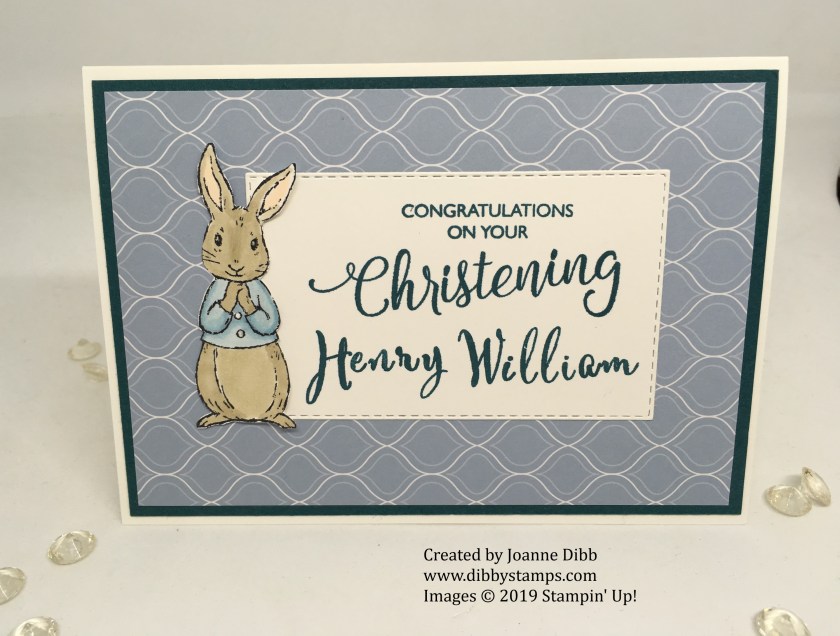
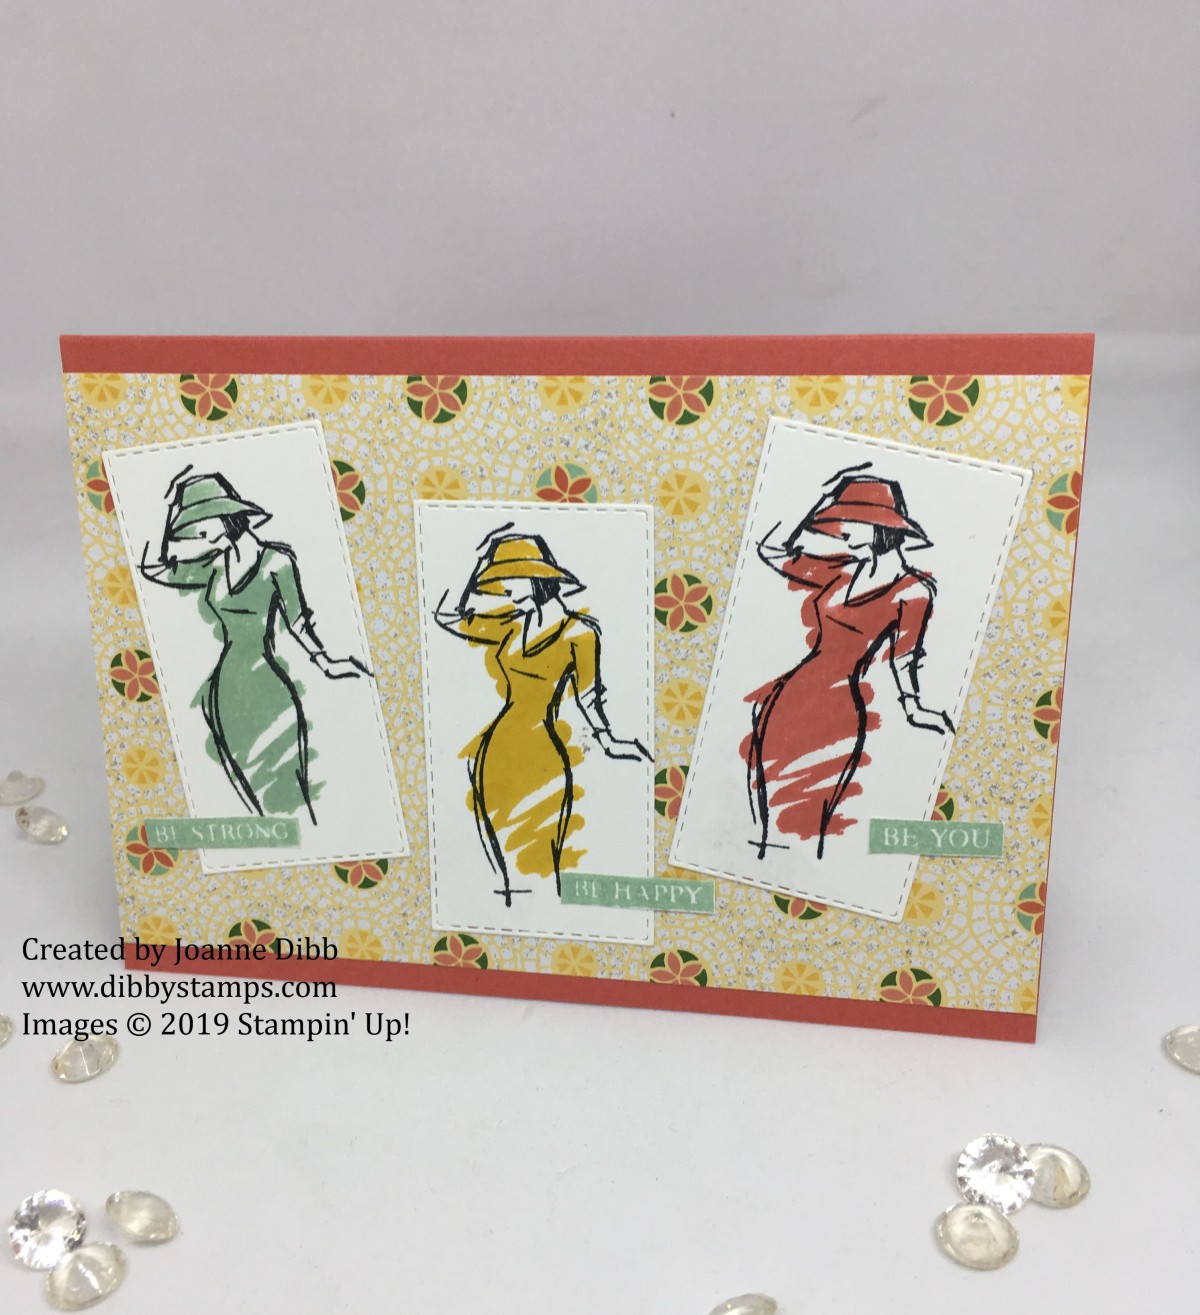
Today I’ve gone very simple and used just one flower as my focal point with a couple of leaves to add some colour contrast.

wild rococo rose friendship card close up


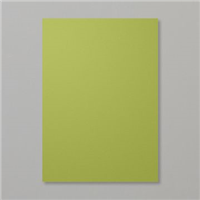
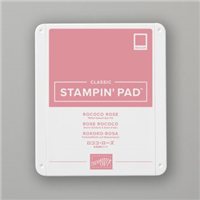
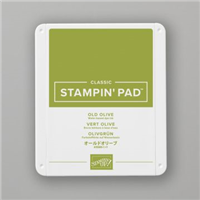
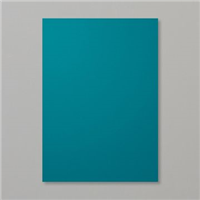
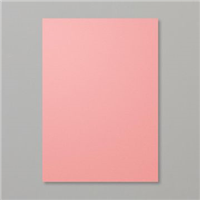
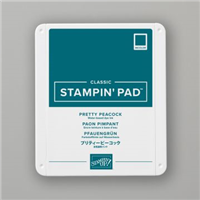
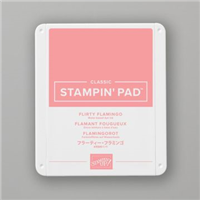
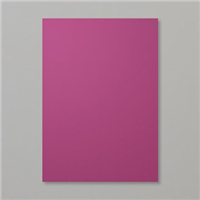
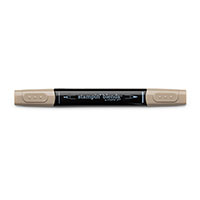
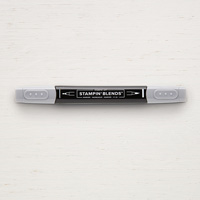
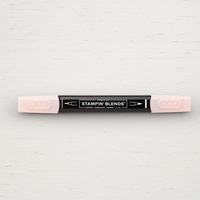
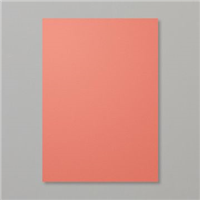
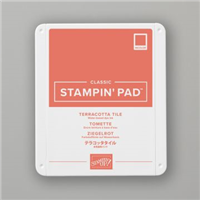
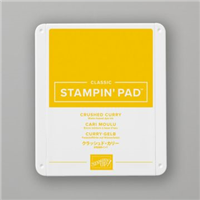
I chose a colour scheme of Rococo Rose and Old Olive which match the roses in my own garden. By stamping off the Rococo Rose on some scrap paper the bottom layer of the rose is lighter, which adds some lovely dimension.

I’ve embellished the centre of the rose with a few pearls just to give some additional interest to the card.

wild rococo rose friendship card flat


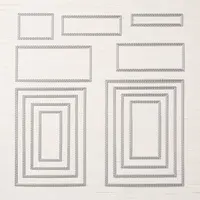
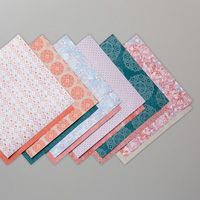
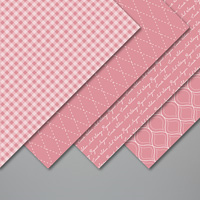
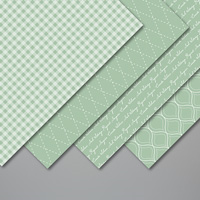
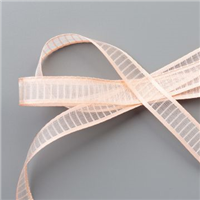
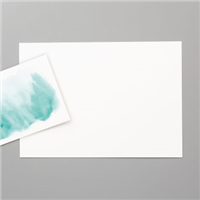
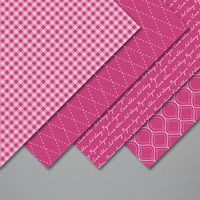
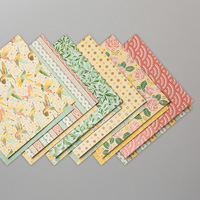
To finish the card the greeting was stamped on a whisper white stitched rectangle which I think lifts the rose from the background paper from the Woven Threads DSP.

What’s your favourite colour combination for roses, I’d love to know?

Happy Crafting

Joanne x

Basic Measurements:

Card Base: Half A4 Sheet measuring 14.9cm x 21cm, scored in half at 10.5cm

Old Olive Layer: 14.4cm x 10cm

DSP Layer: 13.9cm x 9.5cm

Supplies:


Little Elephant Thank You Card

Today I’m sharing a quick little thank you card which I think is super cute, using the Little Elephant stamp set and the Elephant Builder punch.

I chose a very subtle colour scheme of Rococo Rose, Soft Seafoam, Highland Heather and Gray Granite, if you wanted a more masculine version you could substitute the Highland Heather for Balmy Blue or Seaside Spray.

To create a focal point for my card I cut out the second largest circle from the Stitched Shapes dies, if you wanted to add a larger greeting you could use the largest circle as it still works.

Little Elephant thank you card - flat

I used Rococo Rose to stamp the little heart thank you on this card. To add a little dimension to the card I used Stampin’ Dimensional’s to adhere the elephant to the card.

Hope you enjoyed today’s quick little card.

Happy Crafting

Joanne x

Supplies:


Christening Card Duo with Fable Friends

My cousin recently had her two children Christened, one is still a baby but her little girl Ivy is two and a half so the usual Christening cards didn’t seem to fit. So I pulled out Fable Friends, Make A Difference and the retired set Inspired Events.

I wanted to personalise each card so used the phrase “Congratulations on your Christening” from Inspired Events and then used the Make A Difference stamp set to spell out the children’s names. If you didn’t manage to get hold of Inspired Events you can spell the sentiment out with Make A Difference, I’d highly recommend the Stamparatus for this as it made lining up the names very easy for me.

Baby Boy Christening Card

For the baby boy card I used a colour scheme of Seaside Spray and Pretty Peacock, mostly so the sentiment would stand out against the background. To finish this card I just added the cute little rabbit from Fable Friends coloured with a blue jacket.

Baby Girl Christening Card

For the little girl card I used a colour scheme of Petal Pink and Flirty Flamingoand gave the rabbit a little pink jacket this time. I also gave the girl rabbit a little skirt by using the Petal Pink striped Organdy Ribbon and some Tear N Tape.

I’d to know what stamps sets you’d use for Christening cardsas I have a couple more to make soon.

Happy Crafting

Joanne x

Basic Measurements:

Card Bases: Half A4 sheet of cardstock measuring 14.9cm x 21cm, scored at 10.5cm

Pretty Peacock/Flirty Flamingo Layers: 14.4cm x 10cm

DSP Layer: 13.9cm x 9.5cm

Supplies:


Over the Moon Birthday Card

Today I’m sharing another childrens birthday card, this time made with the Over the Moon stamp set. The background was a watercolour wash of Mint Macaron on the old watwercolour paper, having now used our new Fluid 100 watercolour paper I much prefer this as its blends so much smoother.

I stamped the cow in Memento Tuxedo Black and coloured with Stampin’ Blends before fussy cutting her out. Here’s a little close up of her:

Over the Moon - Purple Birthday card close up

I attached some linen thread around the base of the punched out balloon with Tear N Tape around the back. I then attached the thread to the cow using some more tape rolled into a ball, you could also use a glue dot here but I’m out of them at the moment.

Over the Moon - Purple Birthday card - flat

To finish the card stamp Happy Birthday from Perennial Birthday across the bottom of the card in Rich Razzleberry.

Finished result a cute birthday card which I’m sure anyone would love.

Happy Crafting

Joanne x

Basic Measurements:

Card Base: Half A4 sheet of cardstock measuring 14.9 x 21cm, scored at 10.5cm

Rich Razzleberry Matt: 14.4cm x 10cm

Watercolour Paper: 13.9cm x 9.5cm

Supplies:


Be Strong Be Happy Be You Card

The idea for this card has brewing in my head quite a while so when I saw the colours in the Mosaic Mood Speciality DSP I knew it was time to let it come to life. I’m not a huge orange fan so when Terracotta Tile was introduced as on of the new In-Colours I was honestly a bit disappointed, but seeing it mixed with Mint Macaron and Crushed Curry makes me happy so we’re going with it.

I used my Stamparatus to line up the ladies with their inner dress stamps, which I still found tricky as I don’t tend to put the labels on the back of my stamps as wasn’t a fan of the old clear-mount labels. In this instance I have labeled the outline stamp and I’m quite happy with the results. I used a blender pen and some ink off the inkpads to colour in each ladies hat. I then cut them out of the second smallest of the fatter Stitched Rectangle dies.

Be strong be happy be you card flat

To finish the card I stamped the greeting from the Rooted in Nature stamp set and then fussy cut it so I had one line for each lady. A beautiful card all ready to give to a beautiful lady.

Happy Crafting

Joanne x

Basic Measurements:

Card Base: A4 sheet of cardstock cut in half to measure 14.9cm x 21cm, scored at 10.5cm

DSP Layer: 14.9cm x 9.5cm

Supplies: