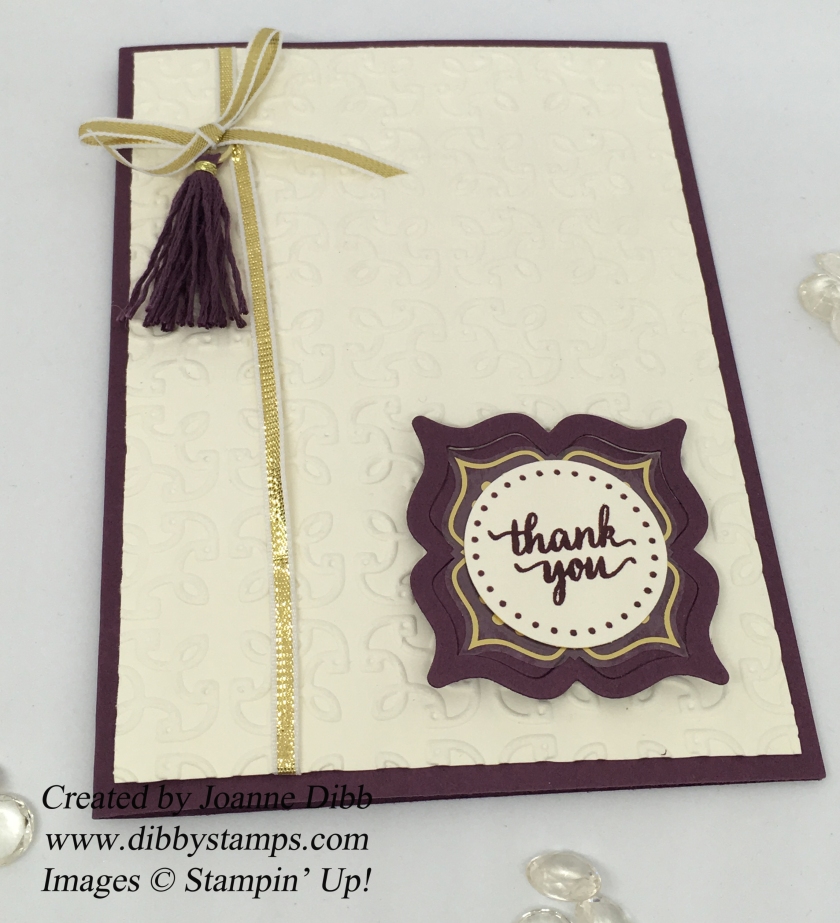
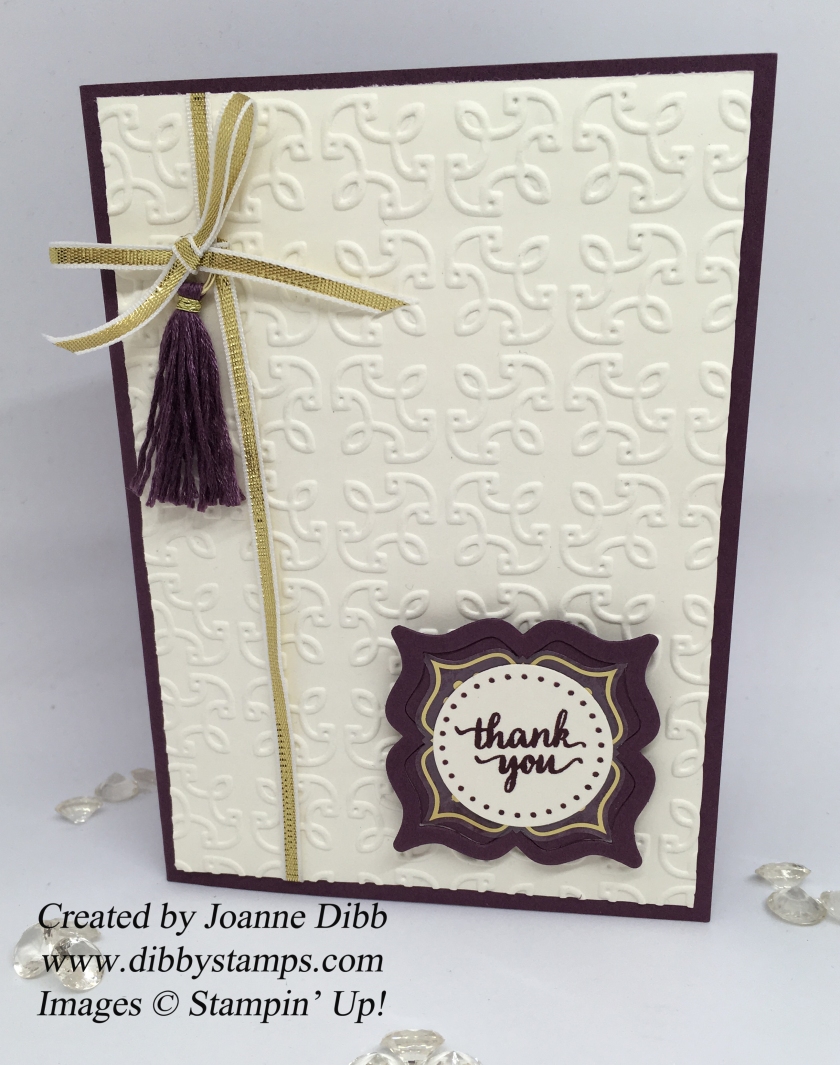
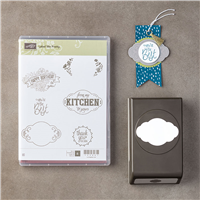
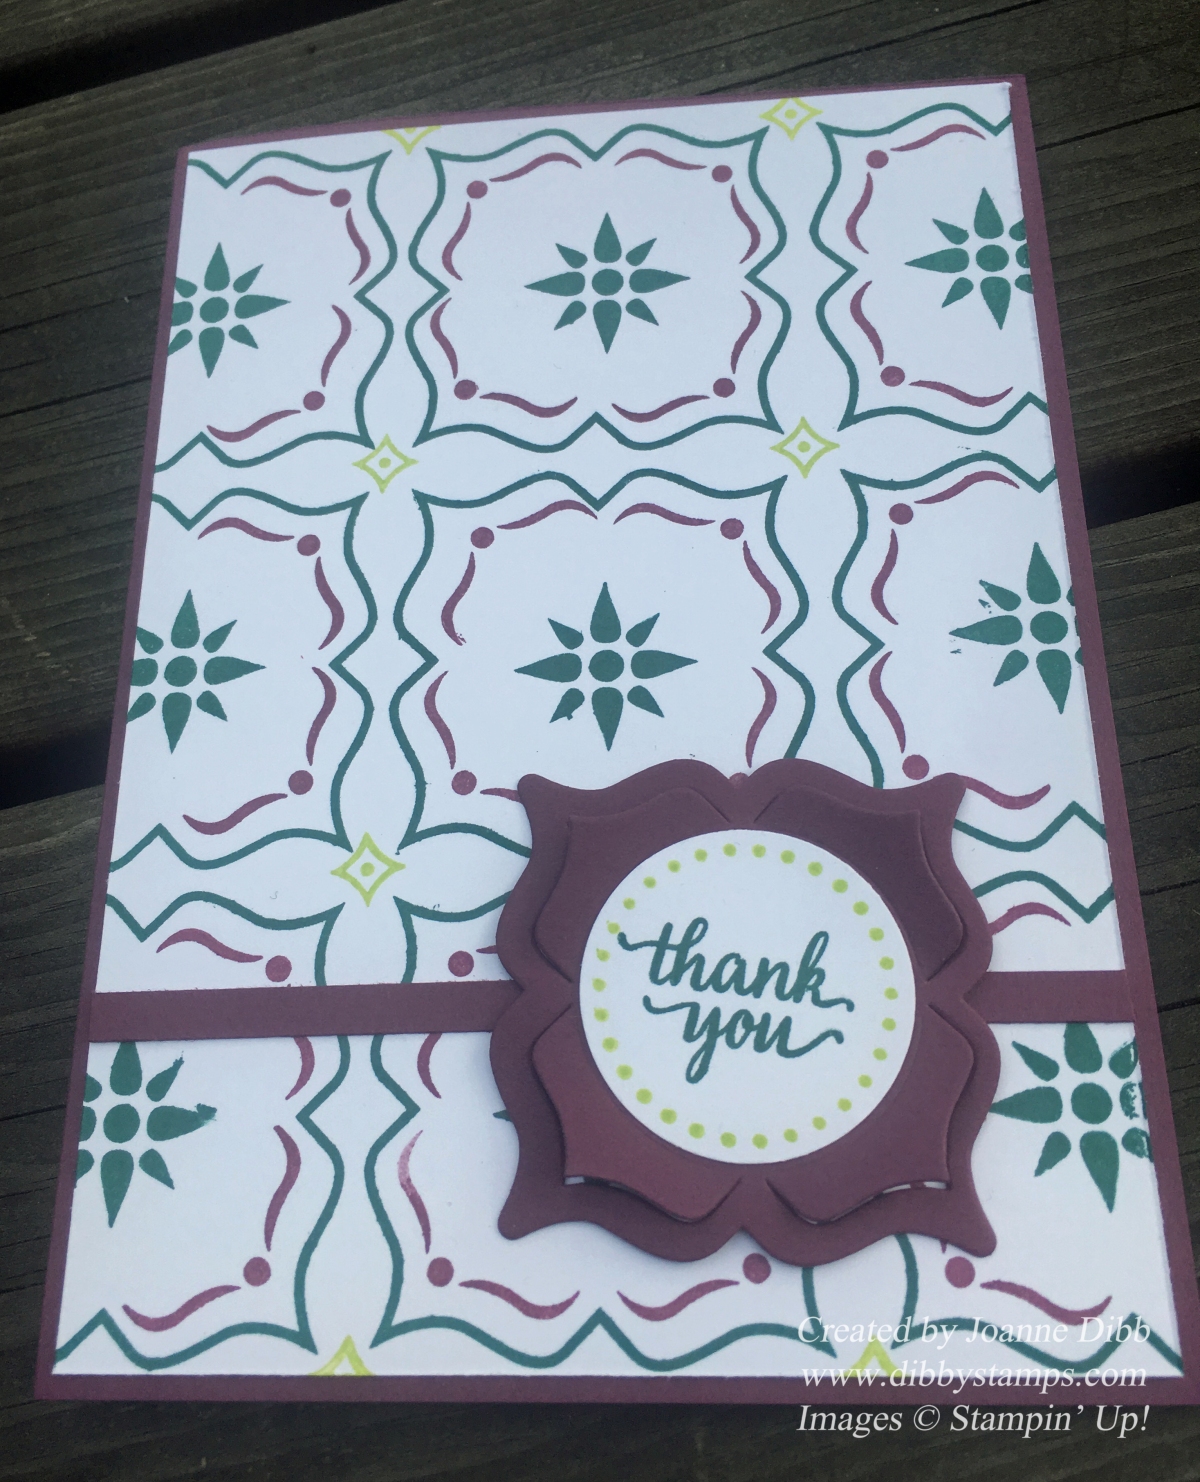
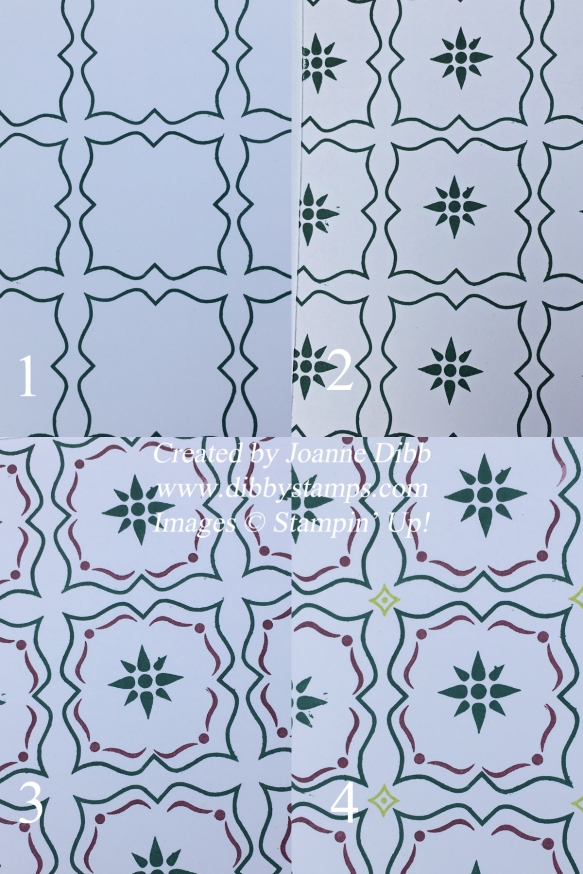
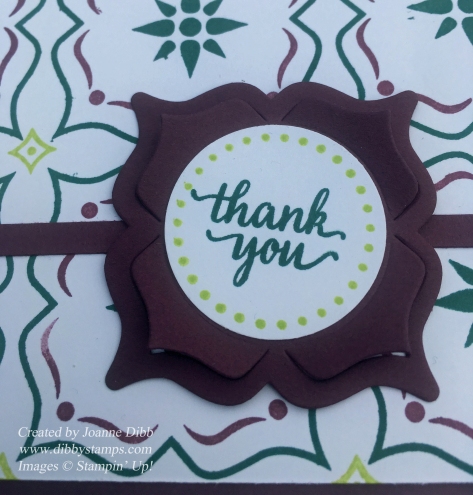
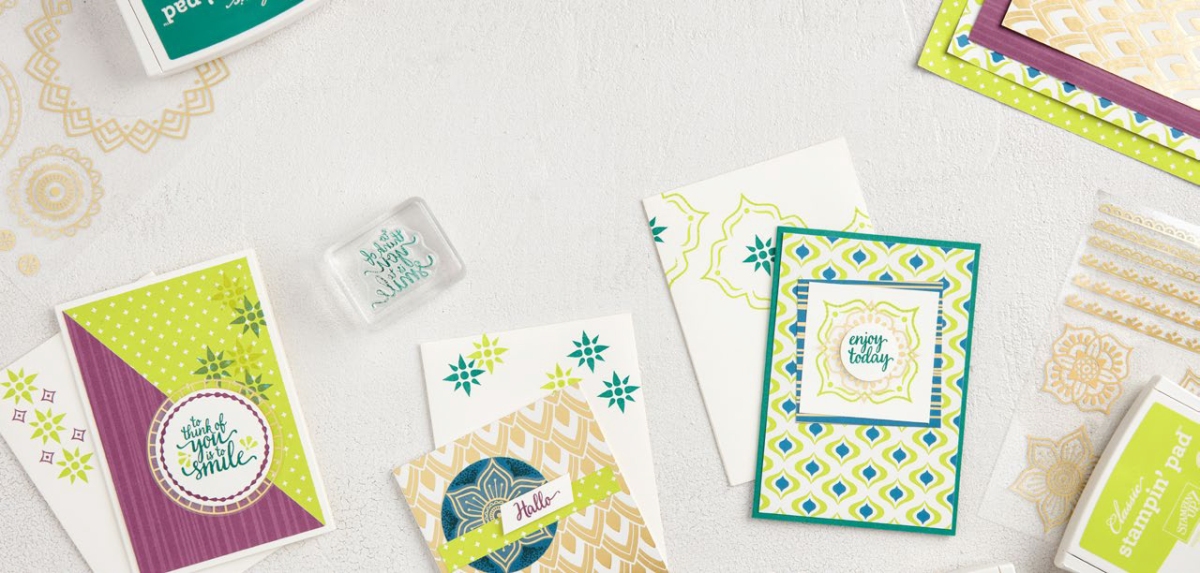
As many of you know the new Stampin’ Up! catalogue is just a month away and as a special treat Stampin’ Up! have released two bundles featuring a brand new suite of products, say hello to the Eastern Palace Suite

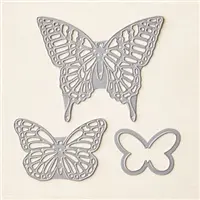
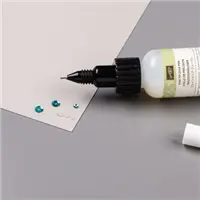
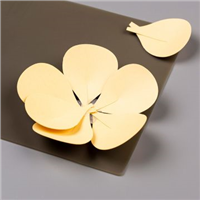
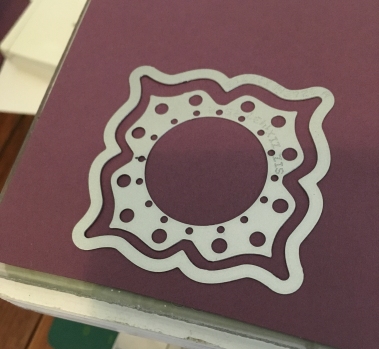
This opulent suite features rich jewels tones including three of the gorgeous new In-Colours Fresh Fig, Tranquil Tide and Lemon Lime twist, a versatile stamp set, gorgeous paper and probably the best die set I’ve ever played with.
To get more of a feel for the suite watch the video here which shows the gorgeous products in real life.
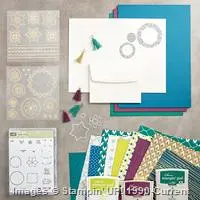
The Eastern Palace Suite is available for customers to order in one of two bundles:
The Starter Bundle (£54.75)
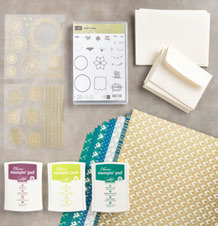
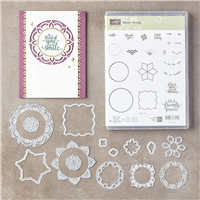
Eastern Beauty Stamp Set
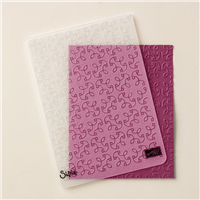
Eastern Palace Speciality DSP
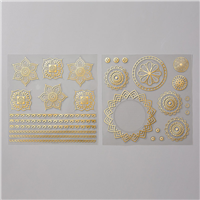
Eastern Gold Vinyl Stickers
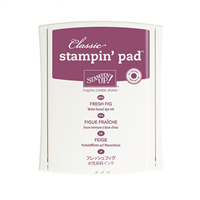
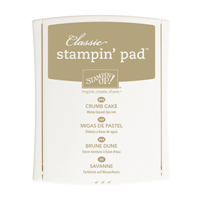
Fresh Fig Classic Stampin’ Ink
Tranquil Tide Classic Stampin’ Ink
Lemon Lime Twist Classic Stampin Ink and
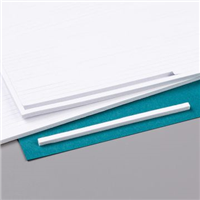
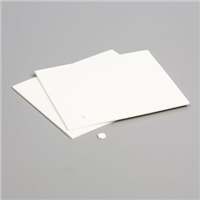
Very Vanilla Notecards and envelopes
English 147196, French 147198, German 147206
The Premier Bundle (£94.00)_
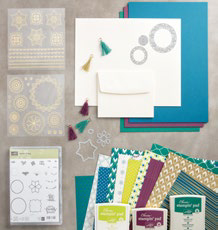 Eastern Beauty Stamp Set
Eastern Palace Speciality DSP
Eastern Gold Vinyl Stickers
Fresh Fig Classic Stampin’ Ink
Tranquil Tide Classic Stampin’ Ink
Lemon Lime Twist Classic Stampin Ink
Eastern Medallions Thinlits
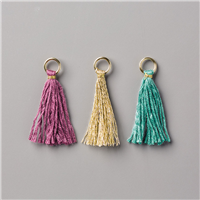
Mini Tassel Assortment
Very Vanilla Thick A4 Cardstock and Very Vanilla Envelopes
English 147209 , French 147210 , German 147211
For more ideas for what to do with these amazing new products check back to my blog over the next couple of weeks where I will be show casing some of my projects.
Happy Crafting
Joanne x