Be Merry Mistletoe Duo

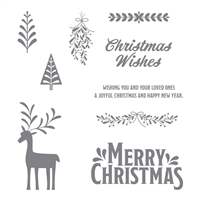
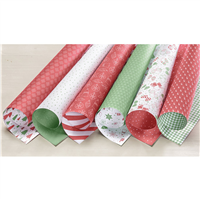
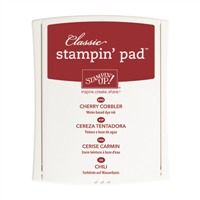
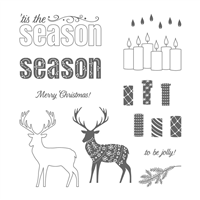
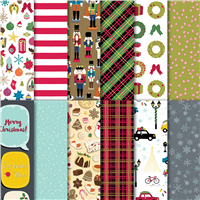
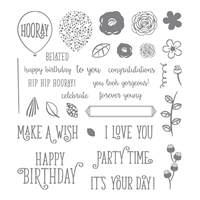
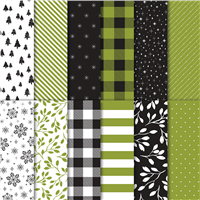
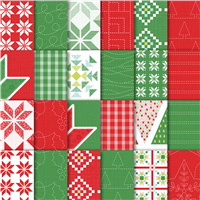
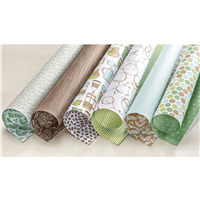
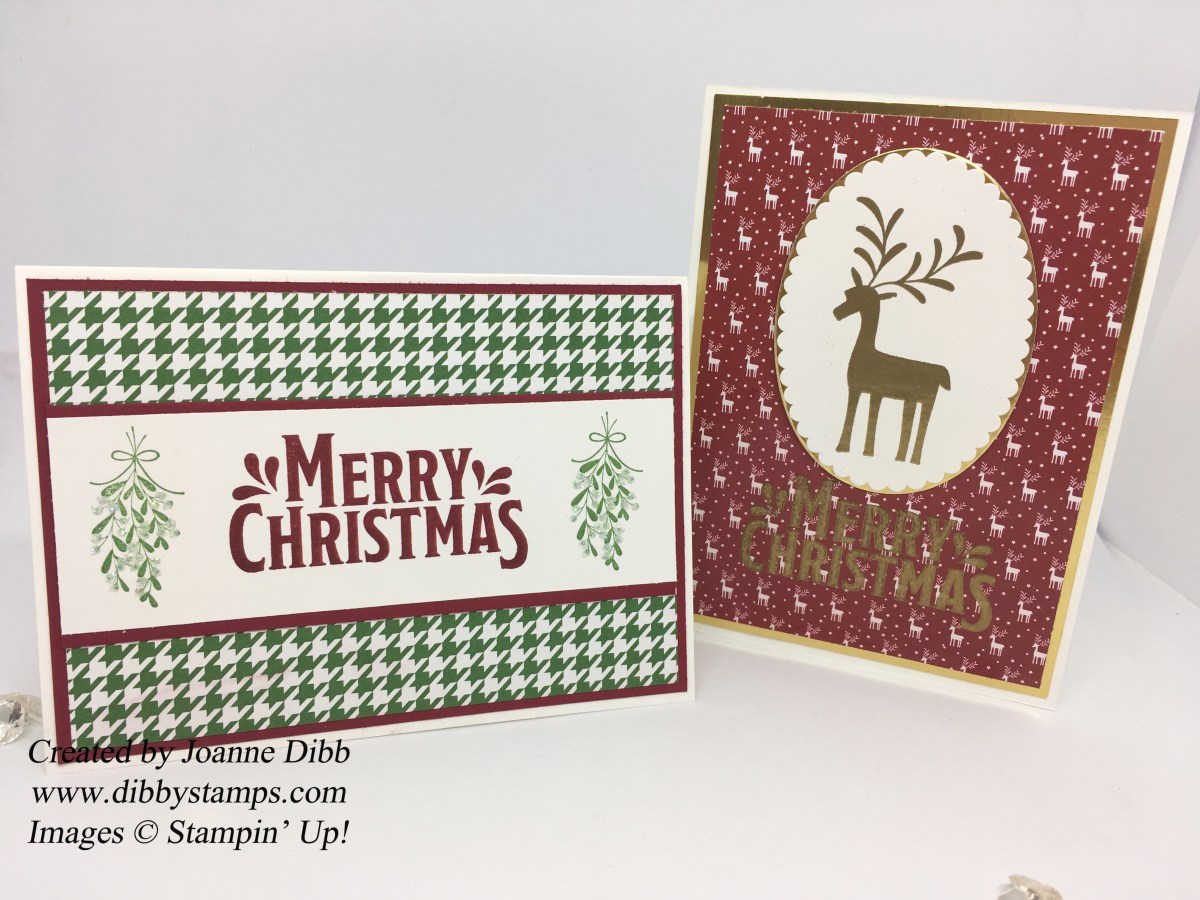
Today I’ve got two cards for the price of one with the duo made from the Merry Mistletoe stamp set and the Be Merry DSP. These products can both be found in the annual catalogue on page 113. Initially I overlooked Merry mistletoe but when it was in the sale last week I ordered myself a set and its growing on me. I love the Be Merry DSP mainly because I’m a real sucker for Cherry Cobbler, for me its the perfect Christmas red, but I  also love how half of these papers contain generic patterns which can be used all year round. My favourite sheet though is still the cute little reindeer paper which I’ve used both sides of in todays projects.

cherrybermerryreindeer

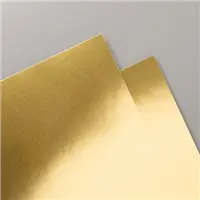
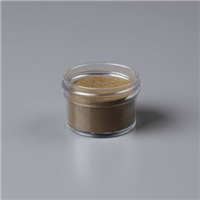
What more do you need than some gold embossing powder and gold foil to make a beautiful card. I love the simplicity of this card and think it perfectly highlights the lovely reindeer stamp.

bemerrymistletoe

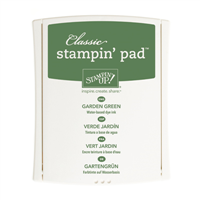
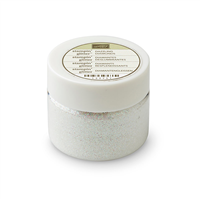
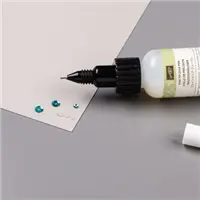
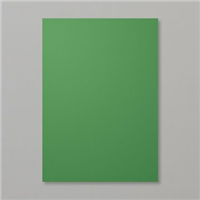
The other side of the reindeer paper is this garden green hounds tooth pattern, which is a little full on when you look at a whole sheet but works well with small amounts here. I’ve added some Dazzling Diamonds Glitter to the mistletoe berries to add a little sparkle, just wish my photography skills were better so you could see how lovely it looks.

mistletoeandmerryreindeer

Here are both cards together, which is your favourite. Despite loving the reindeer paper I think the mistletoe one is my favourite, I just love the glitter.

Happy Crafting

Joanne x


Four Festive Cards

For today’s post I have four cards featuring the Merry Patterns stamp set again and mixed it with the Christmas Around the World DSP pack. Now if I honest I don’t fully love this paper. The plainer B-sides I really like but the A sides with all the motifs are not my thing. So I decided to make a set of cards which feature the images, so I’ve at least used them once. If you love whimsical images then this may just be the paper set for you.

festivefourcards1

I made two cards with Real Red card bases and two cards with Garden Green bases, each card base measured 14.5cm x 21cm, scored and folded in half at 10.5cm.

festivefour2

For two cards I stamped on Whisper white and for two I stamped on Very Vanilla using the Tis the Season stamps from the Merry Patterns set.

festivefour3

I added the “to be jolly” part of the sentiment on a stamped and punched out classic label. I also added a couple silver Metallic stars to the labels.

festivefour4

The card above is my favourite with all the baked goods on….yummy!

festivefourall

Here are all four together, which is your favourite?

Happy Crafting

Joanne x


Christmas Candles Card

Today I’ve gone for another traditional colour scheme of Old Olive and Cherry Cobbler, which the perfect combination for Christmas. I’ve used the candle stamps from Merry Patterns today and was surprised how much I loved stamping them. The candle image is built up from three steps, an outline and then two filler stamps for the candles so you can have alternating colours. They were so easy to line up too!

merrypaternscandles

I added a patterned background paper from the Merry Little Christmas DSP paper and finished the card off with the Cherry Cobbler Double Stitched Ribbon which had just arrived with some new goodies.

merrypaternscandles

Hope you enjoyed today’s project and join me for more inspiration tomorrow.

Happy Crafting

Joanne x


Hug in a Mug Hot Chocolate Card

I have a super quick card to share today using the Hug in a Mug stamp set. If you don’t have this set then this design can be very easily changed to suit any image or sentiment that you want to use.

I took a Thick Whisper White card blank made from card measuring 14.5 x 21cm, scored and folded at 10.5cm. I then took a piece of the Quilted Christmas DSP Stack in Real Red and cut a piece 14.5cm x 4.5cm and adhered this to the front of the card using Fast Fuse Adhesive. To finish the basic card I added a strip of Real Red cardstock across the top of the patterned paper.

hotchocolate card

Next stamp the hot chocolate mug from the Hug in a Mug set onto Whisper White. Use Real Red and Early Expresso ink to add the details. Cut out the image using the Layering Circles Framelits and mount onto a Real Red scalloped circle cut from the same set.

Stamp the sentiment onto the front of the card using Memento Tuxedo black ink. Next take the Versamark ink and the chocolate drop stamp and randomly stamp across the white section of the card, this adds a very subtle detail which I’m not sure is clear in the photos.

hotchocolatecloseup

To finish the card take the scalloped circle topper and stick to the card using Stampin’ Dimensional’s. Add a little Clear Wink of Stella to add a little sparkle.

Hope you have enjoyed me cards for Cups and Coffee week. Join me tomorrow for another Stampin’ Up! project.

Happy Crafting

Joanne x


Coffee Cup Gift Card Holders

For today’s post I loved making these Coffee Cup Gift Card Holders so much that I’ve made two versions, a winter themed one and a Christmas one. I can’t decide which is my favourite.

crumbcakegiftholder

For the gift card base take a piece of cardstock measuring 10.5cm x 28cm and score at 7cm and 14cm on the long side. Turn the cardstock round 90 degrees and make a score mark at 5cm. Cut the cardstock from the 5cm mark to the top of the 7cm scoreline, as shown in the picture below. Fold the gift card holder in half at 14cm and then fold inwards at 7cm, that completes the card base.

giftcardscoremap

To make the front half section of the card cut a piece of Soft Sky to 6.5cm x 10cm and a piece of the Coffee Break DSP to 6cm x 9.5cm, layer them together and stick to the front of the card using Fast Fuse Adhesive.

For the coffee cups I used images from the Coffee Café and Merry Café stamps sets and stamped the in Early Expresso ink and then cut out with the Bigshot using the Coffee Cup Framelits. Assemble the cups as shown and fix to the front of the card. When sticking the first coffee cup down be care to only use adhesive on one side so the overlapping part is not sticky.

crumbcakegiftinside

To make the inside of the card take a piece of Whisper White cardstock measuring 13cm x 9.5cm and stamp the  greeting and snowflakes with Early Expresso. Matt the white stamped cardstock onto a layer of Soft Sky cardstock measuring 13.5cm x 10cm and adhere to the inside of the card using Fast Fuse.

To make the gift card holder part run fast fuse along the bottom of the inside flap and up to the 5cm, once stuck down this with create a triangular shaped pocket to insert your gift card.

redgreengiftholder

To make the Christmas version use a Garden Green base and Cherry Cobbler instead of Soft Sky and replace the Coffee Break DSP with the Be Merry DSP. Use a combination of Basic Black Archival and Cherry Cobbler ink for the stamping.

coffeegiftholders

So there are my two projects for today, which do you prefer? I love them both but think the Crumb Cake/ Soft Sky just has the edge.

Happy Crafting

Joanne x