Floral Friday: Rustic Thank You Card

Today I’m going way out of my comfort zone and using Tangerine Tango as my card base. As regular readers will have noticed I don’t tend to use oranges or yellows very much in my crafting and Tangerine Tango is probably my least used colour of all fifty colours. However I do think its a colour that works well with copper and also really compliments the new Wood Texture DSP Stack.

For today’s card I paired these colours and a little Very Vanilla along with the Wood Words stamp set and I ended up with a really rustic looking card.

woodwordsrusticthankyoucard

I added a little strip of the new Copper Trim which is so so lovely. On the reel its only 1/4″ thick but you can pull it apart to reveal the weave within it, which works perfectly with this rustic card.

To finish the card off I added a little copper embossing on the edge of the Pretty Label punch.

Happy Crafting

Joanne x

It’s Here! The 2017- 2018 Catalogue is Live

Hurray the day we all look forward to the most as stamp addicts is finally here, everyone can now shop from the 2017- 2018 catalogue and what a beauty it is

So many gorgeous new things, if your ready to shop then here is the link to my shop

Also throughout June Stampin’ Up! is running an awesome promotion where if you place an order or hold a workshop with a total of £300.00 or more you will get an extra £30.00 of product for free, that’s at least £60.00 in freebies! So if you’ve got a big wish-list now is the time to shop.

If you haven’t already got a paper copy of the catalogue and would like one then just email me at dibbystamps@gmail.com and I will happily pop one in the post to you.

If you would prefer to look at the online version then the link here.

Happy Shopping

Joanne x


Daisy Delight Notecards

Following on from yesterday’s post I decided to make a set of notecards to fit in my cute little bag. I love how easy these were to create, just a few quick layers and a touch of stamping and you have a lovely set of notecards which would make a lovely gift.

delightfuldaisythanknotecards1

I chose to use the same die combination as yesterday to help tie the two projects together (the largest stitched shape square and second largest scalloped square) but decided to use the smaller daisy stamps as the large stamp felt too big against this gorgeous paper.

delightfuldaisythanknotecards2

I stamped the daisy outlines first in Calypso Coral and Night of Navy and then to fill in I stamped off the colour once on scrap paper. I love how the inside part of the daisy is slightly bigger which means when you cut them out they still look great.

delightfuldaisythanknotecards3

The Daisy Delight stamp set and everything from the new catalogue will be available to purchase tomorrow…yay!

Happy Crafting

Joanne x

Scentsy Bar Bag with Delightful Daisy Suite

Today’s project combines Stampin’ Up! with my other passion Scentsy. A recent discovery for me but I just love these bars of wax so much and wanted to make a little bag to put one for a gift….if I can bare to part with them!

Taking inspiration from many of the bags over at http://www.pootles.com I came up with this bag which comfortably fits one bar of wax in.

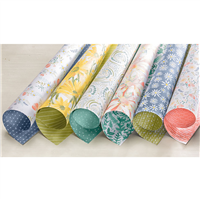
To start with I took a piece of DSP measuring 10.5″ x 8″ and scored on the long side at 4″, 5″, 9″ and 10″

I also did two score lines at 4.5″ and 9.5″ down to 7″

For the short side I scored at 1″ and 7″

So you should have something like the photo below

scentsybarbagscorelines

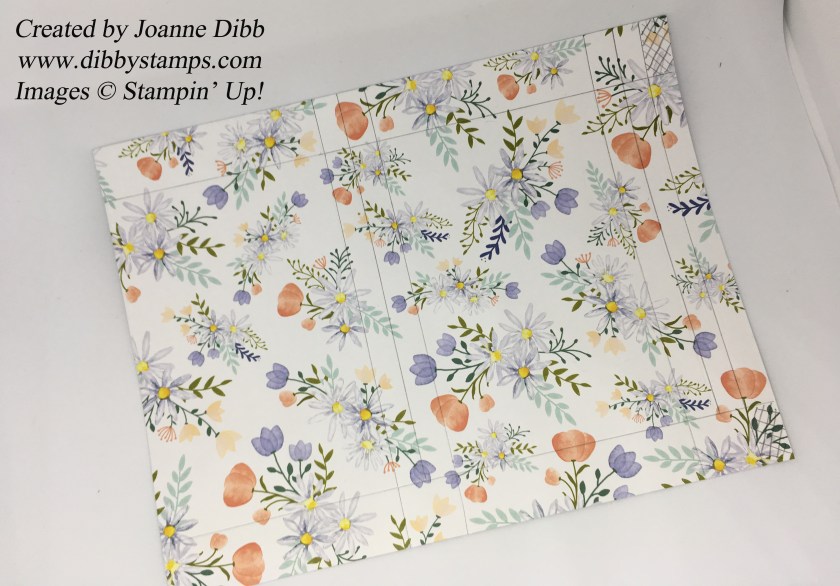
Next cut away the two small rectangles on the 10″ score line, shown above in cross-hatch.

Burnish all score lines with bone folder, except the  two vertical score lines which stop at 7″

Cut upto the 7″ score line from the bottom on each vertical line and then create notches as shown in the photo below.

scentsybarbagtemp2

Next turn the paper over and run adhesive along the top 1″ section and fold it over, so its looks like the photo below.

scentsybarbagtemplate

Add adhesive along the thin strip at 10″ and three of the bottom sections. Fold into a bag shape sticking the sides first.

Fold in the two small sections with  adhesive and fold the third on top. Finish by folding in the section with no adhesive. Now ready to decorate.

scentsybarbag2

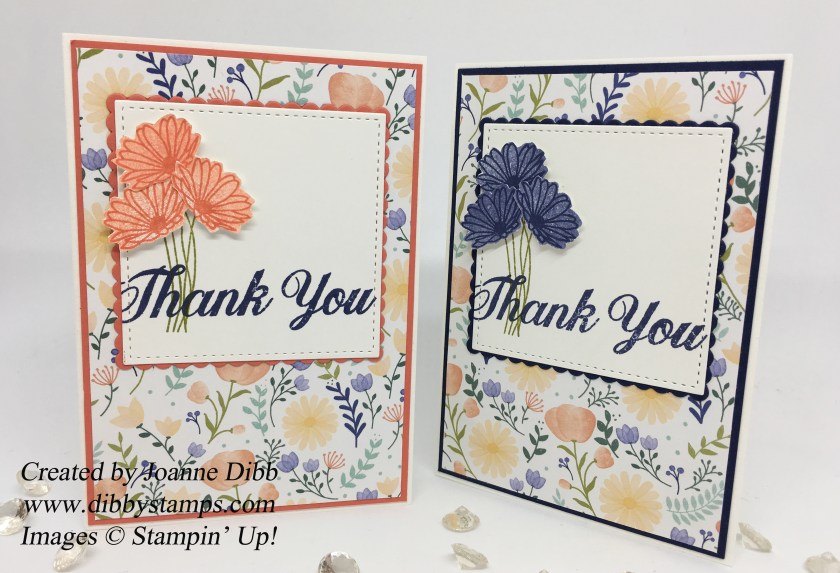
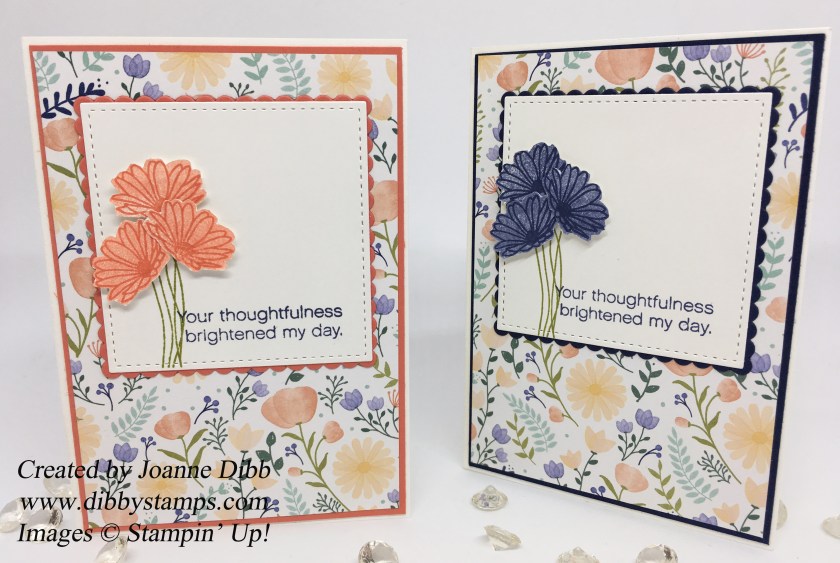
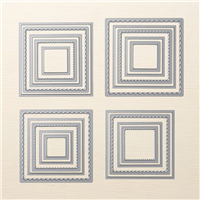
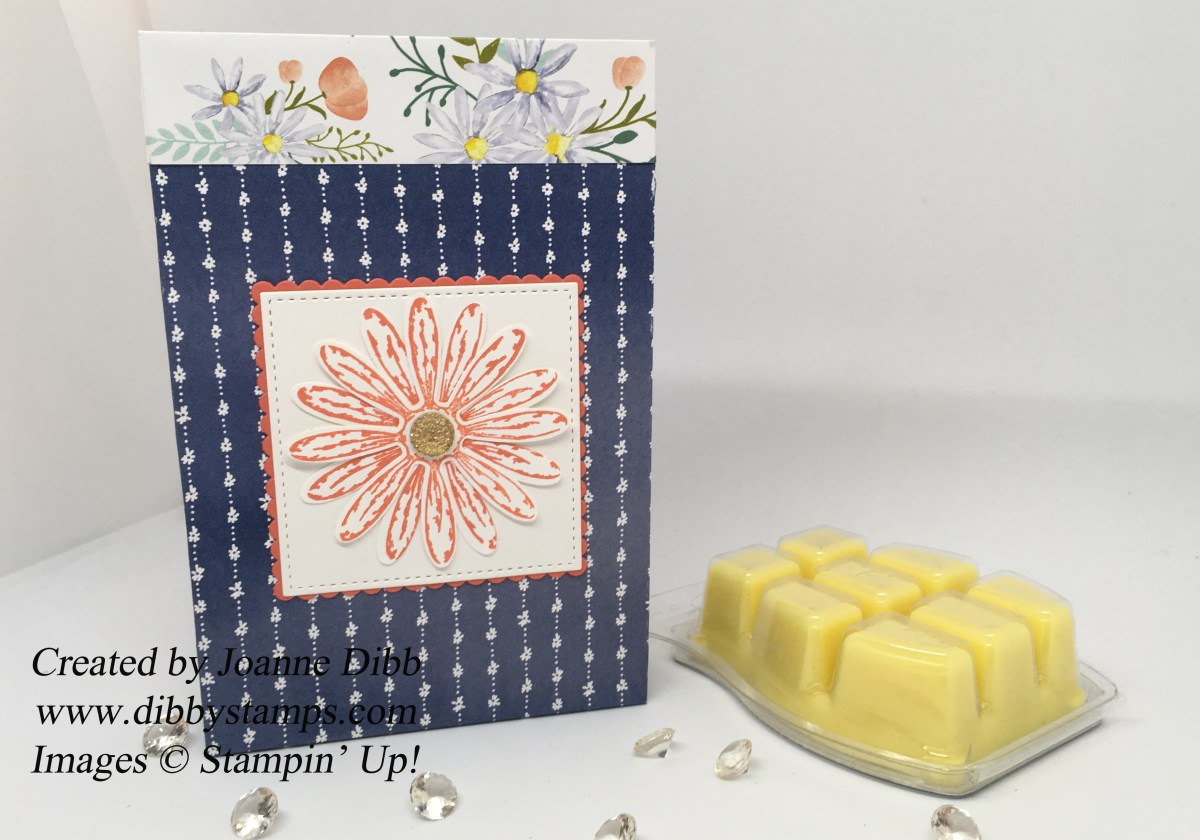
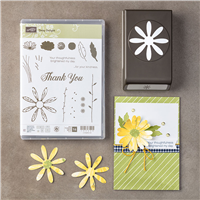
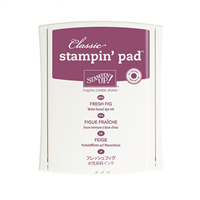
To decorate my bag I stamped two of the large daisies from Daisy Delight in Calypso Coral and punched them out with the daisy punch and stuck them together slightly offset. I then cut out the largest squared from the Stitched Shape Framelits in Whisper white and the second largest Scalloped Square from the Layering Square Framelits in Calypso Coral.

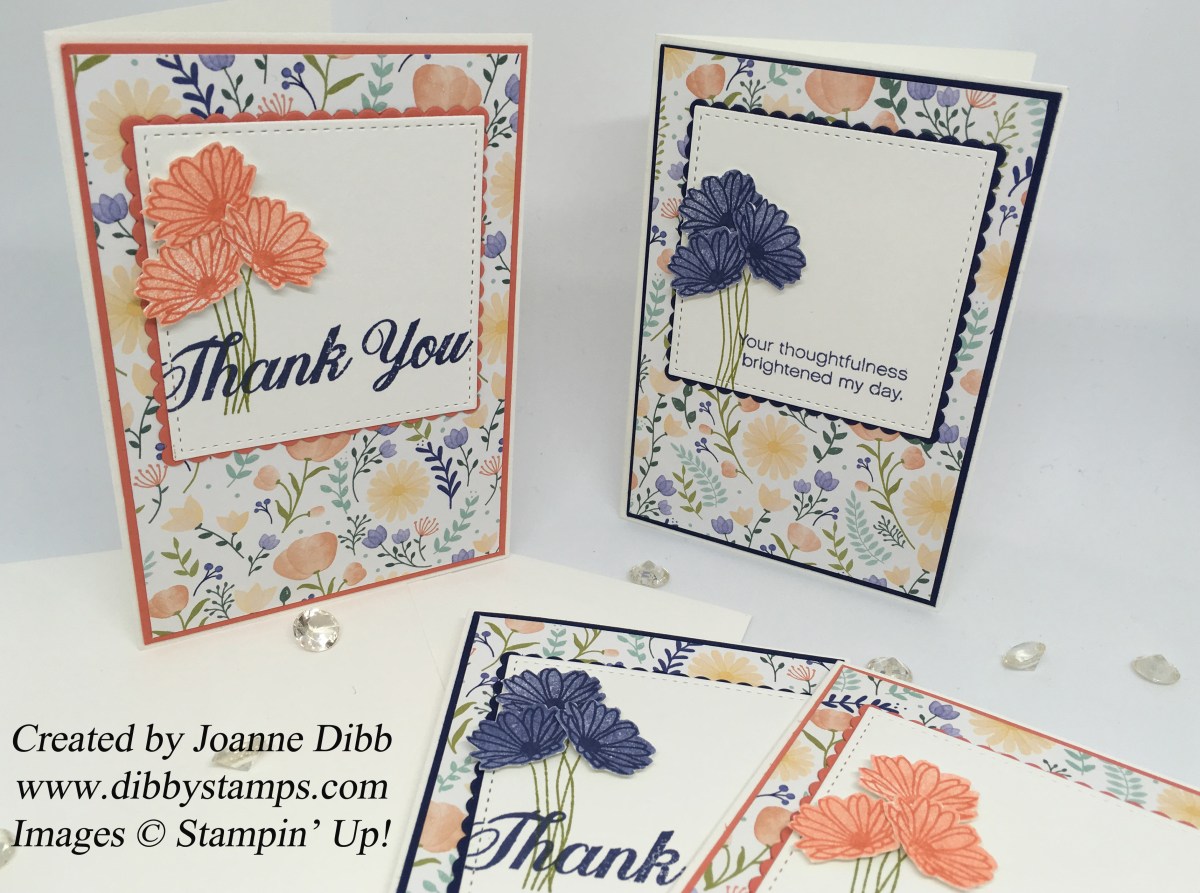
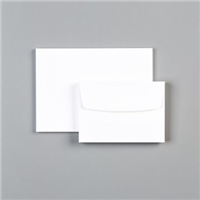
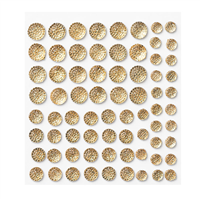
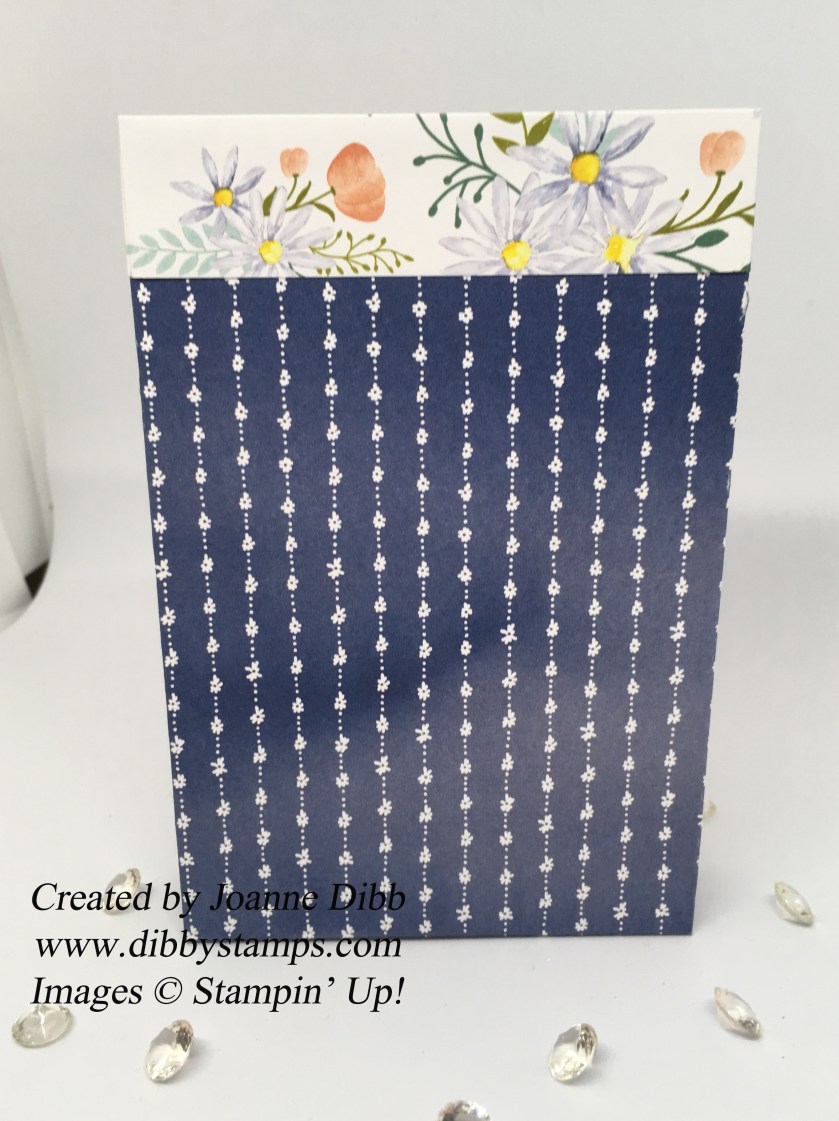
I layered all of these elements up and stuck them onto my bag. Then final step was to add one of the large Gold Faceted Gems to the centre of the daisy. I really love how this cute little bag turned out and if you don’t have any Scentsy bars it fits four of our notecards and envelopes in perfectly.

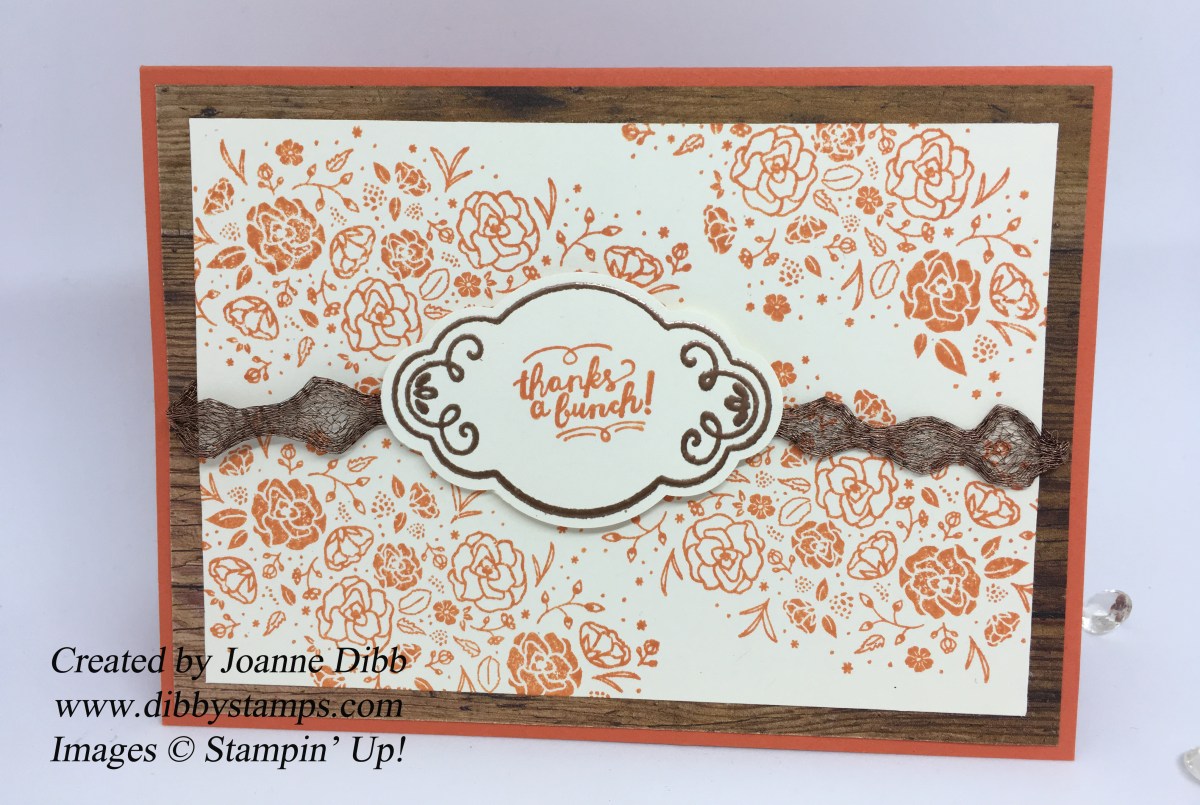
Here is the finished project

scentsybarbag

Happy Crafting

Joanne x


Quick card with Label Me Pretty Bundle

Hello everyone, hope you’re enjoying the Bank Holiday. Here in Yorkshire its raining, typical bank holiday weather but its made card making difficult as its so dark! Today I’ve pulled out the new Label Me Pretty Bundle to have a quick play with. If you’re mourning the lost of the Decorative Label punch then the new Pretty Label could be a great new alternative.

yourethebestfeshfig

I paired the Label Me Pretty Bundle up with the Eastern Palace DSP which I haven’t actually cut into  yet. I stamped out the lovely border stamp from the stamp set and chose the You’re the Best sentiment.  I placed this on my card and couldn’t work out why it looked wrong…yes I’d stamped on Whisper White but the background of the DSP is Very Vanilla, that’s how bad my light is today!

To create the Fresh Fig layer on the punch out I punched an extra label in Fresh Fig and cut it in half. I wanted quite a large amount of the Fresh Fig showing from behind the sentiment punch so I had a small gap in the middle. Solution: use some ribbon! I cut a length of the Tranquil Tide Woven Ribbon and stuck the sentiment to the front of the ribbon using Tear & Tape. I then turned the ribbon over and stuck my two Fresh Fig label halves on the back, the ribbon in the middle neatly hides the fact there is a gap.

Happy Crafting,

Joanne x