Tropical True Love Thanks Card

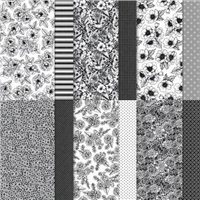
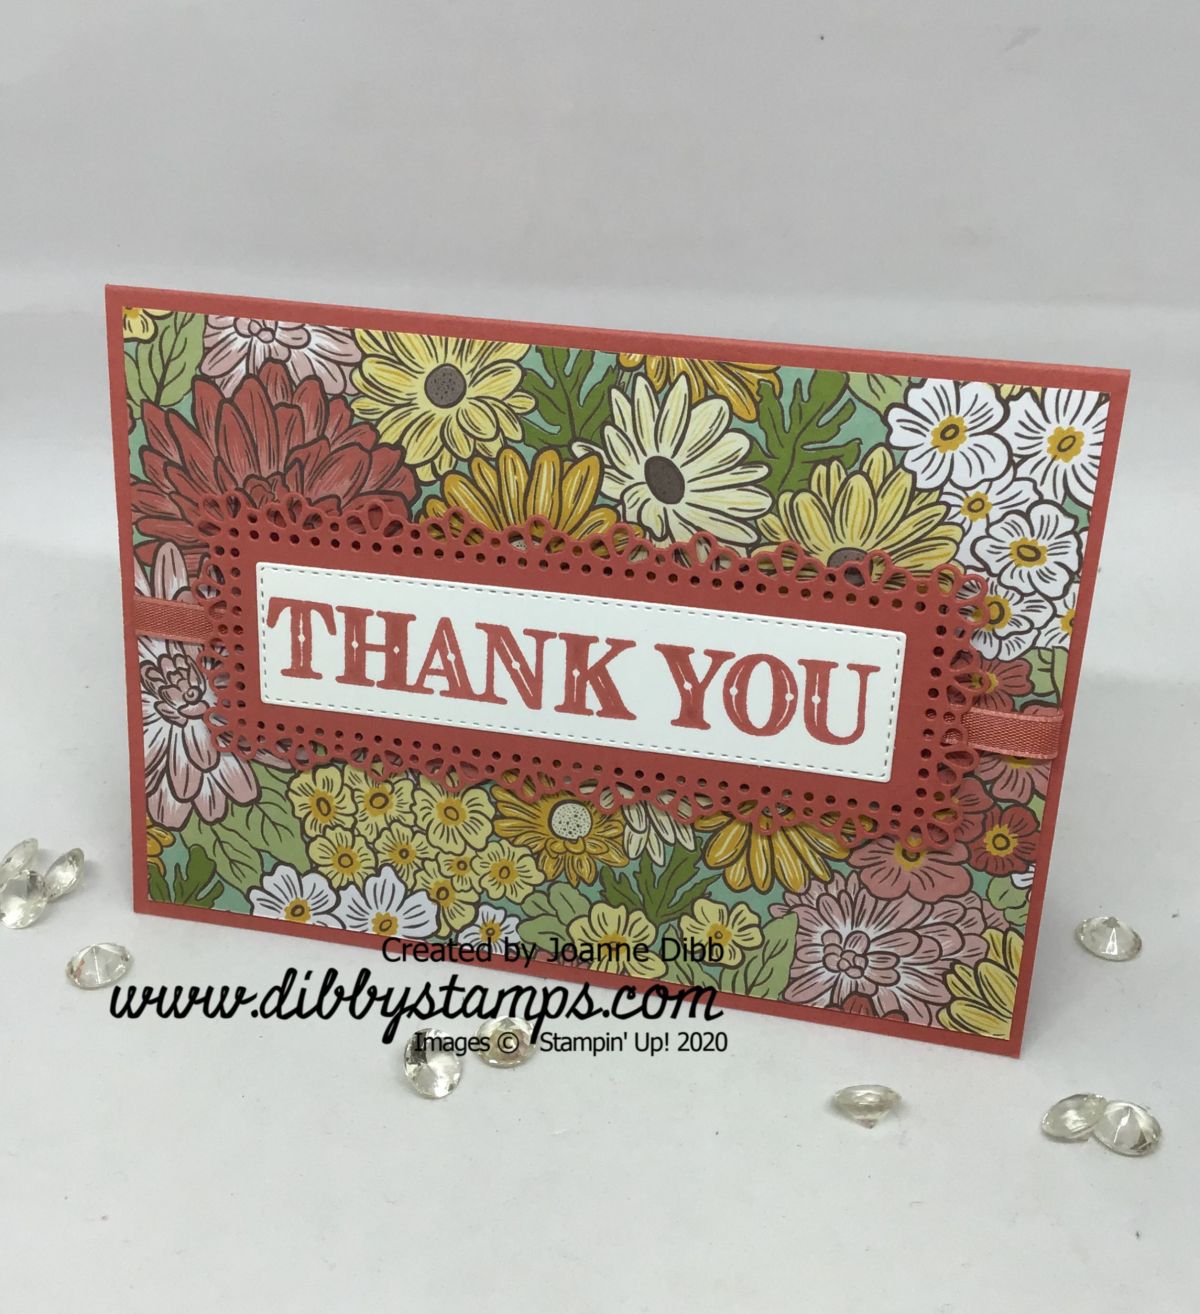
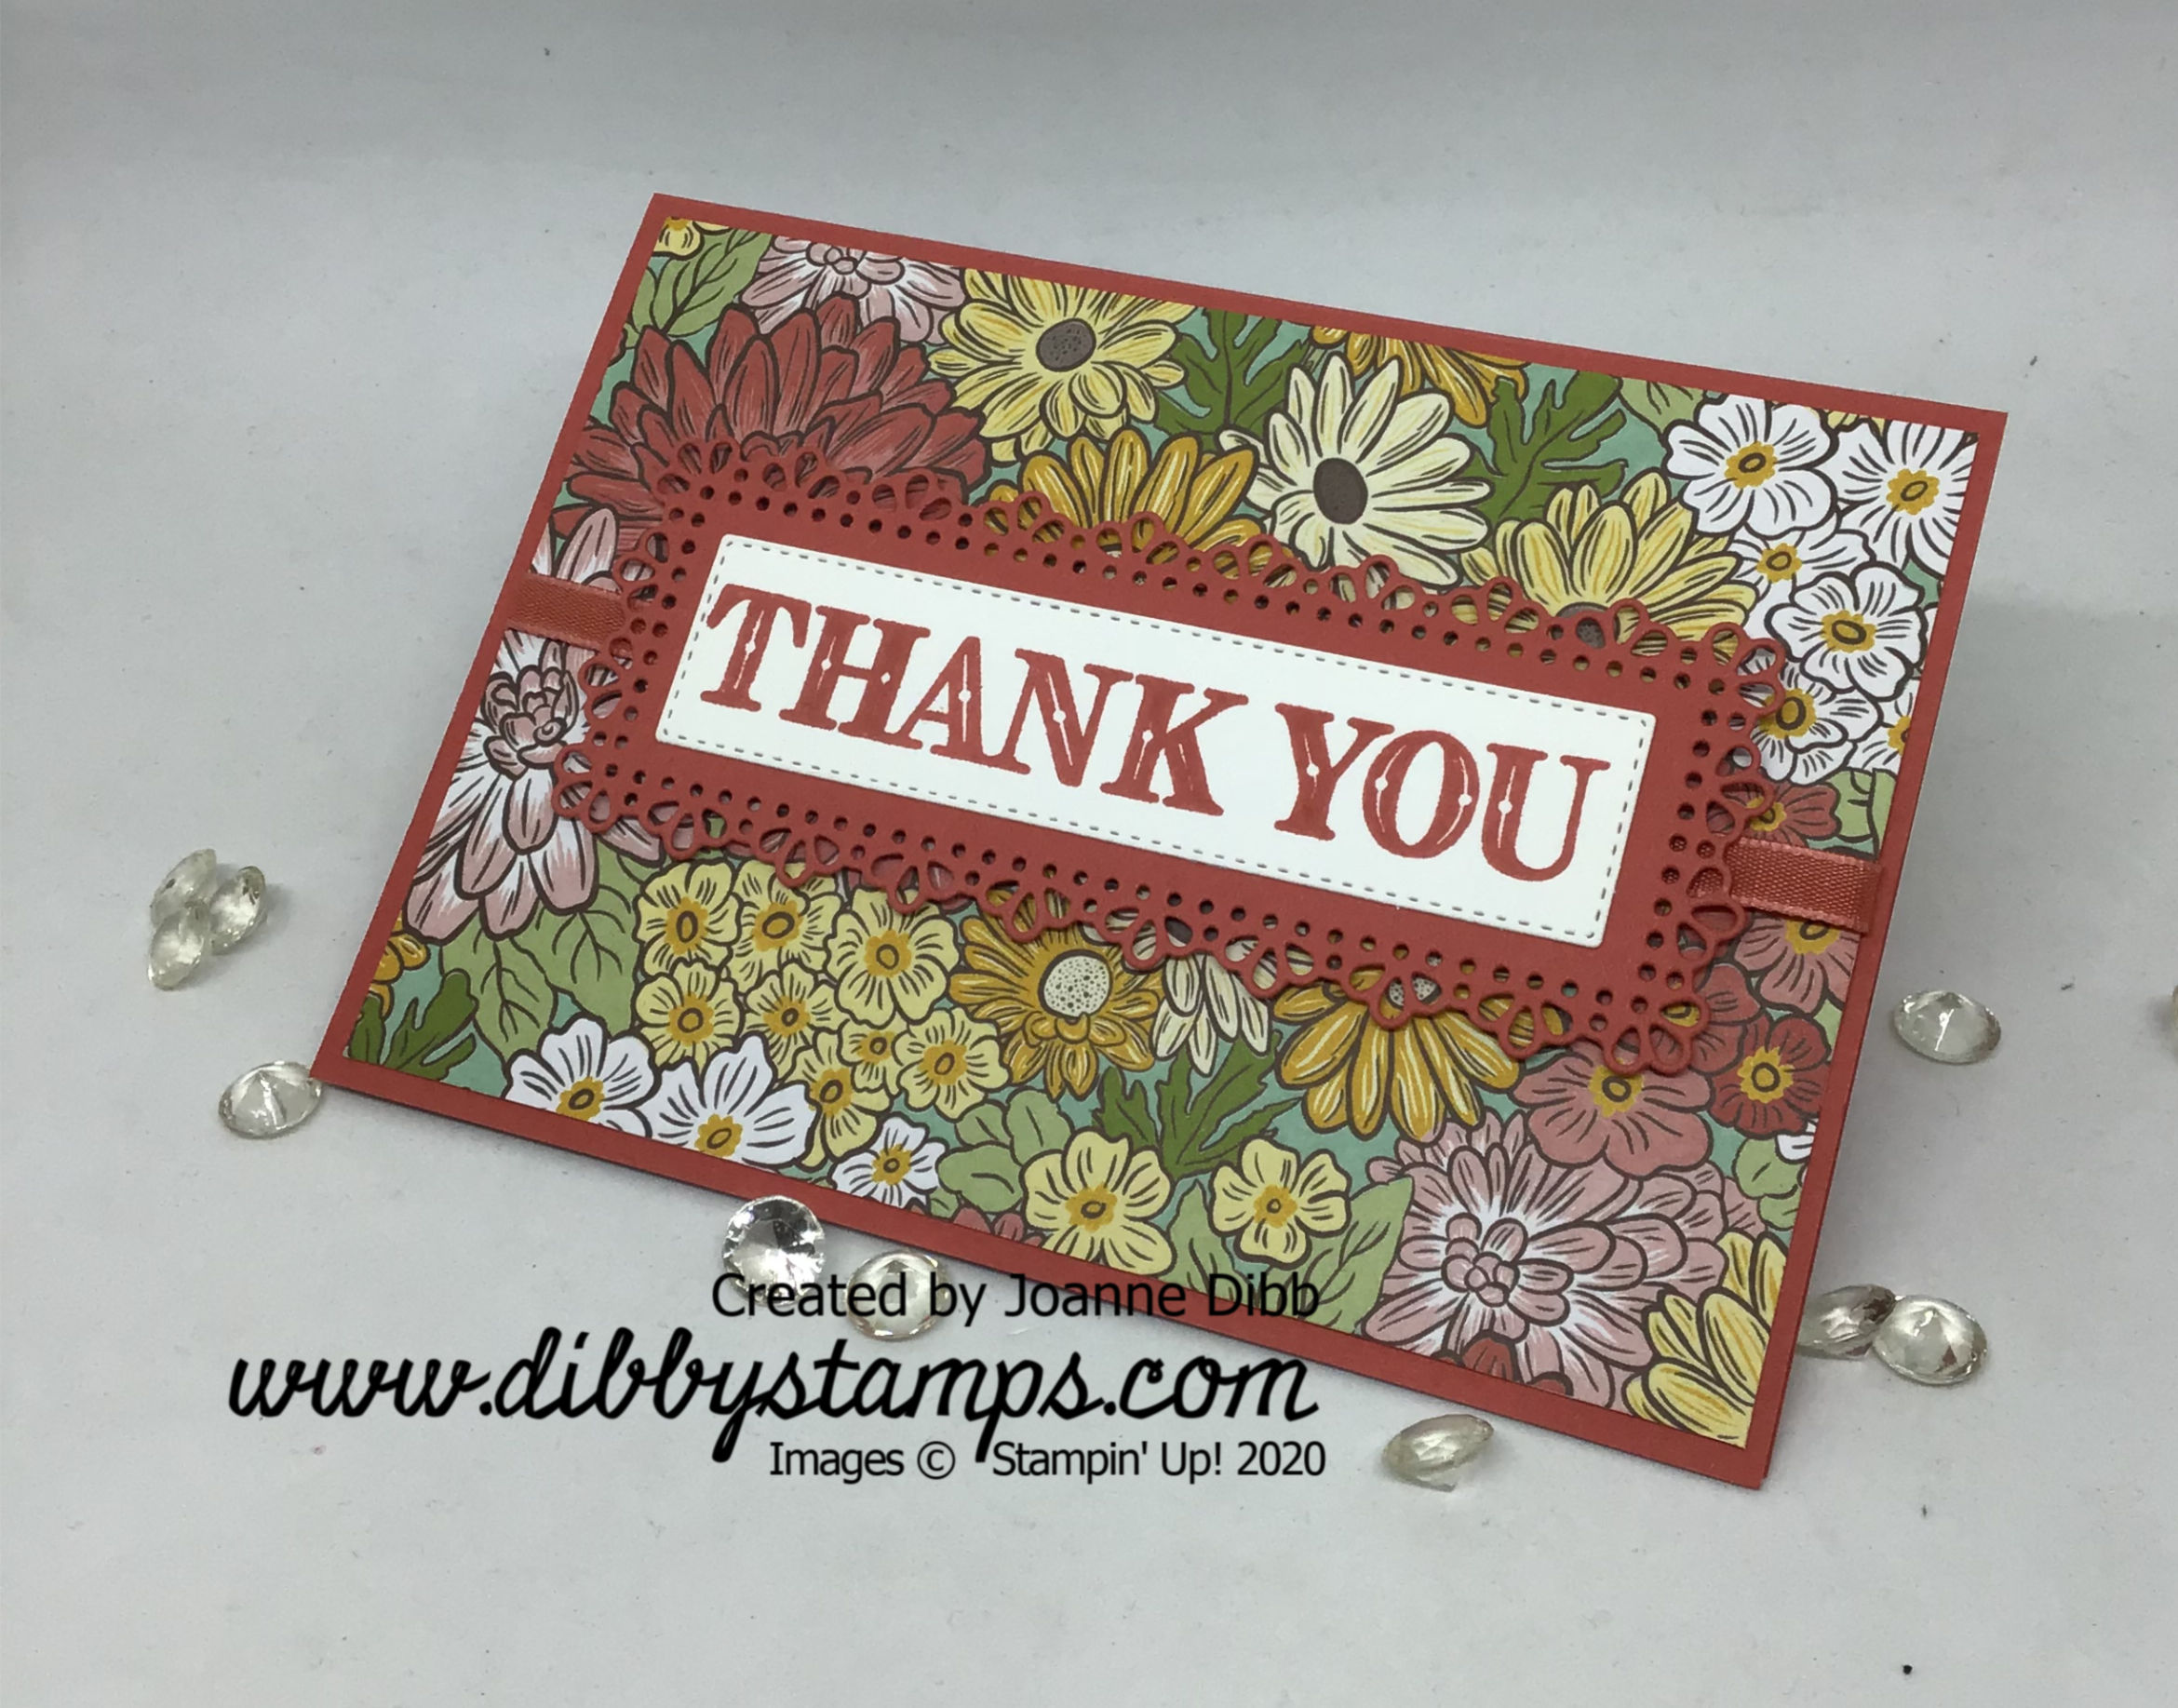
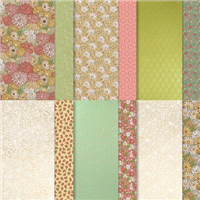
Today I’ve taken a sheet of the True Love DSP from the Love You Always Suite and given it a tropical twist. I love this paper as its black and white so you can add you own colour to match anything else in your crafty stash.

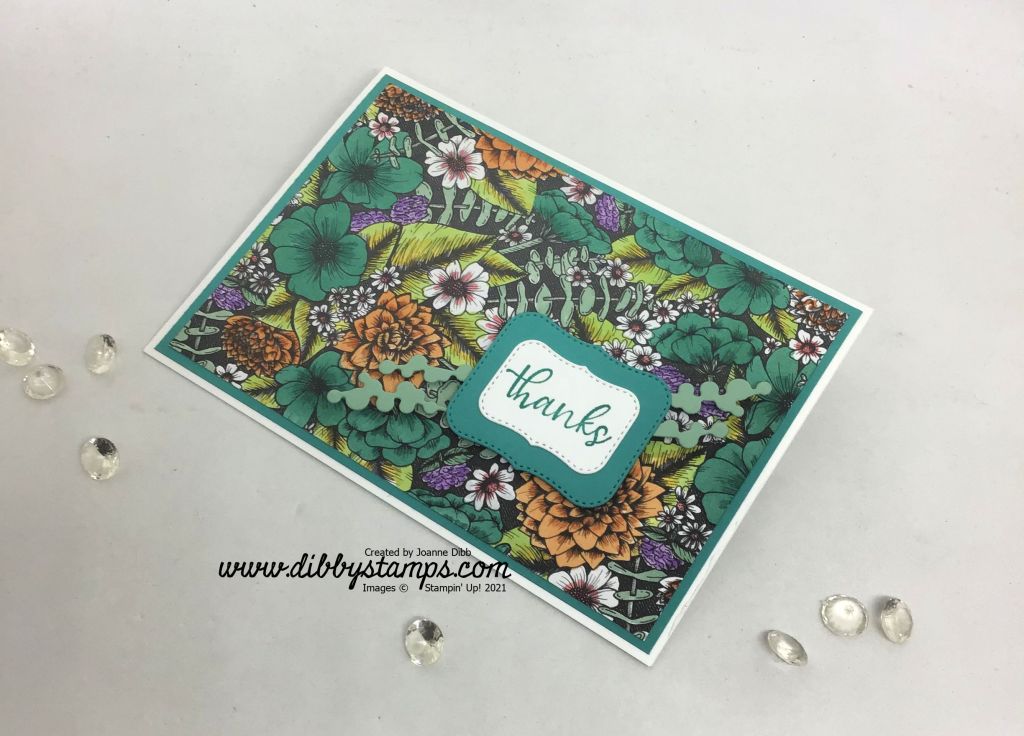
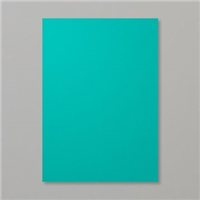
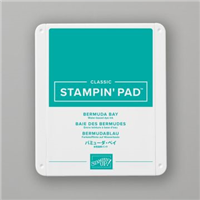
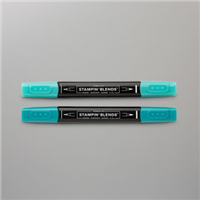
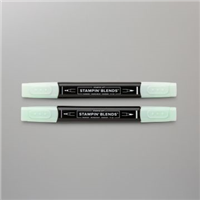
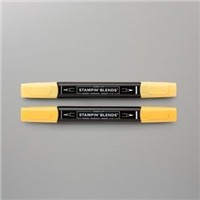
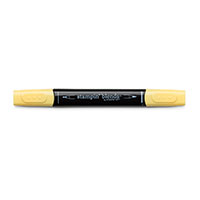
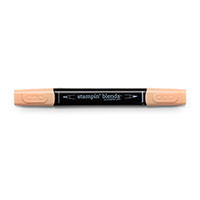
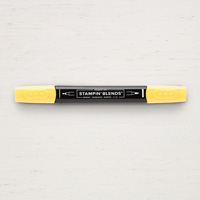
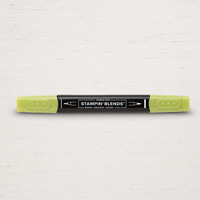
To emphasize the tropical feel I’ve coloured the paper with Daffodil Delight, Mint Macaron, Granny Apple, Pumpkin Pie, Bermuda Bay, Rich Razzleberry and a little touch of Flirty Flamingo. I’ve left some of the flowers mostly white to add a little “pop” to the background.

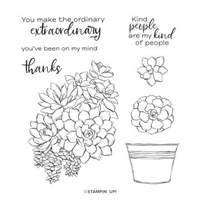
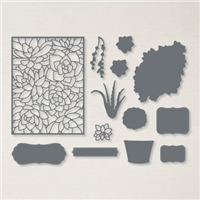
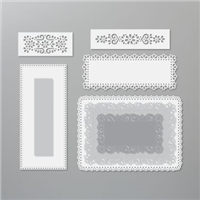
To finish the card I’ve added a greeting stamped on labels from the Potted Succulents Dies and also a couple of Mint Macaron Springs to match the springs in the paper. I love how bright and colourful this card is and I’m pleased I’ve managed to get Pumpkin Pie onto a card!

Happy Crafting

Joanne x

Supplies:

Two Ways With Triangles

I didn’t think I’d love the Stitched Triangle Dies as much as I do but they are amazing and definitely one to add to your collection. I love how you can link them togther to create a patchwork effect, create bunting of many sizes or just use them in a random pattern seperatley like I have here.

5 Triangle card

For both of these cards I use a card base measuring 13.9cm x 10.5cm, slightly smaller than my normal cards bases, so the largest Stitched Rectangle Die fits comfortably on the card front. I then cut out five random triangles out of my rectangle. I used the thick Whisper White cardstock to do the triangle to add some stability to this layer. I then stamped the greeting from So Senitmel in Memento Tuxedo Black, using washie tape to cover half the greeting so only Thank You was stamped.. To finish the card I filled in my triangle windows with 2020-2022 In-Colour Designer Paper.

Triangle Lines Card

For the second card I used the die with the long line of triangles and cut five rows. I colour each one with a strip of In-Colour cardstock on the back, I secrured the strips in place with tear and tape. I added the same sentiment, stamped in full on the largest of the Tasteful Labels Dies.

I really love how these cards turned out and can’t wait to play more with the Stitched Triangles.

Happy Crafting

Joanne x

Supplies:


Todays Tiles Card Trio

I love how the stamps in the Todays Tiles set create intricate looking patterns which look like they’ve taken ages to stamp but in reality took just seconds. The trick with this stamp set is to use the Stamp-a-ratus to line up the stamps and then you will get perfect alighment everytime.

Todays Tiles Moonlight Card 1

I cut my Whisper White cardstock to fit the Stamp-a-ratus and then stamped a row of the base tiles in Seaside Spray. You can fit three blocks of stamped tiles on the Stamp-a-ratus if you start right near the right hand-side and then move two spaces across or down depending on which way you’ve lined up the stamp. I needed four blocks for these cards so did a second set of stamping on more cardstock.

Todays Tiles Moonlight card 2

After stamping the Seaside Spray layer I kept the stamp on the Stamp-a-ratus for my second batch of stamping but turned it over to add the detail stamp. Take time here to make sure you’ve lined up your stamp correctly and ensure the magnets have a firm hold on your paper as the slightnest nudge can throw the design off. I’ve stamped my detailed layer in Blackberry Bliss so it really stands out.

Todays Tiles Moonlight Card 3

I’ve used Misty Moonlight as a complimentary colour for these cards and used Blackberry Bliss for stamping the sentiments. Two of the sentiments were stamped onto dies from the Field Tiles die set which can be bought in a bundle with the Today’s Tiles stamp set.

I love how simple these cards were to create and look forward to playing with more colour combinations and designs soon.

Happy Crafting

Joanne x

Supplies:


Ornate Garden Simple Thank You Card

Today I’m sharing a simple thank you card featuring products from the new Ornate Garden Suite which went on early release last month. I think this suite has a very retro vibe with the Terracotta Tile and Old Olive and our new Bumble Bee In-Colour, in reminds me of curtains my grandma had when I was little.

This card was very quick to make as it involves one layer of dsp, two die cuts and one stamped greeting and a small amount of ribbon.  I used Terracotta Tile as my colour for this card as I think it makes this background paper look it very best,

Ornate Garden Simple Thank You -flat

I added a strip of the Terracotta Tile ribbon across the centre of the dsp before adhering to my card base. I then stamped the greeting in Terracotta Tile on Whisper White cardstock and adhegred it to the ornate frame cut again from Terracotta Tile.

I love how the “Thank You” greeting fits perfectly in the rectangle die-cut giving a great focal point to the card, meaning you can out this card together in minutes, perfect for those customer thank yous.

Happy Crafting

Joanne x

Supplies:


Hey Lady! Thank You Card

The Little Ladybug stamp set has to be my favourite from both the Mini Catalogue and the Sale-A-Bration releases. This  stamp set features four of the cutest little ladybirds I think I’ve ever seen along with some lovely greetings. This is a special stamp set as its only available with orders over £275 and until the end of March, so if you like it nows the time to go shopping and pick up those wishlist items.

I started out by stamping and colouring some ladybirds and flowers. the ladybird is coloured with Poppy Parade Stampin’ Blends and the flower a mix of Pumpkin Pie, Mango Melody, Daffodil Delight and Granny Appple Green.

Hey Lady Thank You Card Flat

I created the frame with the Stitched Rectangle Dies and the Poppy Parade Cardstock and Pleased AS Punch DSP. The card base is Balmy Blue and I stamped the large flower across the background in Balmy Blue to add more interest.

For my greetings I used the Special Day Dies to create speach bubbles so it looks as if the Ladybug is talking.

Happy Crafting

Joanne x

Supplies: