Three Little Elves Card

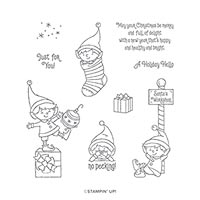
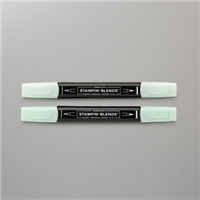
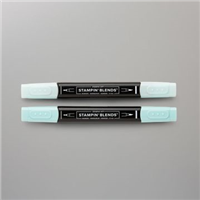
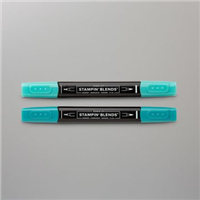
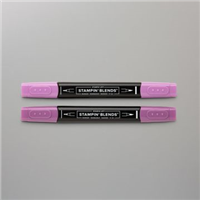
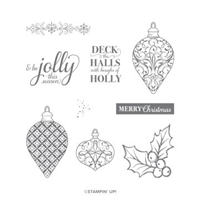
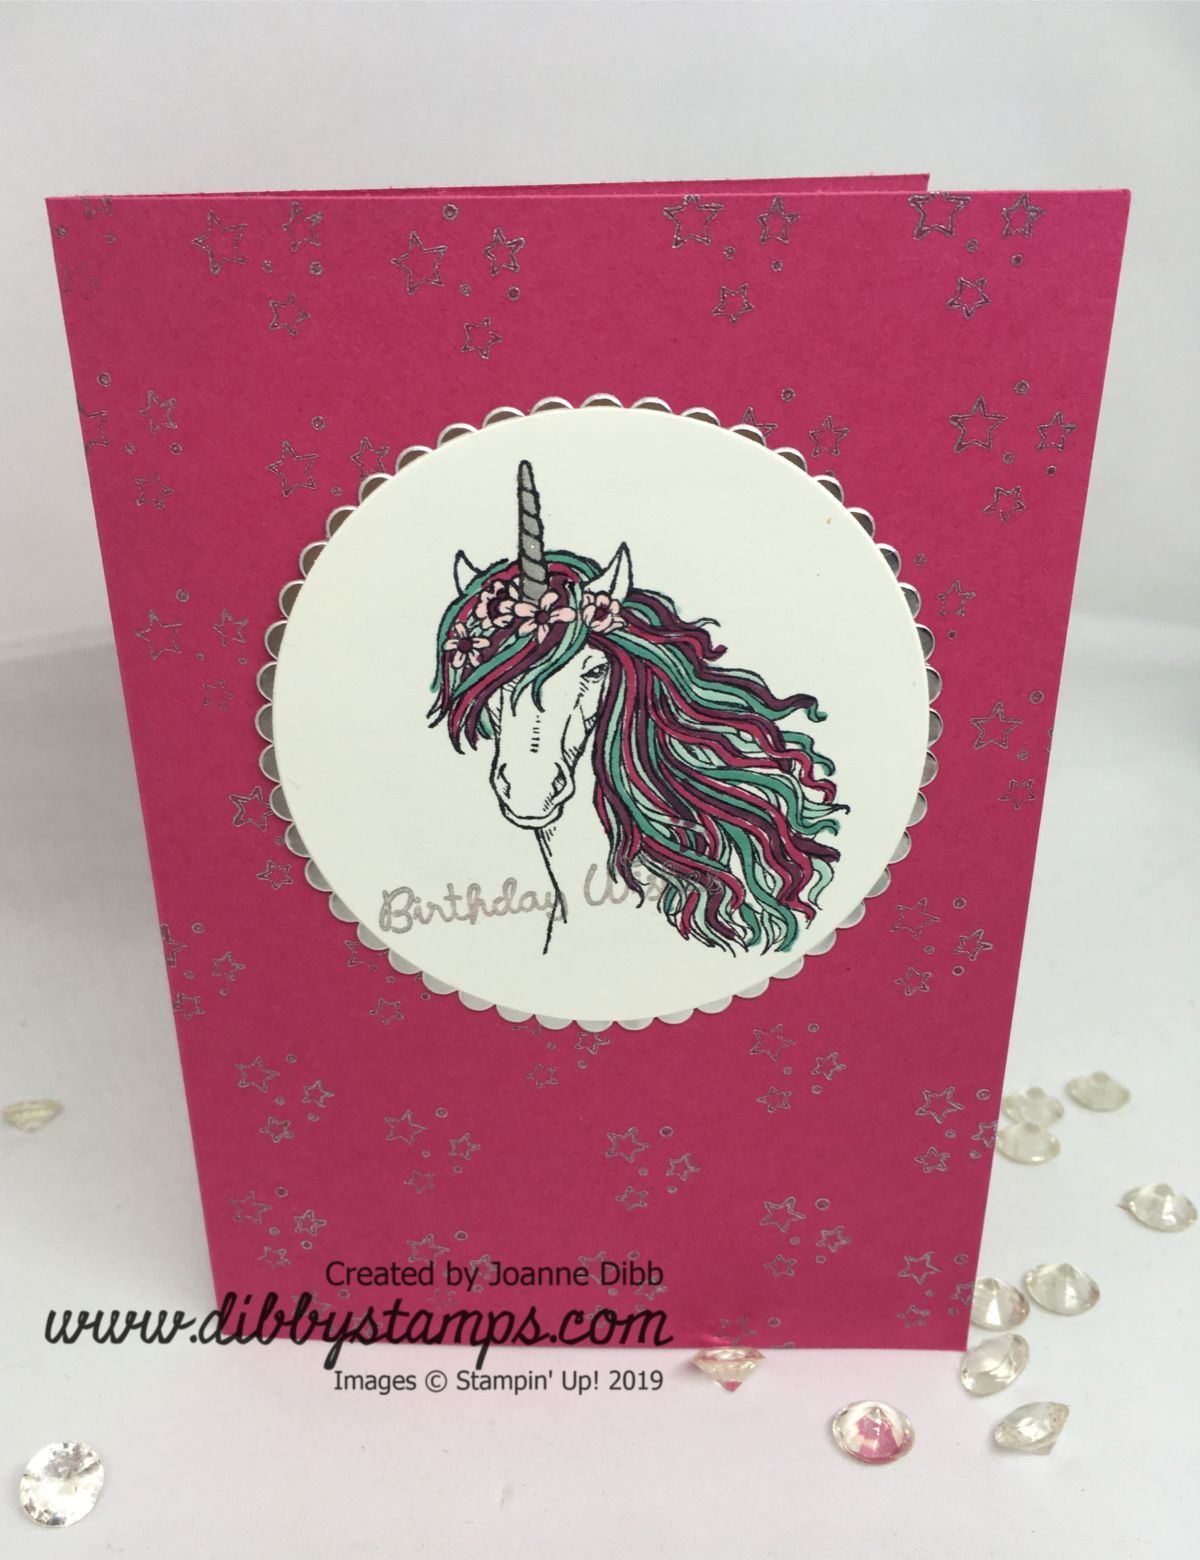
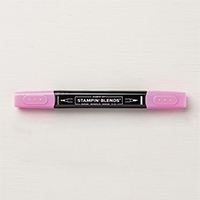
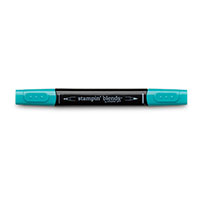
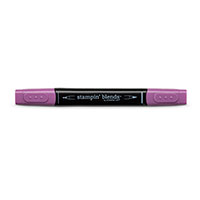
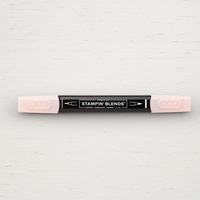
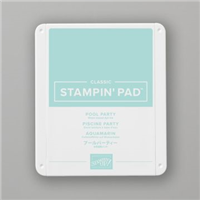
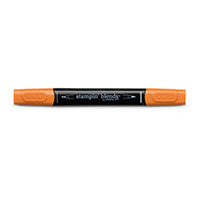
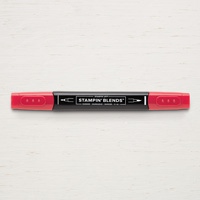
How adorable are these cute little Elves, can you just imagine all the mischief they might get up to when we’re not watching. I wanted to go for a non traditional colour scheme so chose Seasside Spray, Mint Macaron and Flirty Flamingo to add to the cute factor.

Three Little Elves Card close up

Stampin’ Blends, Dazzling Diamonds Glitter and a little fussy cutting have really brought the little eleves to life.  I didn’t think the card needed much else so added a simple stamped snowflake background and a strip of the Seaside Spray Metallic Ribbon highlights the sparkle in the glitter.

Three Little Elves Card flat

I can’t wait to make more card with this gorgeous #Elfie stamp set in many more colur combinations, so keep an eye out for more Elfie cards coming soon.

Happy Crafting

Joanne x

Basic Measurements:

Card Base: Half A4 sheet cut to 14.9cm x 21cm, scored at 10.5cm

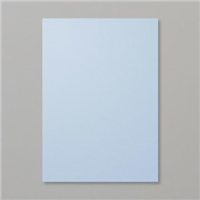
Seaside Spray Layer: 14.4cm x 10cm

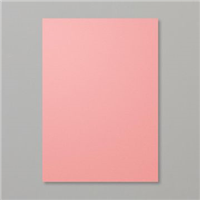
Flirty Flamingo Layr: 13.9cm x 9.5cm

Supplies:


Rainbow Butterflies Thank You Card

For today’s card I’ve used a different sized card base so I could fit five butterflies on and show more of the rainbow effect I created. This card base is from a piece of card measuring 21cm x 14cm, scored at 7cm on the narrow side, giving a tall narrow card similar to the Narrow Notecards that we used to carry.

To create the rainbow effect I used the Real Red, Pumpkin Pie, Daffodil Delight, Granny Apple Green, Pool Party, Bermuda Bay and Rich Razzleberry Stampin’ Blends and coloured a rainbow across some Whisper White cardstock.

Butterfly Rainbow Close up

I then stamped five butterflies from Butterfly Gala across the rainbow, positioning them so each butterfly had more than one colour on its wings. I then punched them out using the Butterfly Duet Punch and added a black body to each butterfly.

Butterfly Raibow Card flat

To finish off the card I stamped a greeting at the bottom of the card and then attached each butterfly with a Stampin’ Dimensional. A final florish was to add antenna to each of the butterflies.

Hope you enjoyed this project and if you’ve got your own collection of Stampin’ Blends you can create rainbow butterflies in any colour combination.

Happy Crafting

Joanne x

Supplies:


Yuletide Cheer with Holly Christmas Card

This Christmas card is fairly simple to put togther as long as you don’t mind at little fussy cutting for the holly leaves.

The background paper comes from the Come to Gather DSP, I love the linen effect of this paper and think it could work  for a variety of projects.

Yuletide Holly Close Up

Here’s a close up of the holly leaves coloured with Stampin’ Blends and the fussy cut out. I love a bit of fussy cutting, especially at this time of year when I’m spending cosy nights in front of the fire. If you’re not a fan of fussy cutting then you could use the holly berry stamp and dies from the Free Skate Bundle.

Yuletide Holly Card flat

The greeting and frame come from the Frosted Foliage Bundle which contains some lovely sentiments.Basic Measurements:

A simple card which is easy to replicate if you want to make a sttart on those Christmas cards.

Happy Crafting

Joanne x

Basic Measurements:

Card Base: Half A4 sheet, cut to 14.9cm x 21cm, scored at 10.5cm

Real Red Layer: 14.4cm x 10cm

DSP Layer: 13.9cm x 9.5cm

Supplies:


Leave A Little Silver Sparkle Card

For today’s project I’ve pulled out the Leave A Little Sparkle stamp set to make a birthday card for a special little girl who loves unicorns and all things sparkly. For the background of this card I stamped the small star trio stamp in the new Silvery Shimmer Delicata Ink which gives the whole card a subtle shimmer which the photograpgh really doesn’t do justice to.

I coloured the main focal image with Stampin’ Blends in Lovely Lipstick, Bermuda Bay and Rich Razzleberry and added some Wink of Stella to the unicorn horn for a bit more sparkle.

Leave A Little Sparkle Card one

A little silver foil adds a final bit of sparkle to this gorgeous girly card. I can see variations of this card made throughout the coming school year for all those upcoming little girl birthdays.

Happy Crafting

Joanne x

Supplies:


Snowmen Card Duo

What better way to celebrate the first frosty morning of the season than with two gorgeous snowman cards. Both of these cards were very simple to make but and bright and cheery and perfect for celebrating the snowy season.

I’m drawn to the Snowmen sets every year but I think Snowman Season could easily be my favourite by Christmas. I love all the matching products in the Let It Snow Suite, especially the punch which makes snowman building so easy. Added bonus my daughter has love punching her own snowmen and giving them their own little faces so its a winner all round.

Snowman Stripes Card

I love the colour combination of the Let It Snow Speciality DSP, Real Red, Coastal Caana, Flirty Flamingo, Shaded Spruce, Blueberry Bushell, Basic Black and Whisper White make a fresh modern twist on the traditional red and green Christmas combinations.

Each of these cards features a background in these papers to highlight how yummy they are. I love all the little mittens on the card below.

Snowman Mittens Card

I little colouring with the Stampin’ Blends and a greeting from the Christmas Gleaming stamp set and the card is done.

Look out for more snowmen appearing soon.

Happy Crafting

Joanne x

Basic Measurements:

Card Base: Half A4 sheet cut to 14.9cm x 21cm, scored at 10.5cm

Matt Layer: 14.4cm x 10 cm

DSP Layer: 13.9cm x 9.5cm

Supplies: