Simple Stamping – Balmy Blue Birthday Card

Simple stamping is something which I struggle with, mostly because I adore my Big Shot and find it difficult to make anything without using it. I’m going to bring you a series of super simple cards which are suitable for very beginners in card making.

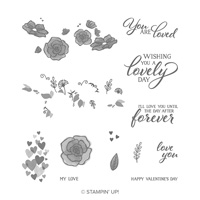
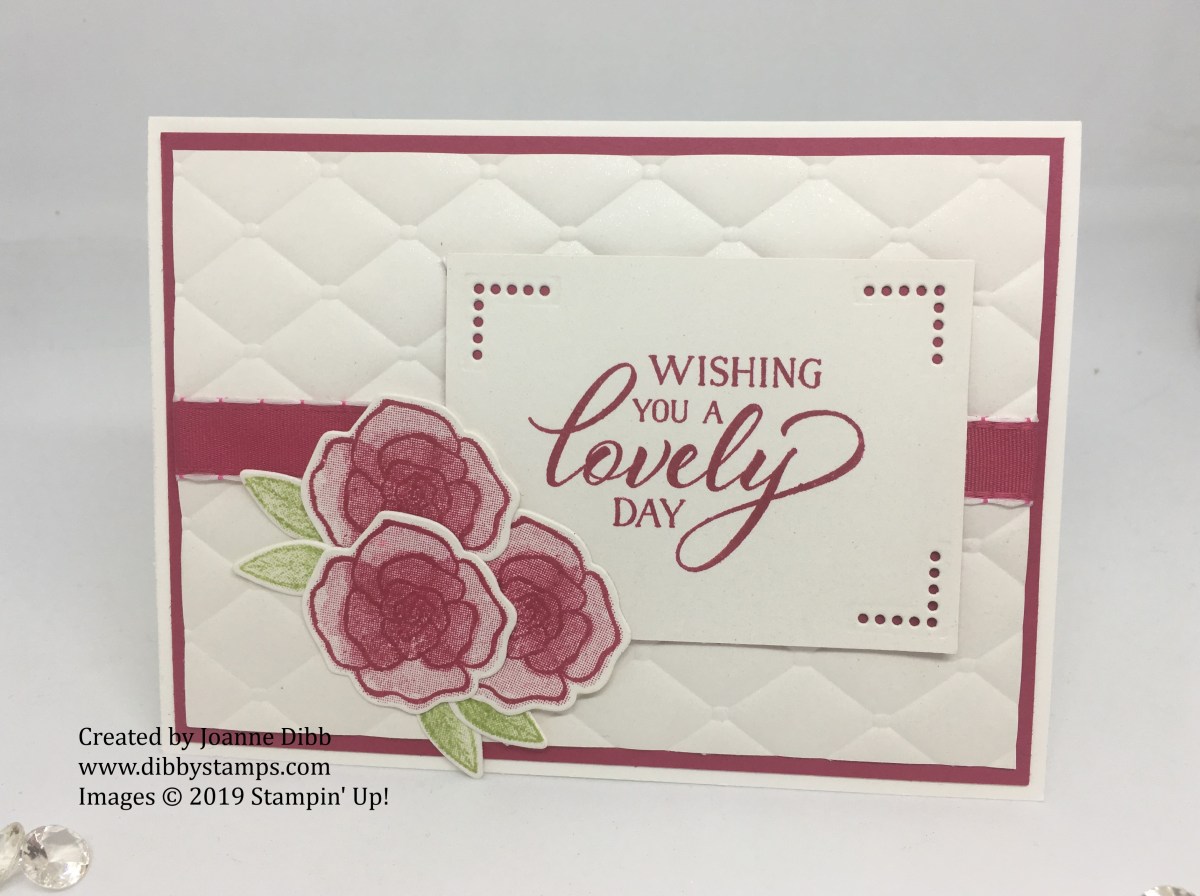
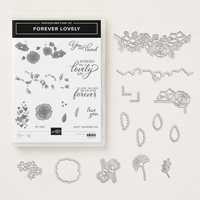
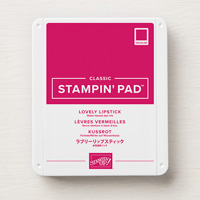
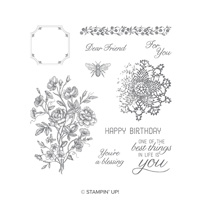
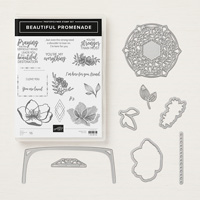
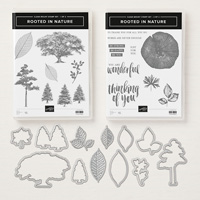
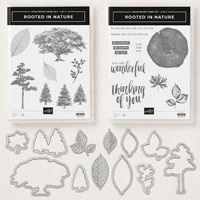
This card uses just two stamps from the Forever Lovely stamp set and one ink pad in Balmy Blue, but the card will work in pretty much any colour you’ve got in your stash.

balmy blue forever lovely simple card flat

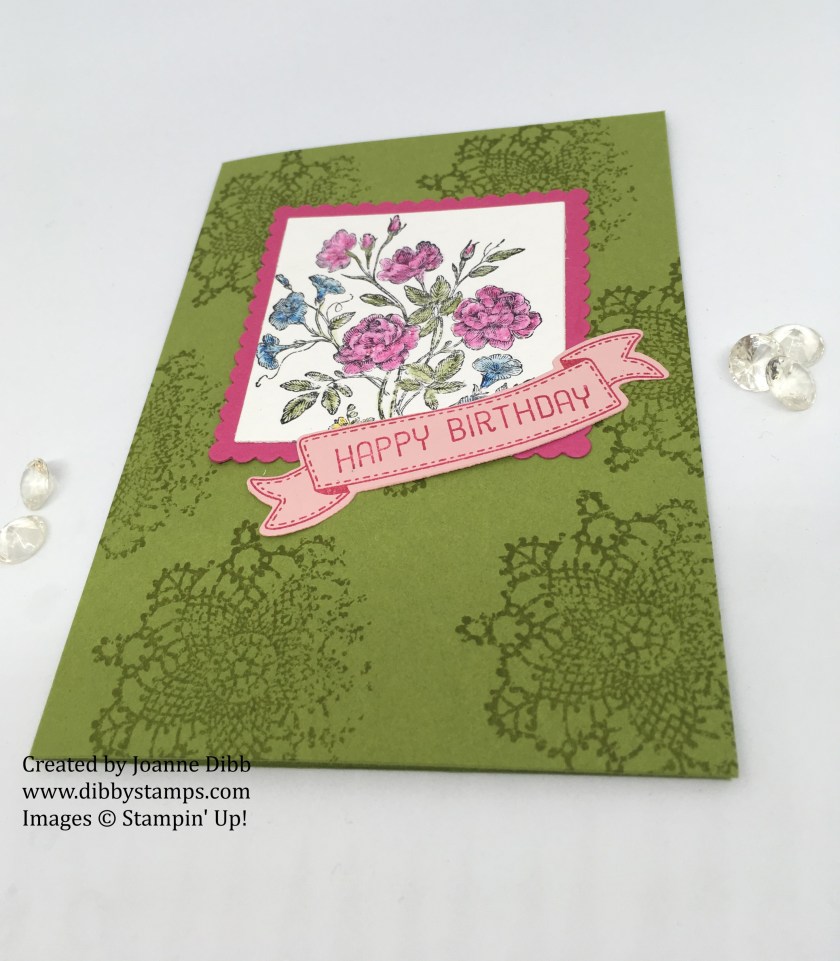
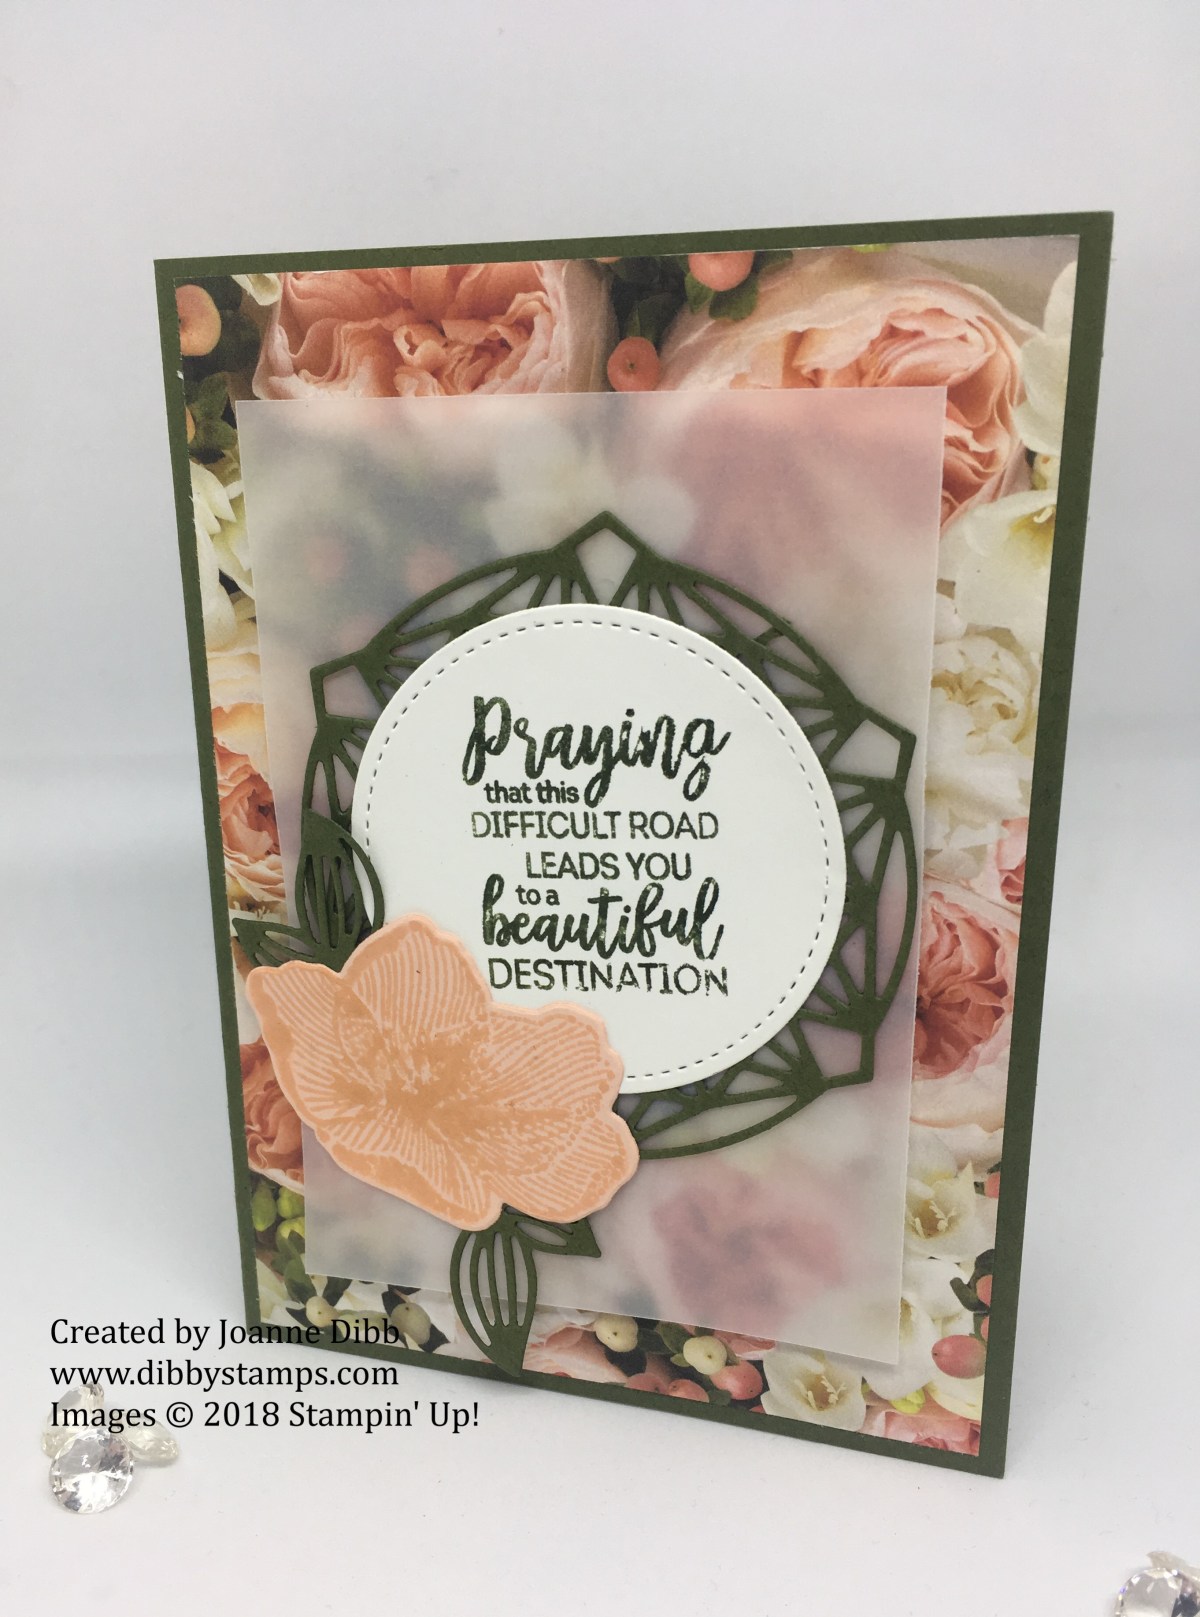
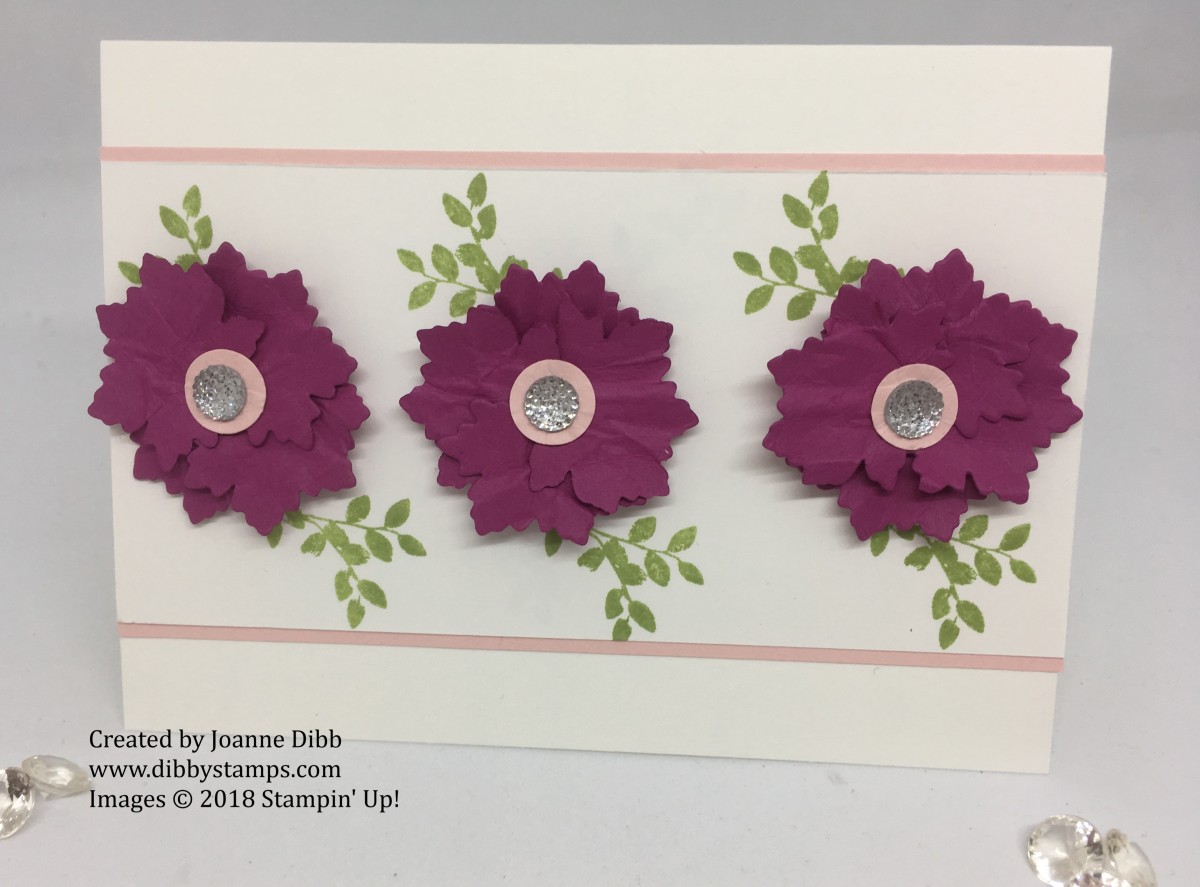
Simply stamp your greeting in the bottom right-hand corner of your card blank and then stamp the roses evenly across the rest of the card and your done. Super simple and still beautiful!

Happy Crafting

Joanne x


Forever Lovely Birthday Card

Today I’m starting a week long show case of the All My Love Suite from the new Spring/Summer catalogue. These products are perfectly suited for all your Valentine’s and romance projects but today I’m showing how you can use them to make a gorgeous birthday card.

For the main focus of the card I stamped three of the gorgeous rose flowers in Lovely Lipstick. What I love about this stamp set is that is it part of our Distinctive range, meaning all that detail on the stamped image came from one impression of one stamp, making it even simpler to get gorgeous detail.

forever lovely birthday card flat

For some additional detail I used the Tufted Dynamic Textured Embossing Folder for the background layer and added a strip of the Lovely Lipstick Stitched Edge Ribbon for some added texture.

I love how this card came out and can’t wait to show you more lovely products with this gorgeous suite. So I hope you can join me again tomorrow.

Happy Crafting

Joanne x


Very Vintage Birthday Card

Today’s project was inspired by one in the catalogue on page 226, my version is much simpler and perfect for when you need a quick floral themed birthday card.

The Very Vintage stamp set is a hostess set so only available with orders over £150.00 but its one to consider adding to your stash as it has a lovely mix of sentiments and images. I chose to work with the two largest elements to make my card.

I created a tone on tone background with Old Olive cardstock and ink and the lace doily image. I love the distressed vintage feel of this image I think its made a great background for this card.

Very Vintage Birthday Card flat

A little colouring with the watercolour pencils and the blender created the focal point for this card and really reminds me of some china which my grandma used to have, if anyone’s in the UK and knows what I’m on about I’d love to know the name of the china?

I finished the card off with a simple Happy Birthday banner created from the Birthday Banners stamp set and Bunch of Banners Framelits.

Which do you prefer the catalogue version or my simplified version?

Happy Crafting

Joanne x

Price: £11.25


“Praying for You” Card with Beautiful Promenade

The Petal Promenade suite in the catalogue really appeals to me because of the beautiful floral stamps and dies and a paper pack which is just stunning in real life. I have struggled to use this set though as I found the sentiments hard to work with. For today’s card I’ve been inspired by the examples in the catalogue on page 106, I often look to the catalogue for inspiration when I’m struggling with a set as its a good starting point.

praying for you card flat

I’ve got less layers on my card but have added that beautiful large flower to the front of the card in Petal Pink but I wish I done it in Flirty Flamingo so it stood out a bit more.

If you haven’t got a copy of the catalogue and would like one then please get in touch at dibbystamps@gmail.com I can send them to the UK, france, Germany, Austria and The Netherlands.

Happy Crafting

Joanne x


Floral Friday: Berry Burst Flowers from Nature’s Root Framelits

For today’s flowery themed post  I’m going to share with you some flowers I’ve made from the spikey leafed die in the Nature’s Root Framelits. I’m not sure if anyone else sees flowers when they look at that die but I did and after a little play I came up with these cute little flowers, that are quite simple to make.

berry burst flower steps

  1. You will need to cut four flowers in your desired colour for each flower you plan to make, I chose Berry Burst. You will also need to punch a circle from the 1/2″ circle punch, I chose Powder Pink.
  2. Scrunch up each of your leaves so your petals have more texture.
  3. Take a Stampin’ Dimensional as the centre of your flower and stick on your first petal. I would recommend using the Silicone Craft Sheet for this but mine’s gone walk about…if you find it please send it back 😉
  4. Layer all four petals around the dimensional and adhere using Mini Glue Dots, the new Take Your Pick tool was perfect for this. Finish the flower centres with the punched circle and a Clear Faceted Gem.

berry burst flower card flat

Here’s an example of a finished card to show you how lovely these flowers look when used, a few stamped leaves and you have a completed project.

Hope you’ve enjoyed today’s quick tutorial.

Happy Crafting

Joanne x