This week I’m focusing on the Everything Is Rosy Product Medley from Stampin’ Up! This is the first product of its kins released from Stampin’ Up! which contains a whole variety of co-ordinating products to make gorgoeus projects, if you want a closer look at the contents take a look at this post which has all the details. This kit is available until the end of May or until supplies have run out, so if you want it order it as soon as you can.
Month: May 2019
Floral Friday: Needlepoint Nook Trio
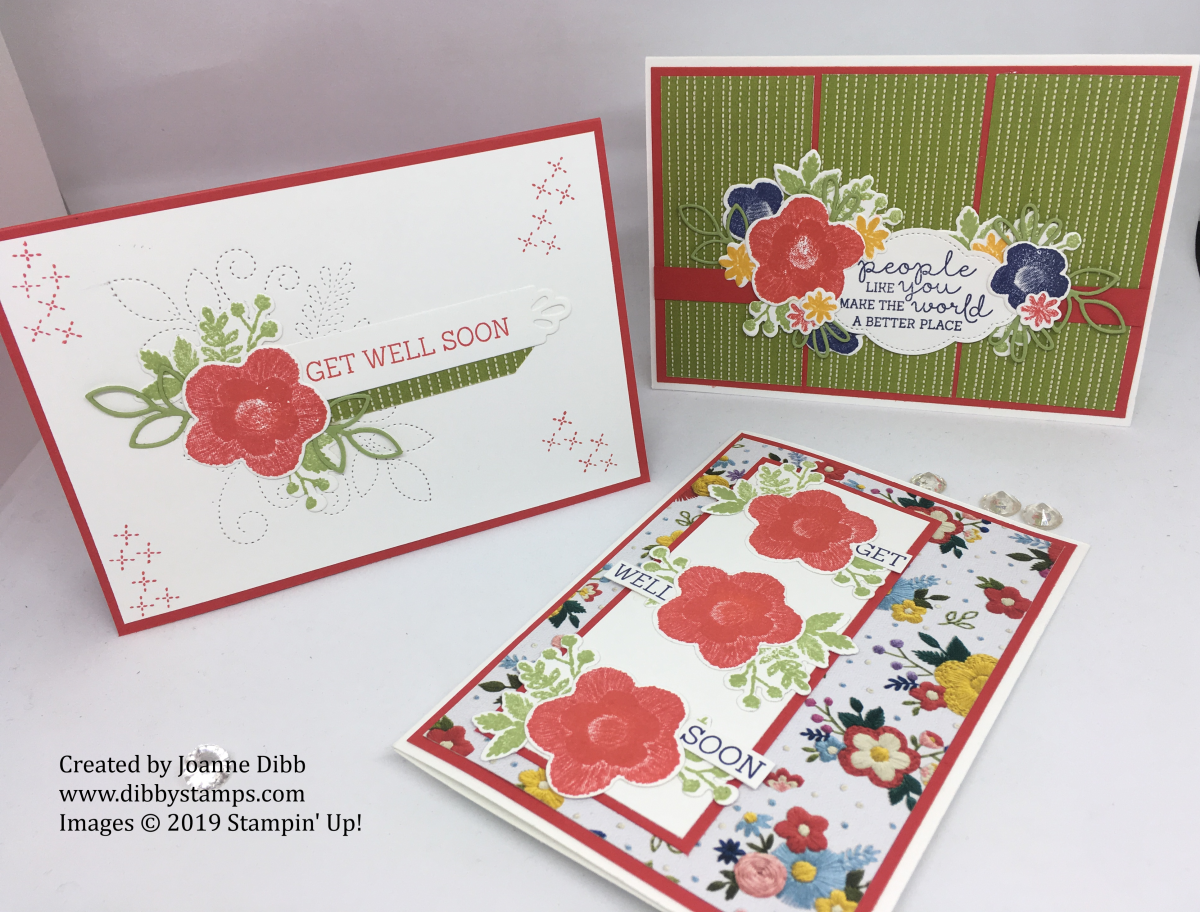
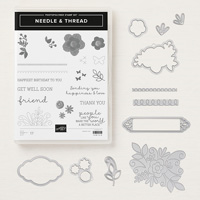
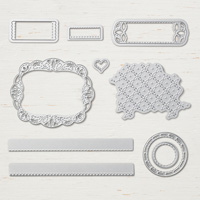
For today’s Floral Friday post I’m saying a fond farewell to the Needlepoint Nook Suite from the Spring/Summer catalogue. This suite is jam packed with embroidery and stitching images which remind me so much of cushion covers from my childhood which my grandma stitched. If like me you love a bit of stitching or some nostaligia then this is a great collection to play with.
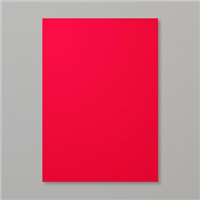
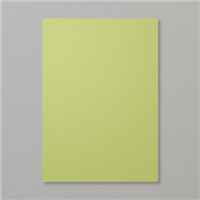
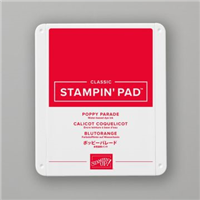
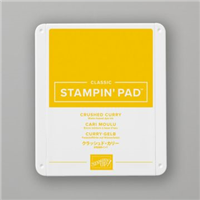
For my cards today I focused on the large flower head image as starting point for my project and the colour combination of Poppy Parade, Pear Pizzazz, Night of Navy and a hint of Crushed Curry.

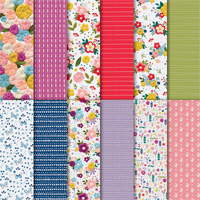
I used one of the busier patterns for this background so wanted my focal point to be quite bold so it didn’t get lost in all the colours behind. I chose three Poppy Parade flowers with the matching leaves in Pear Pizzazz. I love how these two stamp/die comibnations work perfectly togther to create stunning elements simply. To finish this card I just stamped the greeting ” Get Well Soon” in Night of Navy and cut up the seperate words and adhered one to each flower.

for this second card I started by using the largest die in the set which creates this lovely stitched effect in the cardstock, which is great for some subtle detail. I again added one of the Poppy Parade and Pear Pizzazz flower combinations with a couple of extra die cut leaves. I stamped the greeting onto the lovely label die included in the set and highlighted that with a small strip of patterned paper. I finished the card off with some stamped Poppy Parade stiches in the corners.

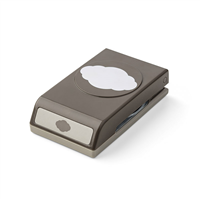
For my last card I went a little die cut crazy and threw a whole bunch of different flowers and leaves onto the card to make this gorgeous floral arrangement. The greetings label is made from using the Pretty Label punch. First stamp your greeting and then take the stitching die from the Needlepoint Elements and run through the die cutting machine and then simply punch with the Pretty Label punch and you have a label with gorgeous stiching all around it.
Hope you’ve enjoyed today’s projects, I’ve loved pulling out the Needlepoint Nook Suite again, lucky for me I have plenty of paper left so can make plenty more projects.
Happy Crafting
Joanne x


Geared Up Garage Father’s Day Card
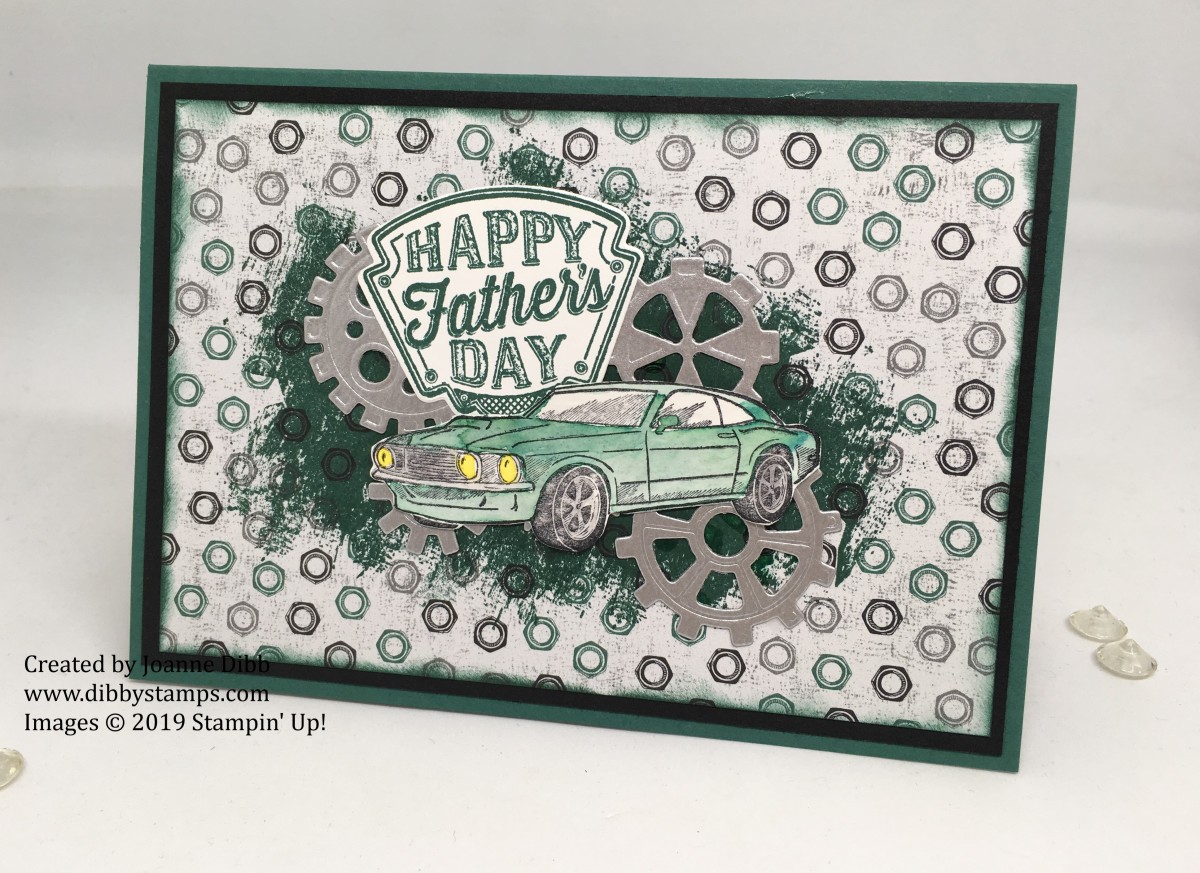
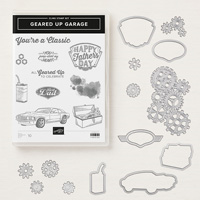
With Father’s Day just round the corner I thought it was time to share some card ideas with you and the Classic Garage Suite is the perfect place to start and the best news is the stamp set and dies are carrying over into the new catalogue…yay!!
I wanted Tranquil Tide to be the main focus of this card as its retiring and I won’t get many more chances to showcase what a gorgeous colour it is, I’m hoping this is one that Stampin’ Up! bring back at a later date.
I stamped the card in Stazon ink and then water-colured with Tranquil Tide ink, you can use the inkpads or reinkers to do this. I added some shading with Basic Grey and the headlights in Crushed Curry which add a little pop of colour to the card.

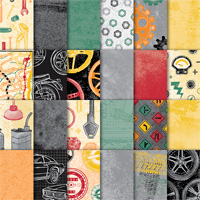
For the background I stamped some Tranquil Tide ink onto the nut background paper using the big splodge stamp from Artisan Textures to create a darker area. I then layered up the cogs die from Gargae Gears in the Galvanized Metallic Paper which is currently on sale in the clearance rack, this paper is the perfect addtion to this suite as it emphasizes the “metal” of garages.
To finsh off the card I added the Happy Father’s Day card label from the stamp set, I really love how this card turned out as male cards are hard for me due to the lack of floral elements you can use!
Happy Crafting
Joanne x


For the Bride with Wonderful Moments

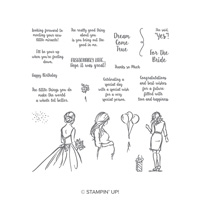
Today I’m sharing a card from the Wonderful Moments stamp set which I’m glad is carrying over as its a great set for creating cards for those special moments for the women in our lives.
I love this image of the bride, although if you changed the colours it could aslo work well as a ballgrown making its suitable from prom cards or twenty-first birthday cards.
I wasn’t sure about the sentiment “For the Bride” at first I mean what about the groom too? But wouldn’t this be a lovely card so send a to a friend or daughter on the morning of her wedding with a few heartfelt words.

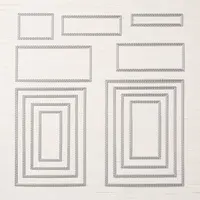
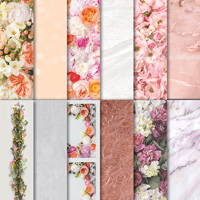
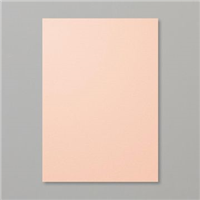
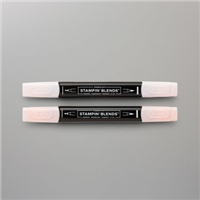
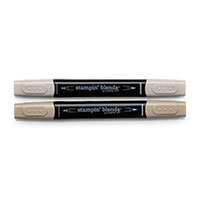
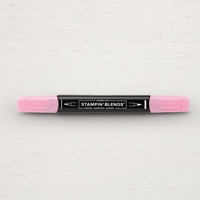
I stamped the bride onto the marble effect paper in Petal Promenade DSP and the coloured the bride with Petal Pink, Crumb Cake and Flirty Flamingo Stampin’ Blends. I then fussy cut out the bride image and mounted her behind a frame of Petal Pink cardstock cut from the Rectangle Stitched Dies.
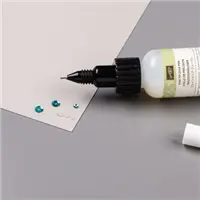
For the backgroudn of the card I ran a layer of Shimmery White cardstock through the Subtle Embossing Folder to add a little bit of texture. To finish the card I added the “For the Bride” sentiment, a little heart cut from the Stitched Labels Dies and some Petal Pink pearls to the bride’s dress form the Artisan Pearls collection.
Hope you enjoyed today’s project and are enjoying your Bank Holiday if you’re in the UK.
Happy Crafting
Joanne x


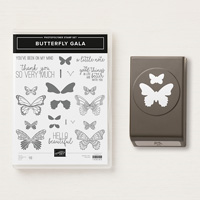
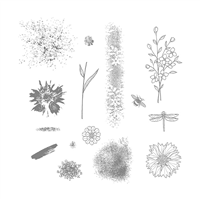
Simple Stamping – Butterfly Gala and Touches of Textures
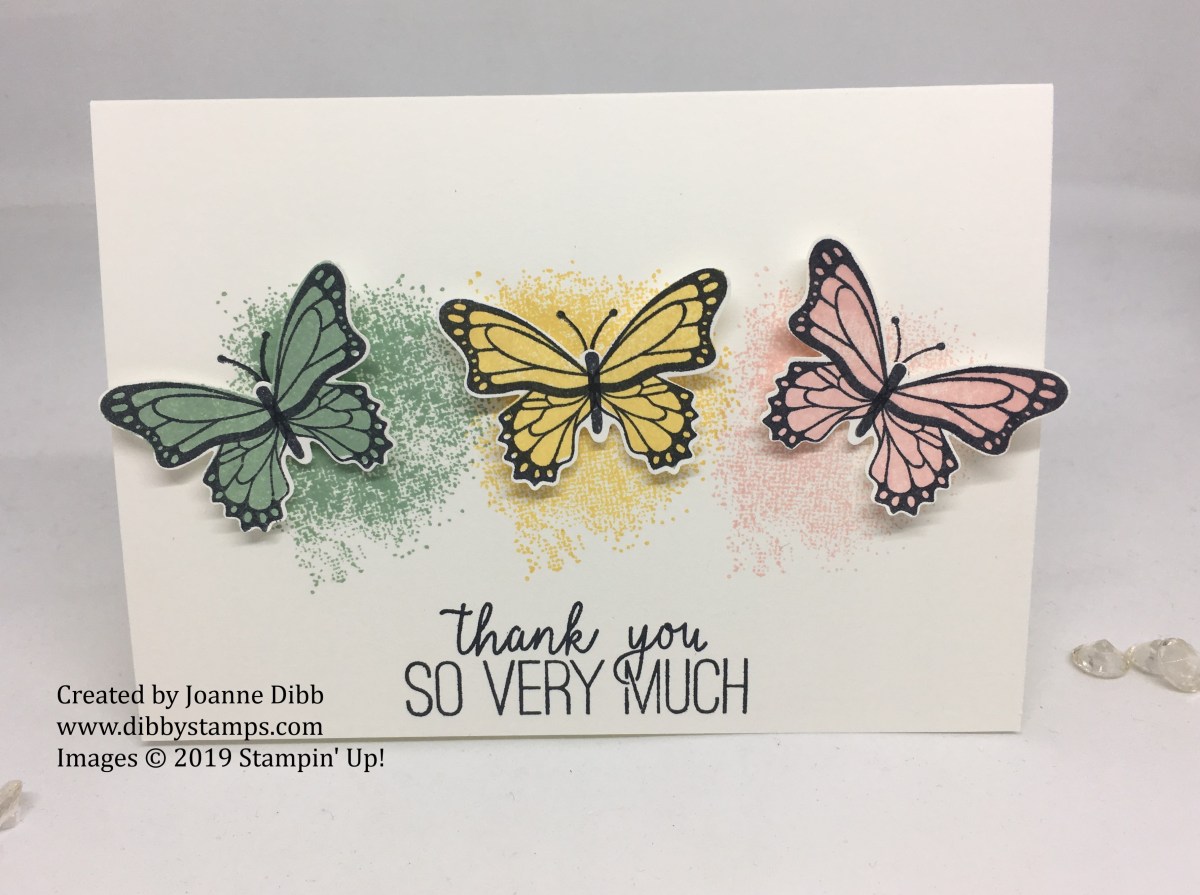
Today I’m sharing a quick and simple card made using the Butterfly Gala Bundle which is back in stock, so grab it now. For the background I’ve added in a stamp from Touches of Textures, I’m sad this is leaving as its sucj a versatile set for adding a little something to a card.
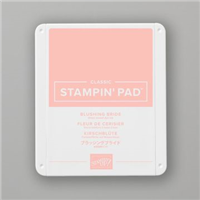
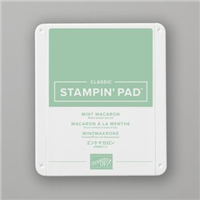
I added three different splats for the background using So Saffron, Blushing Bride and Mint Macaron.

I stamped three matching butterflies on seperate cardstock and then punched them out with the Butterfly Duet Punch. I stamped some antenna for the butterfly in Memento Tuxedo Black Ink and then added the greeting to bottom of the card.

To finish the card I attache the butterflies with Stampin’ Dimensionals so the card has some dimension.
I love how this crad turned out, so simple but so beautiful too.
Happy Crafting
Joanne x