I’m not someone who typically crafts for Halloween or who buys a lot a Halloween themed products, so there wont be too many original Halloween projects on this blog. Although I’ve caved this catalogue and bought the Frightfully Cute stamp set and the Cute Halloween DSP as they are very cut!
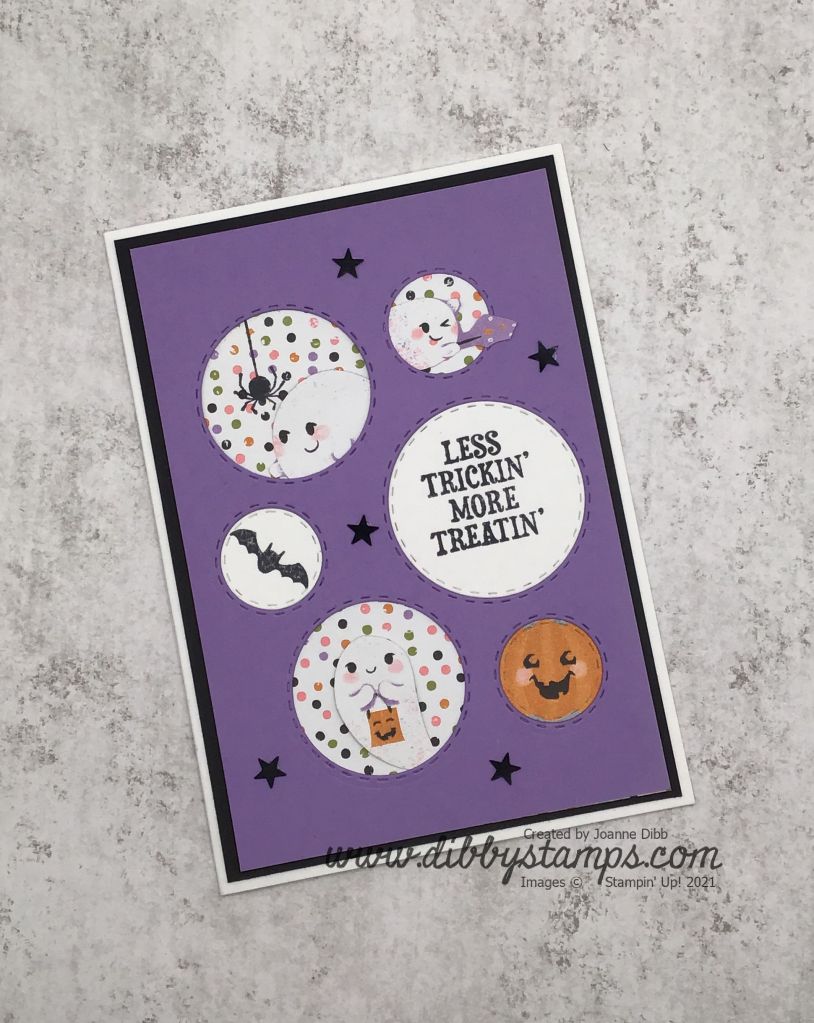
So here is one card I’ve made with these products so far:
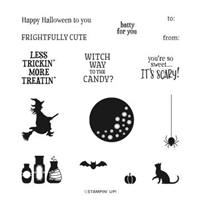
Along with the Cute Halloween DSP and Frightfully Cute stamp I’ved added in the Picture This Dies to create the windows inthis card. I love all the cute litter critters in this paper and they work so well with the little stamps in the set.
There might be more Halloween projects from me but I’m not promising.
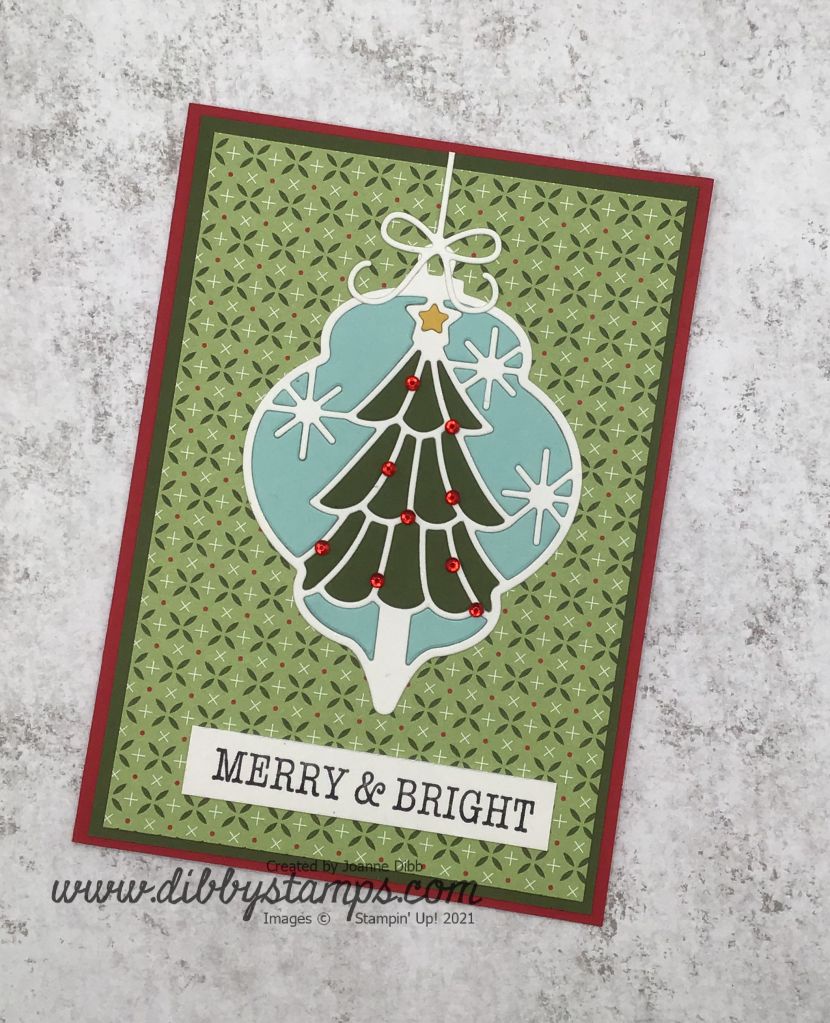
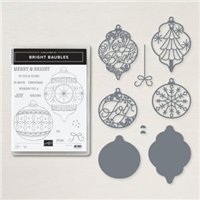
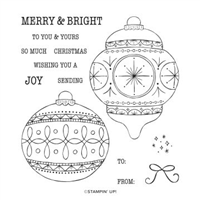
I love the inlay technique so as soon as I recieved the Bright Baubles set I knew that exactly what the first card would entail. Using the mulitpurpose adhesive sheets makes this an easy card to make as you simply run the die through the Stampin’ Cut and Emboss one time for every colur you want to use.
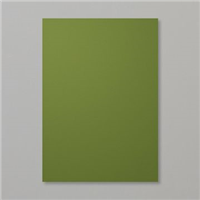
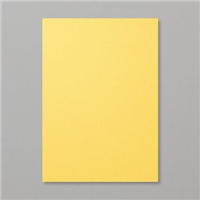
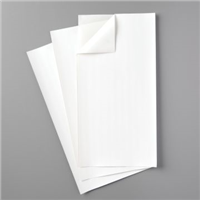
I cut the main outline of the Bauble out of Shimmery White cardstock and then ran it through again with Mossy Meadow, Pool Party and Daffodil Delight for the star at the top.
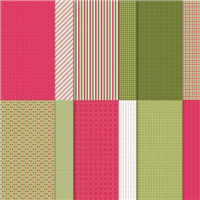
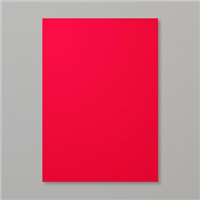
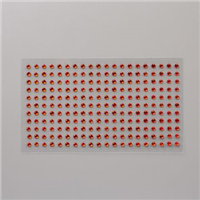
I matted some of this Pear Pizzazz pattern from the Heartwarming Hugs DSP onto a layer of Mossy Meadow and on a Poppy Parade cardstock. I added a sentiment from the Bright Baubles onto some Shimmery White cardstock at the bottom of the card. As a final touch I added some of the Red Rhinestones as babules on the tree.
I love how this card turned out and hope to use the other baubles in the set soon and the same techinique soon.
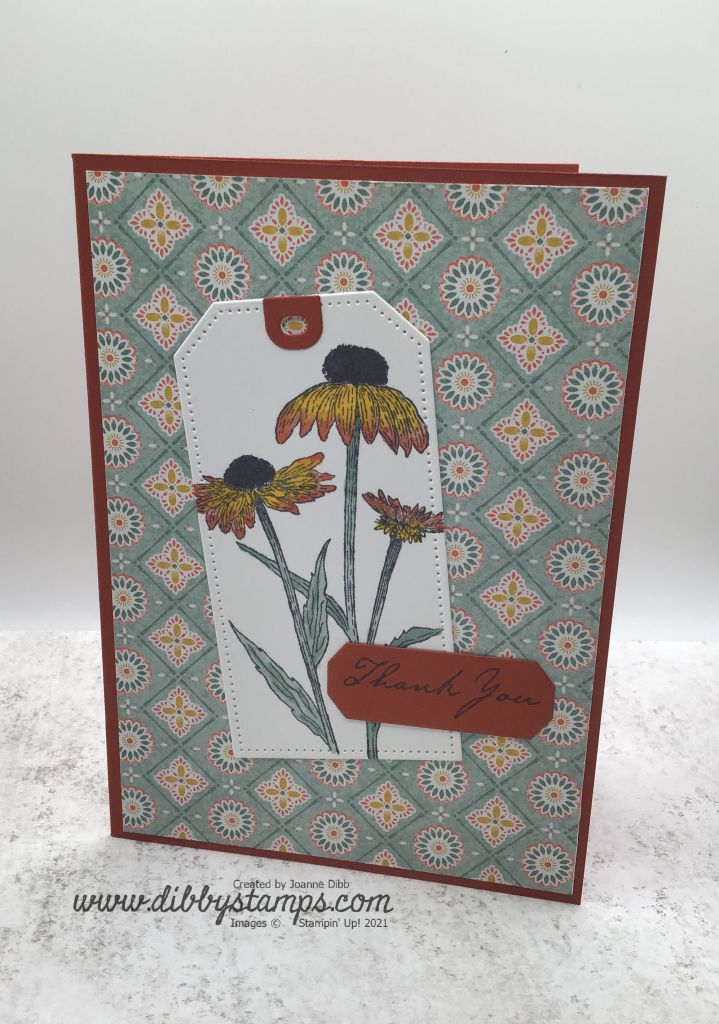
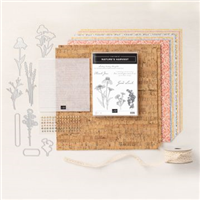
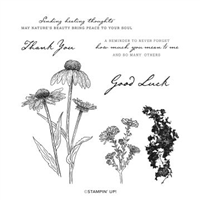
Today I’m sharing a three cards to show you how you can take a project from simple to stepped up, this week I’m using products from the Harvest Meadow suite.
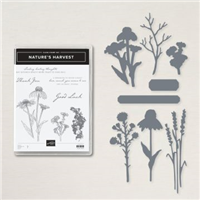
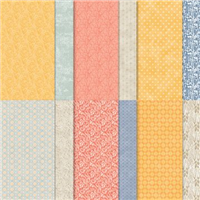
For the first card I simply stamped the Black Eyed Susan’s onto a white tag and then coloured with Stampin’ Blends. The background is a layer of designer paper from the Harvest Meadow Designer Paper. I then added a simple sentiment from the stamp set Nature’s Harvest and cut it with the Harvest Dies.
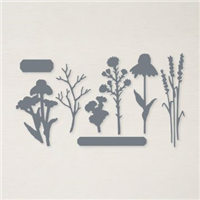
For the second card I stamped the flowers on seperate cardstock and then die cut them before adhering to the tag to add some height. I also added a Baker’s Twine bow in Crumb Cake.
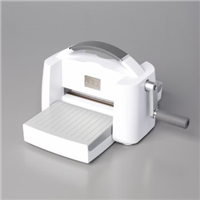
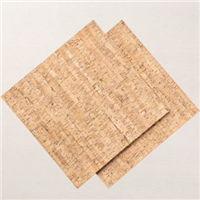
For the final card I added a layer of the new Cork Speciality Paper, I love this paper it feels cork but is so so thin so doesn’t add much bulk to your proect. I also added a diecut of wheat behind the tag. As a final touch I added some of the Brushed Metallic Gems in Copper.
Which step is your favourite? I love all three and can’t wait to pull this suite of products out again.
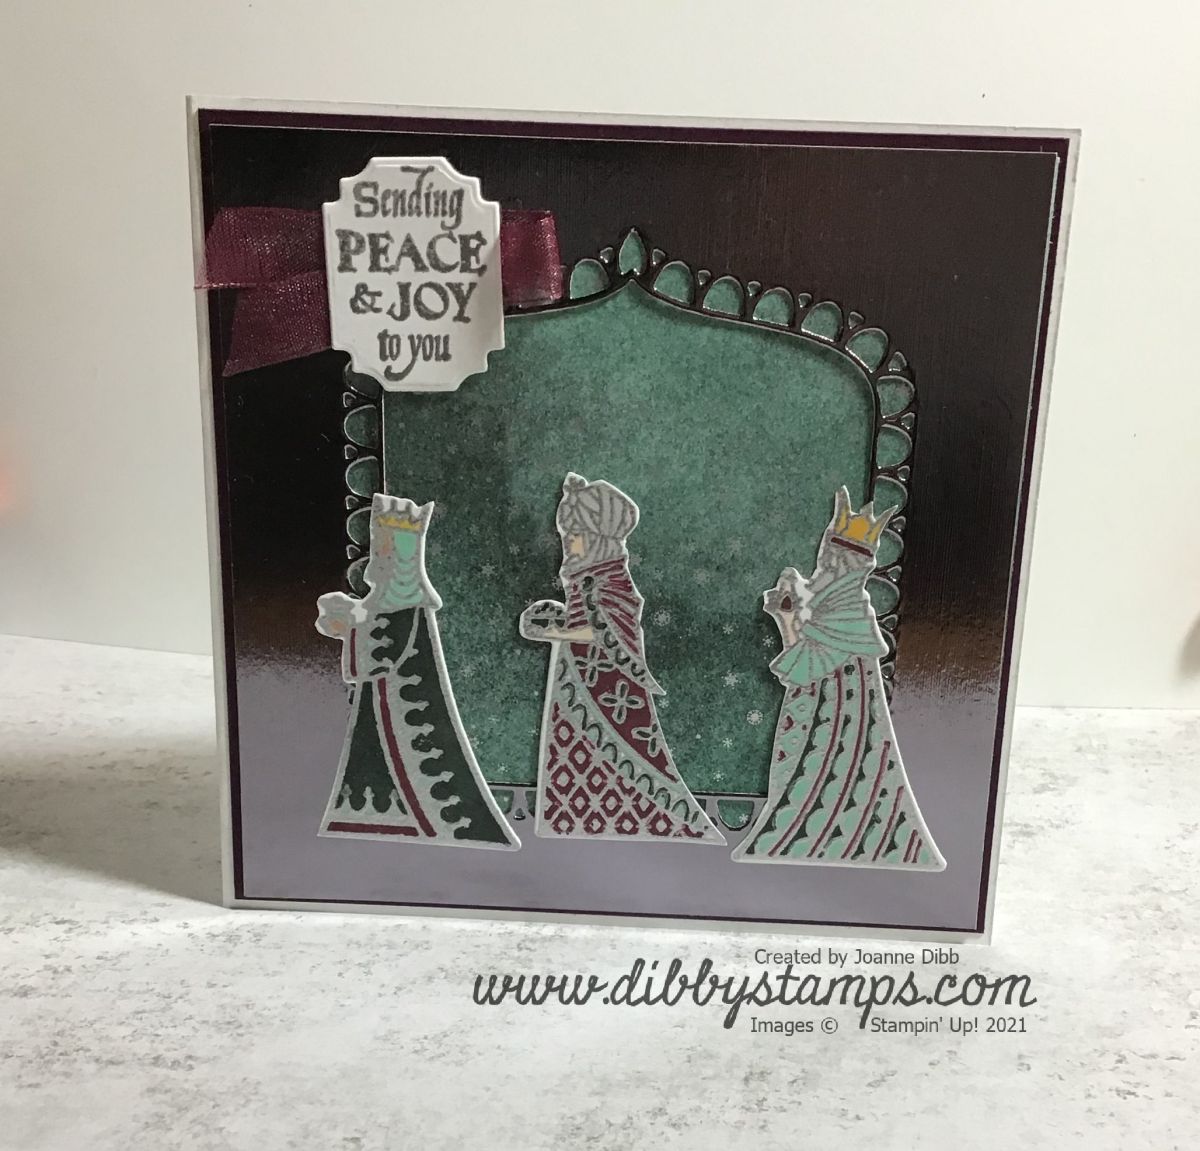
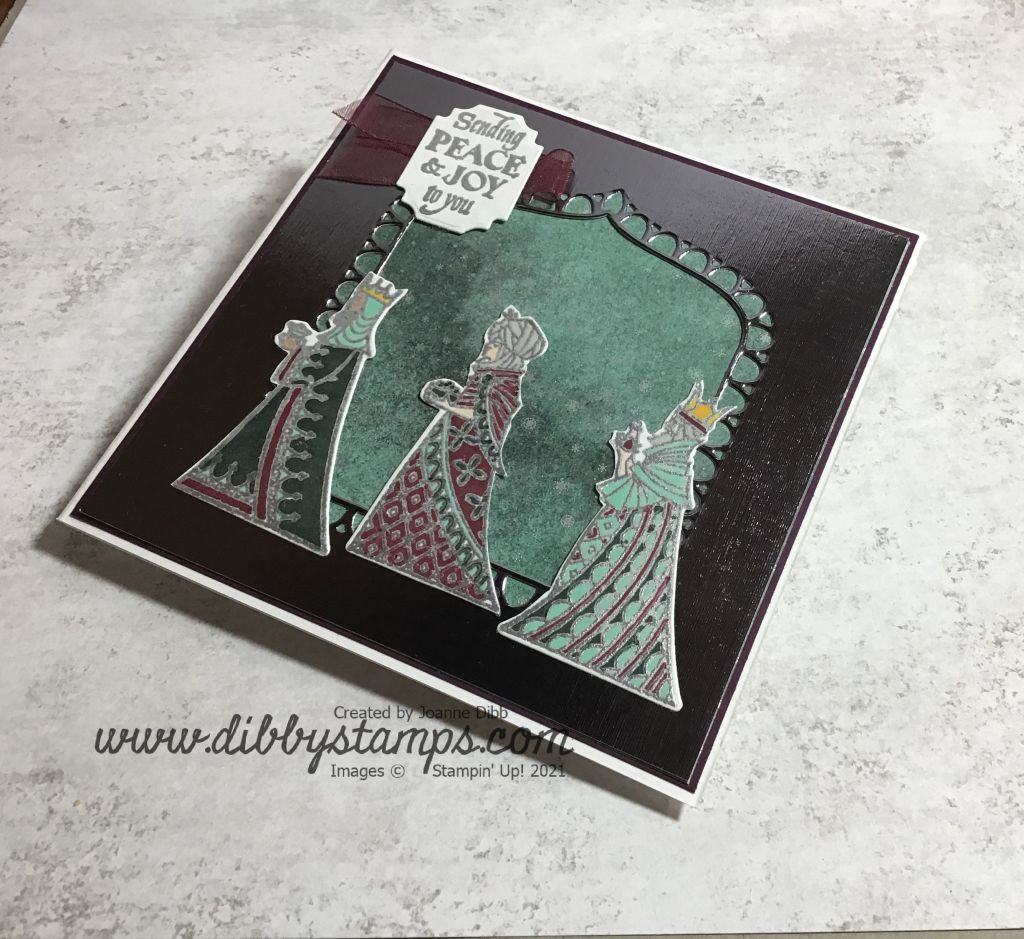
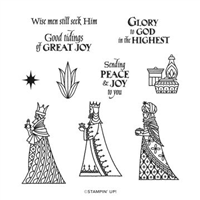
All the samples I’ve seen with the Great Tidings stamp set and dies have used Gold as one of the main colours. With this card I thought I’d change things up and use Silver instead and I’ve paired that with Blackberry Bliss, Pool Party and a hint of Evening Evergreen and I love the colours togther.
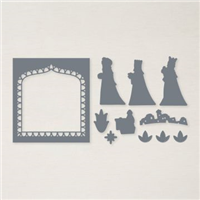
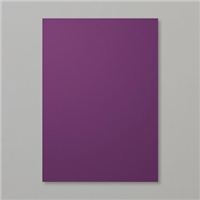
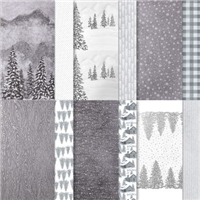
I used the Brushed Metallic Silver Cardstock to cut out the intricate arch die. I wanted a subtle background behind this with a little colour so I cut a piece of the snowflake print from the Peaceful Place DSP. I added some colour with a blending brush and Pool Party ink. I adhered this to the back of my silver arch and the matted on some Blackberry Bliss cardstock before adhering to my card base.
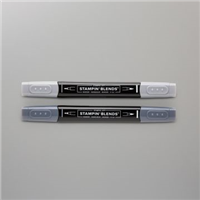
I stamped and embossed the three wise men in Silver and then coloured with Stampin’ Blends in mainly Blackberry Bliss, Pool Party and Evening Evergreen. after die-cutting I added them in a row along the bottom of the card.
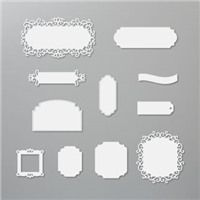
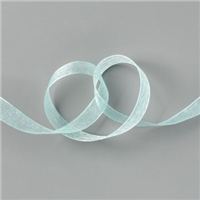
I stamped the greeting onto one of the labels in Ornate Frames and added some ribbon behind to add a little texture. This ribbon is the Pool Party Sheer Ribbon which I’ve coloured with the Blackberry Bliss Stampin’ Blends.
What colour would you chose for these Regal Wise Men?
Happy October everyone! Where has this year gone? Now its truly Autumn its time to crank up the Christmas crafting so I’m starting off today with a fairly simple design which can be easily replicate, meaning you’ll soon have those Christmas cards made.
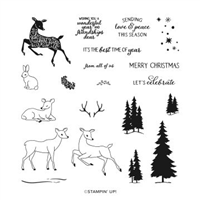
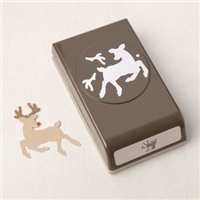
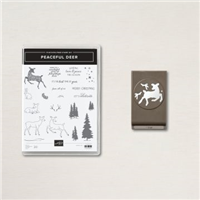
I’m using the Peaceful Deer stamp set along with the Deer Builder punch, both can also be bought as a bundle. Using the punch you can stamp out two of the stamped images and its also co-ordinated with the Peaceful Prints DSP from Sale-A-Bration which has now ended.
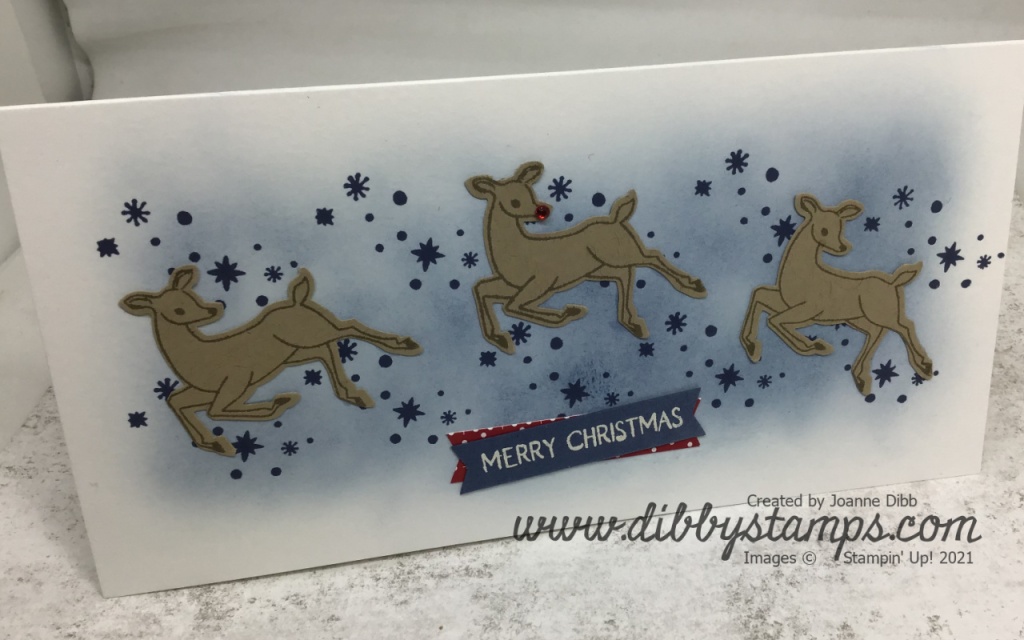
For this project I used a card base measuring 10.5cm x 21cm as I origianally wanted to fit all nine of Santa’s reindeer on the card, this sadly didn’t work so I’ve made two different cards. One with three reindeer and one with four.
For the background I used Misty Moonlight ink and blended it across the centre of the card. I then took the little star cluster stamp and stamped all over the blended ink.
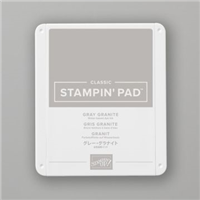
For the deer I stamped them in Gray Granite ink onto Crumb Cake cardstock and then punched them out. I adhered them on the card with liquid glue.
I stamped Merry Christmas in versamark onto Misty Moonlight cardstock and embossed with white embossing powder. I then cut into a banner using the Banners Pick A Punch. I cut a second red banner from the Heartwarming Hugs DSP.
To finish off my card I added a red rhinestone to one reindeer on each card so each one has their own Rudolf.
I think I prefer the card with just three reindeer, how about you?