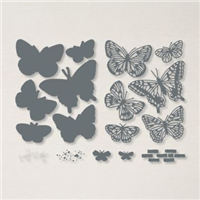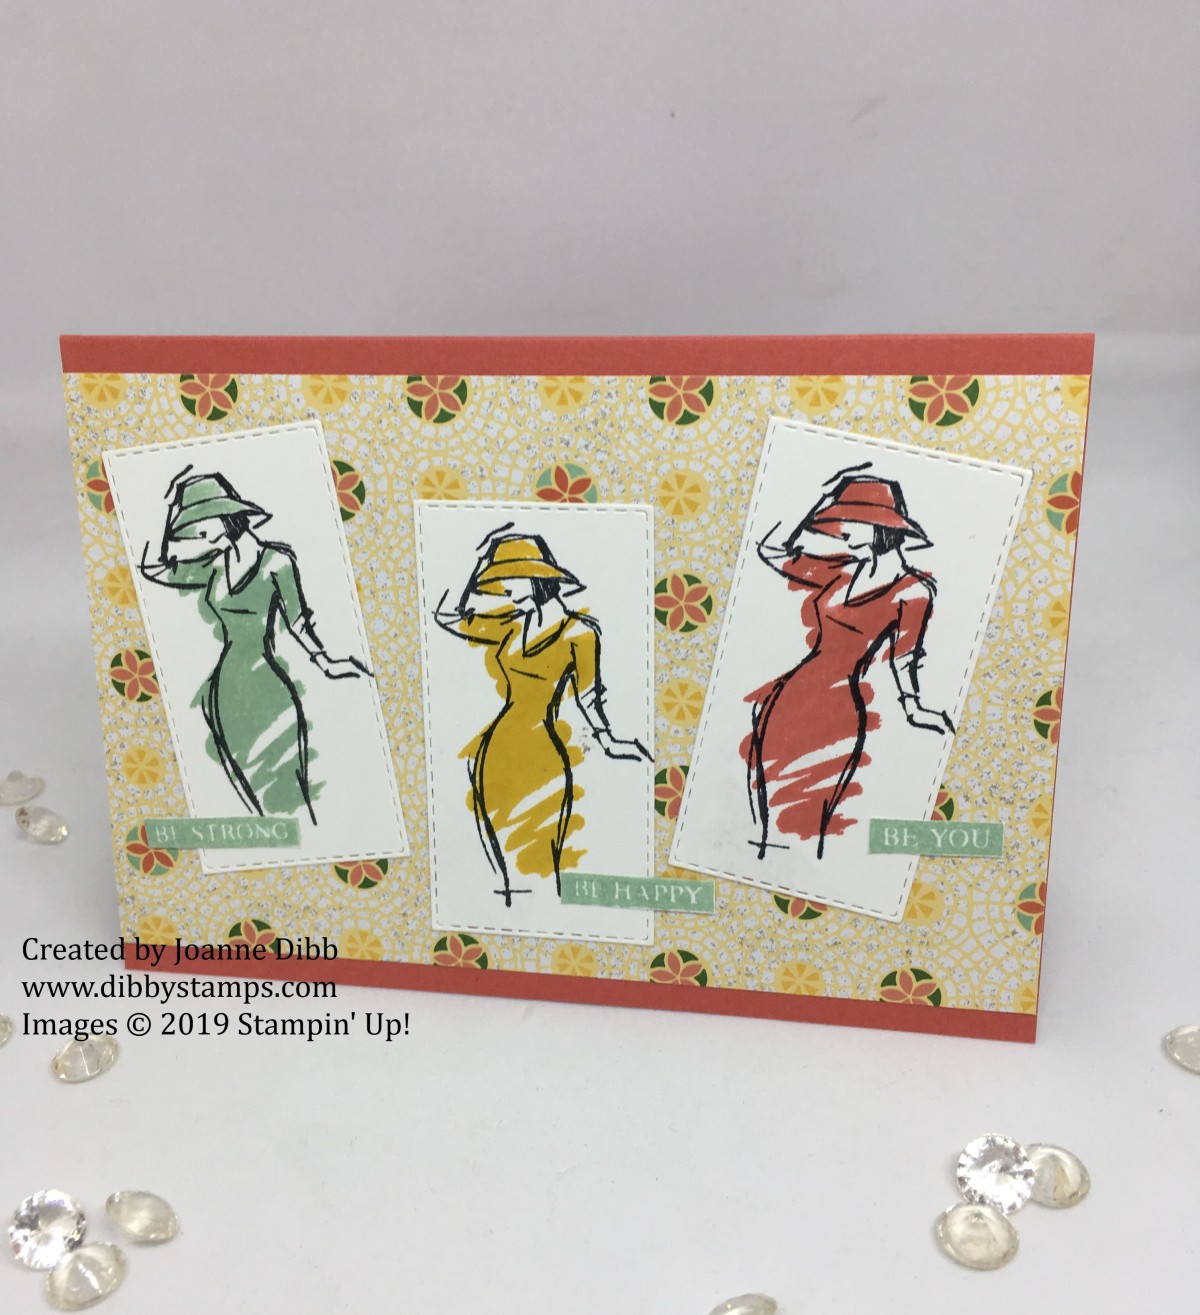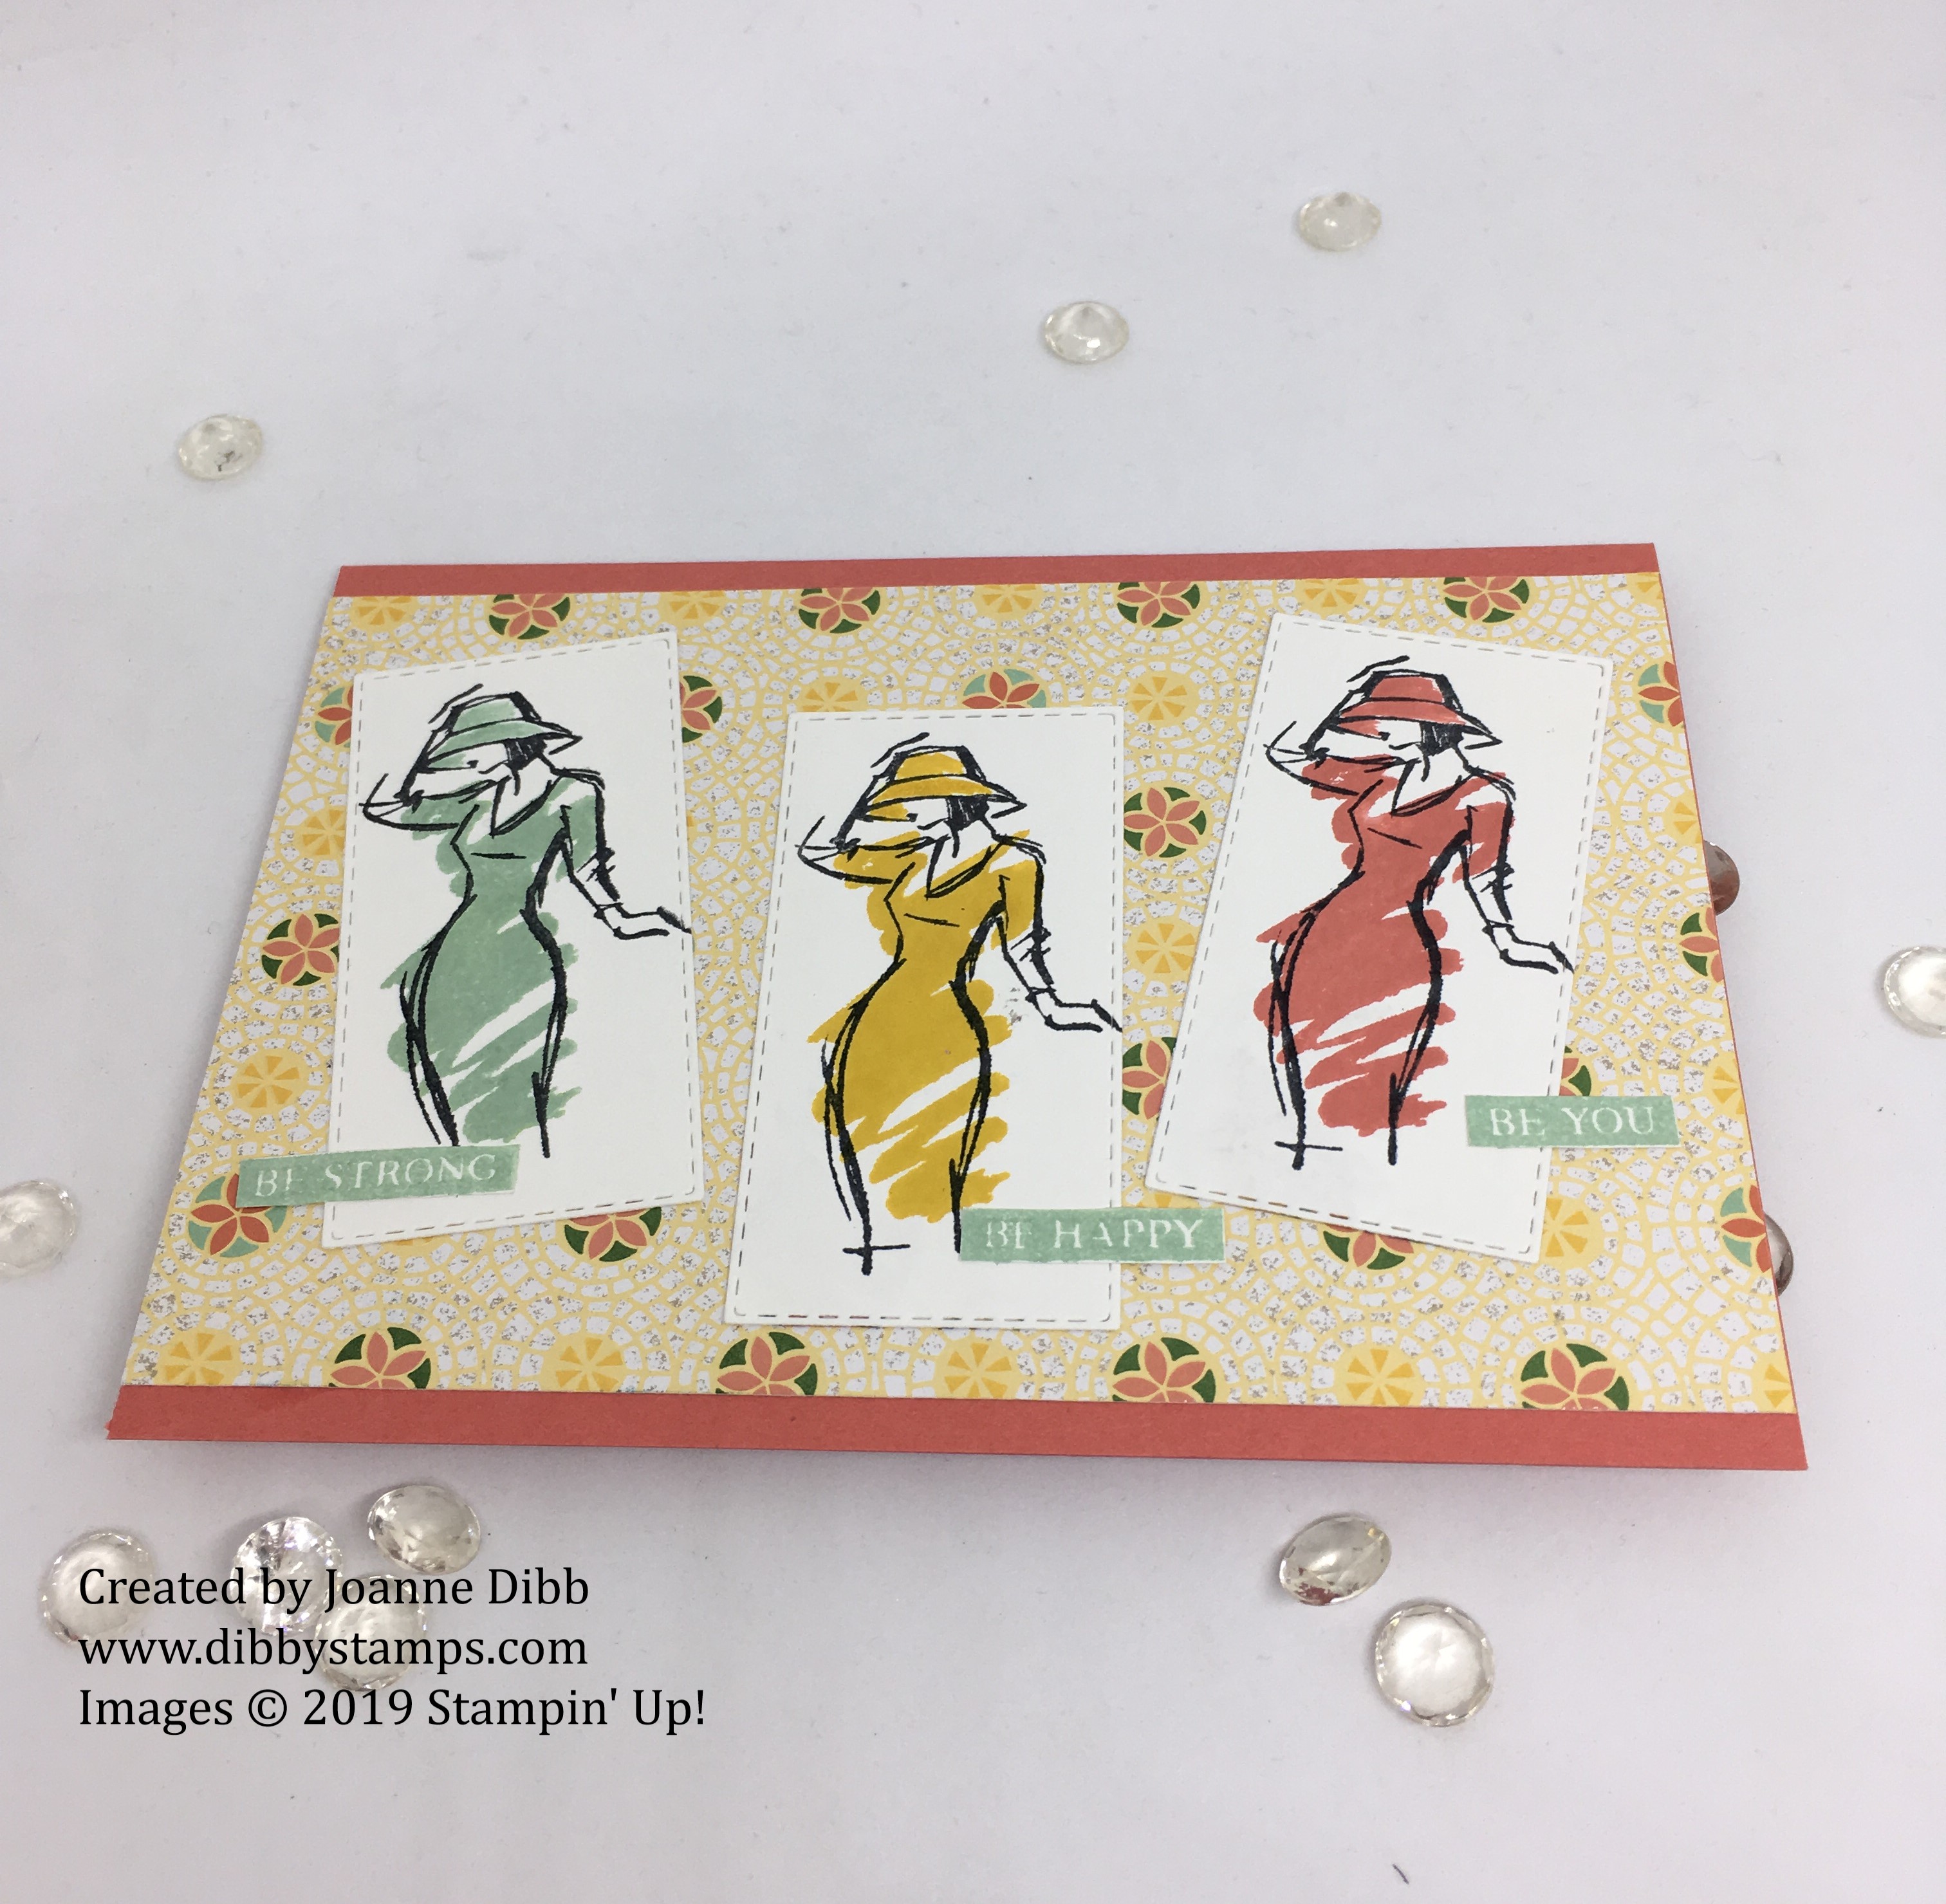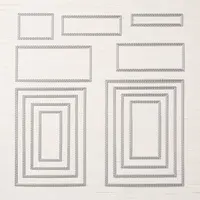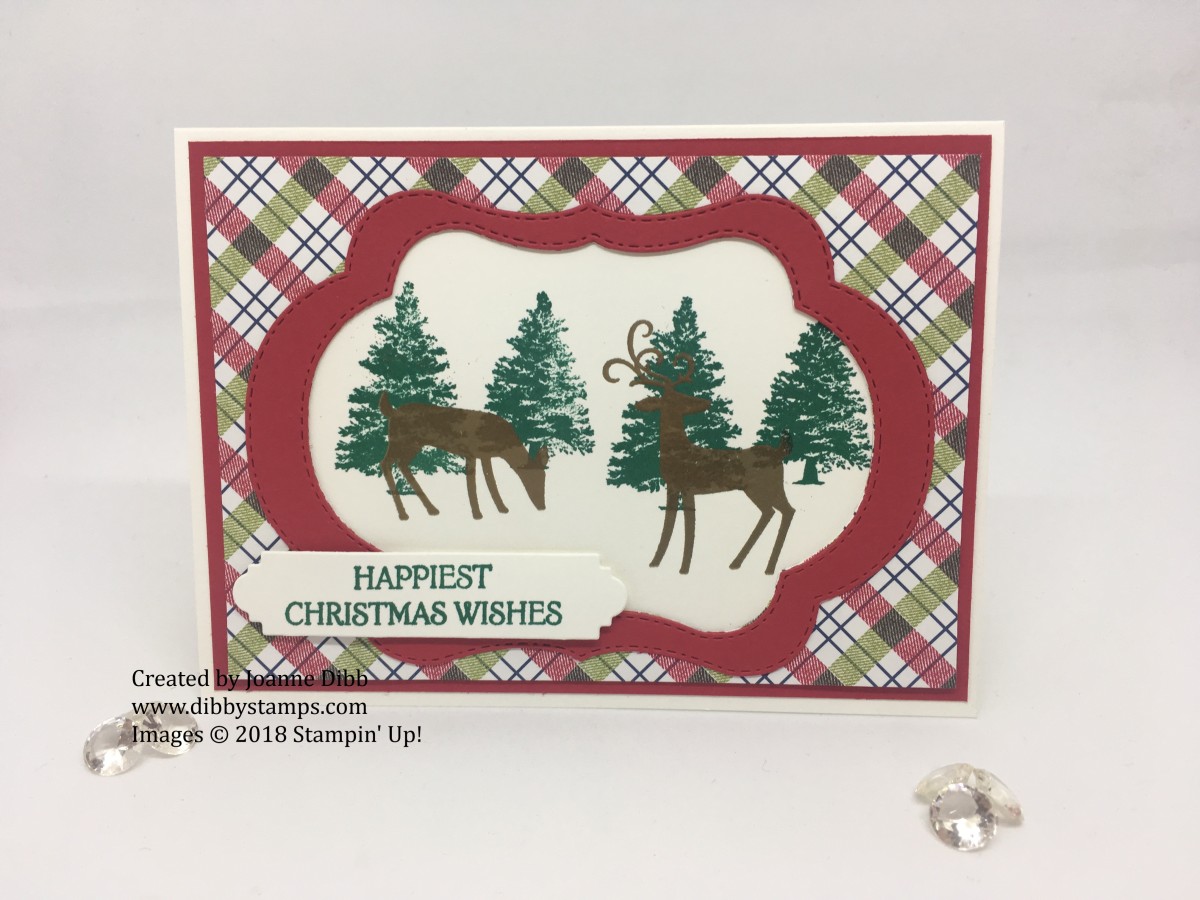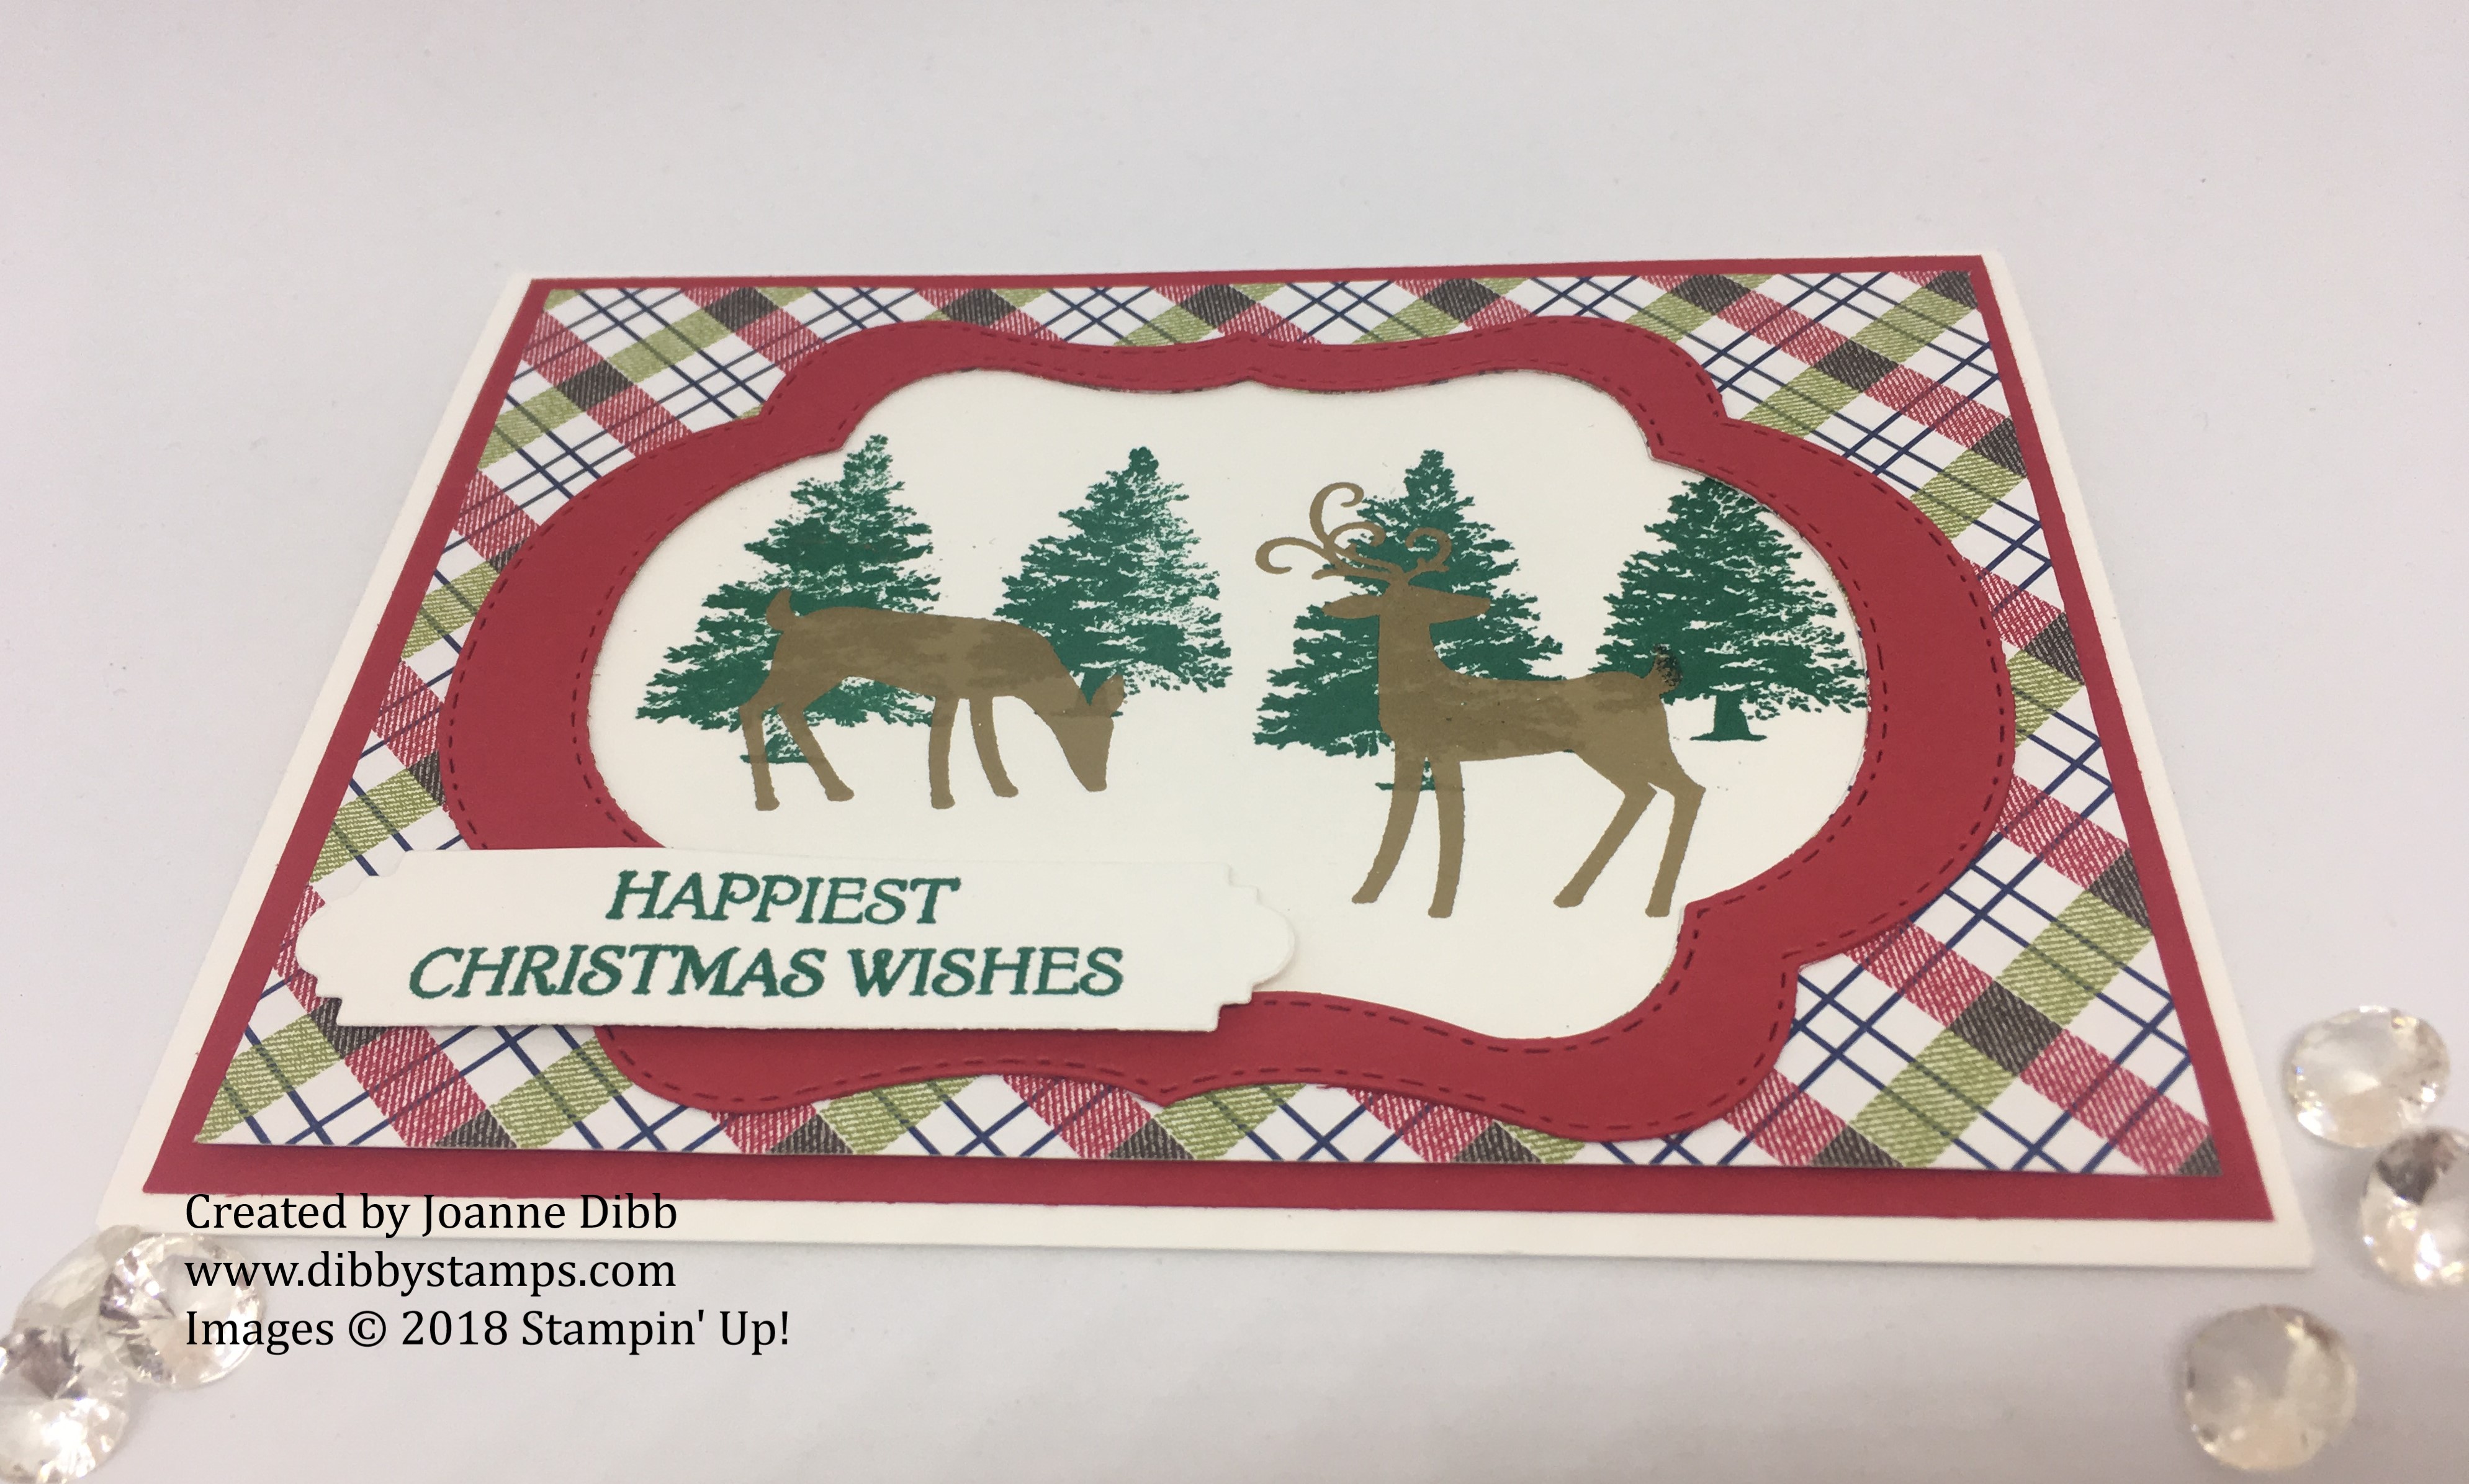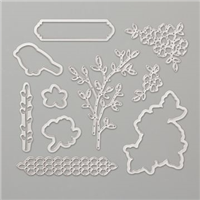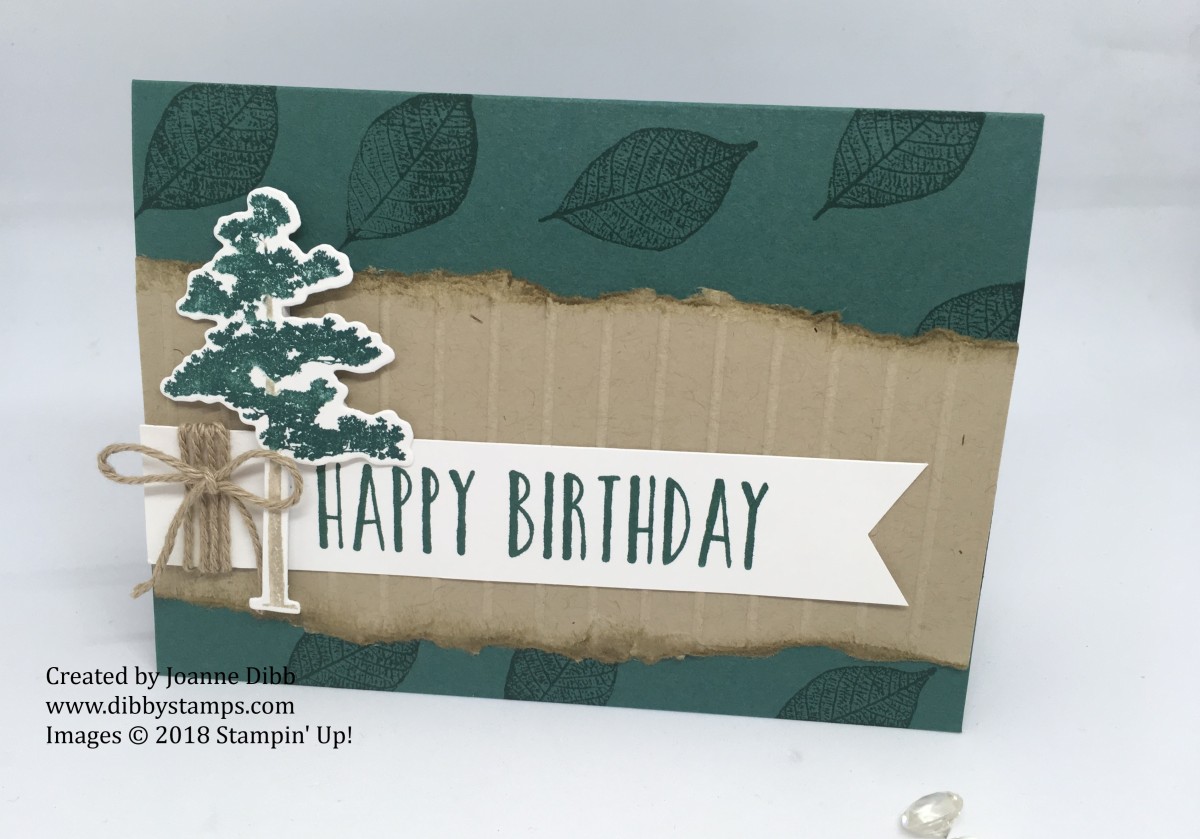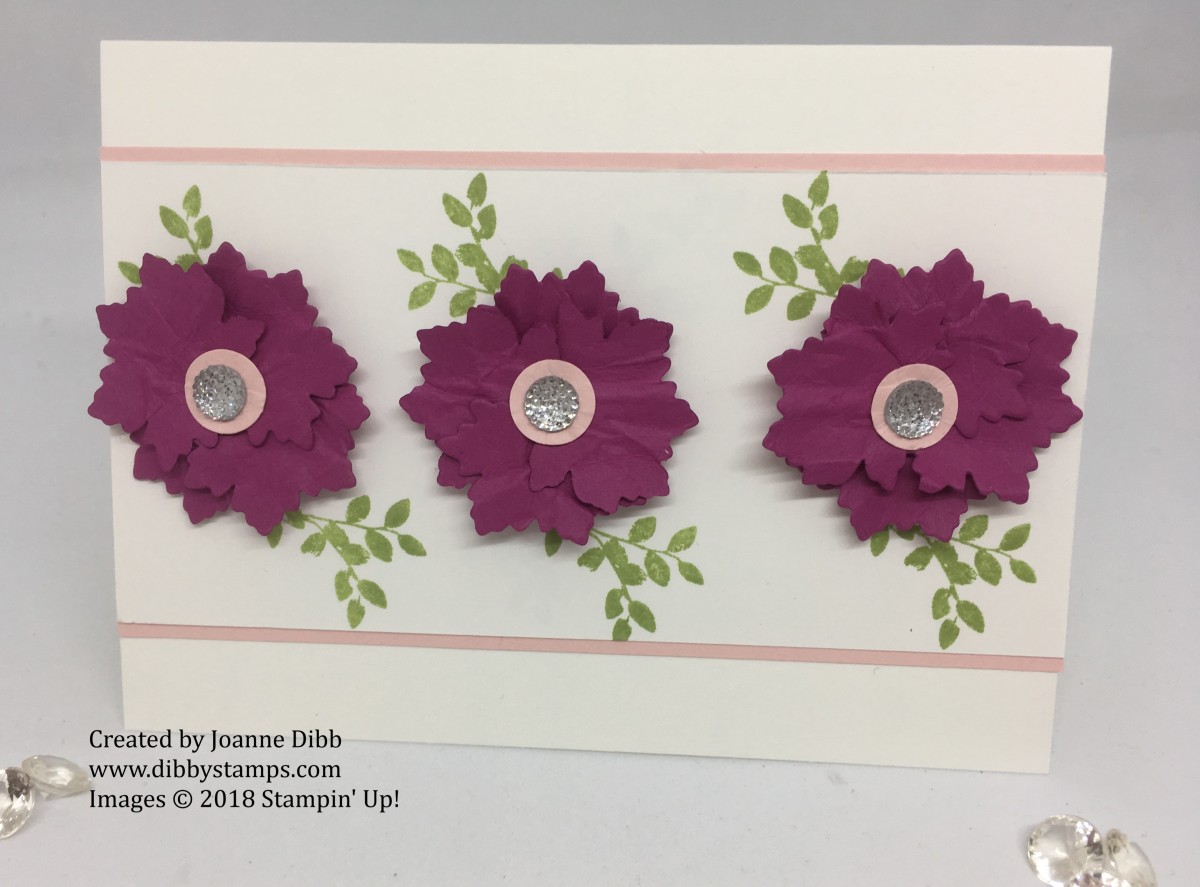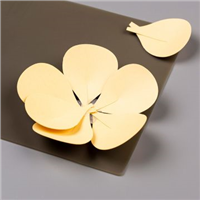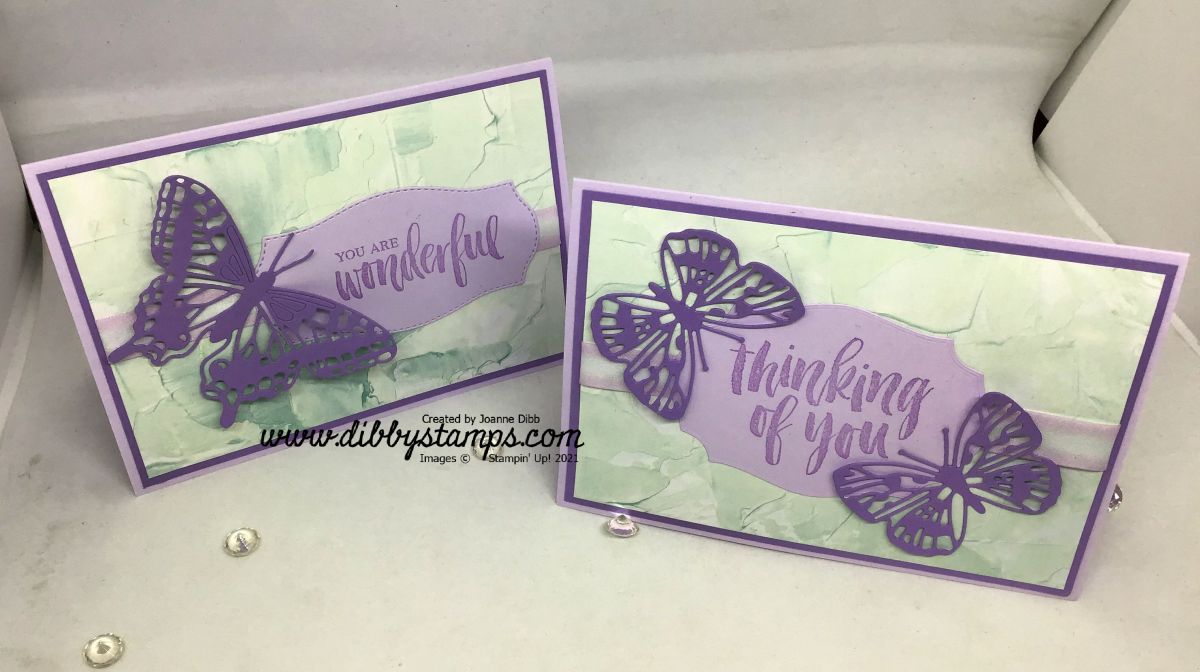
Today I’m sharing two cards made with the Brilliant Wings Dies. I love the intricate detail of these dies, you really don’t need much else to make a great card.
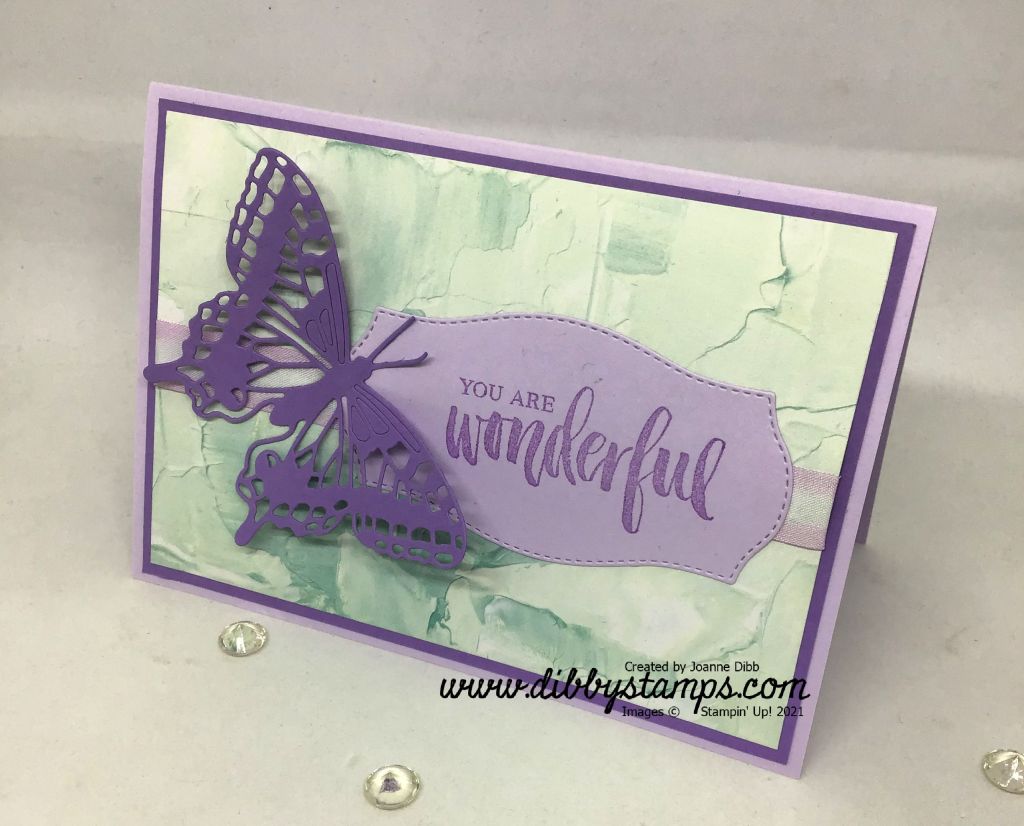
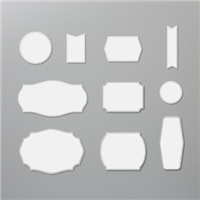
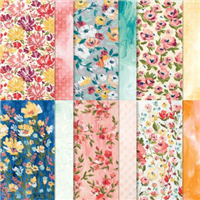
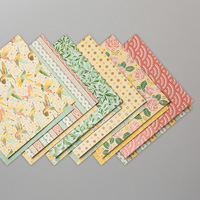
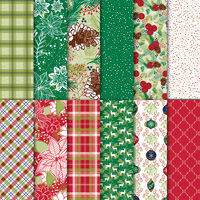
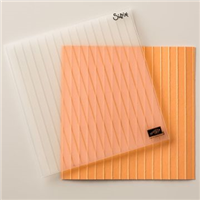
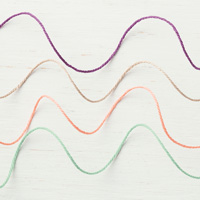
I’ve added some designer paper from the Fine Art Floral collection to add a subtle background. I stamped my greeting on a label cut from the Tasteful Labels dies. A little ribbon from the Playing With Pattern Combo Pack finishes off the card.
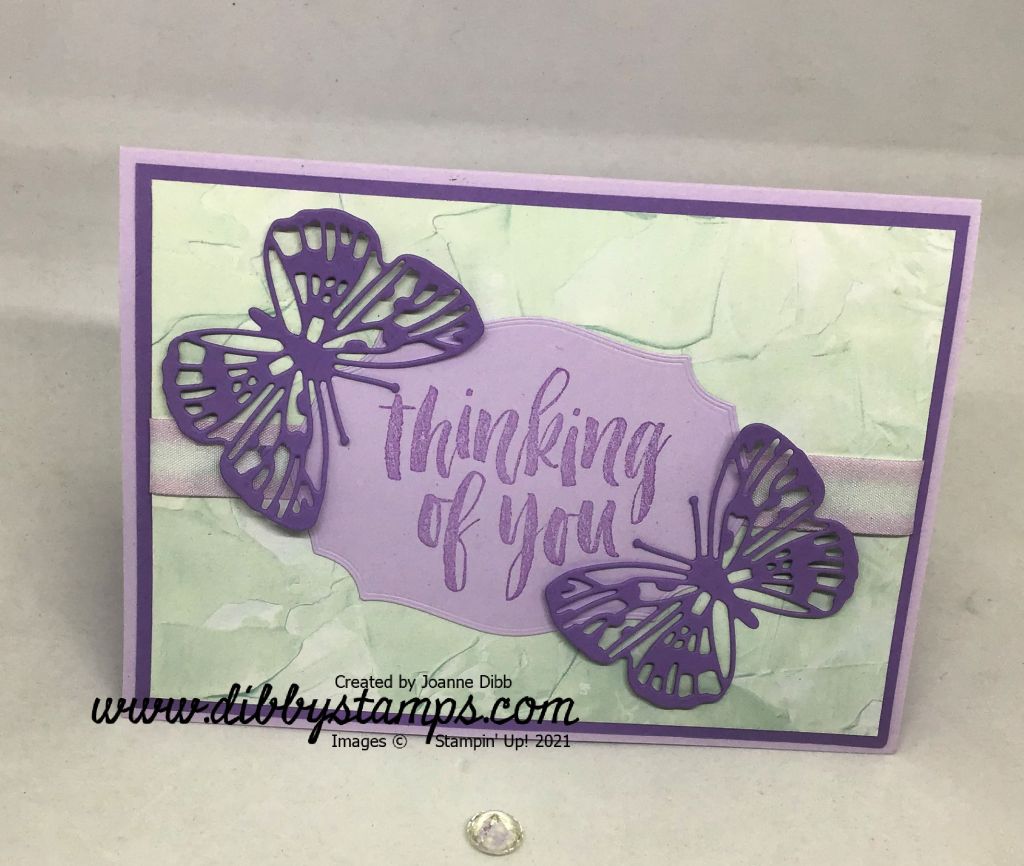
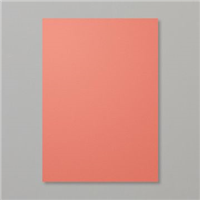
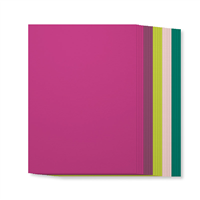
I’ve used Purple Posy on this card as I’m trying to use it up before it retires next month. If you love this colour then now is the time to be placing that order and stocking up. I can’t wait to find out what our new in-colours will be!
Happy Crafting
Joanne x
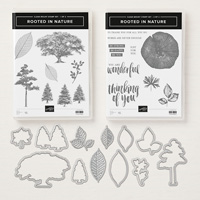
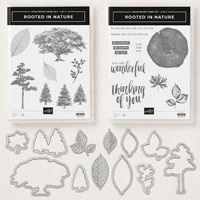
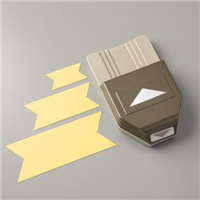
Supplies: