Magical Mermaid Birthday Card

Hi Everyone,

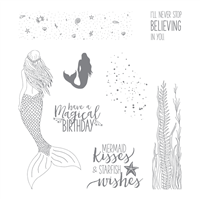
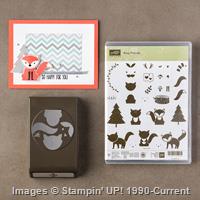
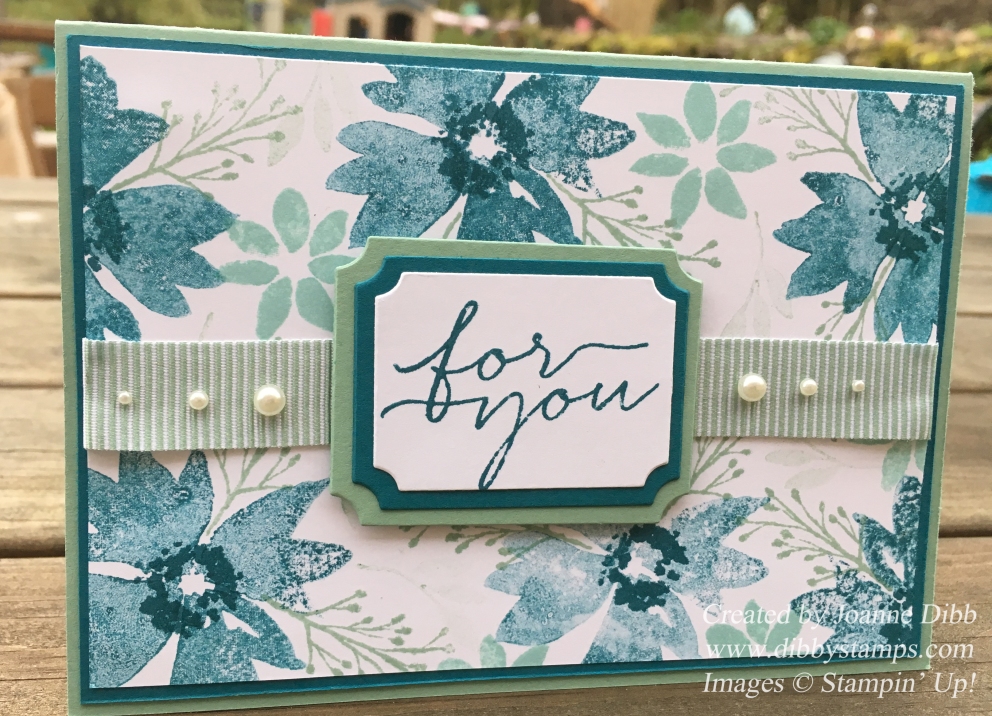
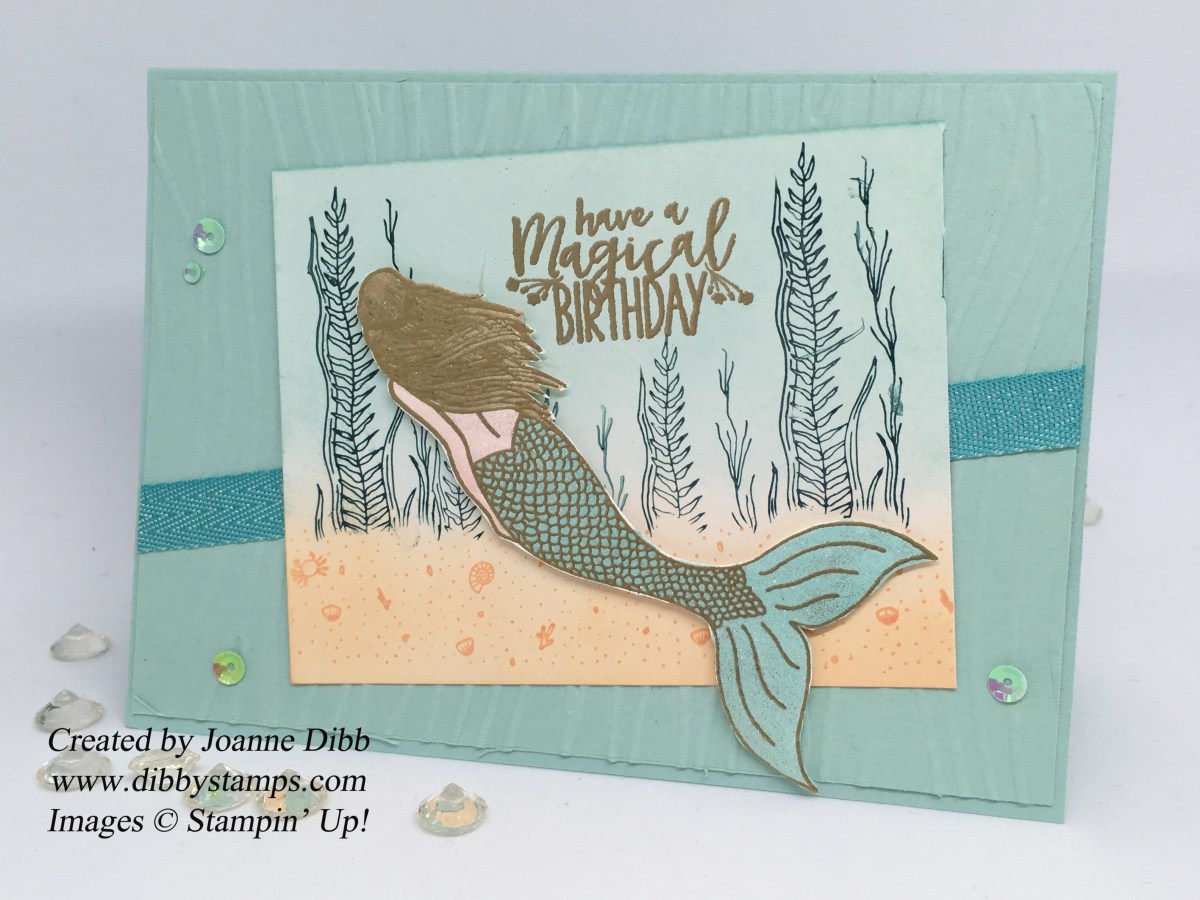
Hope you’ve all managed to cool down a bit. Today I’m sharing a card made with the Magical Mermaid stamp set. This is one of those stamp sets that jumped out at me because of the number of different techniques which would go brilliantly with it. For this card I’ve just created a background for her on the new Glossy cardstock.

If you’ve been buying Stampin’ Up! for many years you’ll know we used to carry this product and I know many of us demonstrators are thrilled its back in the catalogue. The glossy cardstock makes creating blended ink backgrounds a dream.

mermaidwishesbirthdaycard

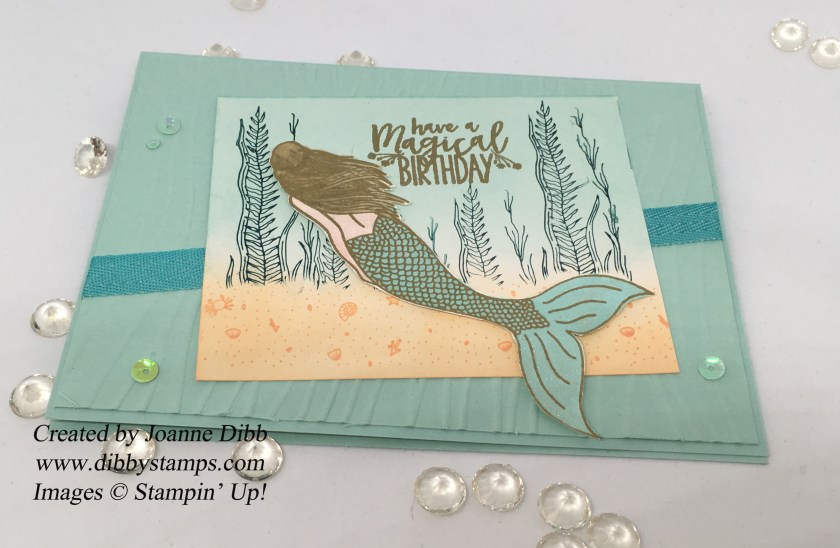
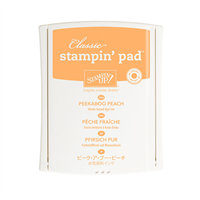
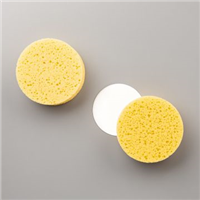
To make this card I firstly cut the glossy cardstock to 10cm x 8cm. On the bottom third a sponged Peekaboo Peach to create the sand. I then blended Pool Party down from the top so that the middle of the panel only had a very light coverage of ink. As the glossy cardstock makes the ink slip I then left this to dry.

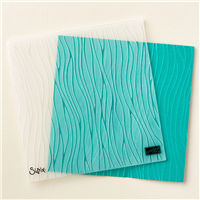
Next I took a piece of Pool Party card measuring 14cm x 10cm and placed it in the Seaside Embossing folder and ran it through the bigshot. I then adhered a strip of Bermuda Bay Mini Chevron ribbon across this panel at an angle.

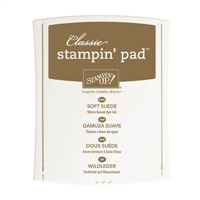
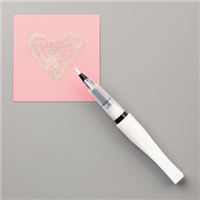
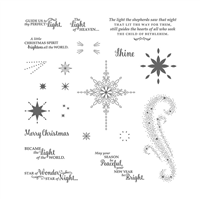
Next I created the mermaid by embossing her in gold. I then coloured her in using the aqua painter and  Pool Party, Peekaboo Peach and Soft Suede inks. When she was dry I went over her with Wink of Stella to give her a sparkle.

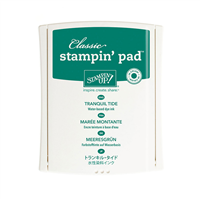
To finish the card I picked up the now dry glossy cardstock ( if its not quite dry just run the heat tool over it gently) and stamped the shells at the bottom in Peekaboo Peach and the reeds in Tranquil Tide.

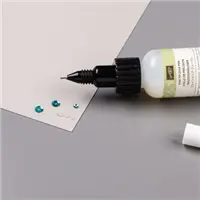
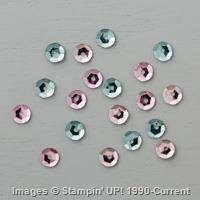
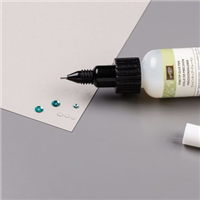
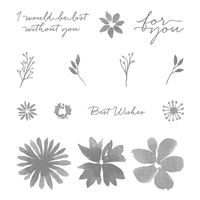
For the greeting I embossed in gold again to match the mermaid. I attached the glossy cardstock to my card base and then added the Mermaid with Stampin’ Dimensional’s. To finish the card off I added some iridescent sequins in Pool Party with the Fine-Tip glue.

mermaidwishesbirthdaycard1

I really love how this card turned out, perfect for any magical little girl.

Happy Crafting

Joanne x

First Birthday Card with A Little Foxy Suite

Today I’ve been playing with the A Little Foxy Suite of products which includes the Foxy Friends stamp set, the Fox Builder Punch, the A Little Foxy designer series paper and the Smoky Slate Stitched Ribbon. Sadly the paper and ribbon were on the retirement list and have already sold out but you could easily substitute with other products which you have.

I made a cute and very simple first birthday card for a little boy using the colour scheme of Pool Party, Smoky Slate and Calypso Coral. I’m not really a fan of Calypso Coral but it is the perfect fox colour.

firstbirthdayboyfoxy

The little fox was created by stamping three different sections the head, the body and the tail, punching them out and then layering them together. Super simple and you have a cute little foxy in no time and if your feeling adventurous other animals can easily be made too.

The number comes from the Large Numbers Framelits and was layered with ovals from the Stitched Shape Framelits and the Layering Ovals, probably made favourite combination of Framelits to use.

The card was finished off with a greeting from the Number of Years stamps set and the lovely Smoky Slate Stitched Ribbon which I was I used more as its added a lovely finishing touch to this card.

I’d love to know what animals you.ve created with the Foxy Friends Bundle of products.

Happy Crafting

Joanne x

Modern Snowflake Cards

twosnowflakeflurries.jpg

I love snowflake images of any kind and have really enjoyed playing with the Flurry of Wishes stamp set to create some cards which have a more modern feel about them.

For these cards I chose two colours schemes, the first Island Indigo and Pool Party which I think is my favourite blue combination. The second I went for a more girly feel with Sweet Sugarplum and Rich Razzleberry.

snowflakeflurriesindigopool.jpg

I finished each card off with some of the gorgeous Fancy Frost sequins which have the most delicious shine…I wish I had packets and packets of them to sprinkle over my table at Christmas.

sweetsugarplumsnowflakeflurries.jpg

I love them both and can’t decide which is my favourite, which is yours?

Happy Crafting

Joanne x

Floral Friday – Blooms & Wishes

Blooms and Wishes is probably my most favourite stamp set from the current Annual catalogue, I just love the slightly water-coloured look it gives to the flowers, making for some beautiful cards. This card is my October customer thank you card, so if you shopped with me last month one of these will be in the post to you.

floralfridaybloomsandwishes1.jpg


It was a very simple card to make just a couple of layers and some stamping but I think the end result is beautiful. I chose a colour scheme of Island Indigo, Mint Macaron and Pool Party and by stamping off some of these colours I ended up with a variety of shades on the card, which adds to the water-coloured effect.

The greetings panel matts were created from the Tags and Labels Framelits and I finished the card off with a little Mint Macaron Mini Striped Ribbon and a few pearls.

I really love this card and hope my customers do too. If you would like your own handmade card from me next month all you have to do is place an order with me this month, here is the link to my online shop.

Happy Crafting

Joanne x

Basic Measurements:

Card Base: 21cm x 14.8 cm, scored at 10.5cm

First Matt: 14.4cm x 10.1cm

Whisper White Layer: 14cm x 9.7cm

Supplies Used:

Pool Party Christmas Tree

Today I wanted to create a Christmas card that used a non-traditional colour scheme and had a more modern feel. I chose a colour scheme of Pool Party, Soft Suede and Very Vanilla and paired them up with the Twinkle Trees Stamp Set.

Twinkletreessimplepoolparty tree.jpg

I love how this turned out and can see myself making a Mint Macaron and Sweet Sugarplum version. The greeting which I think works really well on this card comes from the Star of Light stamp set.  I added a little ribbon to the edge but think the design could work just as well without.

Happy Crafting

Joanne x