Christmas Baubles Card

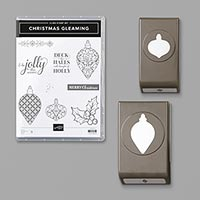
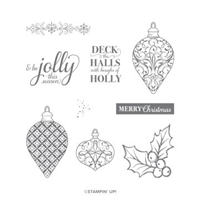
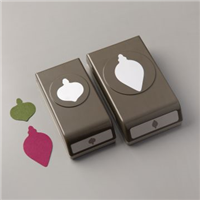
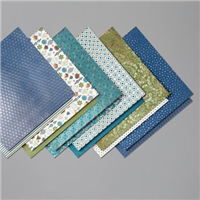
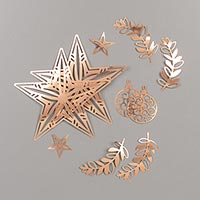
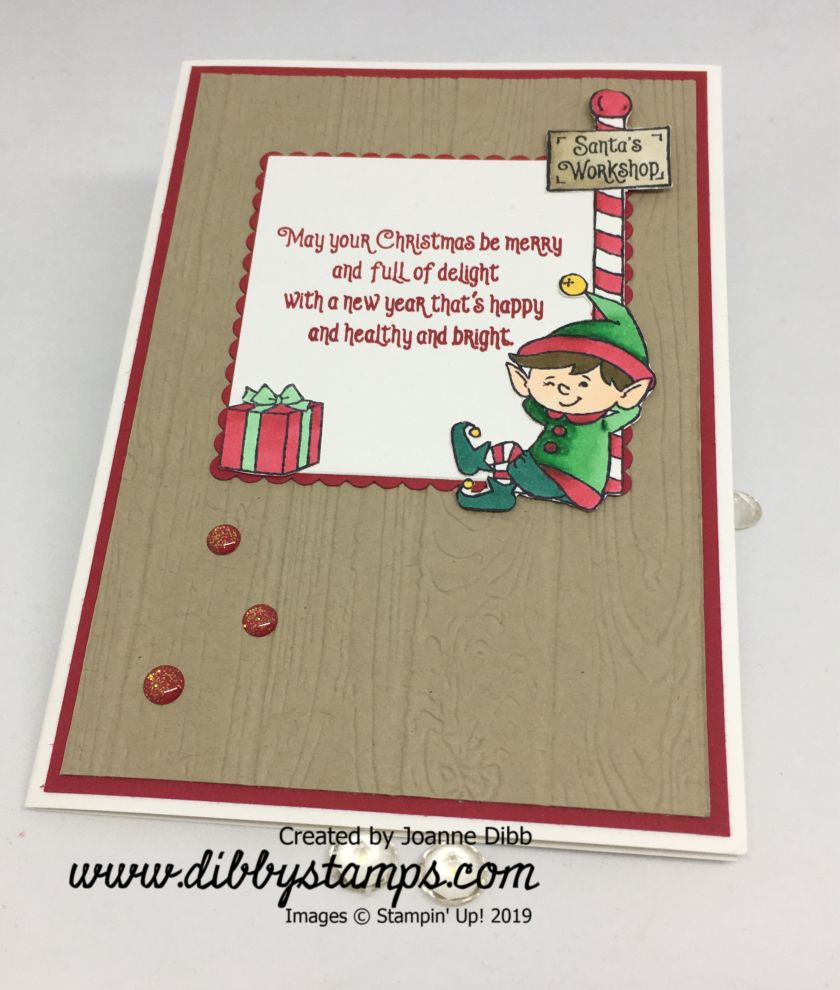
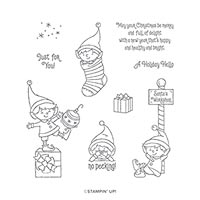
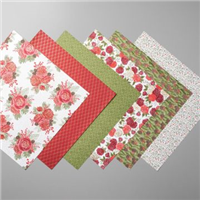
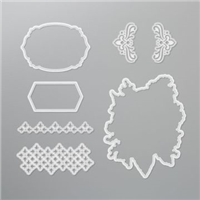
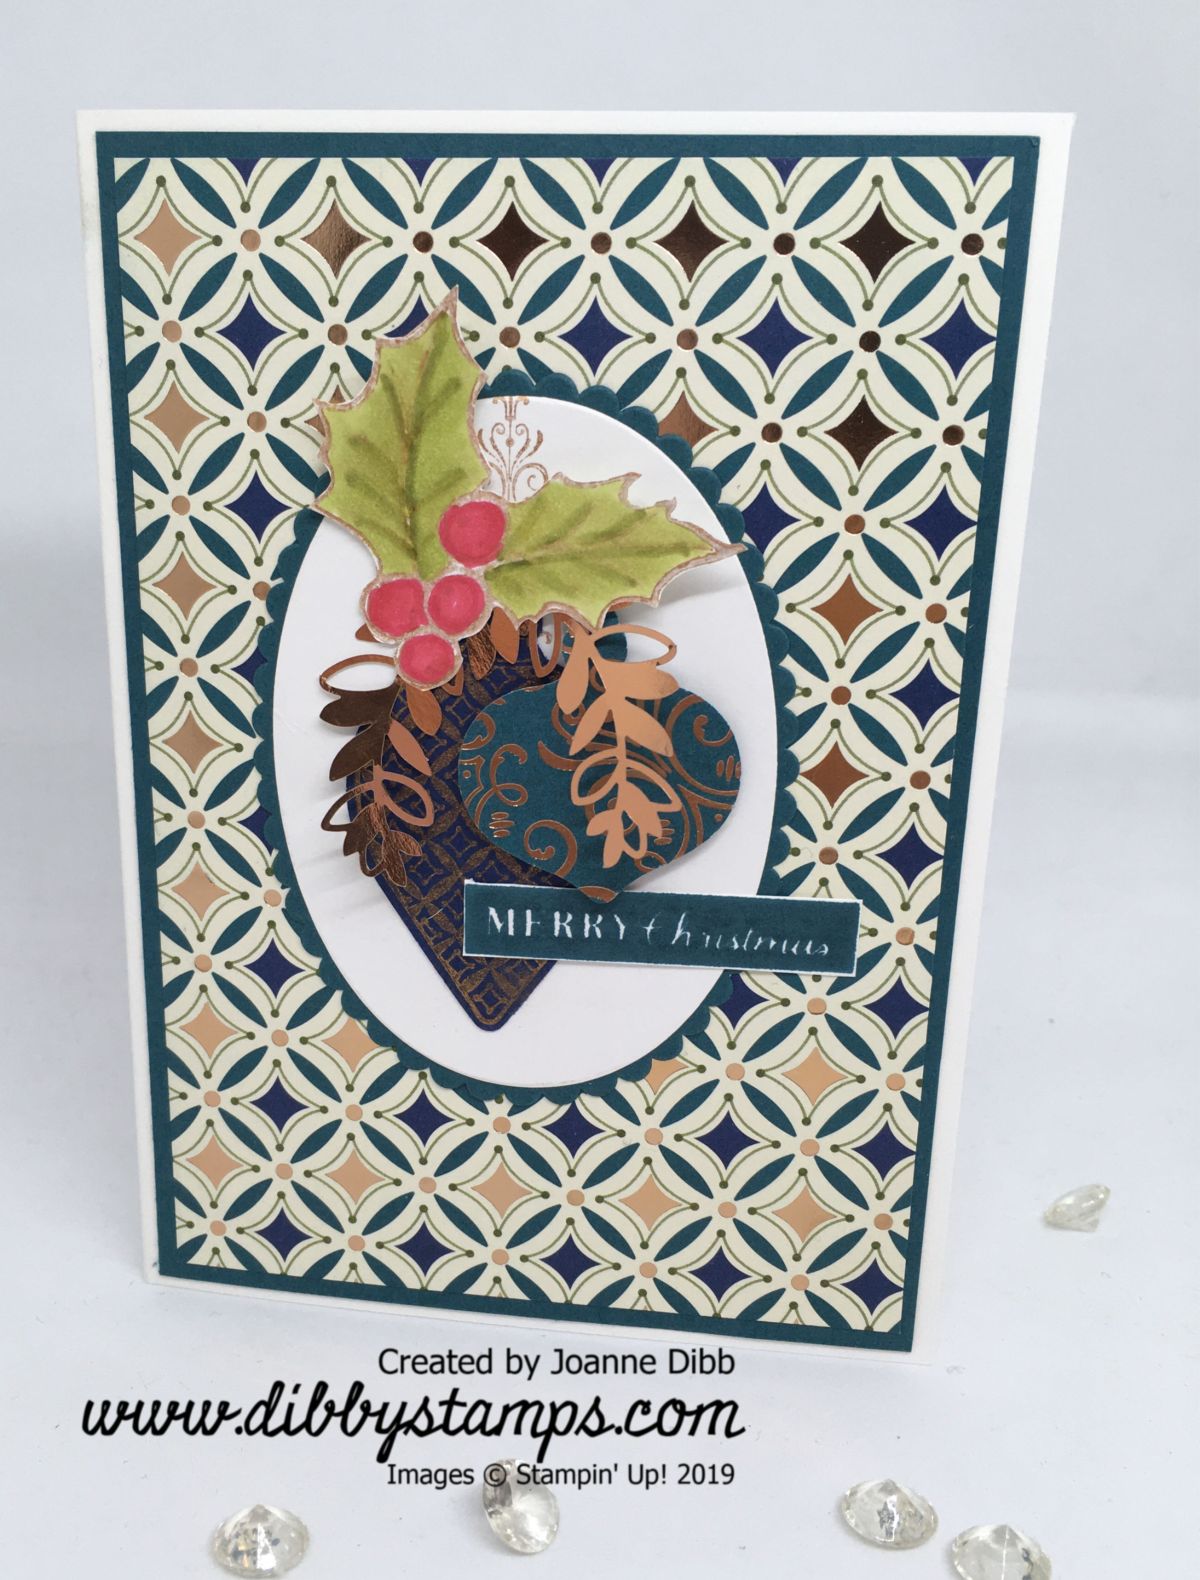
Today I’ve been playing with the Christmas Gleaming bundle making loads of baubles, which is super easy with the punch duo and the gorgoeus Brightly Gleaming Speciality DSP.  I love this paper and it seems everyone esle does to as Stampin’ Up! can’t seem to keep the warehouses stocked with it.

Christmas Baubles Card - close up

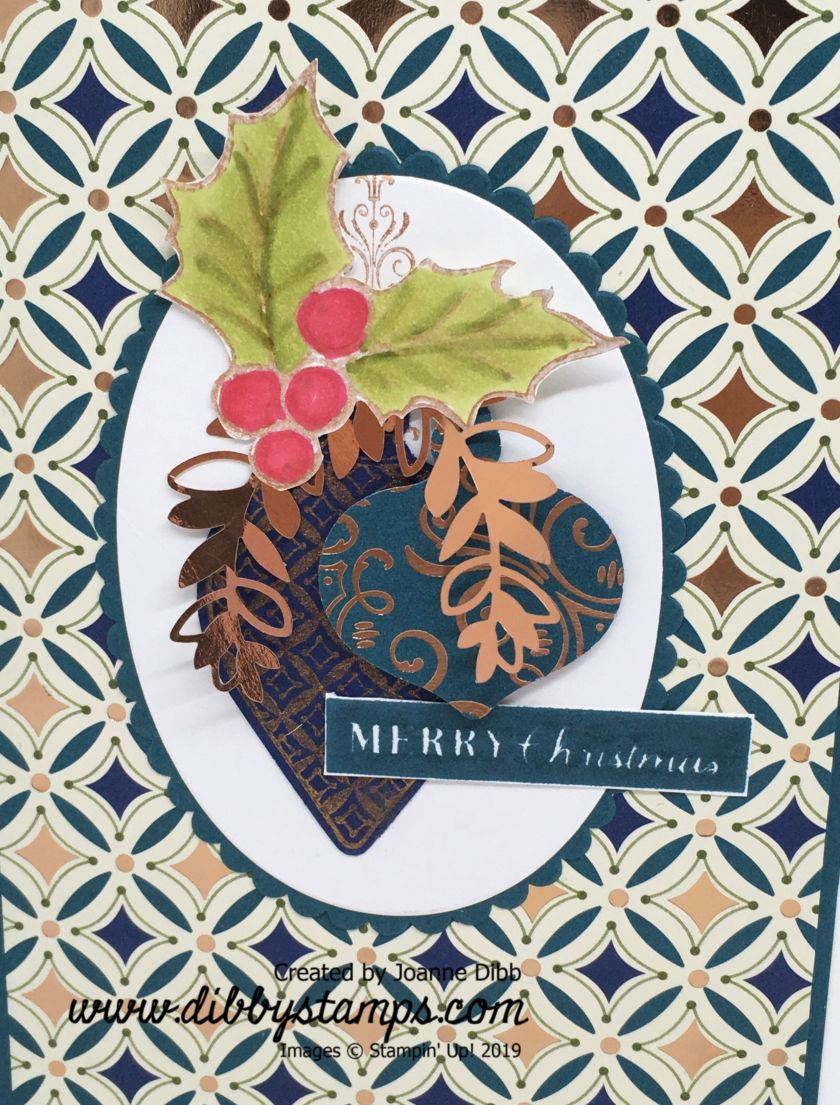
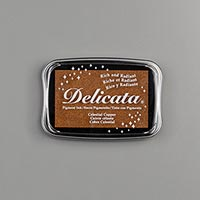
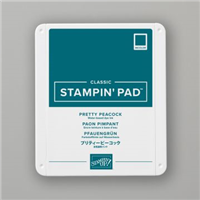
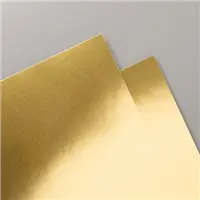
I’ve paired my gorgeous background paper with a matt layer in Pretty Peacock, I was tempted to use Copper Foil but thought that might ne a copper overload with the Celestial Copper ink and Brightly Gleaming Foil elements which also appear on the card.

Christmas Baubles Card - flat

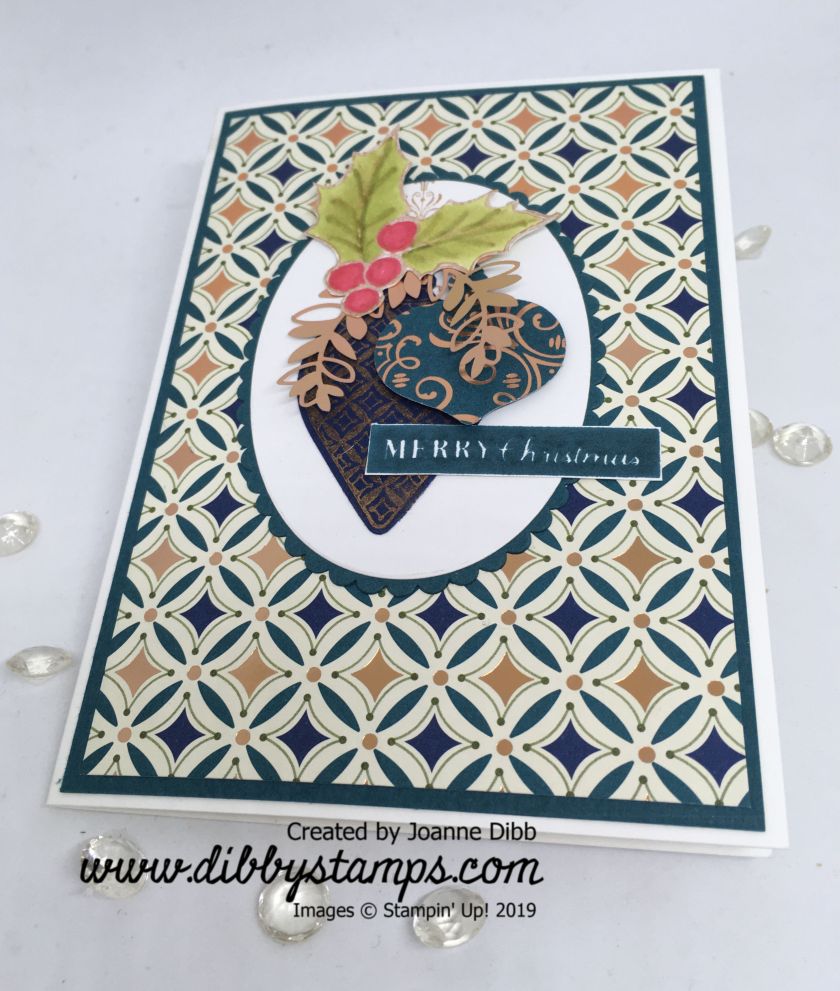
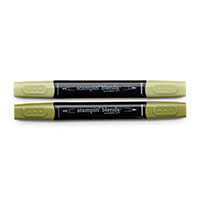
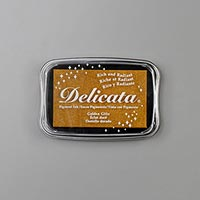
Along with the baubles, one punched and one stamped, I’ve stamped the holly spring. I stamped this in Celestial Copper Delicata Ink and the coloured with Stampin’ Blends. The colours have gone a little muddy so I think next time I’ll use Versamark and Copper Embossing Powder if I want to colour an image.

A simple Merry Christmas stamped in Pretty Peacock and the card is done.

Happy Crafting

Joanne x

Supplies:


Coppper Shining Star Card

Todays card uses the So Many Stars bundle and the Brightly Gleaming Foil Elements. I used the large star in the elements pack as my focal point and die cut a Night of Navy star from the Stitched Stars Dies to lift the copper star from the background.

The background itself was just Night of Navy cardstock stamped with the small detailed star from So Many Stars in the Celestial Copper Delicata ink.

Copper Shining Star Card - flat

I stamped my greeting onto a 3cm x 14.4cm strip of Whisper White cardstock so it went the whole length of the front of the card.

To finish the card I added a Night of Navy Rhinestone in the centre of my Brightly Gleaming Foil Star.

Happy Crafting

Joanne x

Supplies:


Santa’s Workshop Elf Card

For this card I was inspired by the little elf and his santas workshop sign so decided to make a card which looked like the outside of the workshop. So I’ve used the Pinewood Planks 3D embossing folder with Crumb Cake cardstock to create my background and matted thisn on a layer of Real Red.

Santa's Workshop Elf Card - close up

I coloured the little elf and the parcel with Stampin’ Blends and then fussy cut him out. I used a mix of  Real Red, Call Me Clover and Bermuda Bay for the colouring.

I stamped the greeting from the same #Elfie stamp set onto a square cut from the Layering Squares Dies and then mounted this onto a scalloped Real Red sqaure from the same set.

Santa's Workshop Elf Card - flat

To finish the card I added three Real Red Glitter Enamel Dots from the Toile Tidings pack.

Think its time this cheeky little elf got back to work now, don’t you.

Happy Crafting

Joanne x

Supplies:


Glitter Snowmen Card

What do you do when you want to make a card quickly? You use a punch and some paper and thats exactly what I did here.  The Let It Snow Speciality DSP has some wonderful festive patterns featuring snowmen, so of which can be punched out with the Snowman Builder Punch. Making cute snowmen in seconds and whats more some sheets of the Let It Snow DSP have glitter accents and so instant sparkle for your card.

Glitter Snowmen Card - flat

I used the punch to create some twig arms for the snowmen, cut in black cardstock to match the background paper. I also added a couple of the felt hats from the Let It Snow Embellishment kit to add a little more cuteness.

I also added some of the Real Red Rouched 1″ Ribbon for some additonal interest and texture and finished off the card by adding a greeting from the Greatest Part of Christmas.

A quick card to put together but plenty of interest when you use many of the products in the Let It Snow Suite.

Happy Crafting

Joanne x

Supplies:


Christmastime Rose Card

This is the first card I made with the new Christmastime Is Here Suite of products.  How gorgeous is that rose and its cut from the designer paper with a die so this stunning card came together in minutes.

I love that with the die you can cut the paper or stamp the rose outline and then cut that out so all the beautiful detail is kept and not lost with a fussy cutting mishap.

I’ve added some extra detail to this card by using the corner dies to cut some goild foil. I think they look like corners of an ornate frame and I was tempted to added a gold foil matt under the green layer but though that might be too much.

Christmastime Rose Card - flat

I added a little greeting from Itty Bitty Christmas. I stampe dit in Golden Glitz Delicata ink and punched it out with the Classic Label Punch. To fix it to the card I cut a little slit up near the pine cone so  it could slot it among the foiliage and not detract too much from the goregous rose image.

Happy Crafting

Joanne x

Supplies: