Simple Stamping – Sweetest Thing

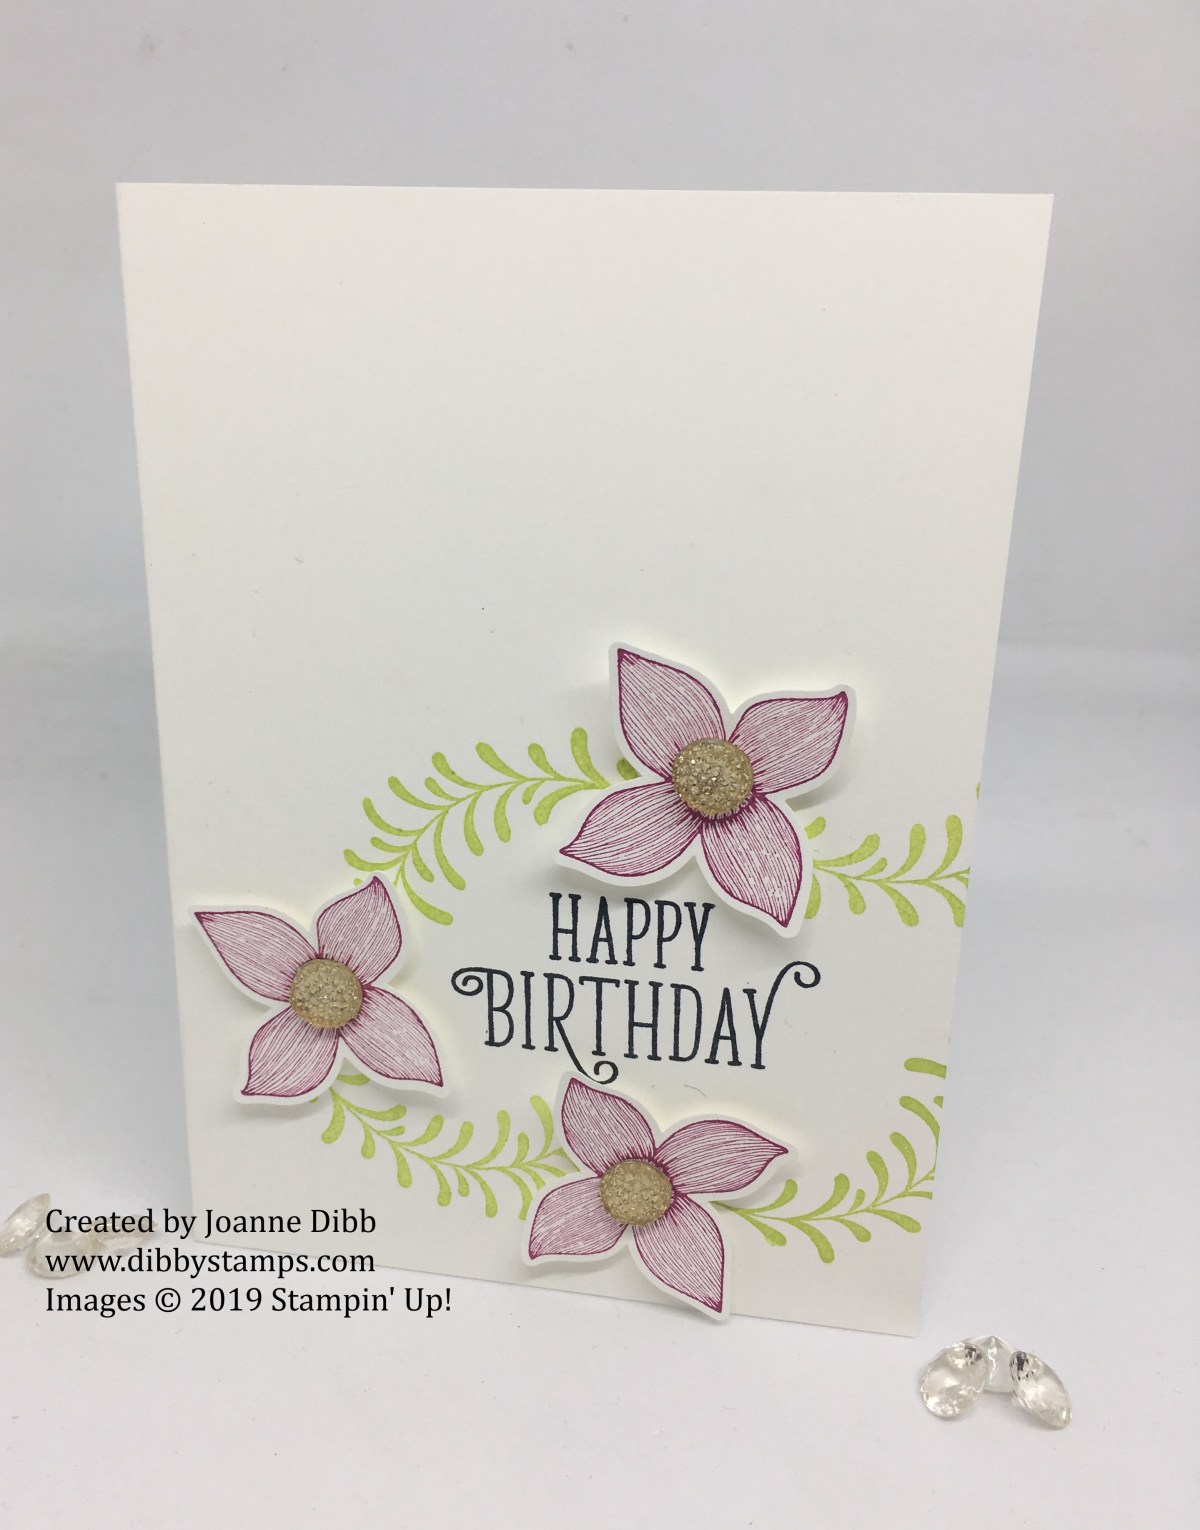
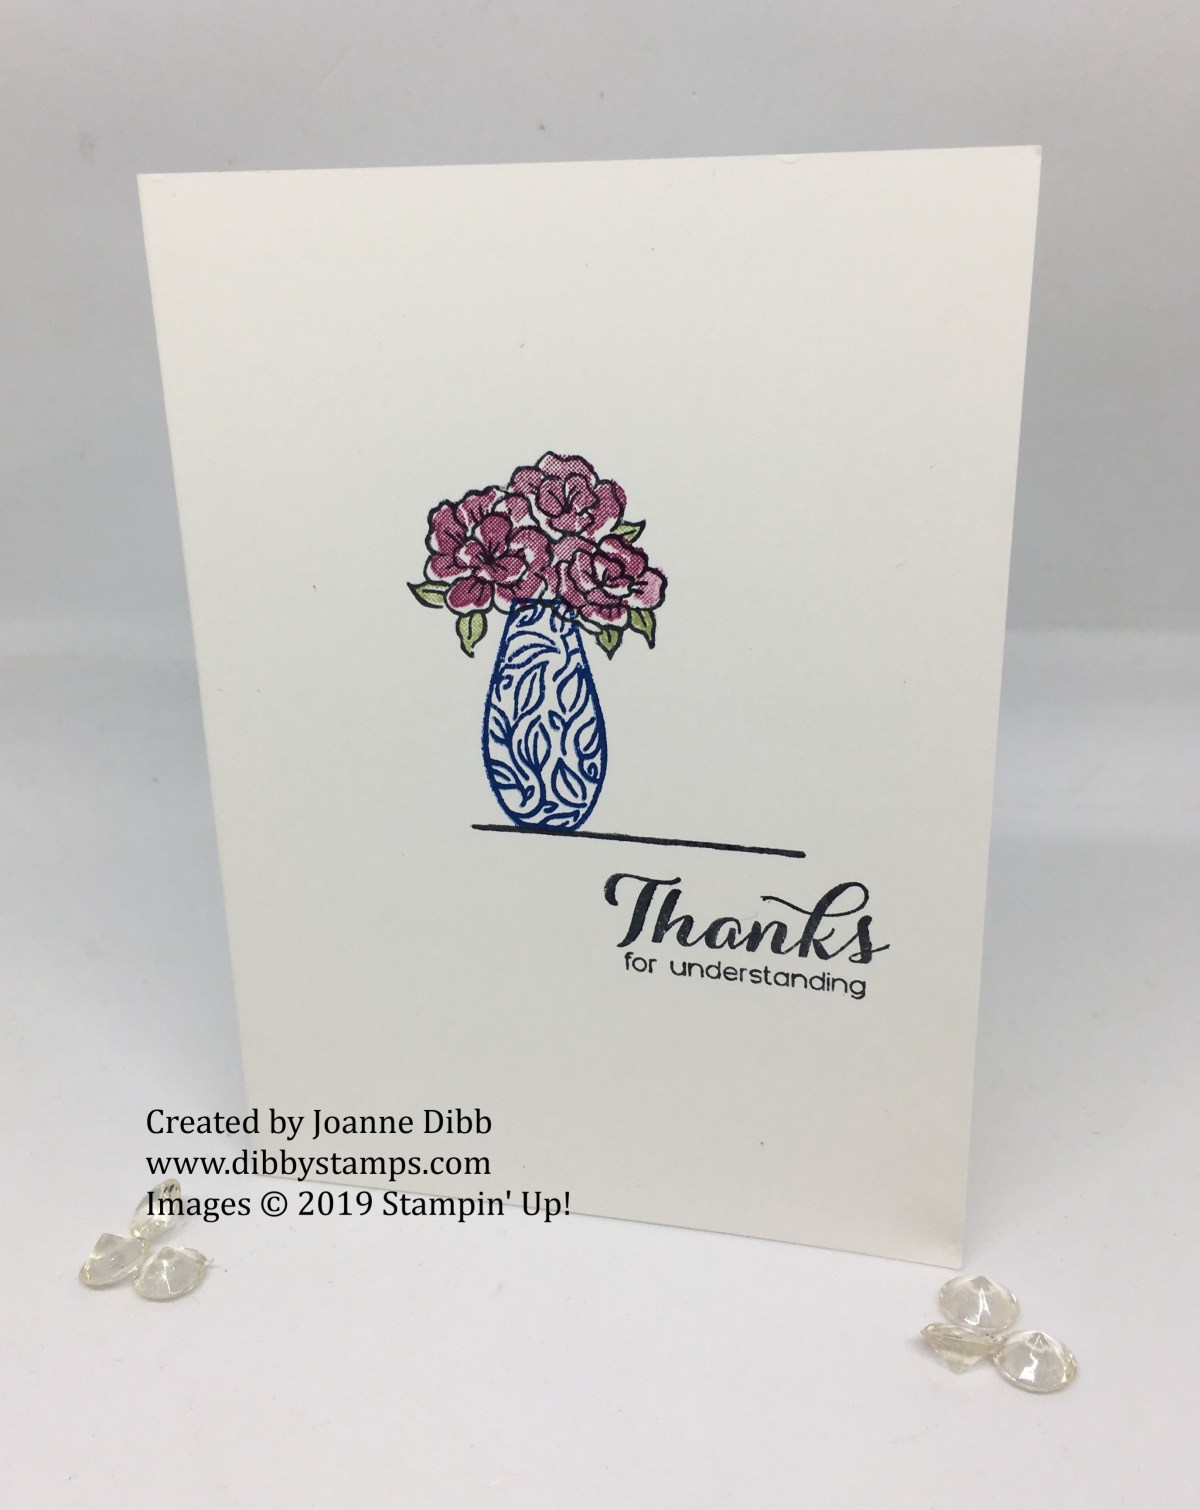
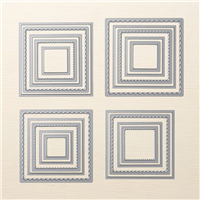
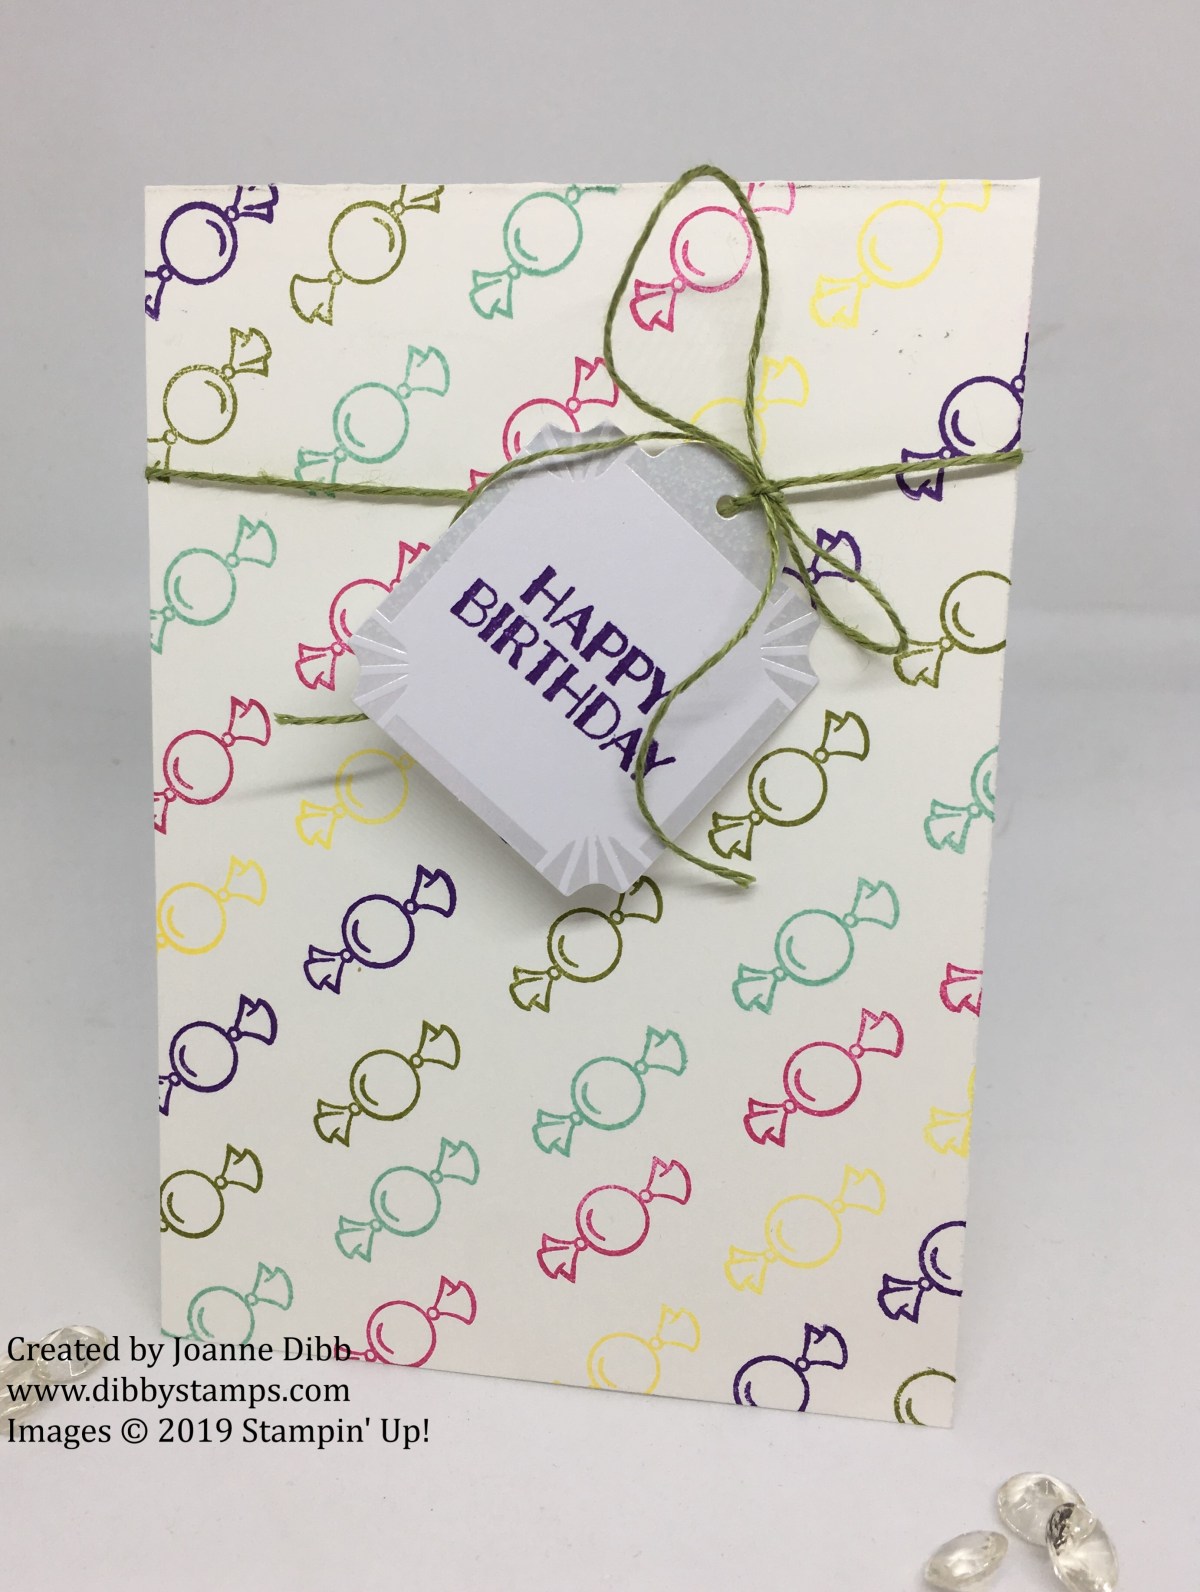
I wasn’t sure if I could create a simple stamping project with the Sweetest Thing stamp set as for me I’m finding its a stamp set which needs you to do a bit of work to make a nice card. After trying various options I’ve found a simple card I can share with you that I like. The best thing about this card is it will look just as good whatever colour inks you use or how many different colours you use, so have a play and find your favourite colour combination.

simple stamping - sweetest thing close up

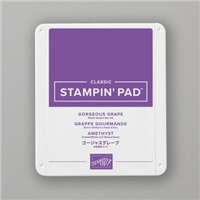
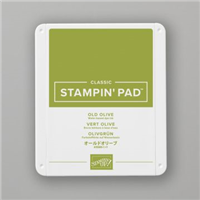
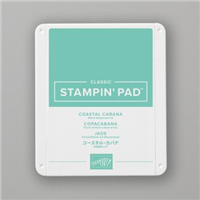
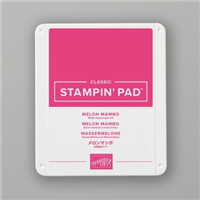
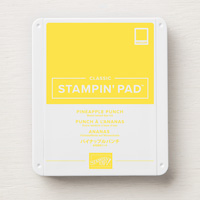
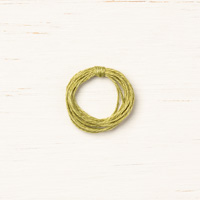
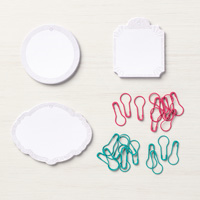
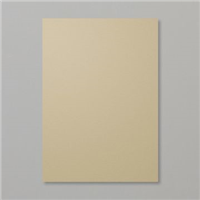
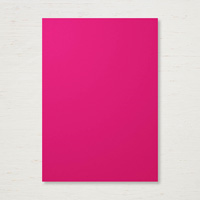
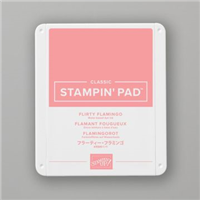
I stuck with a scheme closely matching the How Sweet Is It DSP but that’s just because those were the inks out on my desk. So I used Gorgeous Grape, Coastal Cabana, Pineapple Punch, Melon Mambo and I used Old Olive instead of Granny Apple Green simply because I wanted to use the Old Olive Linen Thread to attach the little greeting tags from the Sweet Pins and Tags set.

simple stampin - sweetest thing flat

Hope you can join me again tomorrow for another “Sweet” project.

Happy Crafting

Joanne x


Sweetest Thing Lollipop Card

This week all my projects will focus of the How Sweet It Is Suite of products which are perfect for birthdays, Valentine’s and anytime you want to share something sweet with someone. For today’s project I’ve made a very simple card featuring fussy cut lollipops from the How Sweet It Is DSP.

sweetest thing lollipop card close up

For a little extra something to add to the card I covered both lollipops in a thin layer of glue from the Fine-Tip Glue, this dries shiny and clear so gives the effect of a sticky lollipop, its very hard to see on the photographs though.

sweetest thing lollipop card flat

A simple strip of Whisper White helps the greeting to stand out. This card could easily feature any of the jars featured in the stamp set if you didn’t want to fussy cut the lollipops.

Hope you can pop back tomorrow when I have another project with this suite to share with you.

Happy Crafting

Joanne x


Pop of Petals Floral Trio Birthday Card

Can you believe I’ve had the Pop of Petals stamp set and matching Four-Petal Flower Punch and they’ve not been used, shocking right? So today’s the day I inked it up and created the simple but stunning birthday card.

pop of petals floral trio close up

Three stamped and punched flowers in Berry Burst and a little foliage stamped in Lemon Lime Twist and you have the main part of the card.

Next simply add your chosen greeting to the centre of the stamping, my sentiment came from the Happy Birthday Gorgeous stamp set, then you have an almost complete card.

pop of petals floral trio flat

To finish the card I added a large Gold Facet Gem to the centre of each flower, aren’t they just the perfect fit?

Happy Crafting

Joanne x


Simple Stamping – Vibrant Vases

So today I’m bringing #SimpleStamping to the Vibrant Vases set. I was so pleased to see this in the new catalogue as its adds even more versatility to using the Varied Vases Bundle which is one of my favourites from the Annual Catalogue.

For this project I’ve used just four inks (Blueberry Bushel, Old Olive, Calypso Coral and Tuxedo Black Memento) and the stamp set.

vibrant vases - flat - simple stamping

Although these are photopolymer stamps and easy to line up  I would suggest using the Stamp-a-ratus if your going to create an image where things need lining up in straight lines like the vase on the shelf. This would also make creating multiples of this card very quick.

Hope you’ve enjoyed today’s #SimpleStamping and a quick look at Vibrant Vases.

Happy Crafting

Joanne x


Forever Lovely Valentine’s Card Duo

I’m getting all loved up with the Forever Lovely stamp set today and sharing with you two Valentine’s cards which I’ve made.

I chose a colour scheme of Crumb Cake, Flirty Flamingo and Lovely Lipstick which are all colours from the coordinating All My Love DSP.

Firstly I took out my Big shot and cut out seven of the 3cm squares in whisper white and then seven scalloped squares in Lovely Lipstick. I stamped hearts in Flirty Flamingo on each white square and glued them to the scalloped squares.

forever lovely valentines card1

For the first card I stamped a boarder of hearts down the left hand side of the card with Crumb Cake ink. I then added three of my squares at jaunty angles down the boarder and finished the card off with a greeting at the bottom.

forever lovely valentines card2

For the second card I stamped the Crumb Cake hearts in opposite corners and then arranged four of the squares in a grid pattern in the centre of the card. I finished the card off with a sentiment running across the middle of the grid.

Hope you’ve enjoyed today’s two Valentine’s cards and pop back tomorrow to see what else I have created with the Forever Lovely stamp set.

Happy Crafting

Joanne x