A Little Lace Card Duo

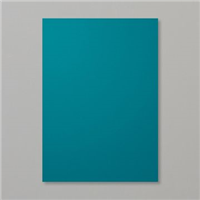
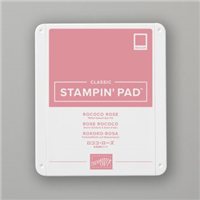
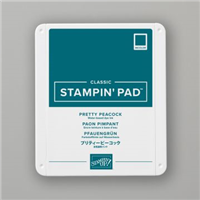
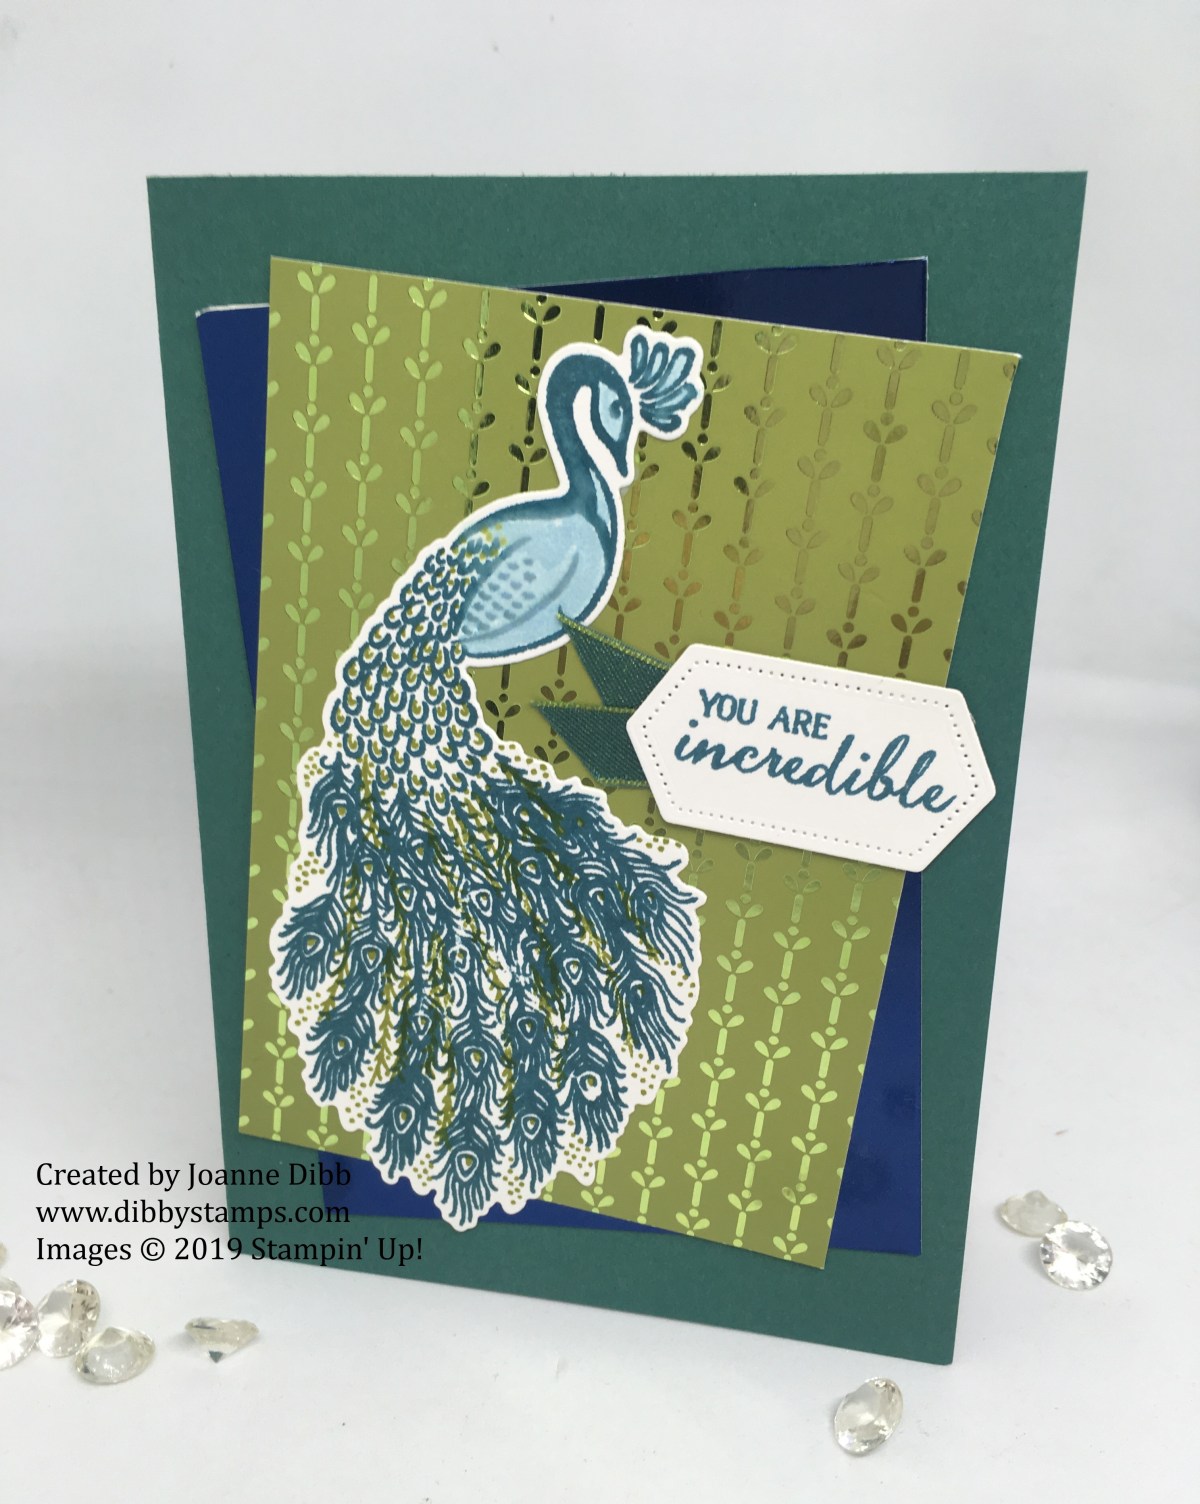
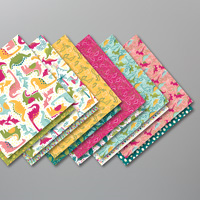
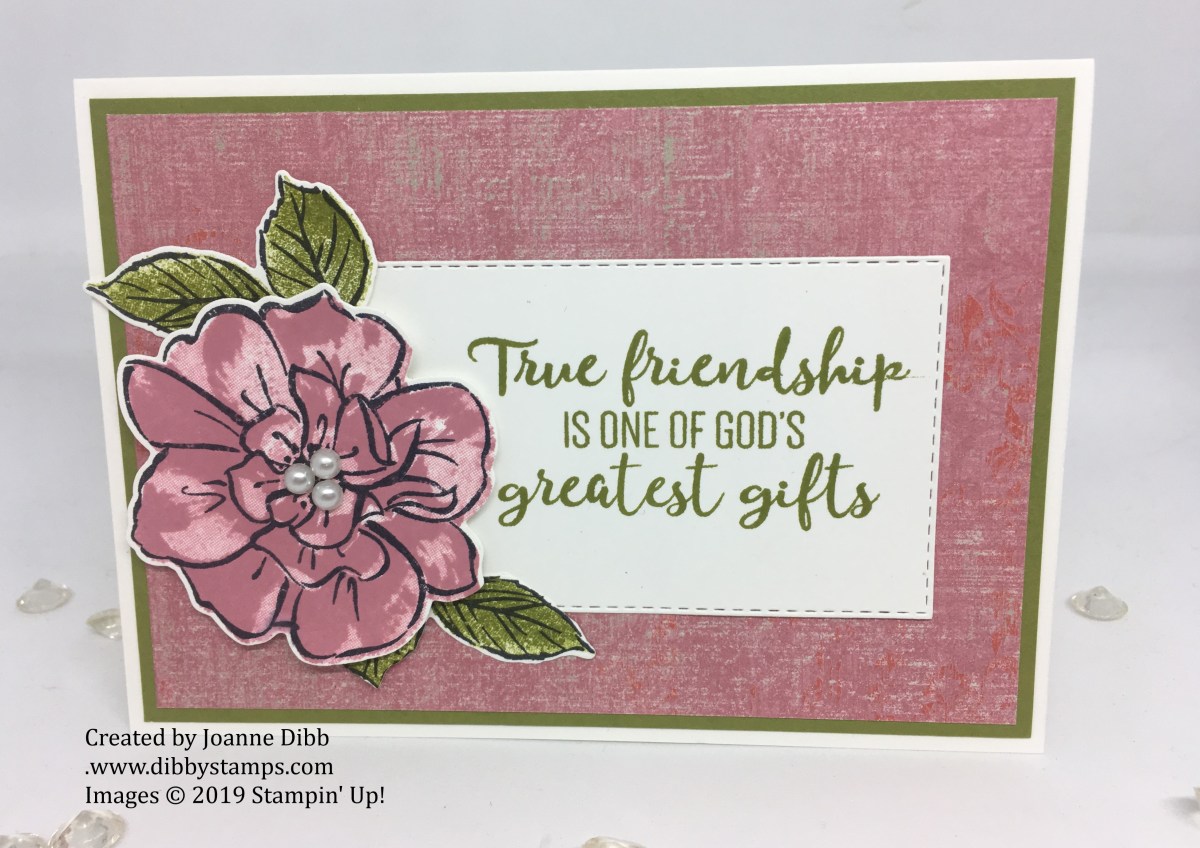
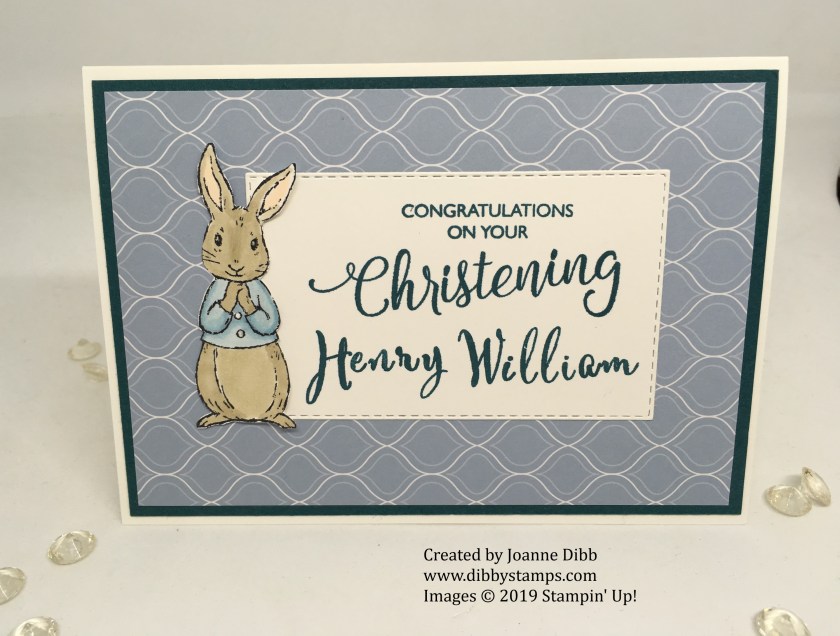
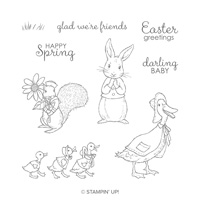
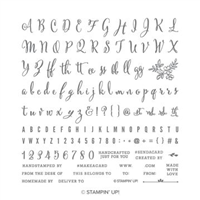
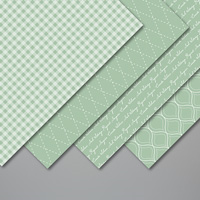
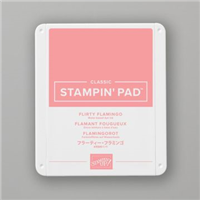
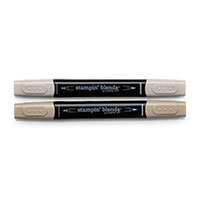
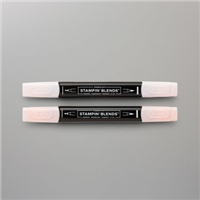
Taking a break from the Christmas projects today I’m sharing a pair of cards made from the A Little Lace stamp set. I chose to keep these cards fairly simple with just Rococo Rose or Pretty Peacock with a tiny hint of Crumb Cake on the ribbon.

Rococo Rose A Little Lace Card

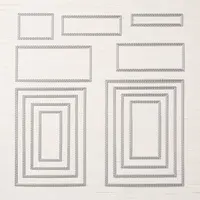
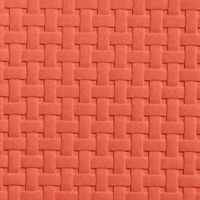
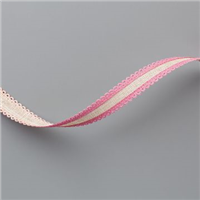
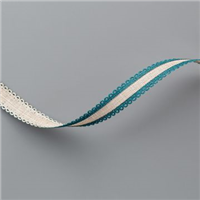
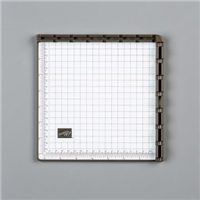
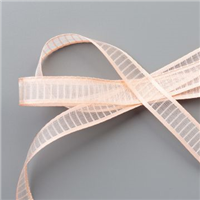
I used the Basket Weave 3D embossing folder to give the background some subtle texture and used the Stitched Rentangle and stitched Shape die sets for matts for the main floral image and for my sentiment. A little length of the Scalloped Linen Ribbon adds some more texture and a pop of colour from the Crumb Cake.

Pretty Peacock A Little Lace Card

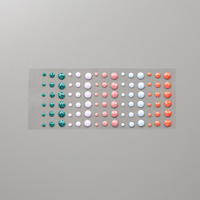
As a final touch to each card I added some of the 2019-2021 In Colour Facet Dots to the centres of each flower.

Hope you like todays project and pop back soon

Happy Crafting

Joanne x

Basic Measurements:

Card Base: Half A4 sheet measuring 14.9 x 21cm, scored at 10.5cm

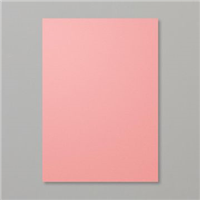
Rococo Rose/Pretty Peacock Layer: 14.4 cm x 10cm

Embossed Layer: 13.9cm x 9.5cm

Supplies:


Incredible Peacock Card

I loved the Noble Peacock Suite of products straight away, but it was more the gorgeous foiled designer paper and the ribbon which drew me in, I wasn’t too fussed for the peacocks if I’m honest. I used the one code for the whole suite when I ordered, mainly because I’m lazy! I’m glad I did through because I love this peacock now I’ve had a play and have some more ideas brewing with what to do with it.

This quick card uses two pieces of foiled card measuring 12.4cm x 8.5cm to create the two layers to create the background.

Incredible Peacock Card - flat

The peacock was stamped first in Pretty Peacock and then the tail detail was added with Old Olive. To fill in the face and belly of the peaock I took n aqua painter and gently coaxed some of the stamped ink into the white areas, this did leave it a little blury but I still like the effect.

I finished the card with a greeting stamped onto the second smallest of the Stitched Nested Label Dies and a little touch of the Old Olive/Pretty Peacock Ribbon which I adore.

Happy Crafting

Joanne

Supplies:


You’re Rawrsome! Dino Days Card

Who doesn’t  love a cute little dinosaur? I love them and have had loads of fun with the Dino Days stamp set creating a rainbow of diffrent coloured dinosaurs. My favourite was a Flirty Flamingo one, but I’m saving that one for another day.

For today’s card I’ve gone for slightly more convensional coloured dinosaurs in Mango Melody and Pretty Peacock…no boring dinos here!

IMG_5945

The card was finished off with a strip of paper from the Dinoroar DSP, don’t just think dinosaurs when you see this paper, its bright, fun and super versatile and perfect for any kind of card.

Happy Crafting

Joanne x

Supplies:


Wild Rococo Rose Friendship Card

Don’t you just love this gorgeous rose image, it comes from the stamp set To A Wild Rose and was designed by Mary Ellen Byler who is one of Stampin’ Up! Million dollar sales acheivers, I think she’s done a fantastic job with this set.

This stamp set is a two-step stamp set meaning you build up various stamping layers to create one image, you may only end up with one flower and leaf combination but the design possibilities with the images are endless.

Today I’ve gone very simple and used just one flower as my focal point with a couple of leaves to add some colour contrast.

wild rococo rose friendship card close up


I chose a colour scheme of Rococo Rose and Old Olive which match the roses in my own garden. By stamping off the Rococo Rose on some scrap paper the bottom layer of the rose is lighter, which adds some lovely dimension.

I’ve embellished the centre of the rose with a few pearls just to give some additional interest to the card.

wild rococo rose friendship card flat


To finish the card the greeting was stamped on a whisper white stitched rectangle which I think lifts the rose from the background paper from the Woven Threads DSP.

What’s your favourite colour combination for roses, I’d love to know?

Happy Crafting

Joanne x

Basic Measurements:

Card Base: Half A4 Sheet measuring 14.9cm x 21cm, scored in half at 10.5cm

Old Olive Layer: 14.4cm x 10cm

DSP Layer: 13.9cm x 9.5cm

Supplies:


Christening Card Duo with Fable Friends

My cousin recently had her two children Christened, one is still a baby but her little girl Ivy is two and a half so the usual Christening cards didn’t seem to fit. So I pulled out Fable Friends, Make A Difference and the retired set Inspired Events.

I wanted to personalise each card so used the phrase “Congratulations on your Christening” from Inspired Events and then used the Make A Difference stamp set to spell out the children’s names. If you didn’t manage to get hold of Inspired Events you can spell the sentiment out with Make A Difference, I’d highly recommend the Stamparatus for this as it made lining up the names very easy for me.

Baby Boy Christening Card

For the baby boy card I used a colour scheme of Seaside Spray and Pretty Peacock, mostly so the sentiment would stand out against the background. To finish this card I just added the cute little rabbit from Fable Friends coloured with a blue jacket.

Baby Girl Christening Card

For the little girl card I used a colour scheme of Petal Pink and Flirty Flamingoand gave the rabbit a little pink jacket this time. I also gave the girl rabbit a little skirt by using the Petal Pink striped Organdy Ribbon and some Tear N Tape.

I’d to know what stamps sets you’d use for Christening cardsas I have a couple more to make soon.

Happy Crafting

Joanne x

Basic Measurements:

Card Bases: Half A4 sheet of cardstock measuring 14.9cm x 21cm, scored at 10.5cm

Pretty Peacock/Flirty Flamingo Layers: 14.4cm x 10cm

DSP Layer: 13.9cm x 9.5cm

Supplies: