Don’t Stop Believin’ Santa Card

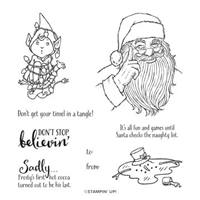
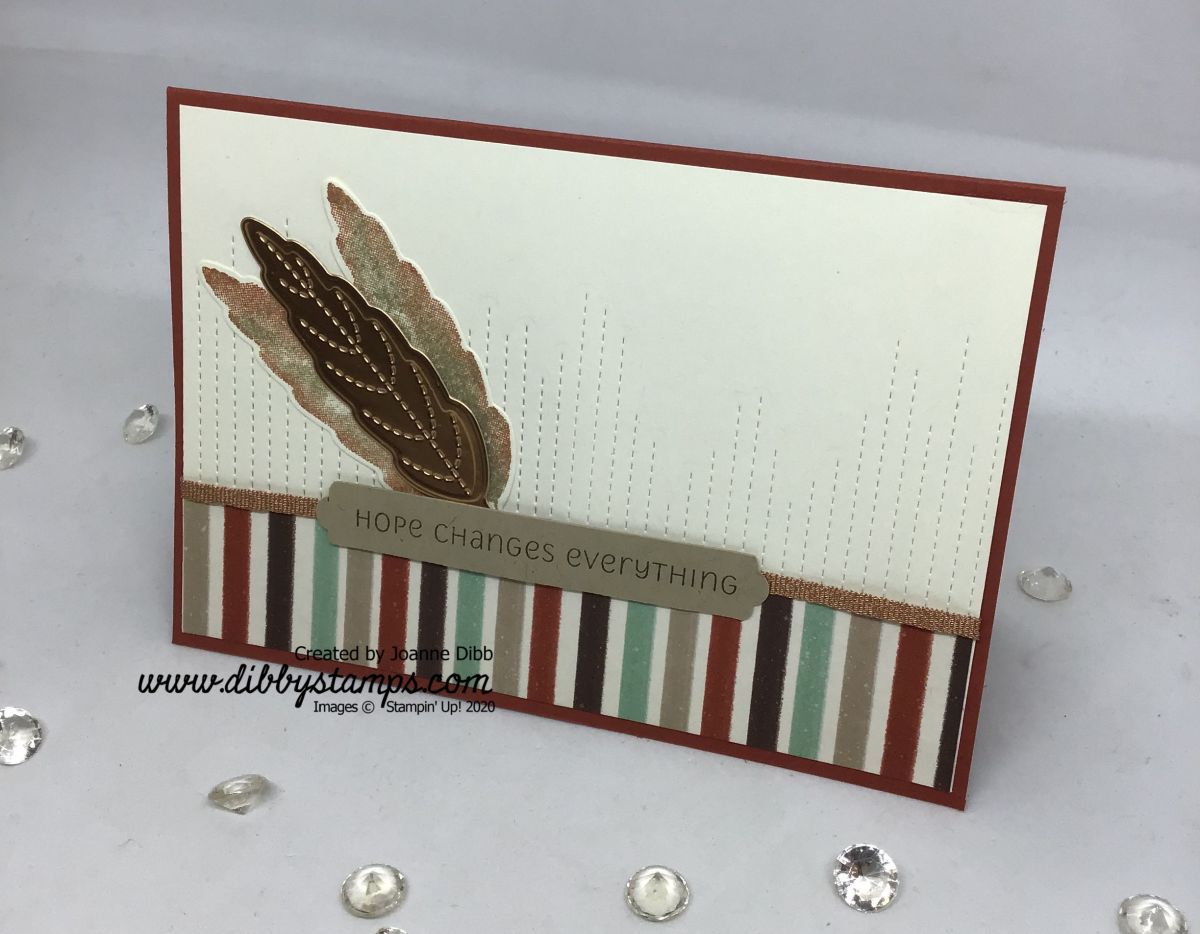
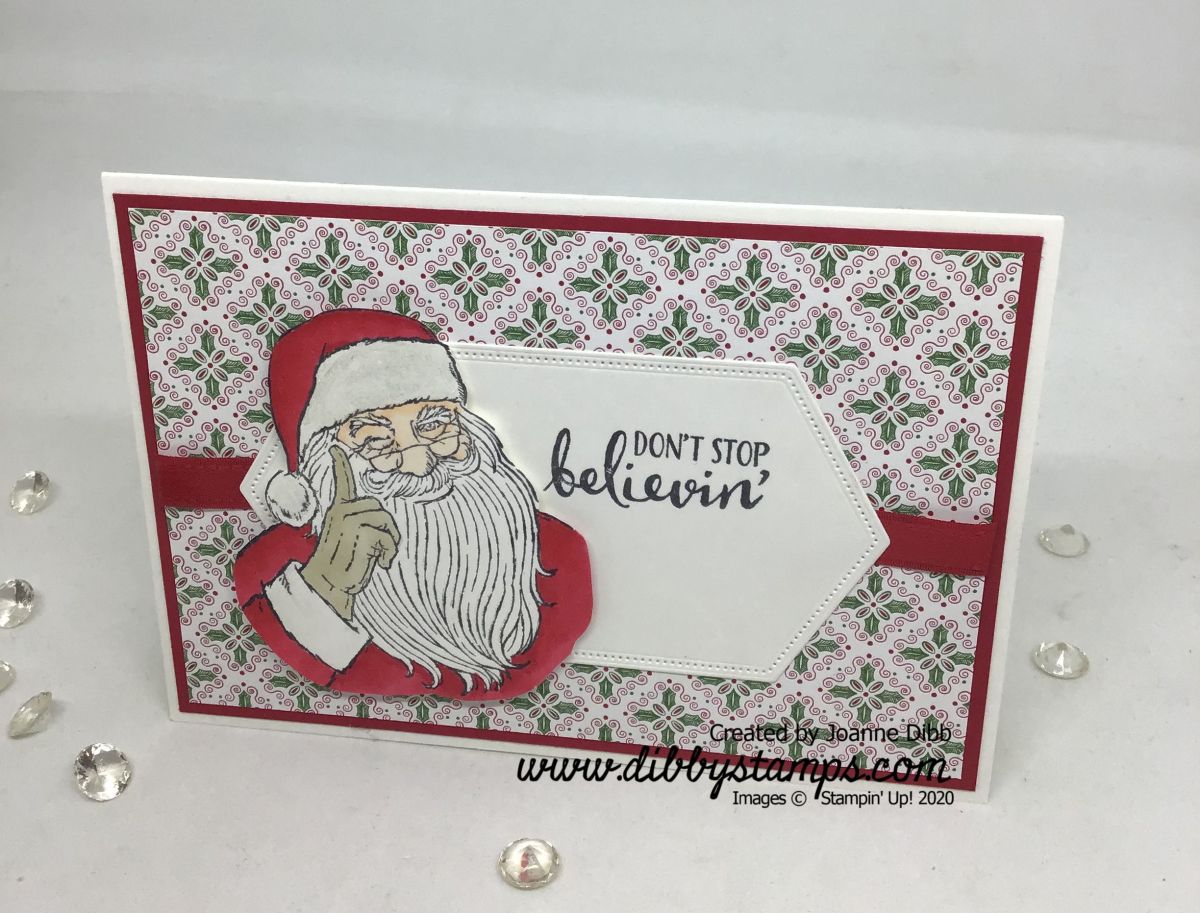
I don’t think you can make Christmas cards without having a few that feature Santa himself. The Don’t Stop Believin’ stamp set has the perfect Santa image to create a focal point for your cards.

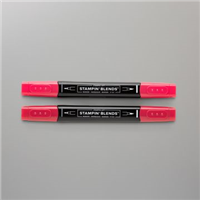
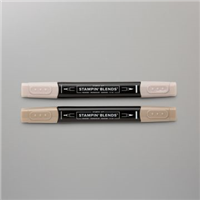
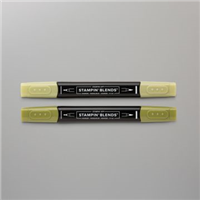
Here I’ve coloured him with Real Red Stampin’ Blends for his jacket and hat and Clear Wink of Stella to add a glittery touch to his furry trim. Now he’s all ready to deliver those presents.

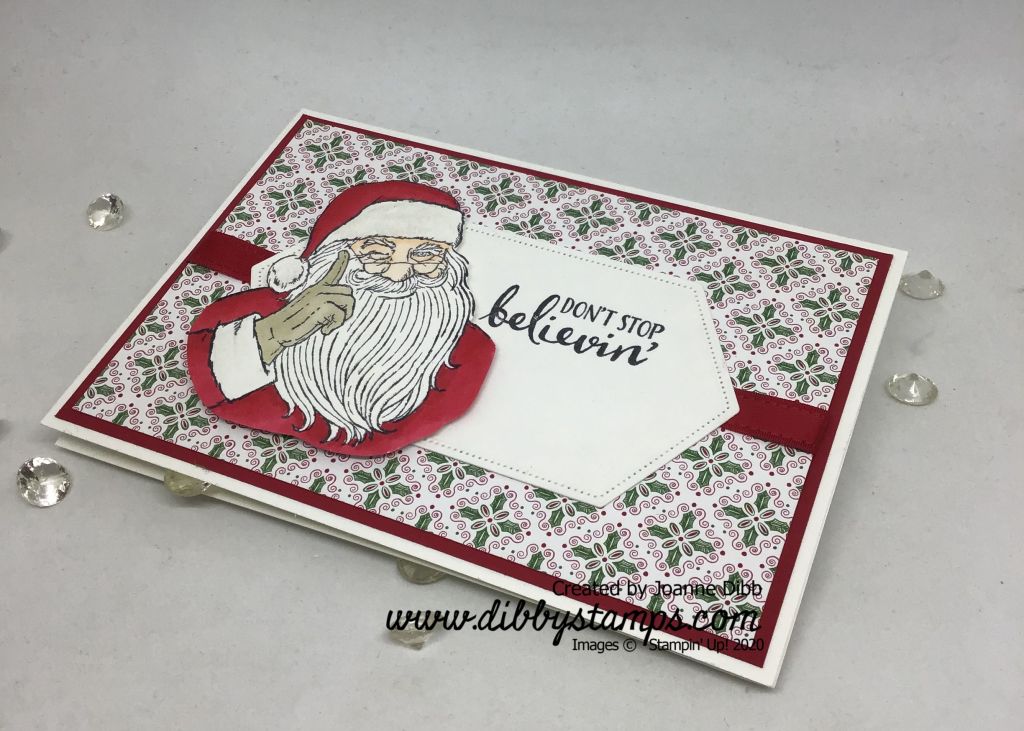
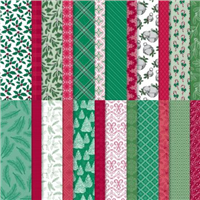
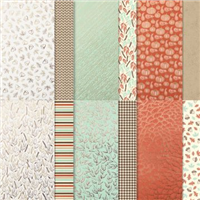
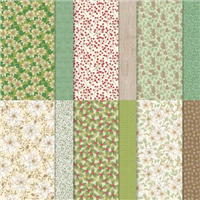
The background paper comes from the ‘Tis The Season 6″ x 6″ designer series pack. This pack is full of a variety of Christmas themed imagary, if you only pick one paper pack this Christmas this would be my first choice. Until October 31st you can also recieve 15% when you purchase selected designer papers and this one is included, perfect!

Happy Crafting

Joanne x

Supplies:

Hope Changes Everything Card

For todays project I used the Love of Leaves stamp set and the coordinating Stitched Leaves Dies. These simple leaf stamps can be used for a variety of techniques and today I’ve used them to create two-tone leaves. Each leaf was inked up with crumb Cake ink and the using a sponge dauber I added a little Cajun Craze to the edge of each leaf to give the two-tone effect and a more realistic Autumnal feel.

I wanted the leaves to be the focus of the card so kept the background fairly neautral by just using the stitching die across the middle of my Very Vanilla matt layer to give some very subtle texture. This dies leaves stitching lines embossed in the cardstock which I love.

To add a little colour to the card I added strip of designer paper from the Gilded Autumn collection along the bottom of my Very Vanilla matt. I then added some of the Copper 1/8″ Grosgrain Ribbon from the Basket Weave & Metallic Combo Pack along the edge of the designer paper. I then adhered the very Vanilla layer to the Cajun Craze card base.

I then added my stamped and die cut leaves to the left side of the card along with an additional leaf cut from Copper Foil Cardstock. I love how there is a die to add more stitching lines to the centre of the leaves.

I finished the card off with a sentiment banner created with the Lovely Labels Pick A Punch as it had the curvy edges to match my leaves.

Happy Crafting

Joanne x

Supplies:

Balmy Blue Glimmer Snowflake Card

The Glimmer Paper from Stampin’ Up! has never been a product I use much and after making this snowflake card with the new Balmy Blue Glimmer Paper I’m not sure why because I’m in love with the stuff. It’s the perfect shimmery sparkly shade of blue to make wonderful snowflakes, something I love putting on cards during the winter season.

These wonderful snowflakes cut from the So Many Snowflakes Dies make the perfect focal point for any wintery card, here I’ve used them with the greeting “Thank you Snow Much” to make a thank you card.

To add some extra glimmer to this card I’ve also used a strip of the Snowflake Splendor Ribbon which is irridescendent with metallic thread running through it. I’ve also added some of the Adhesive Backed Snowflake Sequins to compliment the larger snowflakes.

Happy Crafting

Joanne x

Supplies:

Coloured Poinsettia Card

Who doesn’t love having a Poinsettia at Christmas ? I do but every year I manage to kill them off before the big day. This year I can enjoy a paper version made from the Poinsettia Petals stamp set which I know will last much longer than the real thing in my house.

This card is made simply from one stamped flower image and three leaves and coloured with Stampin’ Blends. I’ve used Real Red for the flower and Old Olive for the leaves.

I’ve cut these images out with the matching Poinsettia Dies but you could easy fussy cut them as there a fairly easy shape. For the background of the card I used some of the mistletoe patterned paper from the Poinsettia Place DSP. I added a strip of the Real Red Double Stitched Satin Ribbon across the centre of the dsp before adhering to a layer of Real Red and then Old Olive cardstock.

I stamped the greeting on a die cut from the Ornate Frames set. I then added my poinsettia to the left side of the card and added the leaves around it. To finish off the card I added one of the Beaded Pearl Embellishments to the centre of the card, I think this adds a real elegant touch to the card.

Happy Crafting

Joanne x

Supplies:

Silver Spider Halloween Card

I’m not usually a fan of the Halloween products Stampin’ Up! brings out as I don’t celebrate this holiday and I’m not into ghosts and ghouls. I really hate spiders too but I’m actually really drawn to the Magic in This Night Suite, probably because it uses Pretty Peacock and Blackberry Bliss, two of my favourite colours.

For this project I’ve used the Hallows’s Night Bundle and the Cobwebs 3D Embossing Folder.

To start with a embossed a piece of Silver Foil cardstock measuring 9.5cm x 13.9cm and then adherd this to a Basic Black matt measuring 10cm x 14.9cm. I then adhered this to my card base.

I then stamped the frame image with the Happy Halloween greeting inside along with some spiders in Tuxedo Black Memento ink onto some Shimmery White cardstock. I then cut then out with the Stampin’ Cut & Emboss Machine using the Magnetic Plate to keep the dies in place.

I then cut out an additional black frame to adhere my stamped greeting onto and the added to the card. Finally I added the spiders using Stampin’ Dimensionals.

Happy Crafting

Joanne x

Supplies: