Shark Frenzy Father’s Day Card

Who remembers the Baby Shark song from a few years ago? My daughter still loves it so when Shark Frenzy was in the Mini Catalogue I knew I had to buy it for her. She’s loved making little sharks and having a good sing song with herself….I can’t stand the song myself!

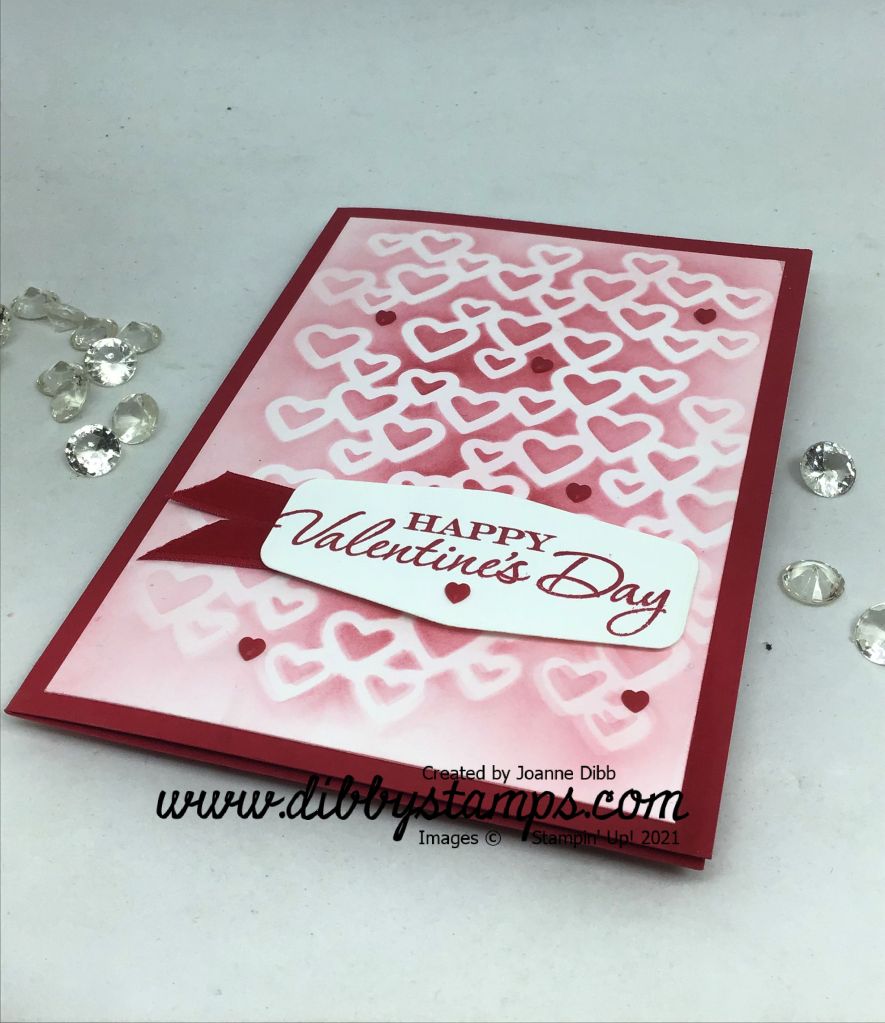
I’ve made her this card to give to her dad on Sunday as he still indulges her singing.

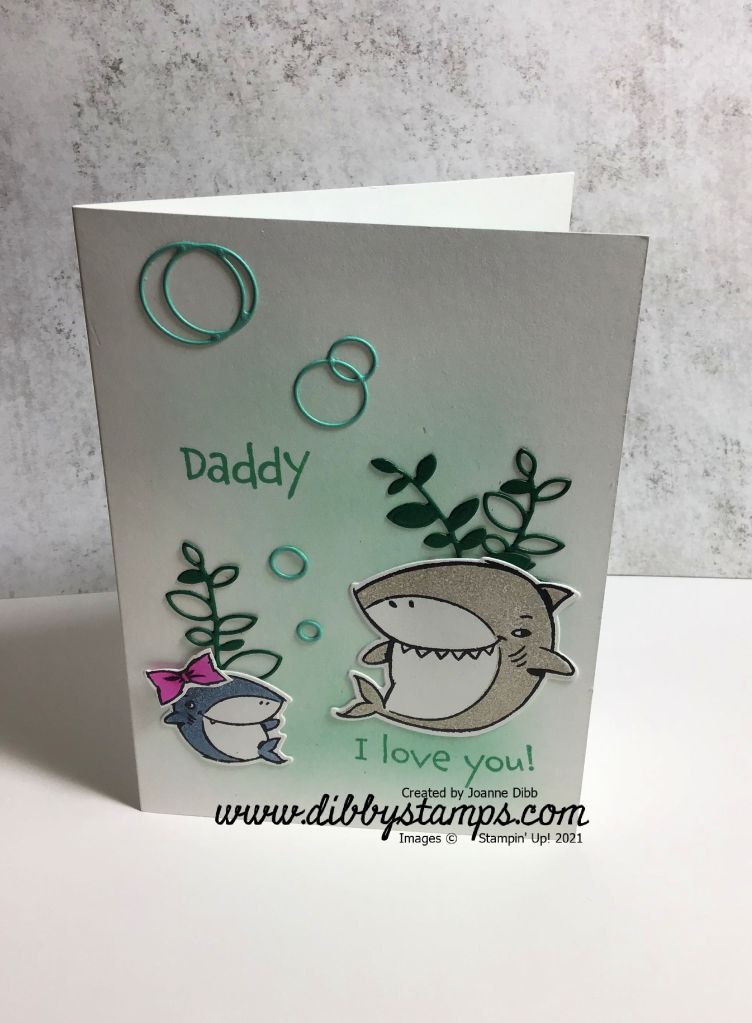
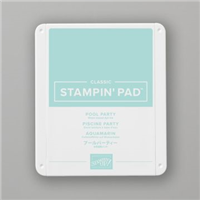
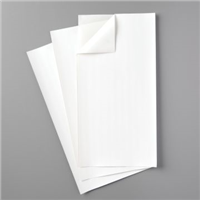
I used a Basic White Card Base and added some colour with Pool Party Ink using a Blending Brush.

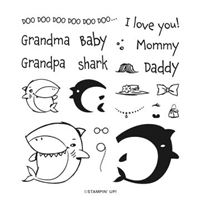
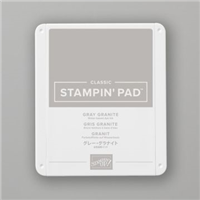
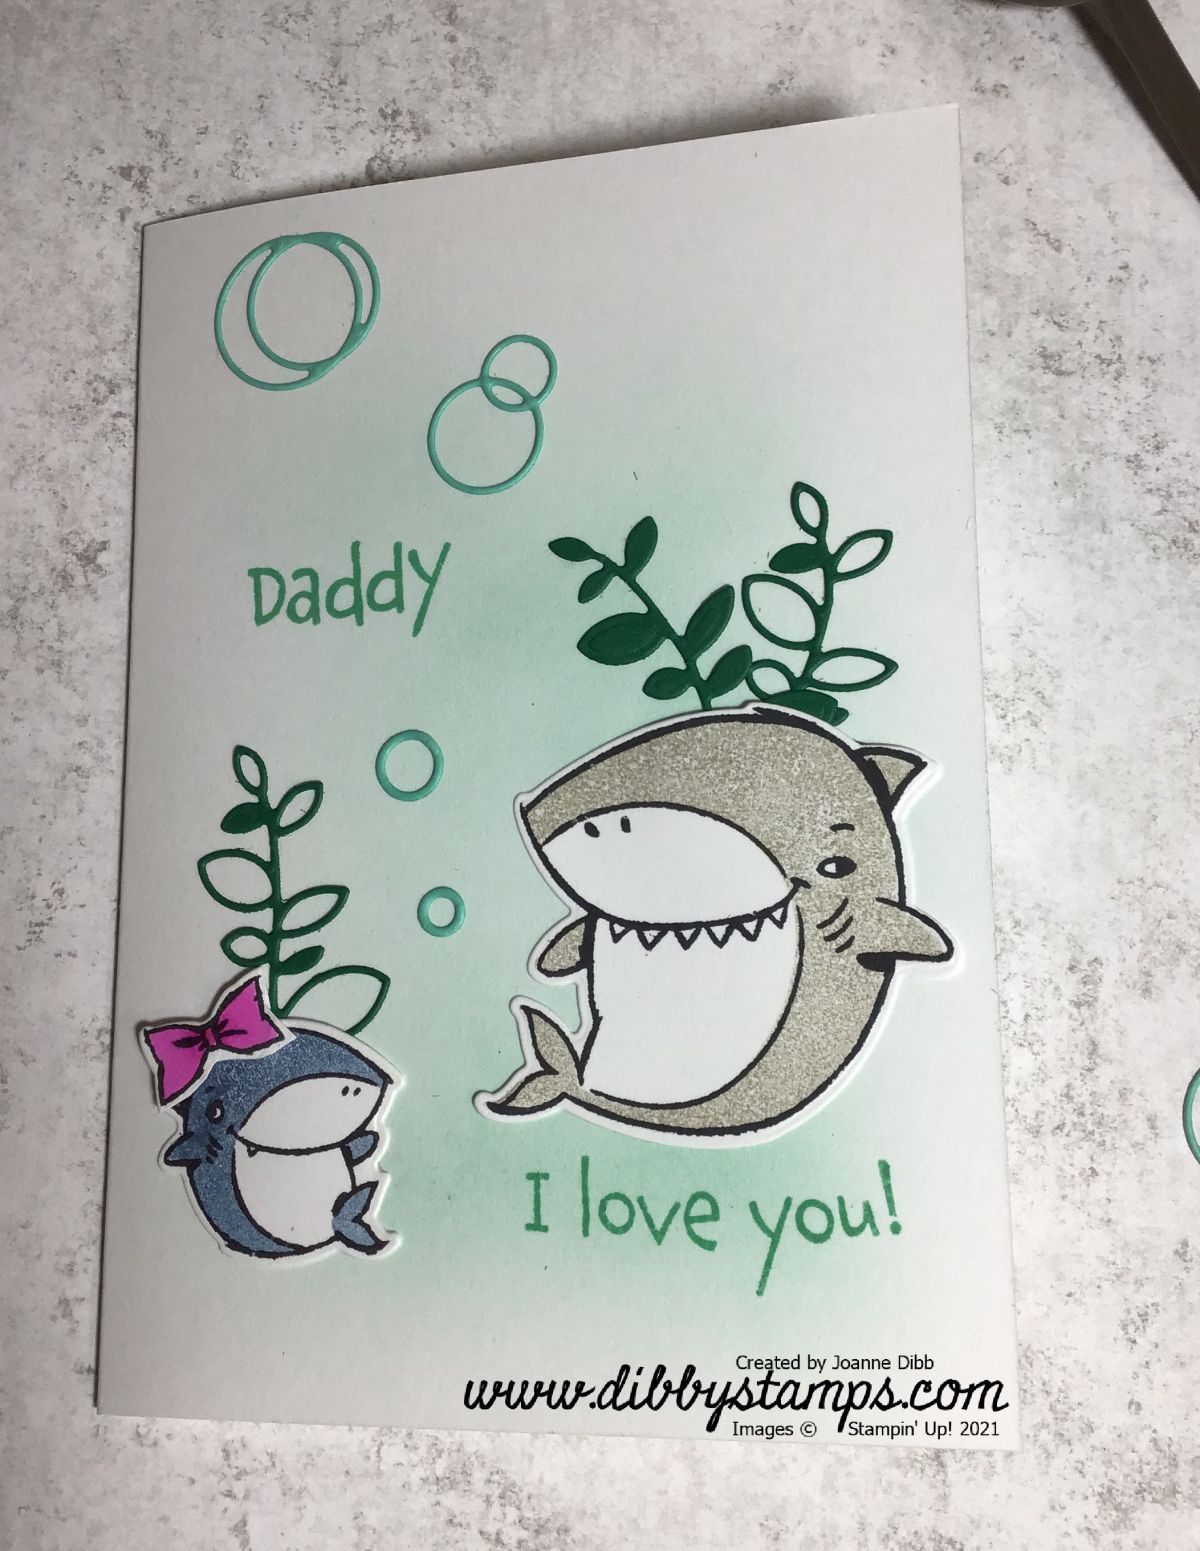
On seperate cardstock I stamped the baby shark and the bigger shark. The baby shark is filled with second generation Misty Moonlight ink and the bigger shark is filled with second generation Grey Granite. As this card is from my daughter I added a pink bow to the baby Shark.

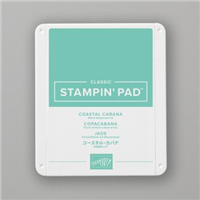
I then stamped the “daddy” at the top left of the card and the “I Love You! ” in the bottom right corner both in Coastal Cabana.

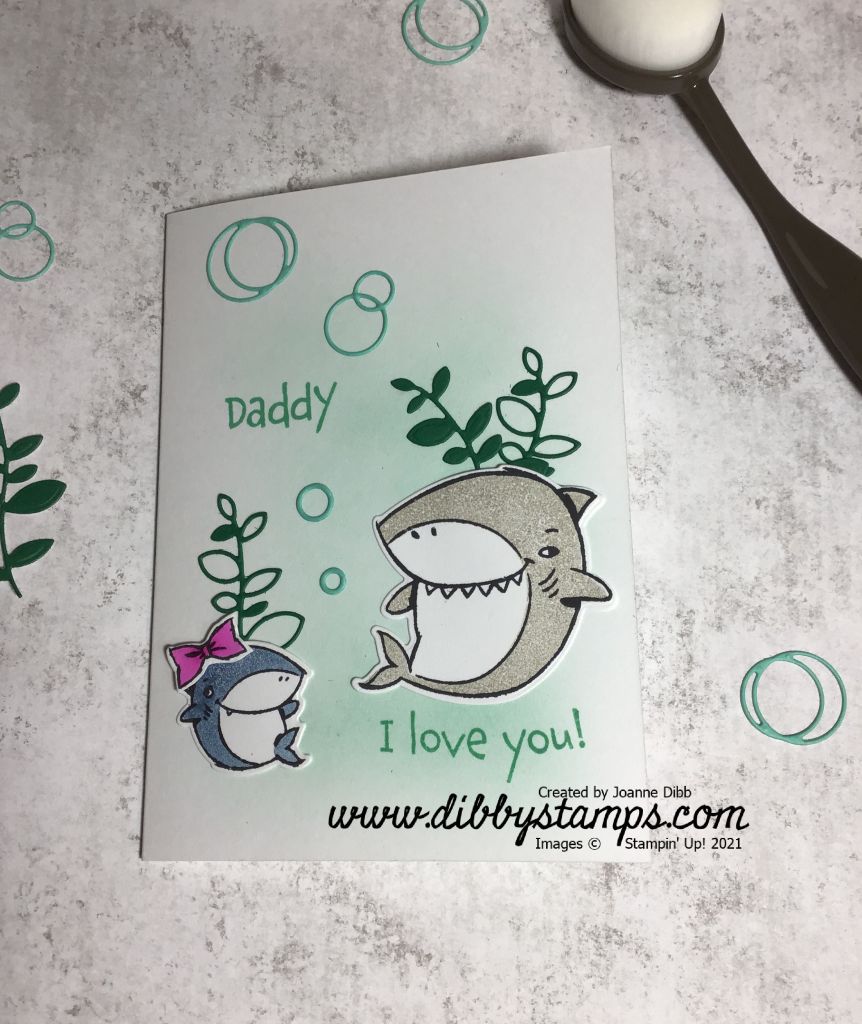
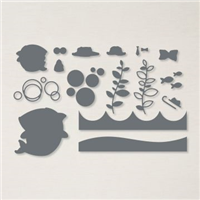
I then diecut some reeds in Shaded Spruce and some bubbles in Coastal Cabana, the multi purpose adhesive sheets are a must for me when working with these small detailed dies as they make adhering to the card so easy.

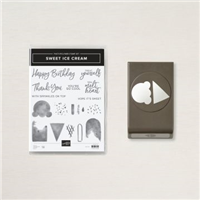
The Shark Frenzy stamp set and matching dies are on the LastChance list for the January to June Mini Catalogue, so if you want them there is only a few days left to purchase.

Happy Crafting

Joanne x

Supplies:

Sandy Beach Ice Cream Card

I’m back again today with another card featuring the Ice Cream Corner Suite, this time focusing on the Ice Cream Builder Punch and the Designer Paper. Included in the Ice Cream Corner DSP are four designs which work perfectly with the punch. The first is a design which is cross hatched and looks like ice cream cones, there are also three designs which have watercoloured splodges on them (beautiful as backgrounds) which when using the punch can become the scoops of ice cream. I really love how they’ve been designed to make crafting easy.

To make the sandy beach effact background I tore a matt of scrap paper and adhered it to the centre of the card base with one glue dot. I then took then Bending Brush and worked a layer of So Saffron ink all around the edges and the over the top with a layer of Crumb Cake, to add a little depth. Wish I hadn’t been quite so with the Crumb Cake as it now looks like mud, oh well!

I then added three punched ice-creamsto the centre of the card, looking at them now I think I should have given then some sprinkles.

I’ve finished the card off with a few Mango Melody Self Adhesive Sequins from the Artistry Blooms Collections and the Happy Birthday greeting from the set stamped in Blackberry Bliss. No joke I’d buy this stamp set for that Happy Birthday stamp alone as I love it!

Happy Crafting

Joanne x

Supplies:

Blended Hearts Valentine’s Card

Have you tried our new Blending Brushes yet? I love them, they are super soft and make making beautifully blended backgrounds much easier than using sponges as they leave no lines.

For this card I’ve used the Detailed Hearts Die as a stencil instead of a die. I first used the brushes to blend a layer of Flirty Flamingo all over the card. I then place over the die, held in palce with washi tape and used the brushes with Real Red, making the blending darker down the centre of the card. I love the effect this has created.

I stamped Happy Valentine’s Day from the Heart to Heart stamp set onto a label cut from the Tasteful Labels Dies. I added a little touch of the Real Red Double-Stitched Satin Ribbon to the edge of the label and finished the card off with some of the little Real Red Resin hearts from the Snail Mail Suite.

Happy Crafting

Joanne x

Supplies:

From Our House to Yours Christmas Card

Sometimes I just want to stamp a pretty picture without adding in punches, die cutting and lots of colouring and the From Our House to Yours is the perfect stamp set for scene building stamping.

For the background I did some very light sponging in Pool Party and the stamped the starry night sky with Pool Party ink.

From our House to Yours - flat

To create the rest of the scene I used another nine ink colours which you can see in the supplies below. I love how this cute little scene has turned out. With the variety of sentiments in this sewt its also possible to make cards for all year round occassions making this a very versatile addition to your collection.

Happy Crafting

Joanne x

Supplies:


Penguins at the Northern Lights

For today’s card I’ve taken inspiration from the Autumn/Winter catalogue and cased the sample for Playful Penguins on page 22. The background of this card reminded my of the Northern Lights and I’ve seen numerous cards featuring this effect so I decided to have ago myself.

I used Shimmery White cardstock for my base as it has more of  coating on it making blending easier. I chose a colour palette of Mint Macaron and Lovely Lipstick as the “lights” colours and Night of Navy for the sky.

Firstly blend a layer of Lovely Lipstick ink across the middle of the card, followed underneath by a layer of Mint Macaron. I used a Stamping Sponge cut into quarters for my blending. I covered the rest of the card with layers of Night of Navy ink, lighlty going over the Mint Macaron and Lovely Lipstick and going darker towards the edges.

To add a star effect I used some of the Champagne Mist Shimmer Paint and flicked it across the blended cardstock using an old paintbrush.

Penguins NL Flat

I fussy cut out two of the Playful Penguins and coloured their feet at beaks with some dark Mango Melody Stampin’ Blends. I stamped the greeting on an oval from the Layering Ovals dies and then tucked this under the penguins wings.

I love how this background turned out and can’t wait to make more cards with the same technique soon.

Happy Crafting

Joanne x

Basic Measurements:

Card Base: Half sheet A4 cardstock cut at 14.9cm x 21cm, scored at 10.5cm

Silver Foil Layer: 14.4cm x 10cm

Ink Blended Layer: 13.9cm x 9.5cm

Supplies: