Black Brick Butterfly Card

Black Brick Butterfly….try saying that really fast! There isnt even any black bricks on this card as they’re pink but I liked the title. Again I’ve been playing with the Brilliant Wings Dies, my new favourite product for sure. Today I’ve used the brick effect die (hence the title) to create part of my background. Ilove how you can see the mix of watercolour pinks through the bricks from the designer paper behind.

Here’s a close up of how much detail the large butterfly has, so beautiful! I’ve sat the butterfly on a Stitched Circle die in Blushing Bride and added the Happy Birthday greeting from Speacial Someone in Magenta Madness.

A few Magenta Madness Enamel Dots finish the card off, I seem to be putting these on every card I make at the moment.

Happy Crafting

Joanne x

Supplies:

Red Blossoms in Bloom Card

Today I’m sharing a simple card made with the Blossoms in Bloom stamp set. I’ve used a colour scheme of Real Red, Granny Apple Green and Bumblebee. I stamped one of the small flowers on the Real Red cardstock base to give a tone on tone background on the card.

For the focus point on the card I stamped the large floral image on one of the second largest Stitched Rectangles.

I added extra layers using a Granny Apple Green Rectangle cut from the current Brights collection dsp and a Real Red layer cut from the Regals designer from the upcoming catalogue.

To finish off the card I added a greeting stamped on the smallest rectangle die.

Happy Crafting

Joanne x

Supplies:

Hey Girlfriend Ombre Card Duo

I love the sassy girl images in the Hey Girlfriend stamp set, I think will make great cards for girls of any age to recieve. I know my seven year old has loved stamping with these more than me so far.

Today I’ve kept the cards fairly simple by just colouring with Stampin’ Blends and adding so of the Oh So Ombre 6 x 6 dsp pack as a background. This paper pack is availbale during Sale-A-Bration and is proving very popular.

I’ve used the largest scalloped square frame from the Stitched So Sweetly die set on this first card. I also had to add in the little dog as it reminds me of the one from Bella & Friends a couple of years ago, so cute!

For this card I stamped the sentiment using the Many Messages stamp and die set. This combo is great because with one stamp you get 19 messages and then simply place the die over and they all cut out in one go, so a great addition if you need a lot of sentiments quickly.

Happy Crafting

Joanne x

Supplies:

Case the Catalogue: Stitched Stars Dies

Today I’m casing the catalogue and sharing with you my simplified version of the Stampin’ Up! original found on page 97. I’ve pulled out my Stitched Stars dies as they haven’t seen any love in a while and paired them with the Playing With Patterns DSP.

The original card uses Silver Foil and embossing folders for texture as you can see below.

As you can see I kept to a blue base but used Night of Navy instead of Misty Moonlight and used Costal Cabana and Calypso Coral as my other colours. I left off the twine as I want a quick card which was easy to replicate for when you need those last minute birthday cards.

I also used the Pick A Label Punch (my current favourite product) to stamp my greeting on which came from the Rustic Retreat stamp set.

So which do you prefer the Stampin’ Up! original or my simplified version?

Happy Crafting

Joanne x

Floral Card with Birthday Jubilee

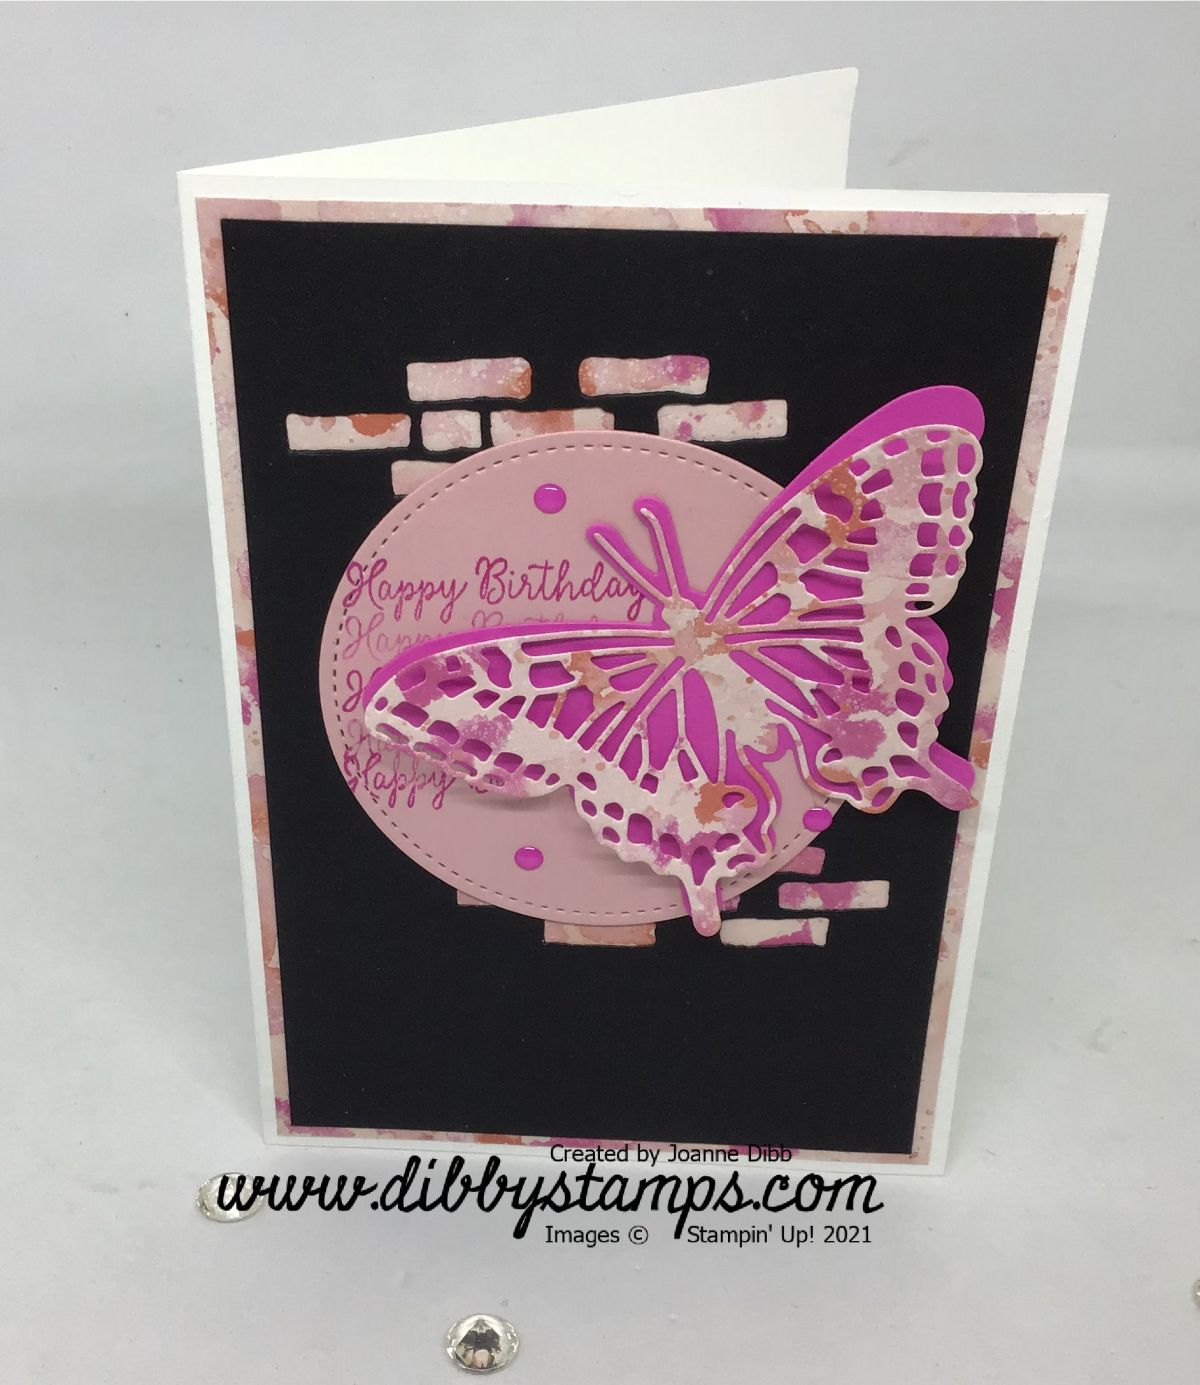
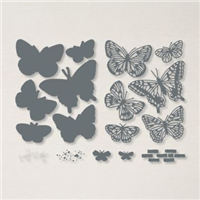
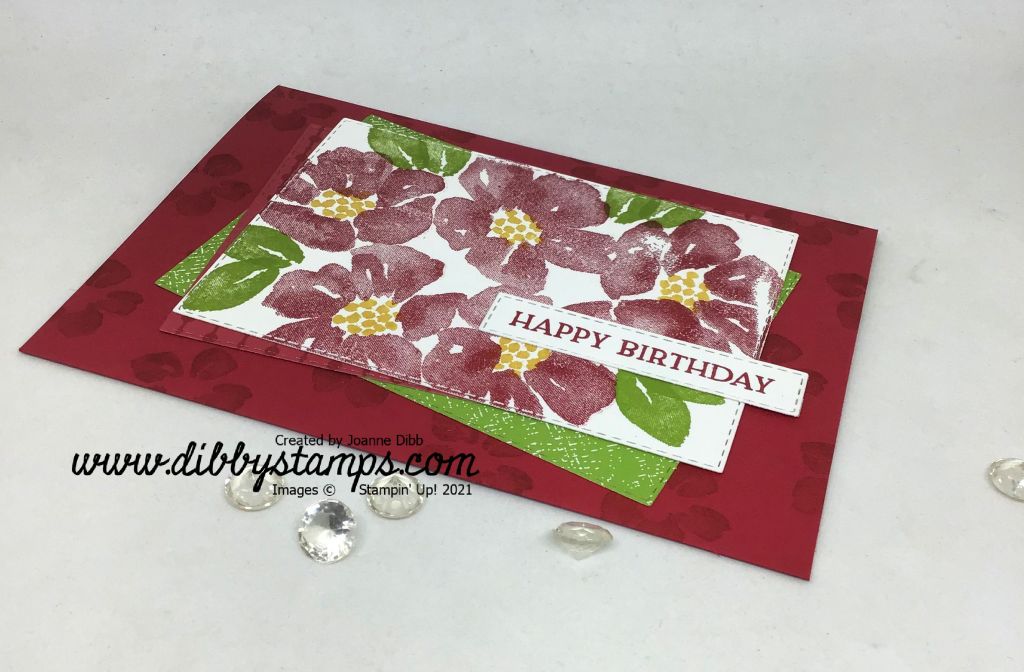
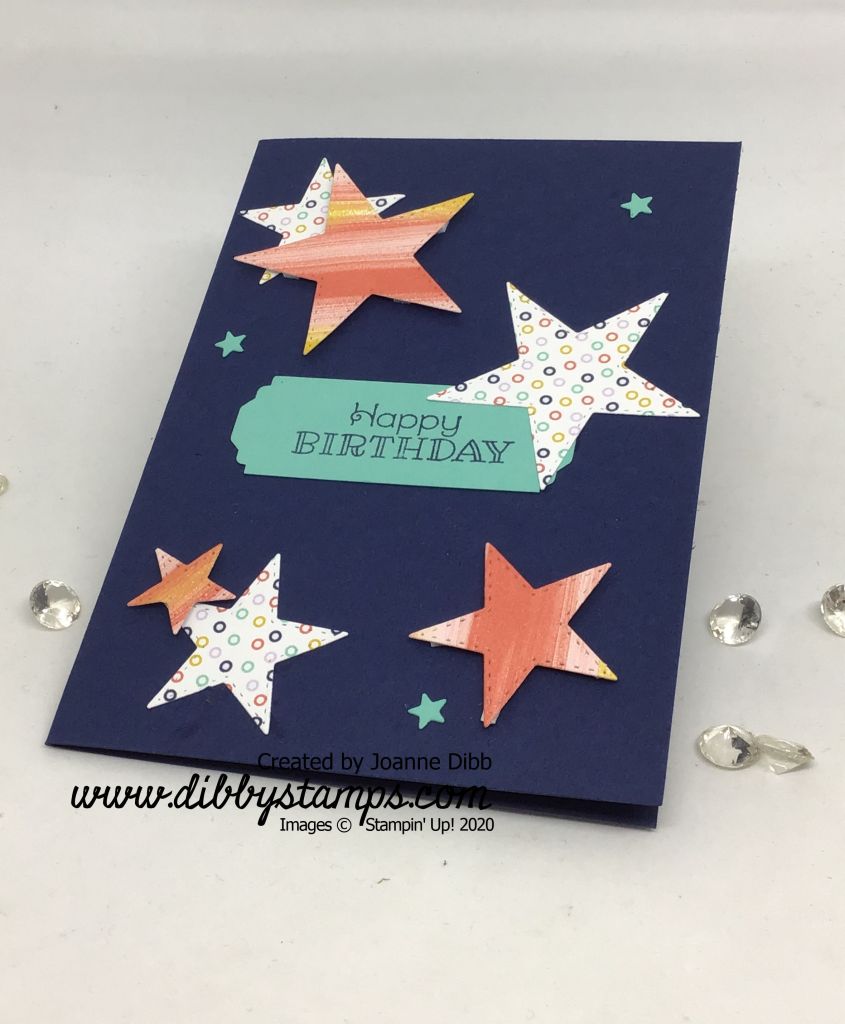
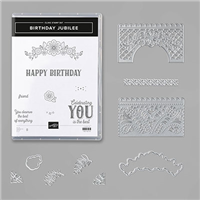
The Birthday Jubilee bundle from the Jan/June Mini Catalogue is probably the thing I wish was carrying over the most. I love the intricate dies in this bundle and the whimisical feel of the stamp and have not finishing playing with them both yet, so this ones definatley a keeper for me.

For this project I made a gatefold card by cutting a piece of card to 28 cm x 10.5cm. Taking the long side of the card score at 7cm and 21cm and then fold these two sections inwards to create your gates. I then cut two panels of Soft Sea Foam measuring 6.5cm x 10cm and adhered then to each gate on the front of my card.

Floral Birthday Jubilee Card - flat

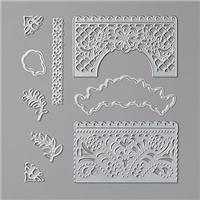
Next I cut the intricate floral dies from the Jubilee Beauty dies out of Highland Heather with some adhesieve sheet to help it stick to my card front ( these are back in the new catalogue, yay!!).

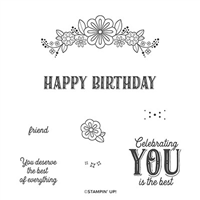
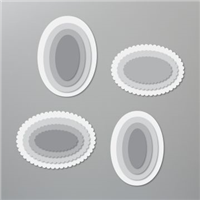
I then cut the largest oval from the Stitched Shapes Dies out of Whisper White and the largest scalloped die from the Layering Ovals Dies out of Highland Heather, these are currently sold out but will be back in the new catalogue. I stamped my greeting in Highland Heather before sticking the two ovals together. I put liquid glue on one half on my oval and adhered it to the left side of the card front, leaving the other side glue free so you can open the card.

Floral Birthday Jubilee Card- close up

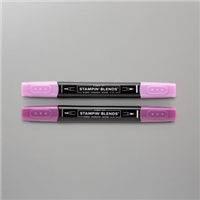
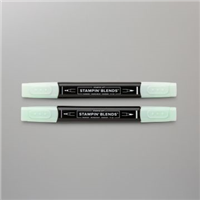
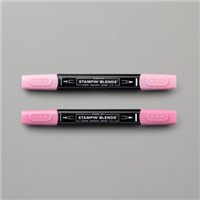
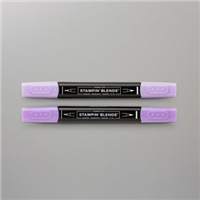
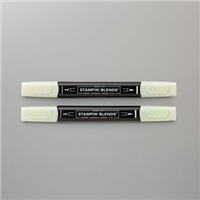
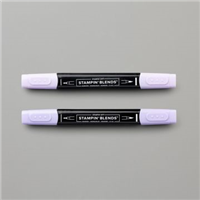
The final step was to add the floral elements. These were stamped in Tuxedo Memento ink and coloured with Soft Sea Foam, Highland Heather and Purple Posy Stampin’ Blends. I adhered one to each side of my card. The floral elemnt on the right side of the card is only attached with two Stampin’ Dimensionals at the top and bottom so you can tuck the oval underneath to close the card if you wish.

For a little finishing touch I added some Purple Posy Faceted Gems to the centres of the flowers, alternatively you could use the Pearl or Rhinestone Basic Jewels and colour them with Stampin’ Blends.

Happy Crafting

Joanne x

Supplies: