O Christmas Tree Card with the Most Wonderful Time Medley

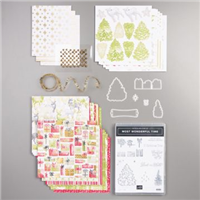
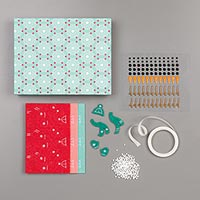
I’ve just recieved the Most Wonderful Time Product Medley which I think is a great product if you want a collection of coordinating products all in one box. Unlike our project kits these boxes of goodness come with no instructions so the creating is limitless.

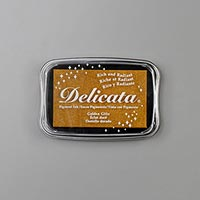
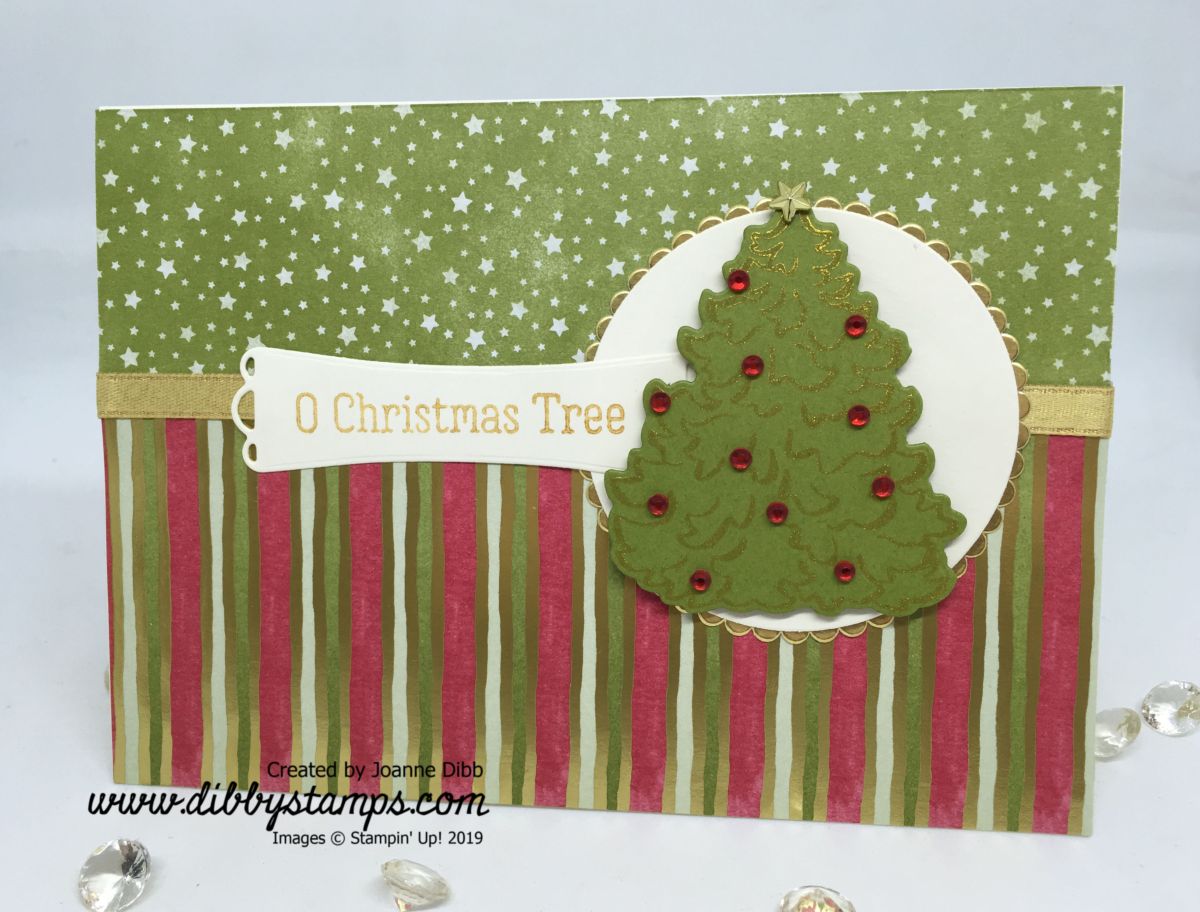
Here’s the first card I made, I just has to use that gorgeous Christmas tree stamp and stamp in the Golden Glitz Delicata Ink to make it shimmer.

Oh Christmas Tree MWT close up

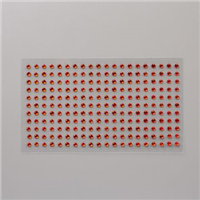
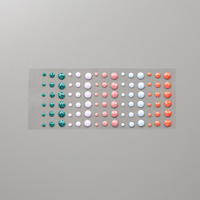
I decorated the tree with one of the gold stars from the medley and added some of the Red Rhinestone Basic Jewels as tree ornaments.

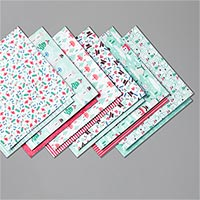
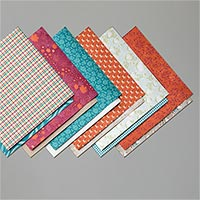
I love all the gold foiled paper in this medley, this striped one is probably my favourite as I can see myself using it all year round, if I have any left that is.

Oh Christmas Tree MWT flat

A little gold foil and some of the new Gold Shimmer Ribbon from the Christmastime Is Here Suite available to demonstrators now, finish off the card.

I’ve had loads of fun making cards with this this product medley, I;ll share some more soon.

Happy Crafting

Joanne x

Supplies:

A Little Lace Card Duo

Taking a break from the Christmas projects today I’m sharing a pair of cards made from the A Little Lace stamp set. I chose to keep these cards fairly simple with just Rococo Rose or Pretty Peacock with a tiny hint of Crumb Cake on the ribbon.

Rococo Rose A Little Lace Card

I used the Basket Weave 3D embossing folder to give the background some subtle texture and used the Stitched Rentangle and stitched Shape die sets for matts for the main floral image and for my sentiment. A little length of the Scalloped Linen Ribbon adds some more texture and a pop of colour from the Crumb Cake.

Pretty Peacock A Little Lace Card

As a final touch to each card I added some of the 2019-2021 In Colour Facet Dots to the centres of each flower.

Hope you like todays project and pop back soon

Happy Crafting

Joanne x

Basic Measurements:

Card Base: Half A4 sheet measuring 14.9 x 21cm, scored at 10.5cm

Rococo Rose/Pretty Peacock Layer: 14.4 cm x 10cm

Embossed Layer: 13.9cm x 9.5cm

Supplies:


Rainbow Butterflies Thank You Card

For today’s card I’ve used a different sized card base so I could fit five butterflies on and show more of the rainbow effect I created. This card base is from a piece of card measuring 21cm x 14cm, scored at 7cm on the narrow side, giving a tall narrow card similar to the Narrow Notecards that we used to carry.

To create the rainbow effect I used the Real Red, Pumpkin Pie, Daffodil Delight, Granny Apple Green, Pool Party, Bermuda Bay and Rich Razzleberry Stampin’ Blends and coloured a rainbow across some Whisper White cardstock.

Butterfly Rainbow Close up

I then stamped five butterflies from Butterfly Gala across the rainbow, positioning them so each butterfly had more than one colour on its wings. I then punched them out using the Butterfly Duet Punch and added a black body to each butterfly.

Butterfly Raibow Card flat

To finish off the card I stamped a greeting at the bottom of the card and then attached each butterfly with a Stampin’ Dimensional. A final florish was to add antenna to each of the butterflies.

Hope you enjoyed this project and if you’ve got your own collection of Stampin’ Blends you can create rainbow butterflies in any colour combination.

Happy Crafting

Joanne x

Supplies:


Simple Snowman Card

Today I’m featuring the products in the Let It Snow Suite again, focusing on the Snowman Builder Punch and the Let It Snow Embellishment Kit. I love this embellishment kit as it contains everything you need to turn a simple punched shape into a cute snowman with his own little felt hat.

Simple Snowman Card Close Up

For the background I simply stamped some of the snowflakes from the Snowman Season stamp set in Real Red ink on the Real Red cardstock to give a tone on tone look.

A strip of the Let It Snow Speciality DSP and a greeting stamped on the frame from the Wild Rose dies finishes the outside of the card.

Simple Snowman Card - Inside

A few snowflakes in Pool Party and a greeting in Real Red finish off the inside of the card.

Hope you’ve enjoyed this cute little project, the Let It Snow Embellishment kit is proving very popular so  if you want to have a play with it then I’d been ordering one soon.

Happy Crafting

Joanne x

Basic Measurement:

Card Base: Half A4 sheet cut to 14.9cm x 21cm, scored at 10.5cm

Supplies:


Yuletide Cheer with Holly Christmas Card

This Christmas card is fairly simple to put togther as long as you don’t mind at little fussy cutting for the holly leaves.

The background paper comes from the Come to Gather DSP, I love the linen effect of this paper and think it could work  for a variety of projects.

Yuletide Holly Close Up

Here’s a close up of the holly leaves coloured with Stampin’ Blends and the fussy cut out. I love a bit of fussy cutting, especially at this time of year when I’m spending cosy nights in front of the fire. If you’re not a fan of fussy cutting then you could use the holly berry stamp and dies from the Free Skate Bundle.

Yuletide Holly Card flat

The greeting and frame come from the Frosted Foliage Bundle which contains some lovely sentiments.Basic Measurements:

A simple card which is easy to replicate if you want to make a sttart on those Christmas cards.

Happy Crafting

Joanne x

Basic Measurements:

Card Base: Half A4 sheet, cut to 14.9cm x 21cm, scored at 10.5cm

Real Red Layer: 14.4cm x 10cm

DSP Layer: 13.9cm x 9.5cm

Supplies: