Inspiration Tuesday: Paper Pumpkin Joy to the World Part 1

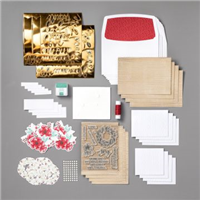
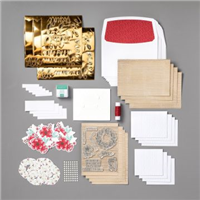
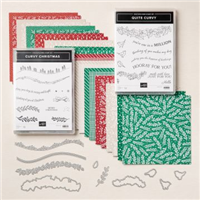
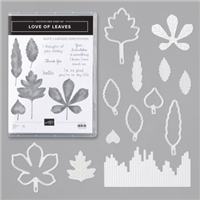
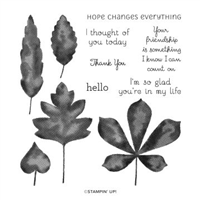
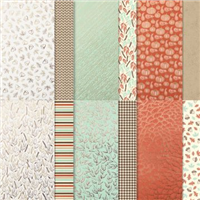
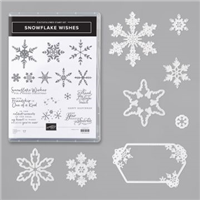
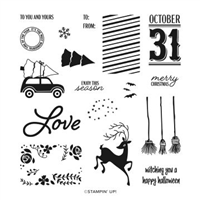
Paper Pumpkin is not something that gets regularly released outside of America by Stampin’ Up!, the Joy to the World is only the third worldwide release but its by far my favourite and I’ve made loads of cards with it. This kit is availble in English, French and German. Today I’m sharing cards which focus on the wreath images in the kit from both the diecuts and the stamps.

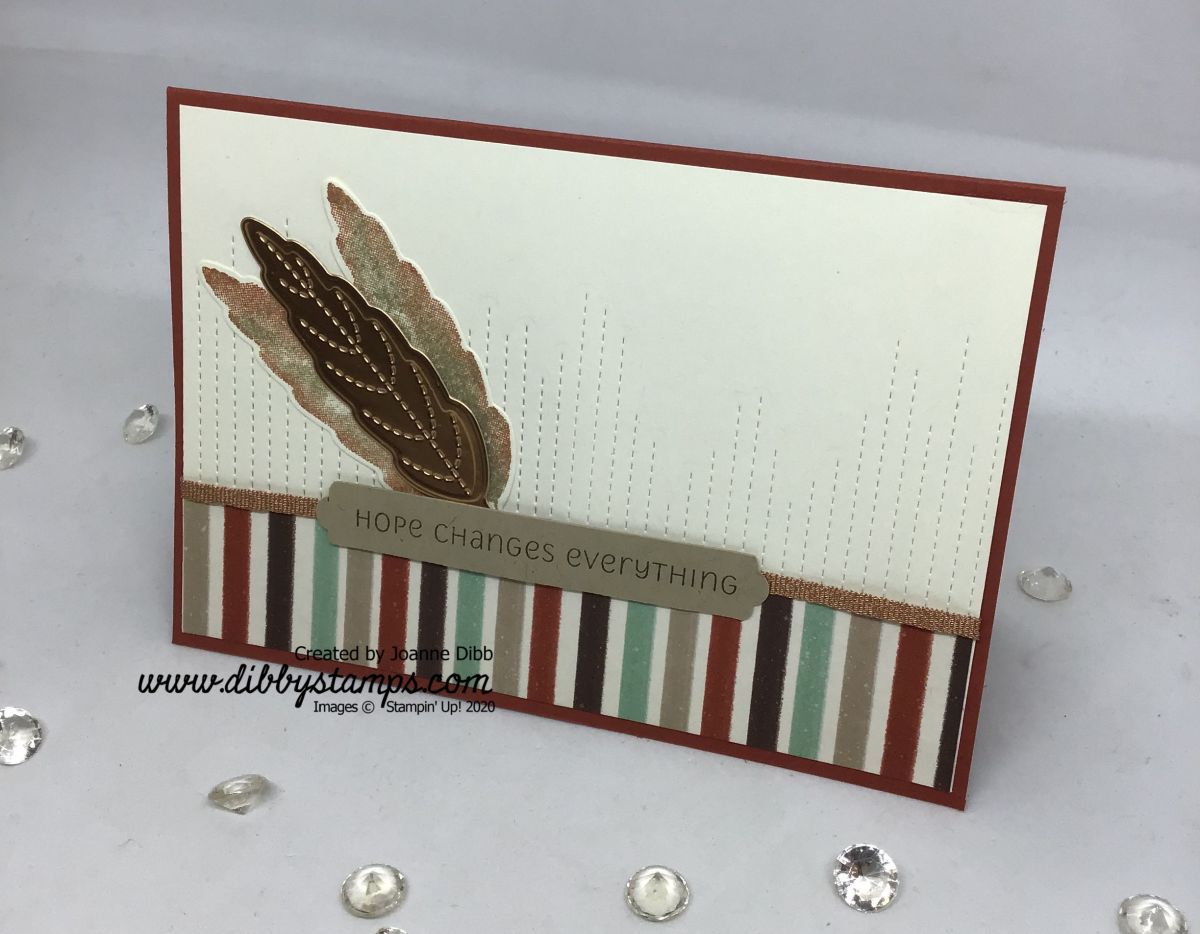
The card above is the sample card given and you can make four more of these cards (and four of the other design) with the contents of the kit. But now I’m going to show you what else you can make with a few additional supplies.

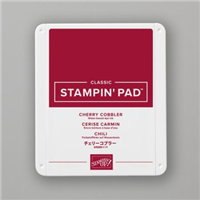
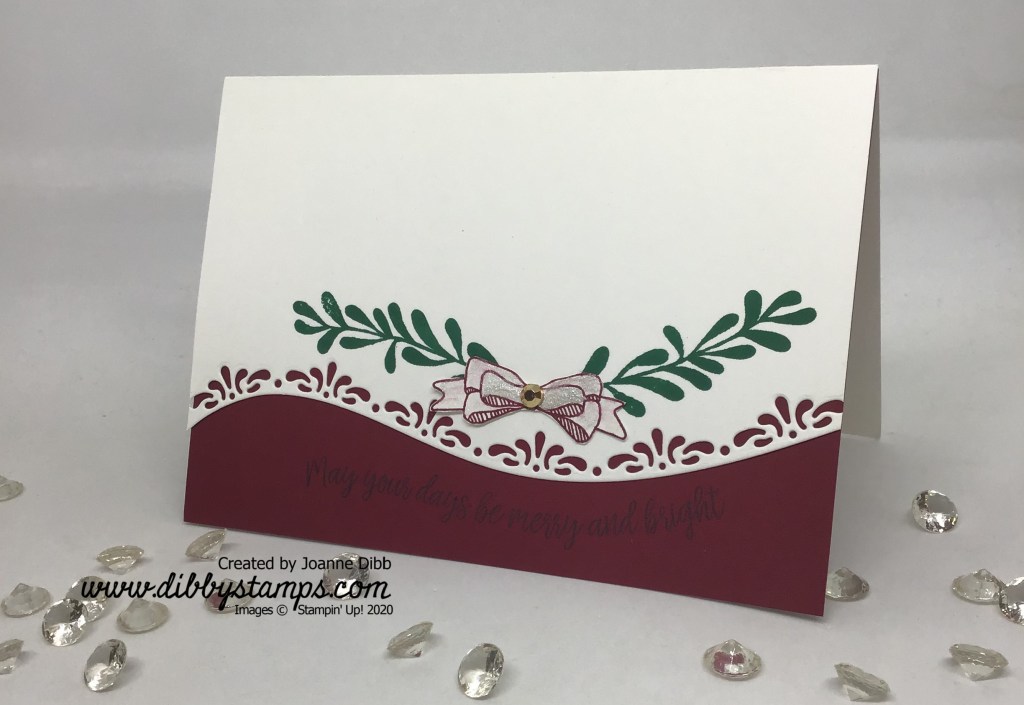
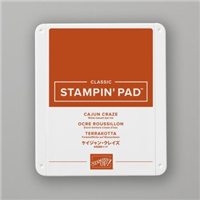
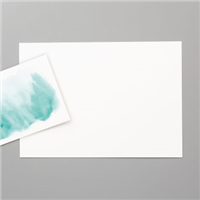
This card is very similar to the first, the only additional item used was a Cherry Cobbler ink pad. The red patterned paper comes from the inside one of the envelopes in the kit and the white paper is the envelope itself. If you choose to used the envelopes this way then you will also need to add White Envelopes to your supplies.

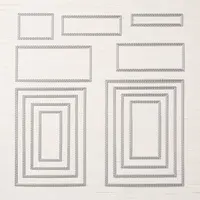
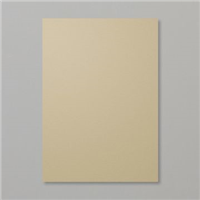
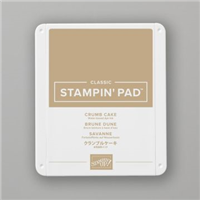
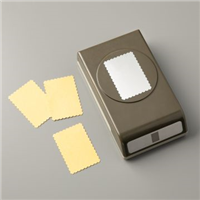
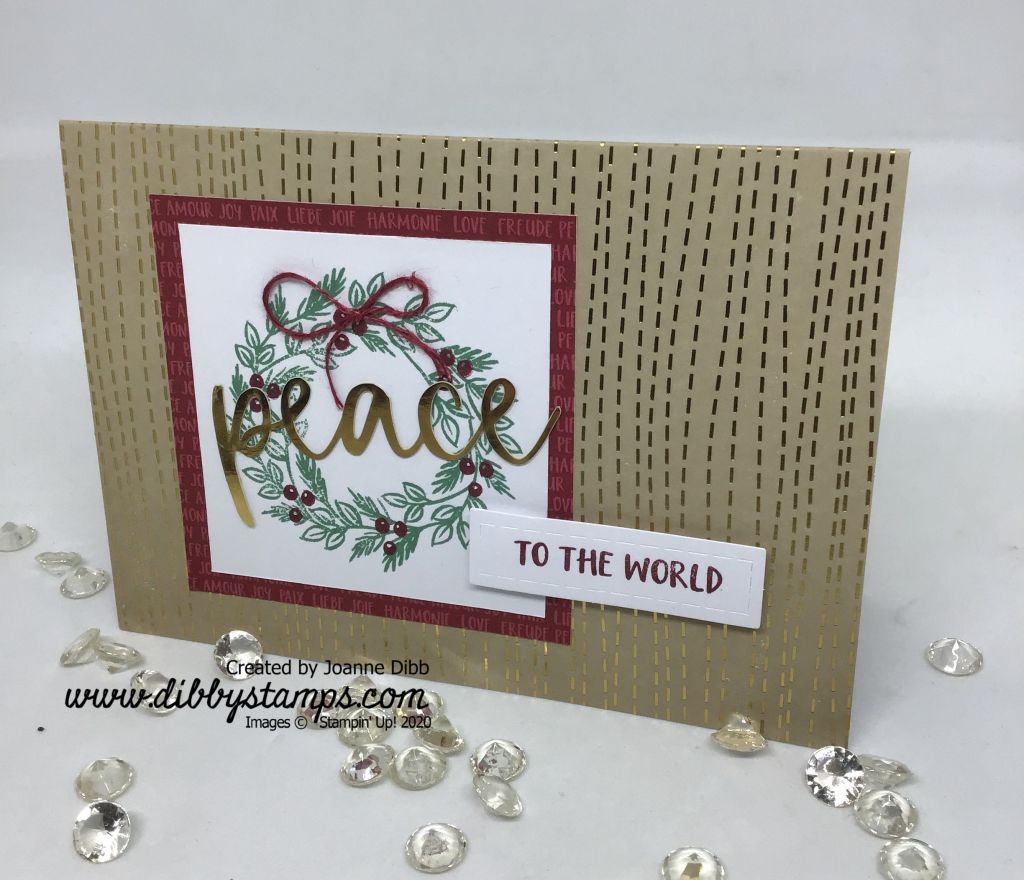
This card again uses an envelope for the designer paper. I’ve also added a Crumb cake card base and used the Rectangle Stitched dies with some Whisper white cardstock for my stamping matt.

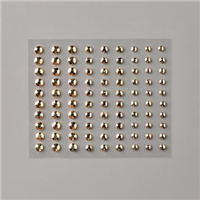
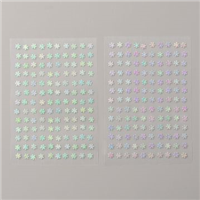
For this card I added in some of the Gilded Gems to add a bit of extra bling to the card. I love this Merry Christmas greeting stamp, its one that I can see getting used for many, many cards!

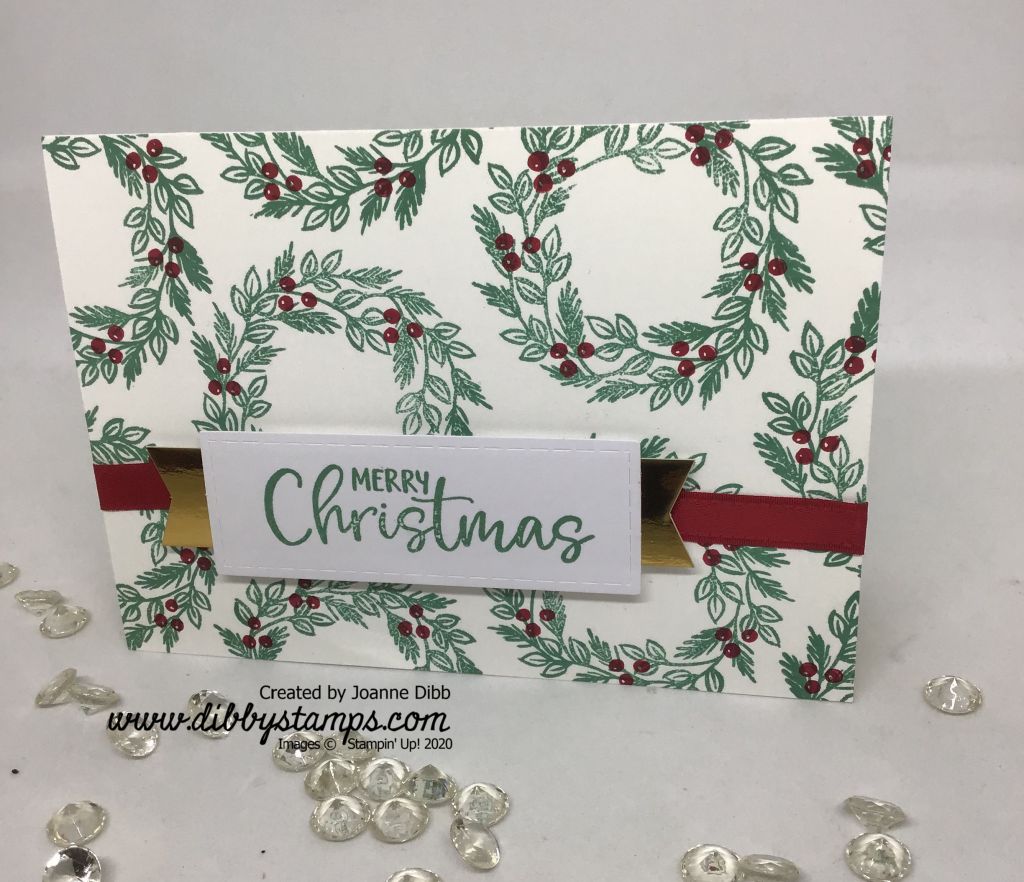
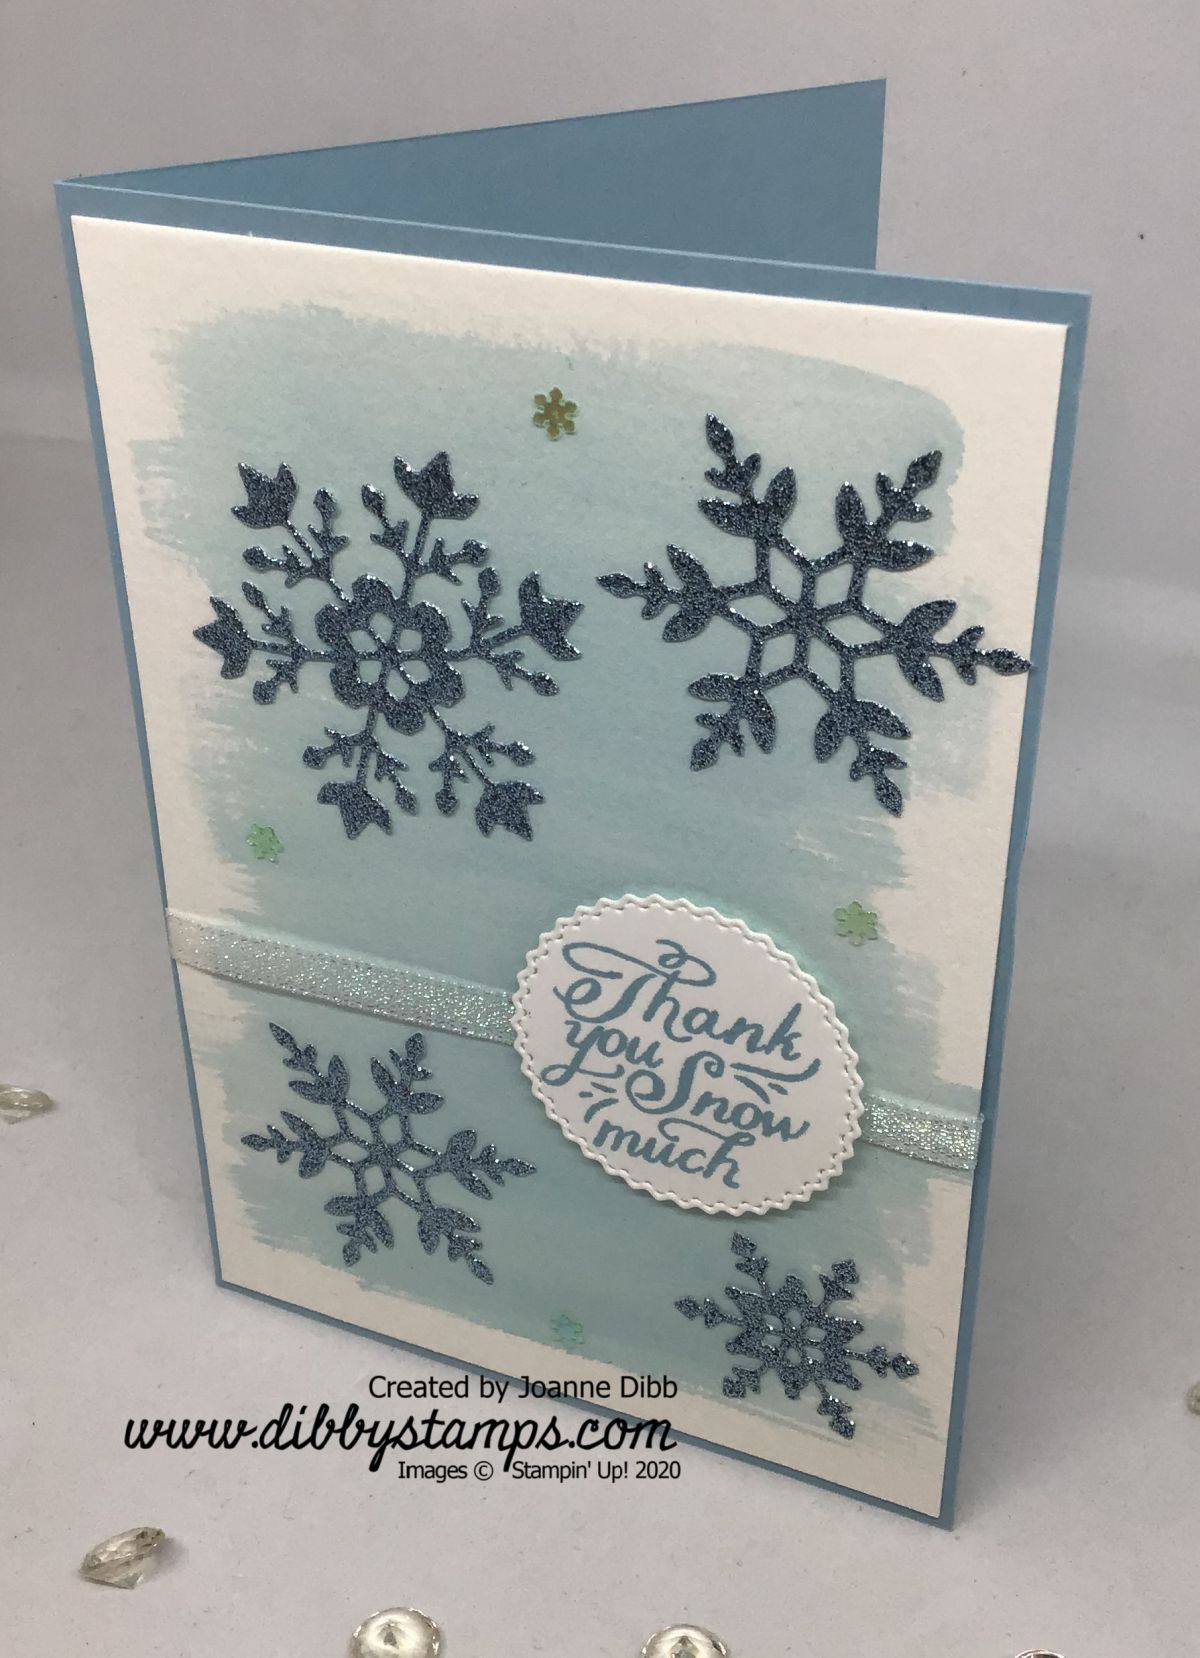
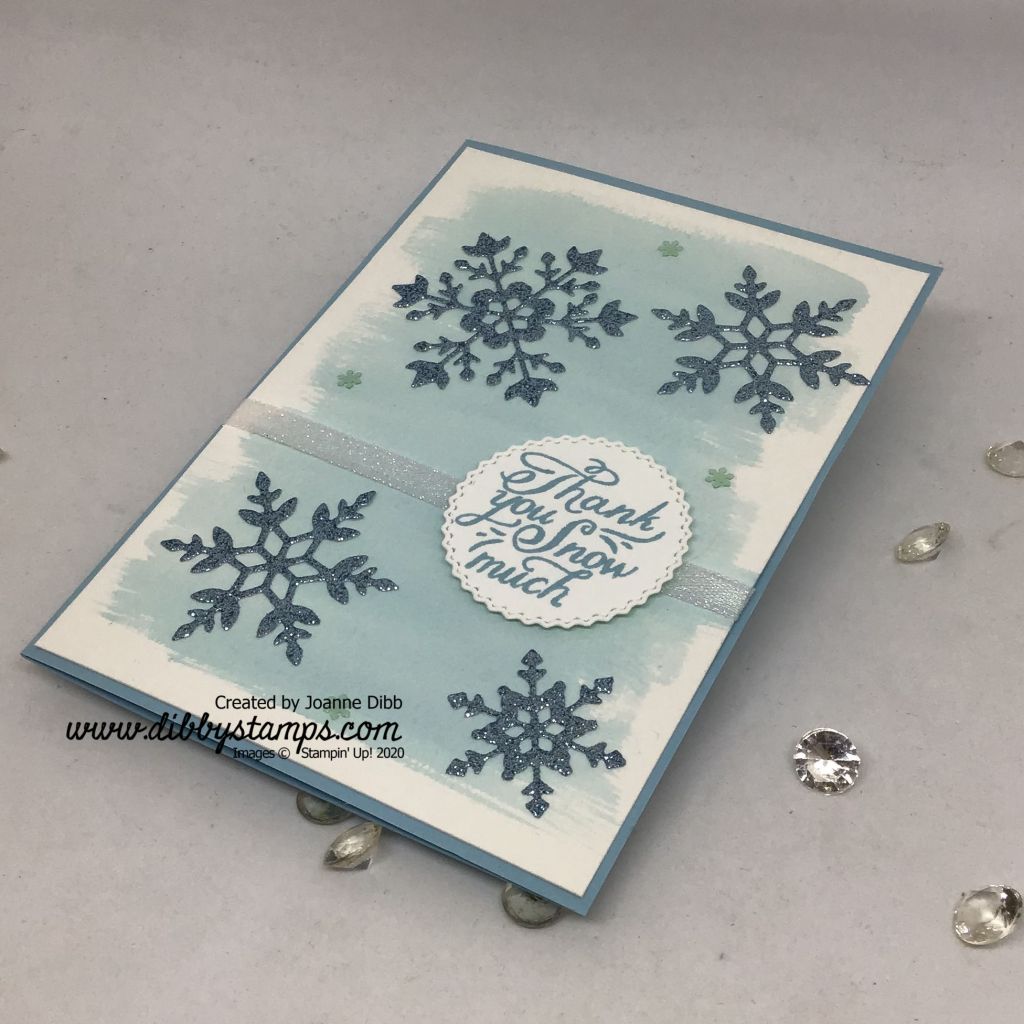
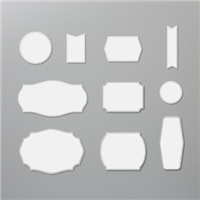
For this card I used a Whisper White card base and stamped the wreaths all across the front with the included Just Jade inkpad. For the berries I added in Real Red instead of Cherry Cobbler. This was so I could add a strip of the Double Stitched Satin Real Red Ribbon across my card. The die cuts came from the kit but you could easily used our Stitched Rectangle dies and any of our banner punches to create a similar effect.

These are just a few of the cards I’ve made to give you a taster of the kit, next tuesday I will share anothe five using the flower elements in the kit.

Happy Crafting

Joanne x

Supplies:

Customer Thank You Cards with Curvy Christmas

For my October thank you cards I used the new Curvy Christmas stamp set and the new Curvy dies. These simple dies really add a quick wow to your cards.

I used Whisper White as a card base and used the filigree die to cut away the bottom third of the card. I adhered a layer of Cherry Cobbler behind on the inside of the card so filigree detail stood out.

I added the greeting “May your days be Merry and Bright” to the Cherry Cobbler cardstock at the bottom of the card and added some mistletoe sprigs in Shaded Spruce just abouve the filigree.

On some seperate Whisper white cardstock I stamped the bow in Cherry Cobbler and fussy cut it out. Then I used my Wink of Stella to add a layer of sparkle before adhering to my card with a glue dot.

I added a Gold Gilded Gem to the centre of each bow to finish off the card. So if you’ve ordered from me during October one of these will be on its way to you now.

The Curvy Christmas stamp set is available now while stocks last and the Curvy Dies are available as part of the Quite Curvy Bundle or the Quite Curvy Variety Bundle.

Happy Crafting

Joanne x

Supplies:

Hope Changes Everything Card

For todays project I used the Love of Leaves stamp set and the coordinating Stitched Leaves Dies. These simple leaf stamps can be used for a variety of techniques and today I’ve used them to create two-tone leaves. Each leaf was inked up with crumb Cake ink and the using a sponge dauber I added a little Cajun Craze to the edge of each leaf to give the two-tone effect and a more realistic Autumnal feel.

I wanted the leaves to be the focus of the card so kept the background fairly neautral by just using the stitching die across the middle of my Very Vanilla matt layer to give some very subtle texture. This dies leaves stitching lines embossed in the cardstock which I love.

To add a little colour to the card I added strip of designer paper from the Gilded Autumn collection along the bottom of my Very Vanilla matt. I then added some of the Copper 1/8″ Grosgrain Ribbon from the Basket Weave & Metallic Combo Pack along the edge of the designer paper. I then adhered the very Vanilla layer to the Cajun Craze card base.

I then added my stamped and die cut leaves to the left side of the card along with an additional leaf cut from Copper Foil Cardstock. I love how there is a die to add more stitching lines to the centre of the leaves.

I finished the card off with a sentiment banner created with the Lovely Labels Pick A Punch as it had the curvy edges to match my leaves.

Happy Crafting

Joanne x

Supplies:

Balmy Blue Glimmer Snowflake Card

The Glimmer Paper from Stampin’ Up! has never been a product I use much and after making this snowflake card with the new Balmy Blue Glimmer Paper I’m not sure why because I’m in love with the stuff. It’s the perfect shimmery sparkly shade of blue to make wonderful snowflakes, something I love putting on cards during the winter season.

These wonderful snowflakes cut from the So Many Snowflakes Dies make the perfect focal point for any wintery card, here I’ve used them with the greeting “Thank you Snow Much” to make a thank you card.

To add some extra glimmer to this card I’ve also used a strip of the Snowflake Splendor Ribbon which is irridescendent with metallic thread running through it. I’ve also added some of the Adhesive Backed Snowflake Sequins to compliment the larger snowflakes.

Happy Crafting

Joanne x

Supplies:

Simple Stamping: Halloween Trio Card

For today’s project I’m sharing a very quick Halloween card which you can create in less than two minutes using the Festive Post stamp set and the Rectangular Postage Stamp Punch and if Halloween’s not your thing then you can change it up for Valentine’s Day or Christmas using the same set.

I simply stamped each image on Gorgeous gRape, Granny Apple Green and Pumpkin Pie and then punched out. A few dimensionals on the back to adhere to the card and your done. Quick and simple!

Happy Crafting

Joanne x

Supplies: